Stringing in 3D Printing: Why It Happens and How to Stop It
Stringing is rarely one problem. Work through the causes in this order: moisture, temperature, retraction, then travel moves, testing as you go.
By Sepehr Sabbagh-pour · Published 10 October 2026 · 2 min read
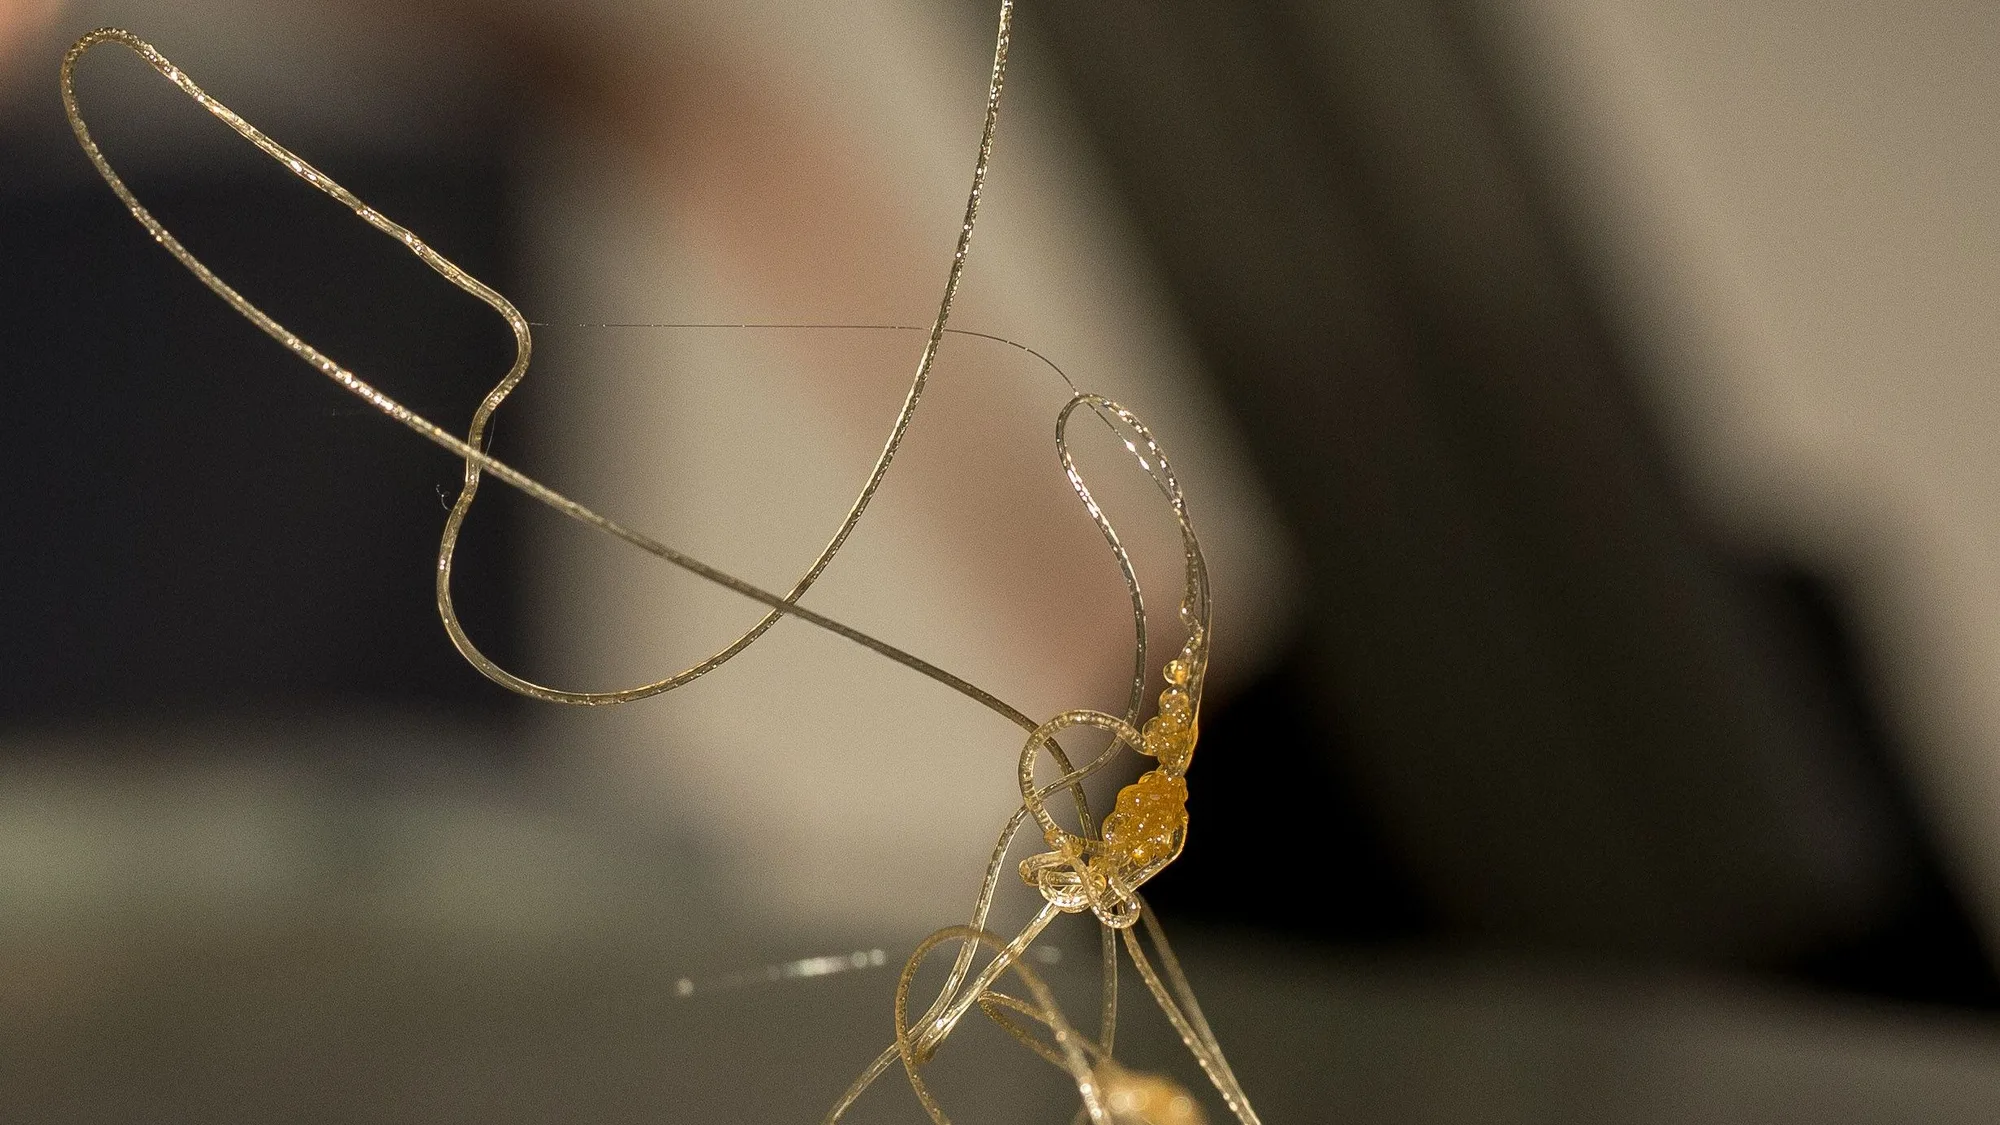
Stringing is the hair-like plastic wisps left between separate parts of a print. It happens when molten filament oozes from the nozzle while it travels across an empty gap. The fix is to make the plastic less runny, pull it back before the move, and move faster, in roughly that order.
1. Rule out wet filament
Wet filament causes stringing that survives all other changes. If you hear crackling or see a fuzzy surface, dry the spool first. Our guide to drying filament covers how.
2. Lower the nozzle temperature
Hotter plastic is runnier. Reduce the nozzle temperature by 5°C at a time, within the range printed on the spool, and print a test after each step. Stop when layers still bond but strings thin out. Going too low causes weak layers and under-extrusion, so make small changes.
3. Tune retraction
Retraction pulls filament back a short way before a travel move. The two settings are distance and speed. As starting points, direct-drive extruders often work with roughly 0.5 to 2 mm of retraction, and Bowden-tube setups with roughly 3 to 7 mm. Retraction speeds of roughly 25 to 45 mm/s are common. Raise distance in small steps; too much can cause jams and gaps.
4. Speed up the travel moves
Faster travel gives the nozzle less time to ooze across gaps. Most printers can travel at 150 mm/s or more. Slicer options to avoid unnecessary crossings, often called combing or avoiding crossing perimeters, also reduce the number of travel moves over open air.
5. Check for a worn or dirty nozzle
A partial clog, a worn nozzle or a loose heat break can leak or drag filament. If everything else looks right, clean or replace the nozzle.
Use a test, not guesswork
A small test model with two thin towers a few centimetres apart prints in minutes and shows strings clearly. Change one setting, print, compare. Keep notes, because the best values differ by material and even colour.
PETG tip. PETG strings more readily than PLA. Dry it, print a little cooler, use more retraction than you would for PLA, and keep travel fast. Perfect results may take a few attempts.
Frequently asked questions
Why does my printer string even with retraction on?
Usually the filament is wet, the nozzle is too hot, or the retraction distance or speed is too low for the material. Work through them in that order rather than changing everything at once.
Is stringing harmful to the printer?
No, it is a cosmetic and cleanliness problem. Strings can be removed with a quick pass of a heat gun, a lighter used carefully, or by hand, though prevention is better.
Does the slicer profile matter for stringing?
Yes. A profile made for your exact printer and material has sensible retraction and temperature defaults, so start from one and adjust rather than starting from scratch.

Founder and editor
Software engineer since 2009 and Head of Engineering by day, a maker who has owned several 3D printers, writing practical guides to 3D printers, filament and running costs, with every article saying what was and was not tested.
Keep reading
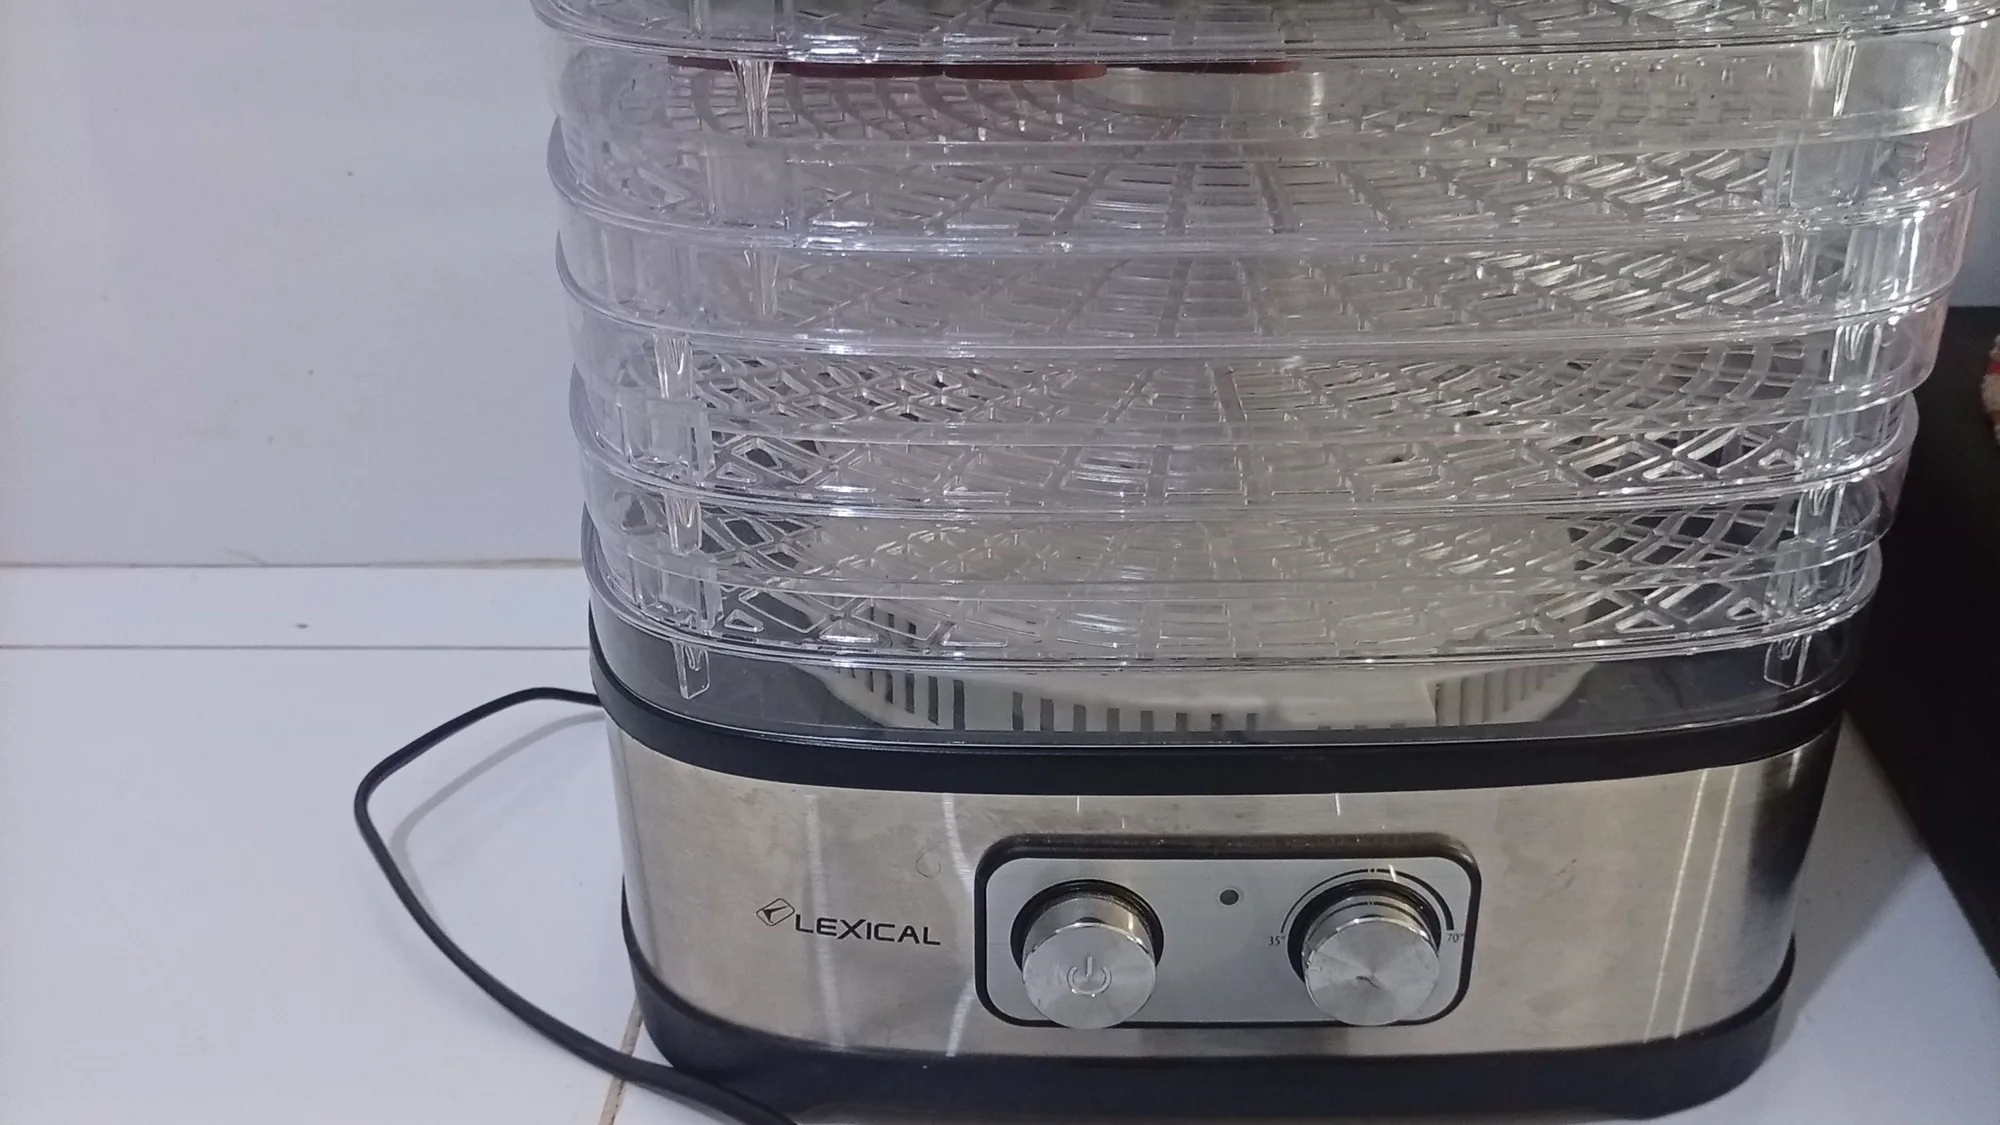
How to Dry Filament (and When You Actually Need To)
Wet filament causes stringing, rough surfaces and weak parts. Here is how to spot it, three ways to dry it, typical temperatures, and how to keep spools dry afterwards.
10 October 2026 · 2 min read
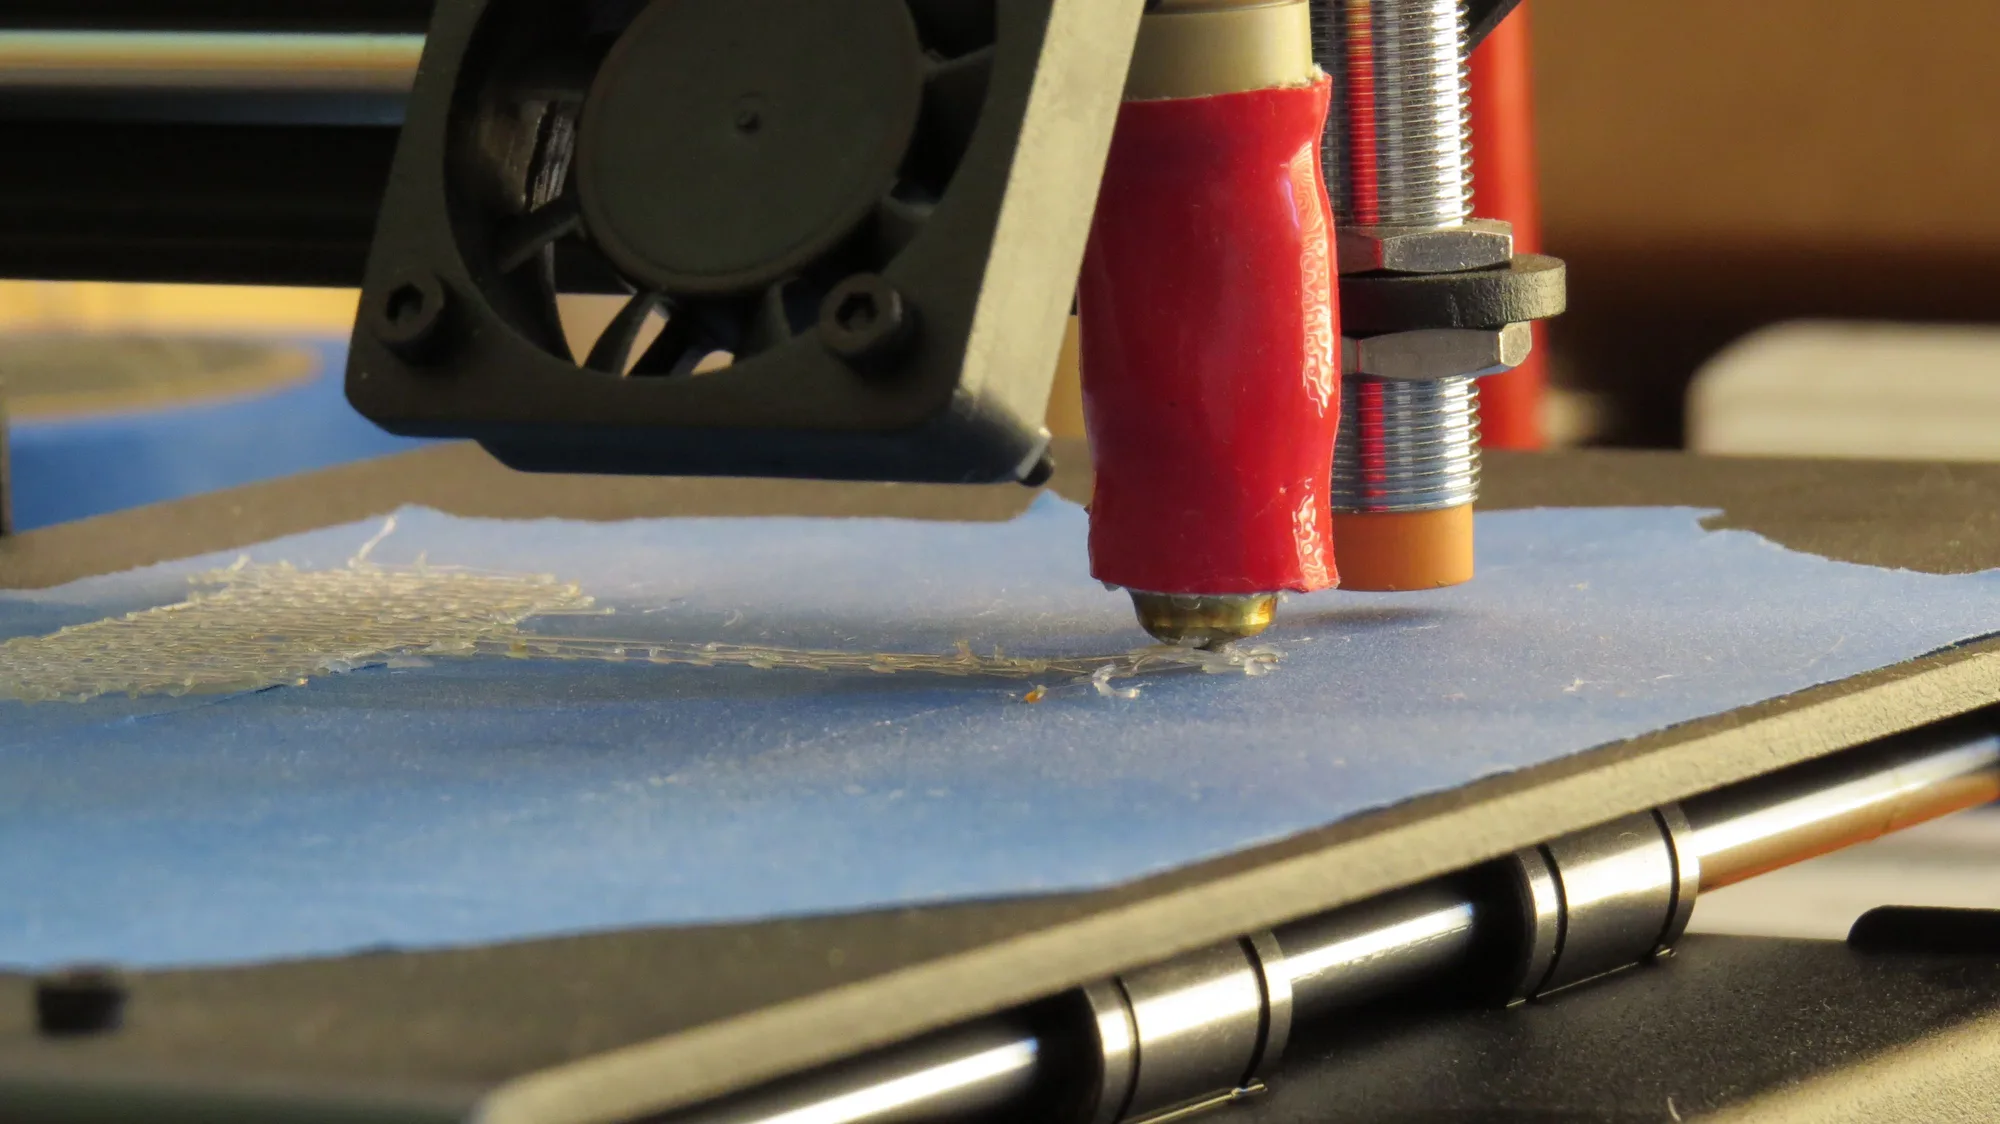
How to Fix a Bad First Layer: A Step-by-Step Checklist
Most failed prints are decided in the first two minutes. Here is the order to check things in, what each symptom means, and the quick test that tells you when it is fixed.
10 October 2026 · 3 min read
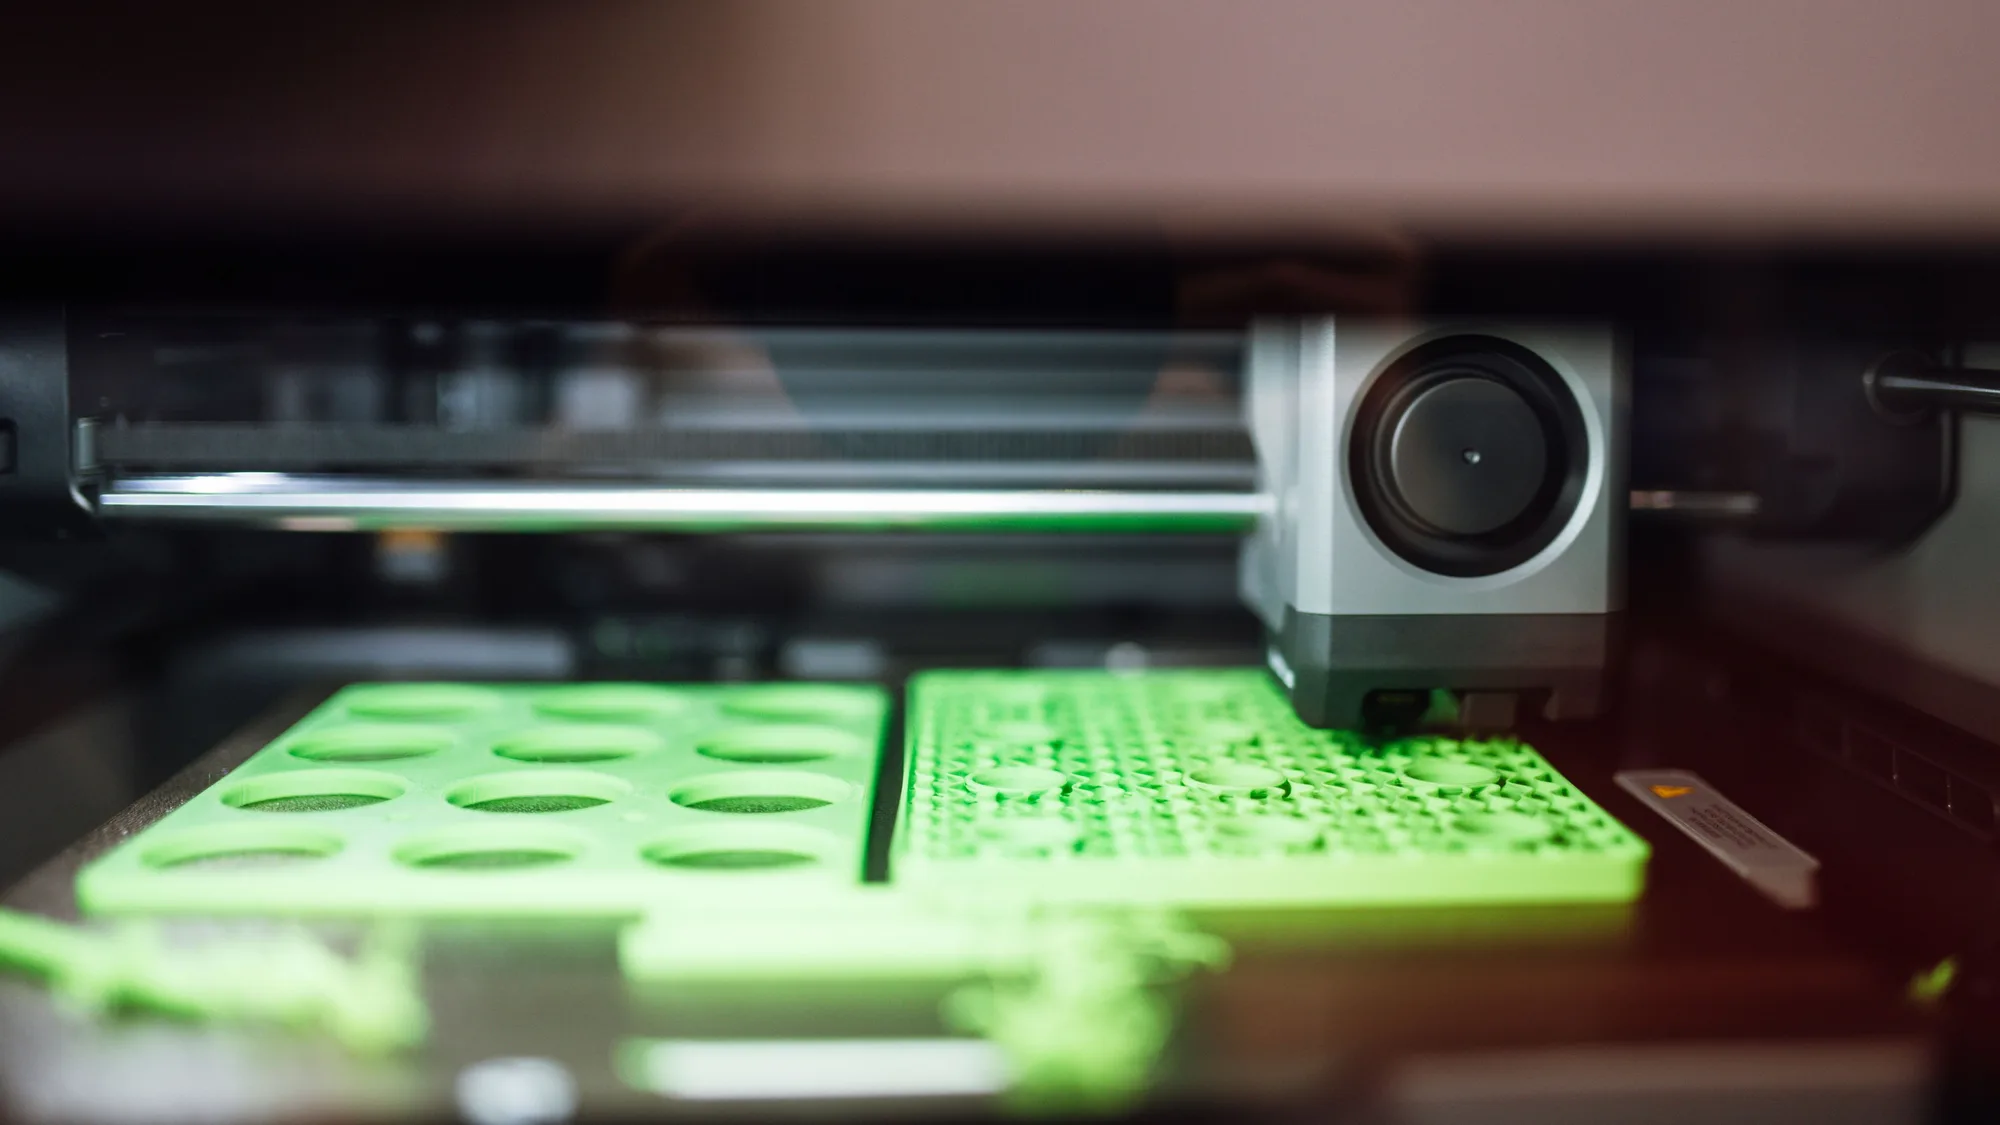
How to 3D Print: Your First Print, Step by Step
Everything between the box and a finished first print, in the order to do it: set up, load filament, check the first layer, slice, print and remove it safely.
10 October 2026 · 6 min read