How to Fix a Bad First Layer: A Step-by-Step Checklist
Most failed prints are decided in the first two minutes. Here is the order to check things in, what each symptom means, and the quick test that tells you when it is fixed.
By Sepehr Sabbagh-pour · Published 10 October 2026 · 3 min read
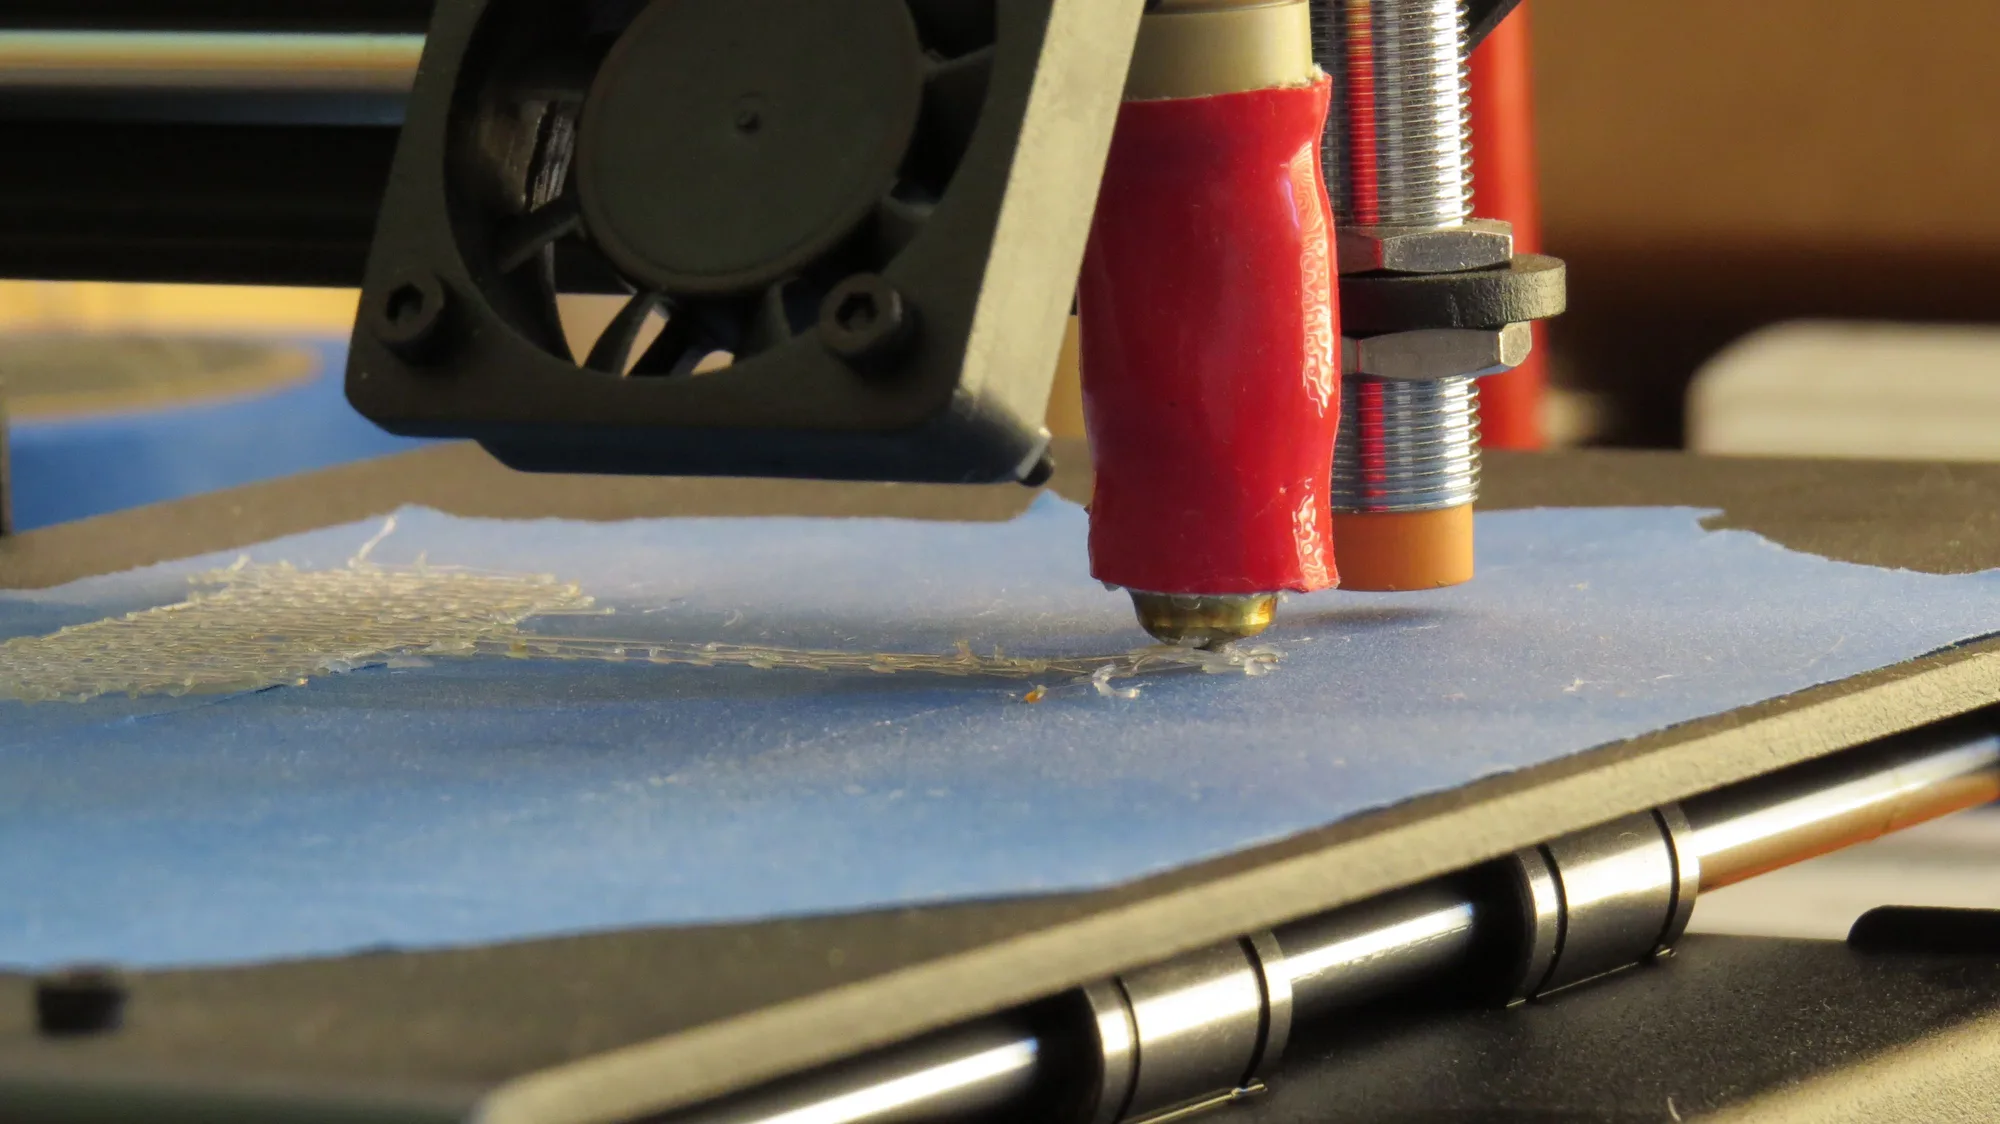
The first layer is the foundation of every print. If it does not stick evenly, nothing built on top of it will be reliable, and you will often see the failure much later as warping, a lifted corner or a part knocked loose. This checklist is ordered by what to try first, because the cheap fixes solve most cases.
Read what the first layer is telling you
Before changing anything, look closely at the first layer from above and from the side. The pattern points to the cause.
| What you see | Likely cause | Try first |
|---|---|---|
| Gaps between lines, strands that look like separate threads | Nozzle too far from the bed | Lower the Z offset in small steps |
| Glossy, ridged or smeared surface; plastic squeezed out at the edges | Nozzle too close to the bed | Raise the Z offset slightly |
| Good on one side, poor on the other | Bed not level, or a poor bed mesh | Re-run levelling with the bed hot |
| Corners curl or lift | Dirty or cold surface, draughts | Clean the plate, check bed temperature |
| Filament drags and balls up around the nozzle | Not sticking at the start | Clean the plate, slow the first layer |
1. Clean the build plate
Skin oil from fingerprints is the most common cause of poor adhesion. Wash PEI sheets with warm water and a little washing-up liquid, rinse, dry with a lint-free cloth, and avoid touching the printing surface afterwards. For quick turnaround between prints, many people wipe with isopropyl alcohol (IPA), but check your sheet maker’s guidance because some coatings do not like it.
2. Level the bed, or run the mesh
If your printer has automatic bed levelling, run it with the bed and nozzle at print temperature, because metal expands as it heats and a cold mesh can be slightly wrong when hot. On a manually levelled printer, tighten each corner until a sheet of paper drags with light resistance, then check the centre.
3. Set the Z offset
Z offset is the single most important first-layer setting. Start a first-layer test and adjust it live in very small steps, around 0.01 to 0.02 mm at a time. A good first layer looks like parallel lines that are gently flattened and fused to their neighbours, with no gaps and no ridges. If the lines look squashed, see how to fix a nozzle too close to the bed. Do not trust a number someone else posted; every printer, sheet and nozzle is a little different.
4. Check temperatures
Use the range printed on the spool as your baseline. As a rough guide, PLA often does well with the bed around 55 to 65°C, and PETG with the bed around 70 to 85°C. A slightly warmer bed helps adhesion, but too warm will soften the bottom layers of PLA and cause a flared edge called elephant’s foot. Change by 5°C at a time.
5. Slow down and lay it thick
A first-layer speed of roughly 20 to 30 mm/s gives the plastic time to bond. A first-layer height of 0.2 to 0.3 mm is forgiving of small bed imperfections. Most slicer profiles already do this, so only change it if your profile has been customised.
6. Rule out wet filament
Filament that has absorbed moisture can pop, hiss and leave a rough, bubbly first layer. If you hear crackling at the nozzle, read our guide to drying filament before changing anything else.
7. Add an adhesion aid only if you still need one
A thin layer of glue stick can help with stubborn materials, and a brim adds extra contact area around the base of tall or sharp-cornered parts. One caution: PETG can bond very strongly to smooth PEI, so use a thin glue-stick layer as a release agent there to protect the sheet.
The one-layer test. Print a single-layer rectangle about the size of your hand, in the middle of the bed. It takes a few minutes, shows the whole surface, and tells you whether the last change helped. Change one thing, print, compare, repeat.
Frequently asked questions
Why does my first layer look fine but the print comes off later?
Borderline adhesion can hold for a while and then fail as the part cools and shrinks, especially with PETG and ABS or on large flat parts. Clean the plate, raise the bed temperature a few degrees, add a brim and keep draughts away.
How high should the nozzle sit above the bed?
Roughly at the first-layer height, minus a little squish, but the exact figure varies between printers. Tune it by eye using the live Z offset rather than copying a number.
Do I always need a brim?
No. A brim helps tall thin parts, sharp corners and warp-prone materials, at the cost of a little clean-up. For a wide, flat PLA part that sticks well, you can skip it.

Founder and editor
Software engineer since 2009 and Head of Engineering by day, a maker who has owned several 3D printers, writing practical guides to 3D printers, filament and running costs, with every article saying what was and was not tested.
Keep reading
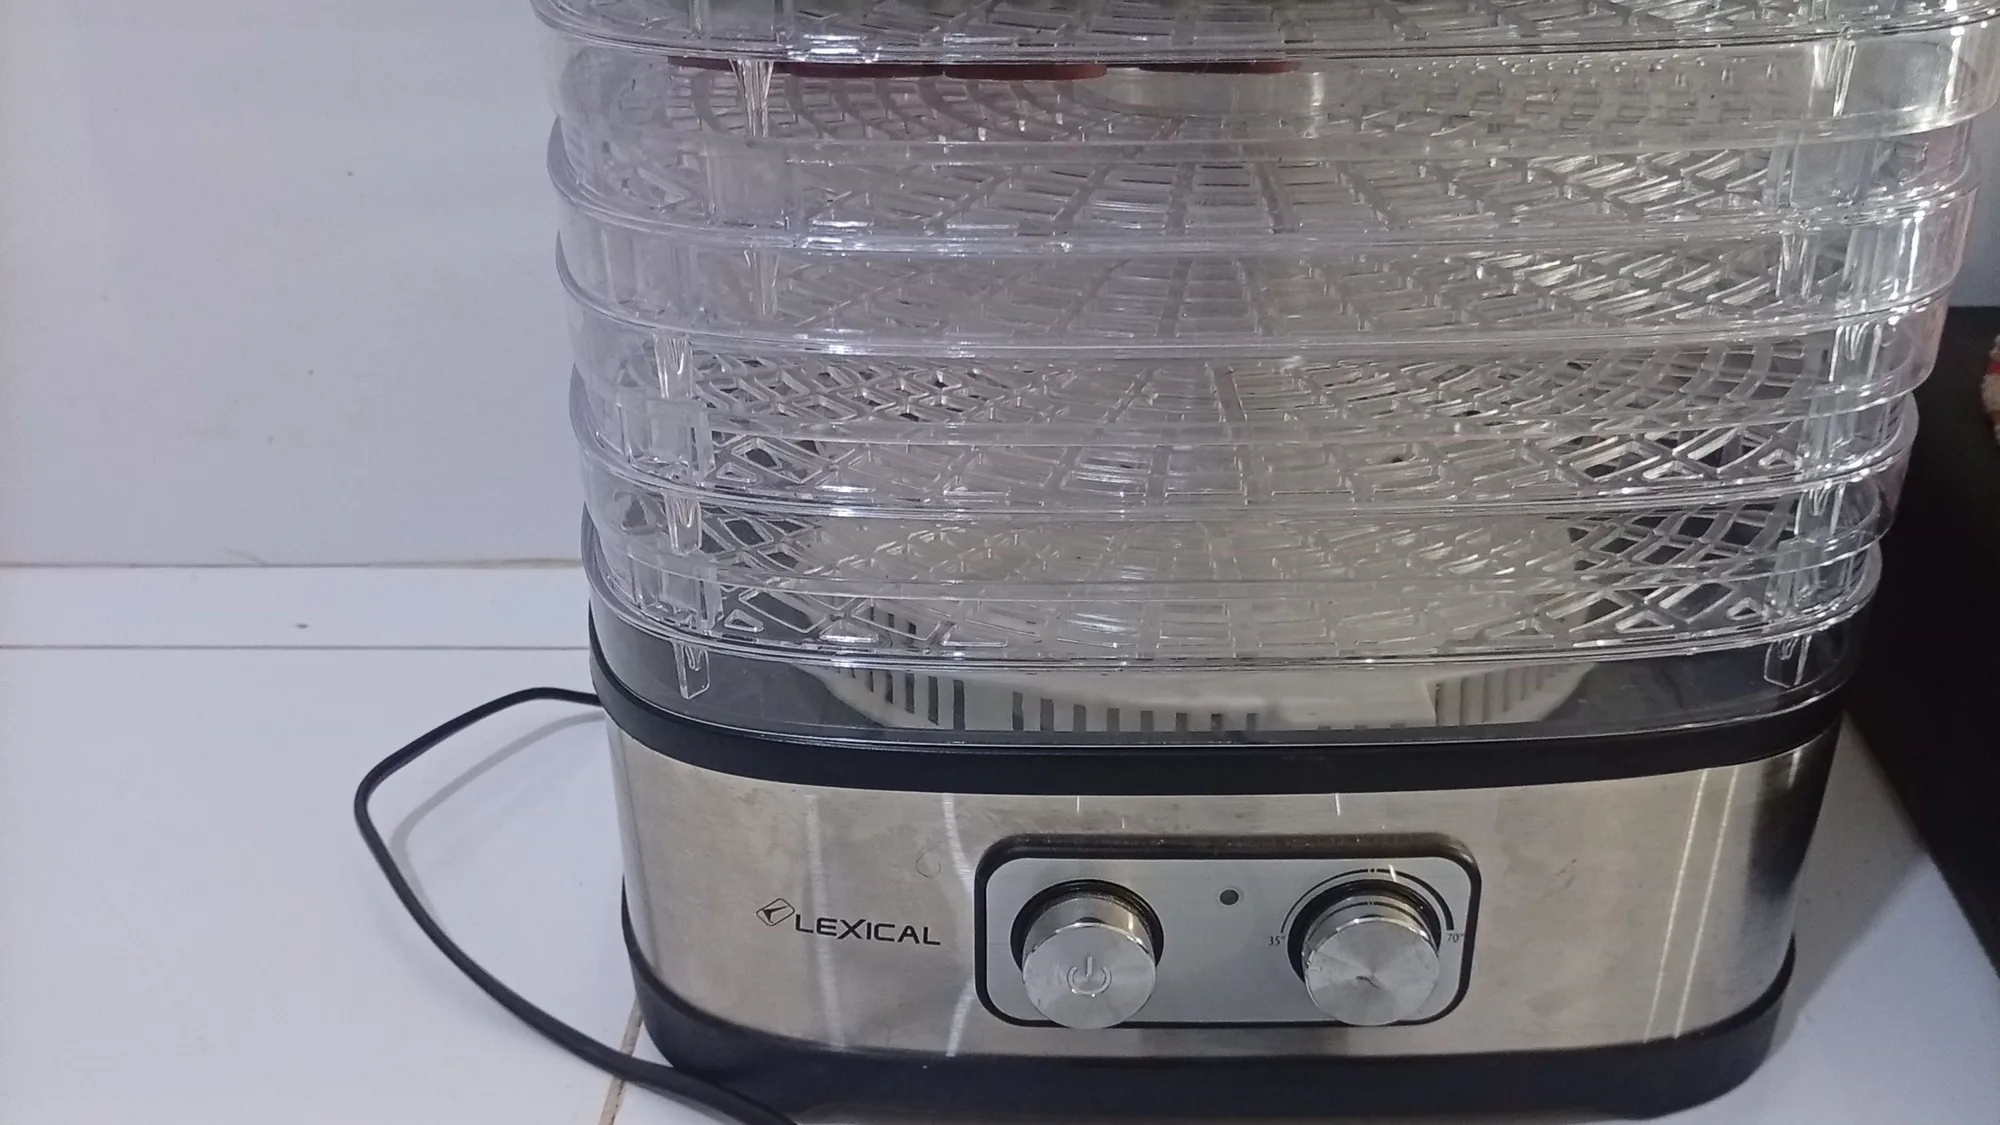
How to Dry Filament (and When You Actually Need To)
Wet filament causes stringing, rough surfaces and weak parts. Here is how to spot it, three ways to dry it, typical temperatures, and how to keep spools dry afterwards.
10 October 2026 · 2 min read
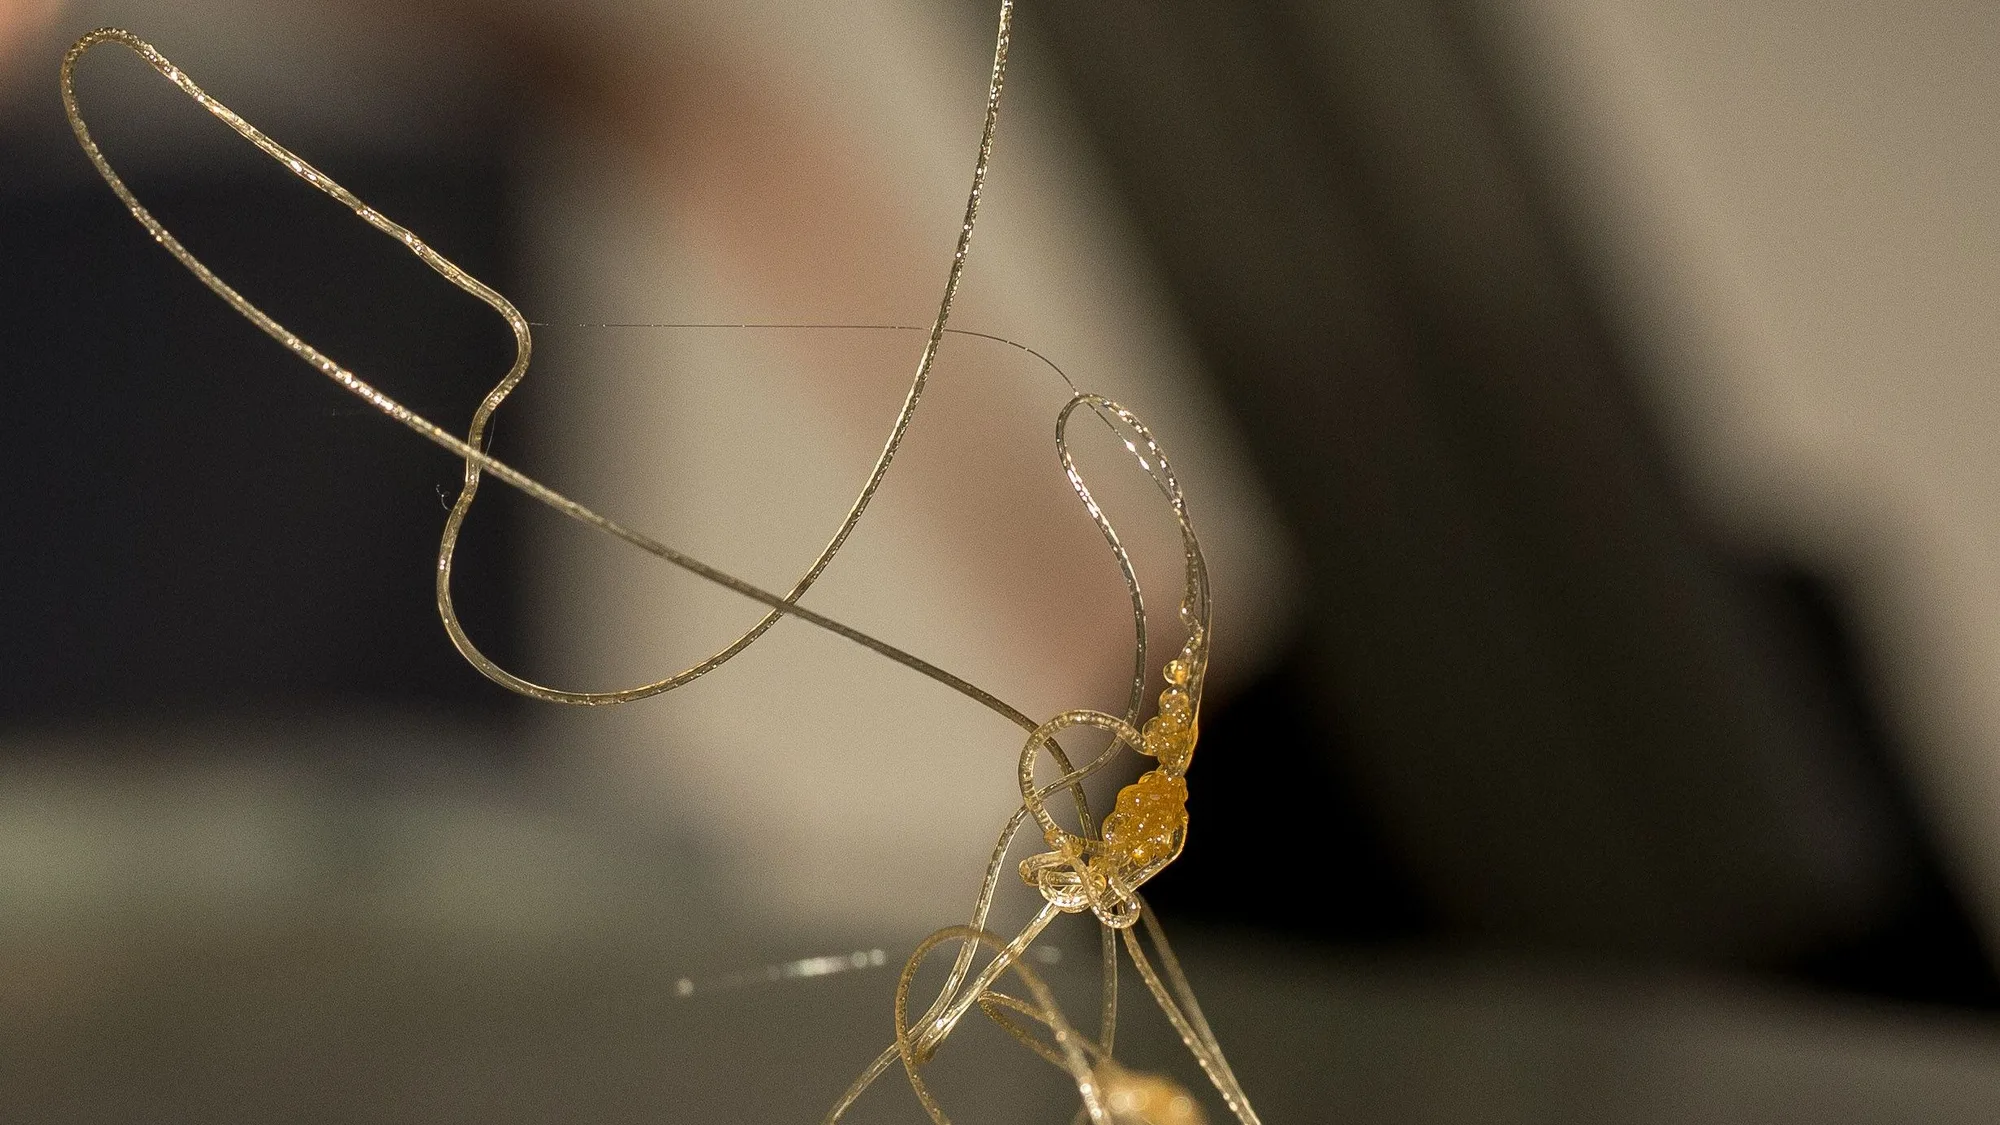
Stringing in 3D Printing: Why It Happens and How to Stop It
Stringing is rarely one problem. Work through the causes in this order: moisture, temperature, retraction, then travel moves, testing as you go.
10 October 2026 · 2 min read
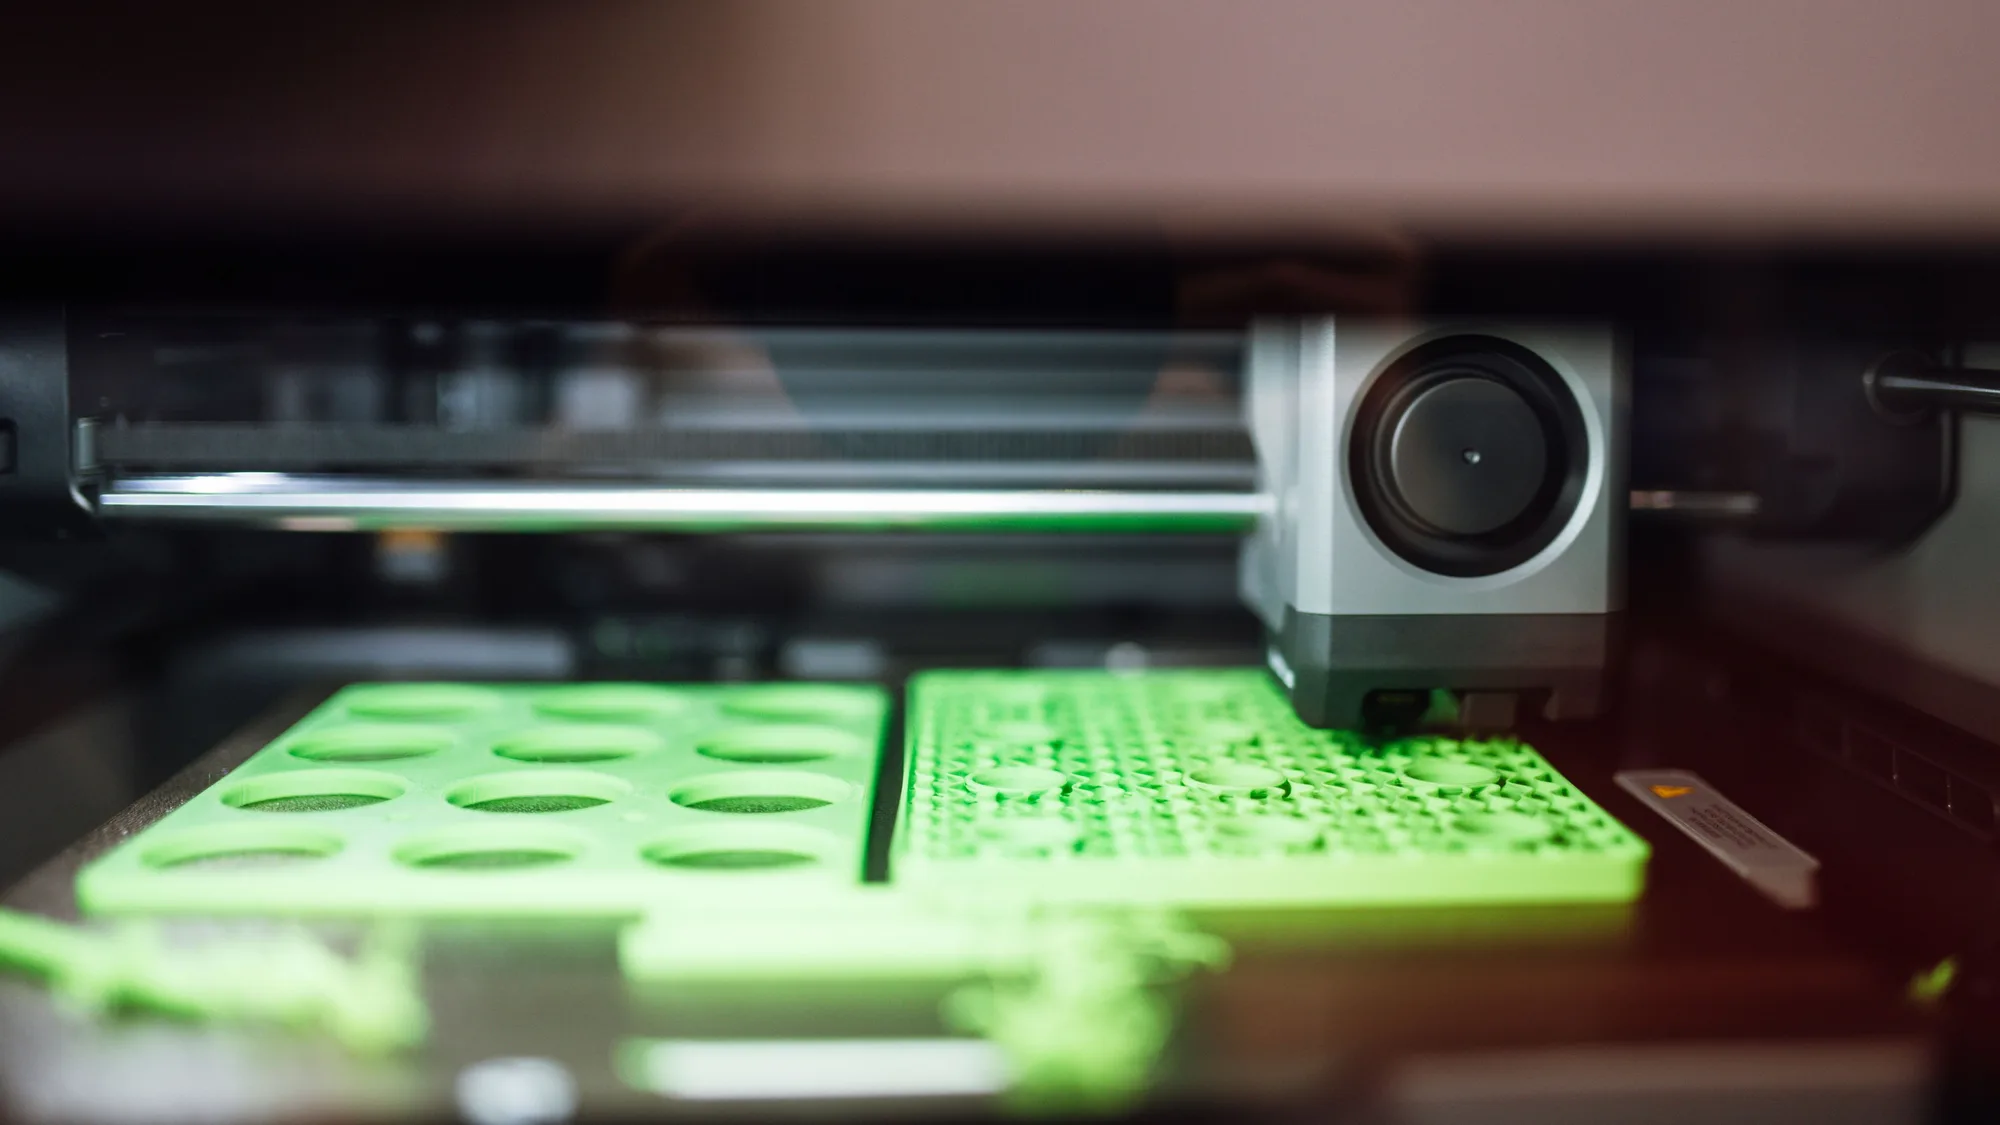
How to 3D Print: Your First Print, Step by Step
Everything between the box and a finished first print, in the order to do it: set up, load filament, check the first layer, slice, print and remove it safely.
10 October 2026 · 6 min read