How to Fix a Nozzle That Is Too Close to the Bed (Z Offset)
A nozzle set too close squashes the first layer and can scrape the plate. Here is how to recognise it, raise the Z offset safely and make the setting stick.
By Sepehr Sabbagh-pour · Published 10 October 2026 · 4 min read
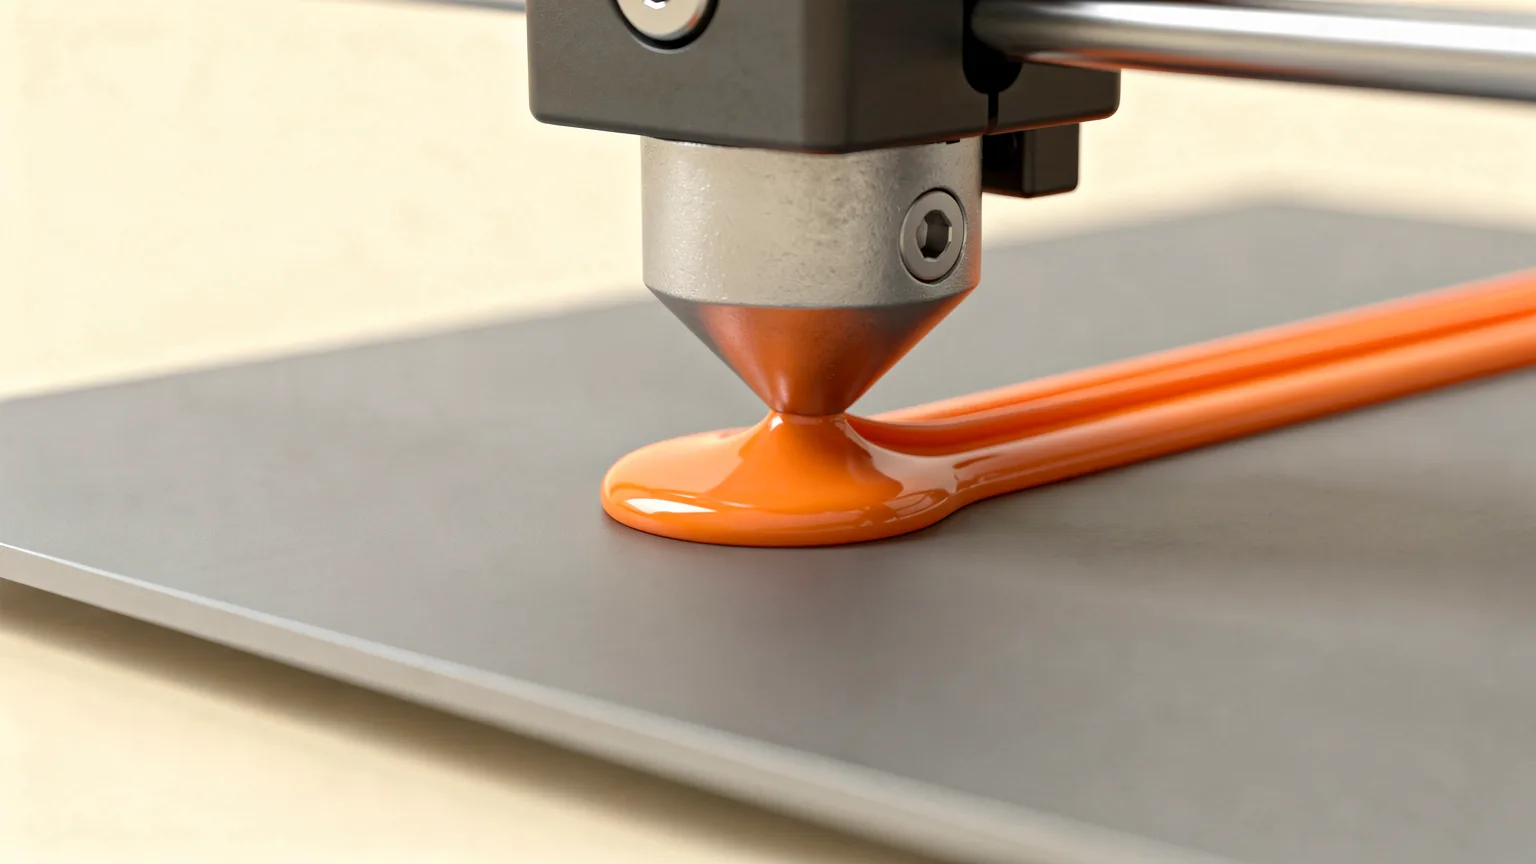
A nozzle that is too close to the bed squashes the first layer flat, leaves ridges between lines and can scrape the build plate. The fix is to raise the nozzle slightly, which usually means changing your Z offset a small step at a time and re-checking a one-layer test. Prusa’s help pages and the Klipper documentation describe the same approach, and the details differ only by firmware.
How to tell the nozzle is too close
Prusa’s first-layer calibration guide says that with the nozzle set too low “you will see the line squished completely flat,” with ridges between the lines in the test square. On textured sheets it adds that filament can curl up at the edges. Prusa also notes that in extreme cases it can clog the hotend.
| What you see | Meaning | Action |
|---|---|---|
| Lines squashed flat, ridges between lines | Nozzle too close | Raise the nozzle (less squish) |
| Plastic curling up at the edges of the pattern | Nozzle too close | Raise the nozzle |
| Little or no plastic coming out, scraping sound | Nozzle very close or touching the plate | Stop the print, raise the nozzle |
| Gaps between lines | Nozzle too high | Lower the nozzle |
Prusa describes a good result as even lines with no gaps and no ridges. It also says the exact Z value varies per machine, so judge by what the print looks like and not by a number from someone else’s printer.
Why it matters
Prusa’s i3 guide warns that “having the nozzle too low can cause the nozzle to damage your steel sheet,” and that such damage is not covered by warranty. A very close nozzle can also leave the plastic nowhere to go, so extrusion struggles. Stop a print that sounds like scraping instead of letting it finish.
Step 1: Clean the plate and the nozzle
Make sure the print surface is clean before you adjust anything, as Prusa’s guide says, and remove any plastic stuck to the nozzle tip. Leftover plastic changes the true nozzle height and makes every reading unreliable. If the plastic keeps catching, see how to fix a clogged nozzle.
Step 2: Raise the nozzle in small steps
On Prusa printers the adjustment is Live Adjust Z, reached from the LCD menu under Control on the Mini. Turning the knob counter-clockwise moves the nozzle closer, so you turn it the other way, toward zero, to move the nozzle up. Prusa gives a common range of -0.400 to -1.900 on the Mini, but stresses that it varies.
On other printers, the same setting appears as Z offset, probe offset or live Z adjust. Change it by a very small amount, such as 0.02 mm, and test again. Large jumps overshoot and leave you with gaps instead.
Step 3: Recheck with a paper test (Klipper and similar)
Klipper’s bed level documentation describes the paper test: slide ordinary paper, about 100 microns thick, between the nozzle and the bed and lower the nozzle until you feel a small amount of friction. If you feel too much friction, the nozzle is too close and you raise it with a positive Z move. Klipper recommends doing this at room temperature, because heat expands parts and molten plastic sticks to the paper and changes the feel. Do not push down on the bed while sliding the paper.
Once the position feels right, Klipper’s probe calibration page says to run ACCEPT and then SAVE_CONFIG so the probe offset is stored in the config file.
Step 4: Make the fix stick
If the fix disappears on the next print, the value was only a temporary adjustment. Save it using your firmware’s method. Klipper’s documentation says the probe calibration results become invalid after changes to the motion system, hotend position, probe location or bed tilt, so rerun the calibration after any of those, and then redo your bed mesh with BED_MESH_CALIBRATE. Prusa likewise says to recalibrate after a nozzle change, axis work or moving the printer, and to keep a separate Live Z value for each steel sheet because sheets differ in thickness.
Step 5: When the offset will not go far enough
Prusa’s guide says that if the value runs out of range and the nozzle still is not at the right height, the fix is mechanical: it describes moving the probe in its holder by 0.5 to 1 mm and restarting calibration from zero. If your printer reaches its offset limit, check the probe mounting, the hotend and the bed rather than forcing the number. For related causes of a poor start to a print, see fix a bad first layer and how to level a 3D printer bed.
Quick test. Print a one-layer square in the middle of the bed. Lines should be gently flattened, joined with their neighbours, with no ridges or gaps. Change one thing at a time. For the wider story on auto-levelling, read auto bed leveling explained.
Check the maker’s guidance
Menus, commands and limits differ by printer. Follow your manufacturer’s instructions for your model, and take extra care around hot parts.
Frequently asked questions
What does a Z offset that is too low look like?
Lines are squashed completely flat with ridges between them, and edges may curl up. In bad cases little plastic comes out and the nozzle scrapes the plate.
Can a nozzle that is too close damage the build plate?
Yes. Prusa's first-layer guide warns that a nozzle set too low can damage the steel sheet, and that this damage is not covered by warranty.
How much should I change the Z offset at a time?
Use very small steps, around 0.02 mm, and print a one-layer test after each change so you do not overshoot into gaps between lines.
How do I do a paper test?
At room temperature, slide ordinary paper between nozzle and bed and lower the nozzle until you feel a small amount of friction. If there is too much friction, the nozzle is too close, so raise it.
Why does my Z offset reset on the next print?
The value was probably only a temporary adjustment. Save it with your firmware's method, such as ACCEPT and SAVE_CONFIG in Klipper, and recalibrate after hardware changes.
Sources

Founder and editor
Software engineer since 2009 and Head of Engineering by day, a maker who has owned several 3D printers, writing practical guides to 3D printers, filament and running costs, with every article saying what was and was not tested.
Keep reading
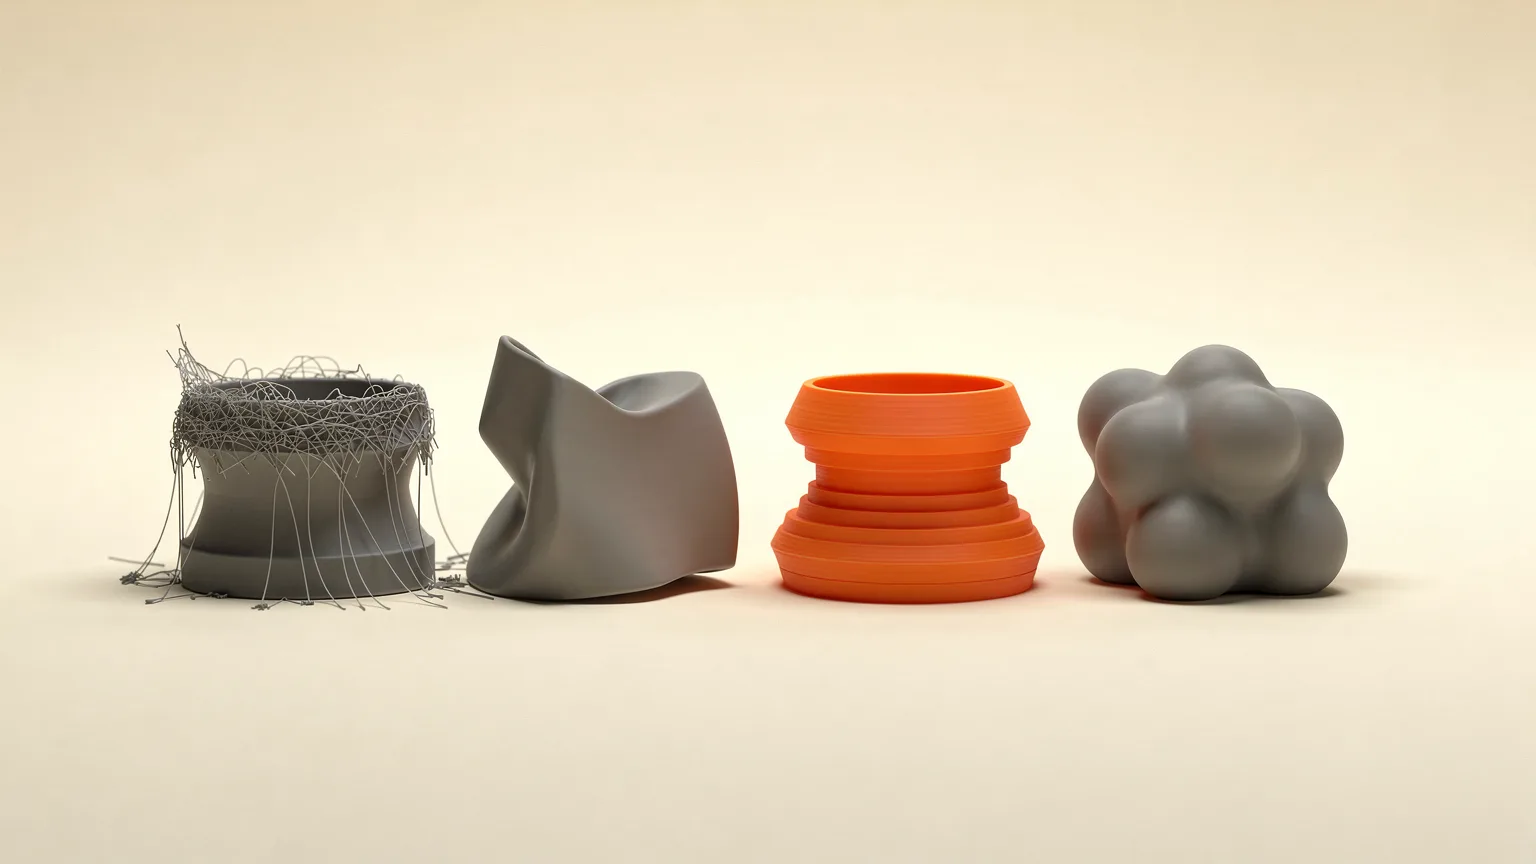
3D Printer Problems and Fixes: A Troubleshooting Guide
A symptom-first guide to common 3D printer problems: what causes them and what to try first, based on manufacturer troubleshooting documentation.
10 October 2026 · 7 min read
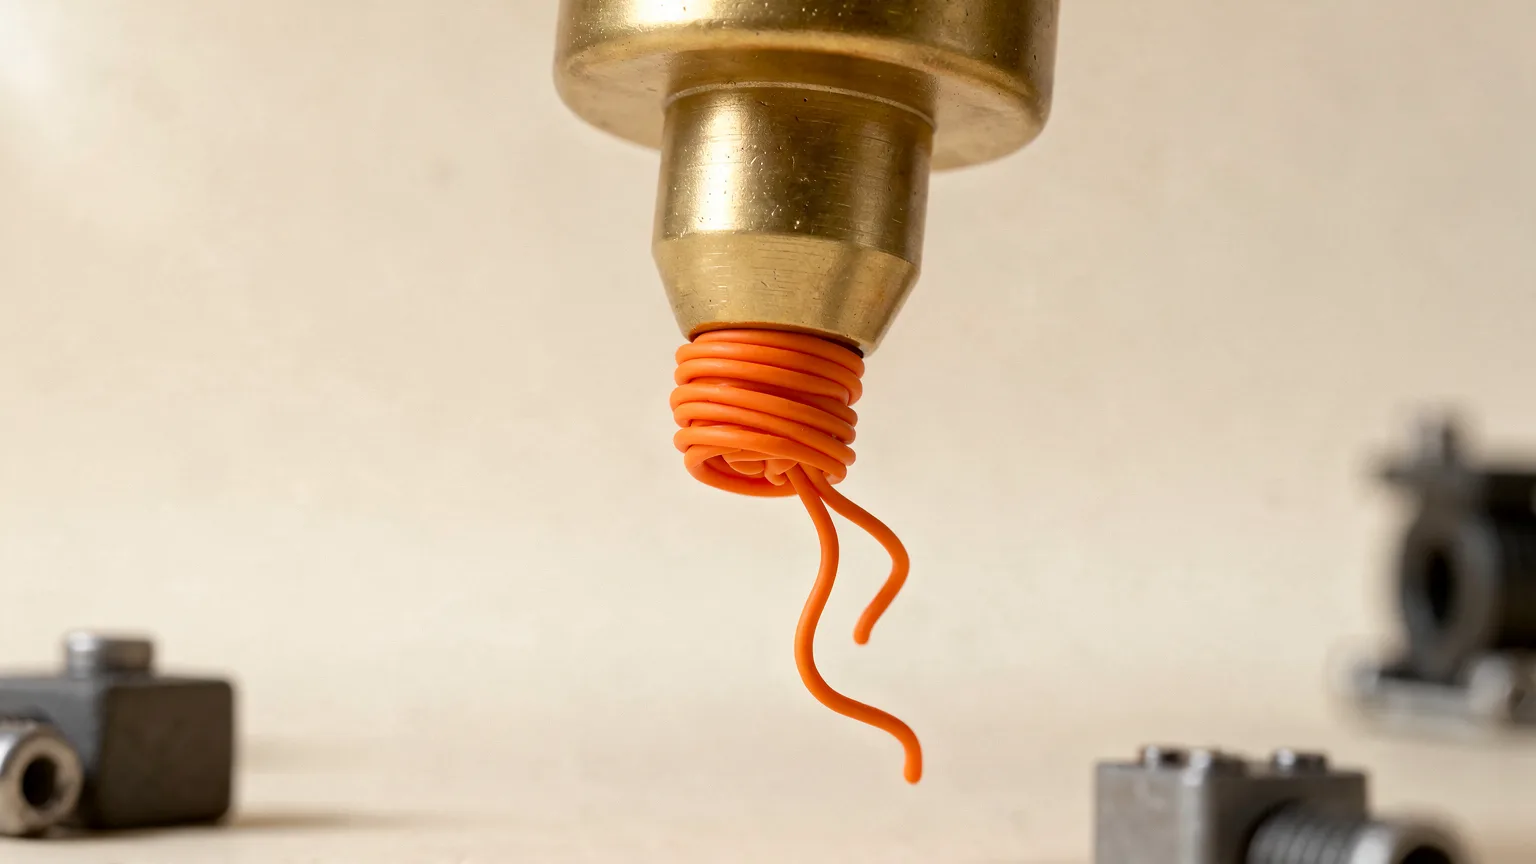
How to Clean a 3D Printer Nozzle and Fix a Clog
How to spot a clogged nozzle and clear it, from a hot push and needle clean to a cold pull, plus prevention tips. Steps follow Prusa's documentation.
10 October 2026 · 7 min read
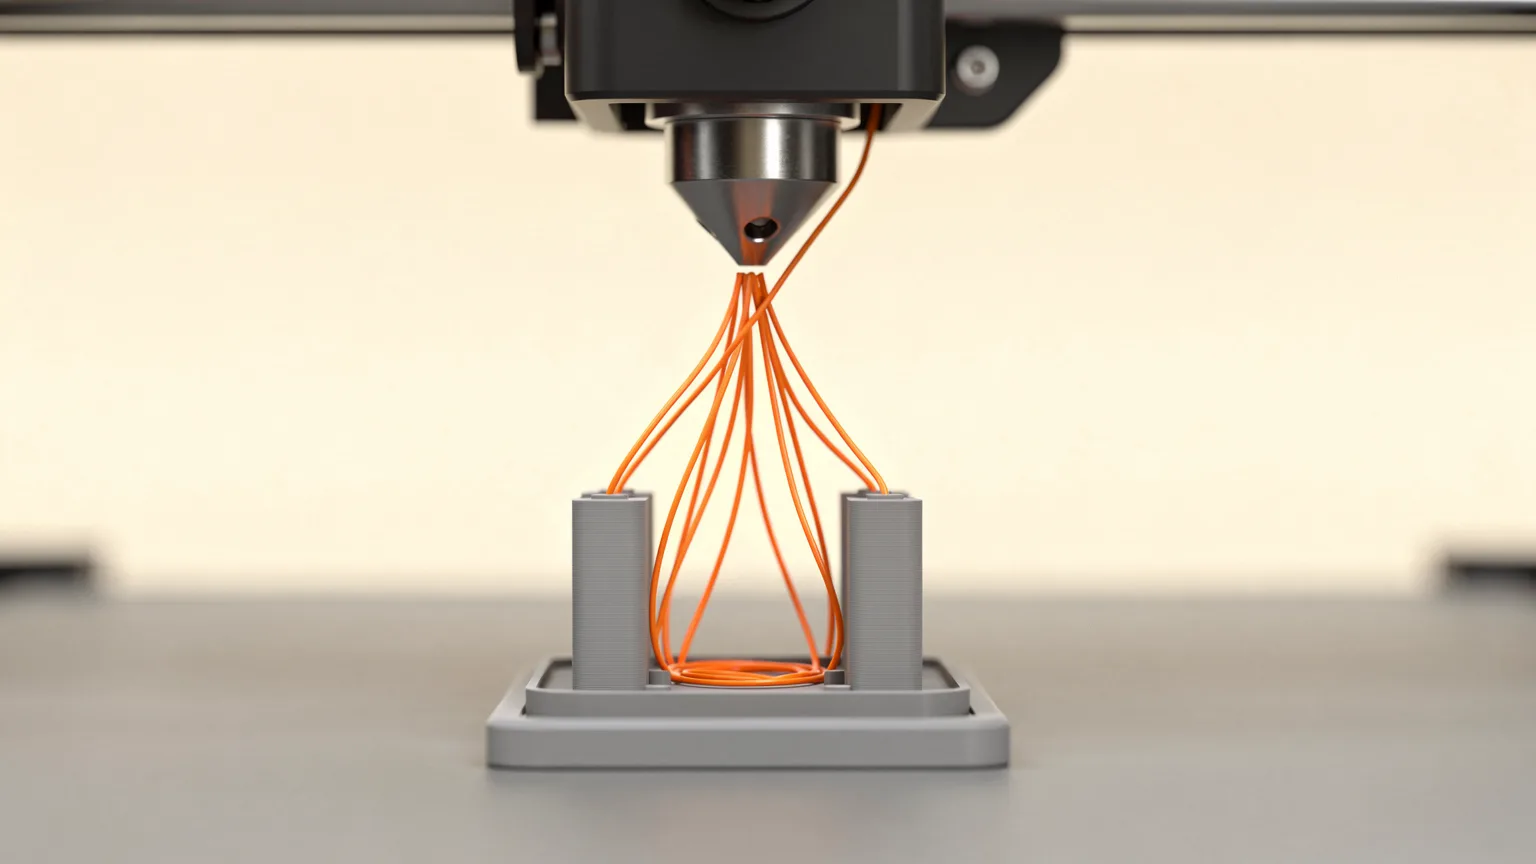
How to Stop PETG Stringing
PETG is prone to stringing. Fix it in this order: dry the spool, lower the nozzle temperature, tune retraction, shorten travel moves, then check cooling and the nozzle.
10 October 2026 · 4 min read