How to 3D Print: Your First Print, Step by Step
Everything between the box and a finished first print, in the order to do it: set up, load filament, check the first layer, slice, print and remove it safely.
By Sepehr Sabbagh-pour · Published 10 October 2026 · 6 min read
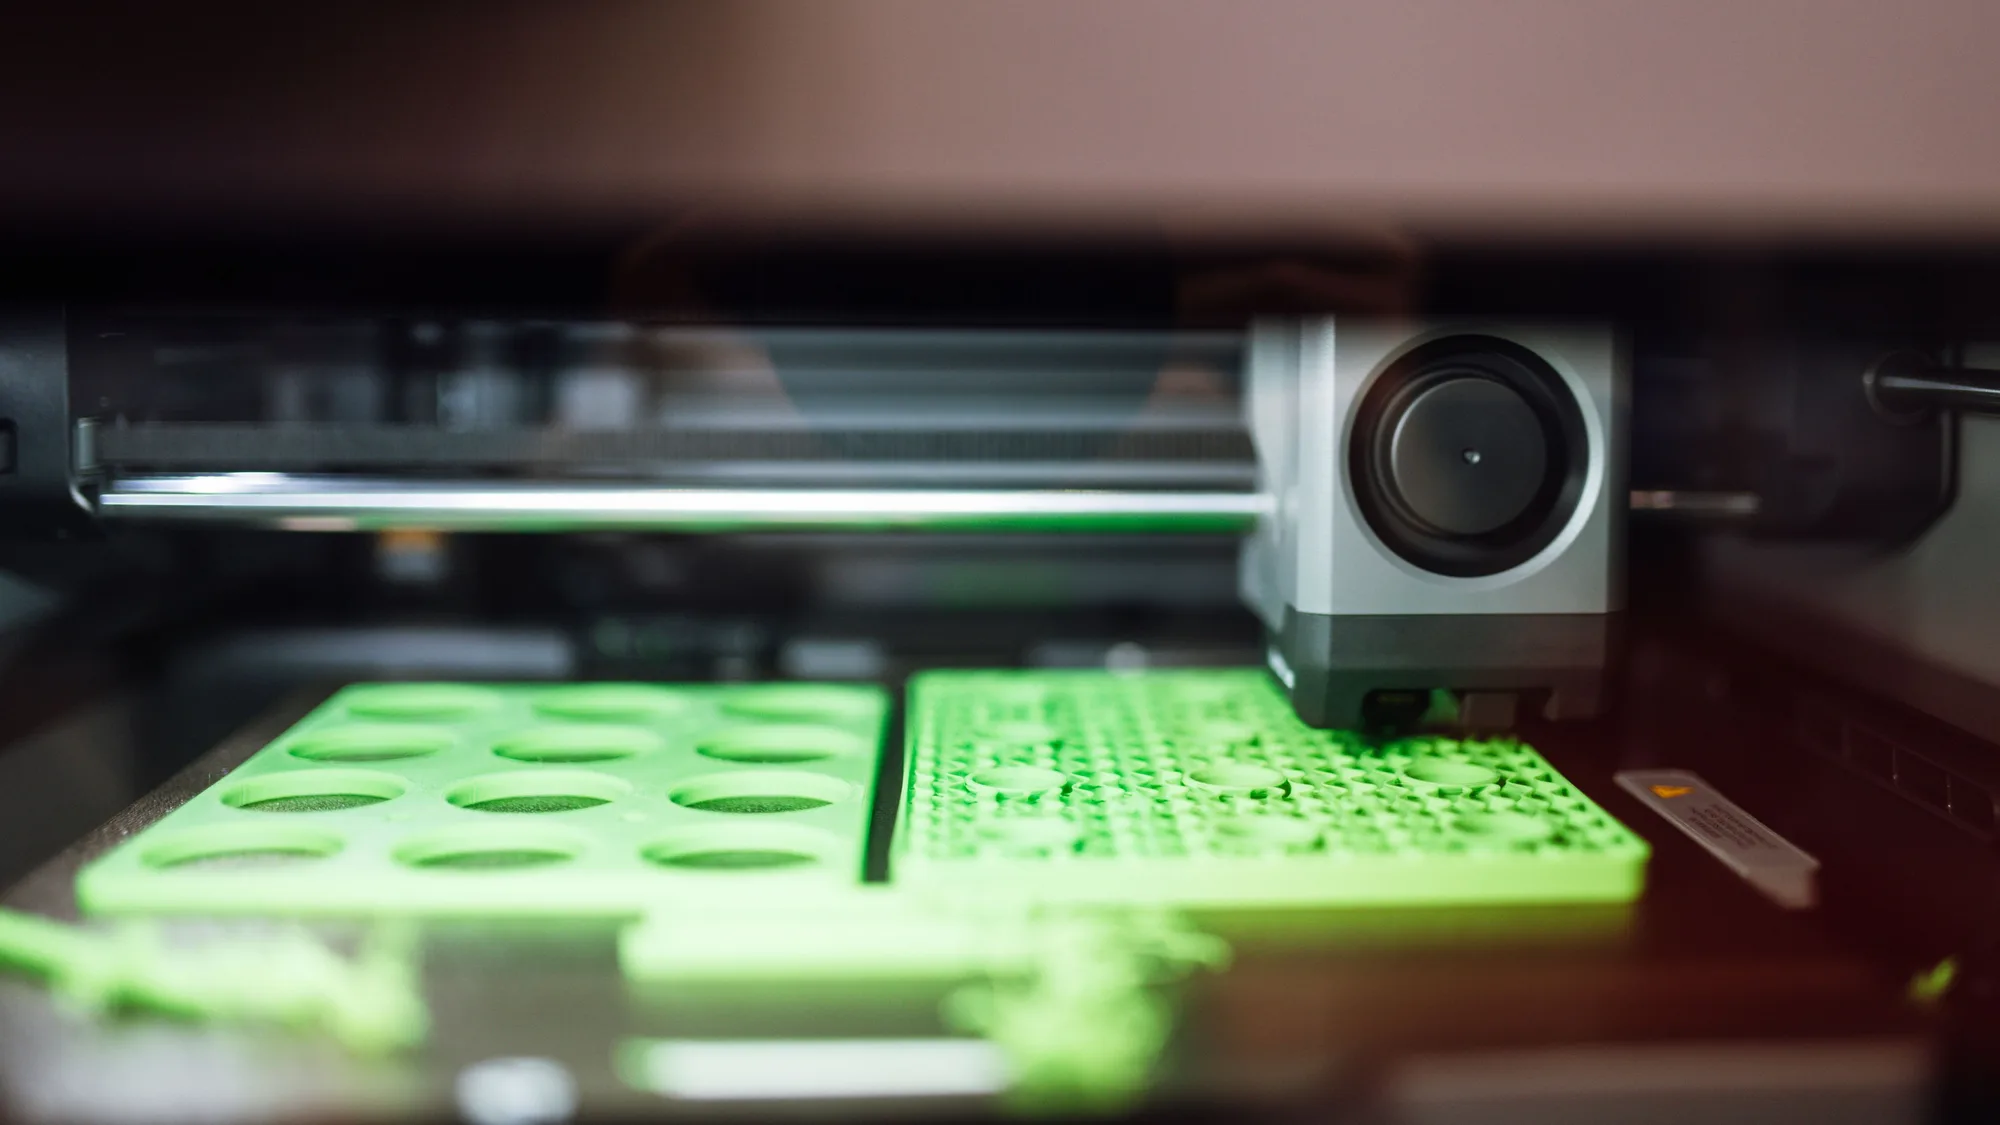
Your first 3D print is easier than it looks, and most failures come down to the first layer. This guide takes you from an assembled printer to a finished print in eight steps, with the reasons behind each one. The steps apply to almost any filament printer; where your machine's manual says something different, follow the manual.
What you need before you start
- A filament printer, set up as the manufacturer describes.
- A spool of PLA filament. It is the easiest material to start with and the one Prusa recommends for detailed models, figures and quick prototypes.
- A slicer: the free program that turns a 3D model into instructions your printer can run. Most makers supply one.
- A small test model (see step 4).
- A scraper or the flexible build plate that came with your printer, and a lint-free cloth.
Step 1: Set up somewhere safe and stable
Put the printer on a sturdy, level surface that is not wobbly and not near anything flammable such as curtains or paper. Leave room around it to open the lid and reach the spool. A printing nozzle and heated bed are hot: Prusa lists 210 to 215 °C for the nozzle and 60 °C for the bed when printing PLA, so never touch them mid-print. Follow your printer manual's safety and ventilation guidance, and do not leave a heating printer unattended for long.
Step 2: Clean the build plate and load the filament
Wipe the print surface with a lint-free cloth, as fingerprints reduce grip. Then load the filament as your printer's menu or manual instructs: heat the nozzle, feed the filament in until it extrudes cleanly, and check that it flows smoothly without clicking or grinding.
Step 3: Calibrate the first layer
Most modern printers level themselves; some need manual steps. Either way, run the maker's first-layer or calibration routine and look at the result. Prusa's guide describes a good first layer as an even surface with no gaps between the lines and no ridges, with the lines slightly squished but not flattened completely. Gaps and rounded lines mean the nozzle is too high. Lines that are completely flat, with ridges between them, mean it is too low. Our first layer checklist walks through the fixes in order.
Step 4: Choose a small first model
Pick something small and quick that shows how well the printer is doing, so a failure costs minutes rather than hours. Many people start with a calibration cube or the 3DBenchy boat, both widely shared on model sites such as Printables and MakerWorld. Avoid anything with large overhangs for the first run.
Step 5: Slice the model
Open the model in your slicer, choose your printer and the material (PLA), and use the maker's default profile for that combination, because it is tuned for your machine. Leave the settings alone for the first print so you have a baseline. Click slice, preview the layers to check nothing looks odd, then send the file to the printer over the network or save it to a USB drive or SD card.
Step 6: Print and watch the first layers
Start the print and stay with it for the first few layers. This is when problems show up: filament not sticking, a corner lifting, or gaps in the first layer. If something looks wrong, stop the print, fix the cause and start again. It is much quicker than letting a bad print run to the end.
Step 7: Remove the print safely
Let the bed cool before you touch anything. Many printers ship with a flexible build plate you can take out and bend to release the print. Avoid prying hard with a metal tool against the plate, which can damage the surface, and follow your plate maker's guidance if a model will not release.
Step 8: If it went wrong
| What happened | Start here |
|---|---|
| Filament would not stick, or the corners lifted | How to fix a bad first layer |
| Fine strands between parts of the model | Fixing stringing |
| Rough surface, popping at the nozzle | How to dry filament |
| Not sure which filament to buy next | PETG vs PLA |
What to print next
Once the first print works, try a small useful object such as a hook or a cable clip, then something larger. If you have not bought a printer yet, the first printer checklist and the UK price guide will help you choose, and you can work out what each print will cost with the print cost calculator.
This guide is based on manufacturer documentation and established practice. We have not tested a specific printer for it, so where your printer's manual disagrees, trust the manual.
Frequently asked questions
How long does a first 3D print take?
It depends on the model. A small calibration model is typically quick, often under an hour or two, which is why it makes a good first print. Larger or more detailed models can take many hours, so start small.
Do I need a computer to 3D print?
You need a device to run the slicer, which prepares the model, but the print itself does not need a computer connected. Many printers accept files from USB, an SD card or the network, and some makers also offer a phone app.
What filament should I start with?
PLA. Prusa recommends it for detailed models, figures and quick prototypes, and it prints at lower temperatures than materials like PETG. Move to PETG when you need something tougher or more heat-tolerant.
Is it safe to 3D print at home?
It is a hobby many people do at home, but the printer has hot parts and moving parts and can be a fire risk if misused. Follow the manufacturer's safety and ventilation guidance, keep the printer away from flammable things, and avoid leaving it unattended for long periods.
Sources

Founder and editor
Software engineer since 2009 and Head of Engineering by day, a maker who has owned several 3D printers, writing practical guides to 3D printers, filament and running costs, with every article saying what was and was not tested.
Keep reading
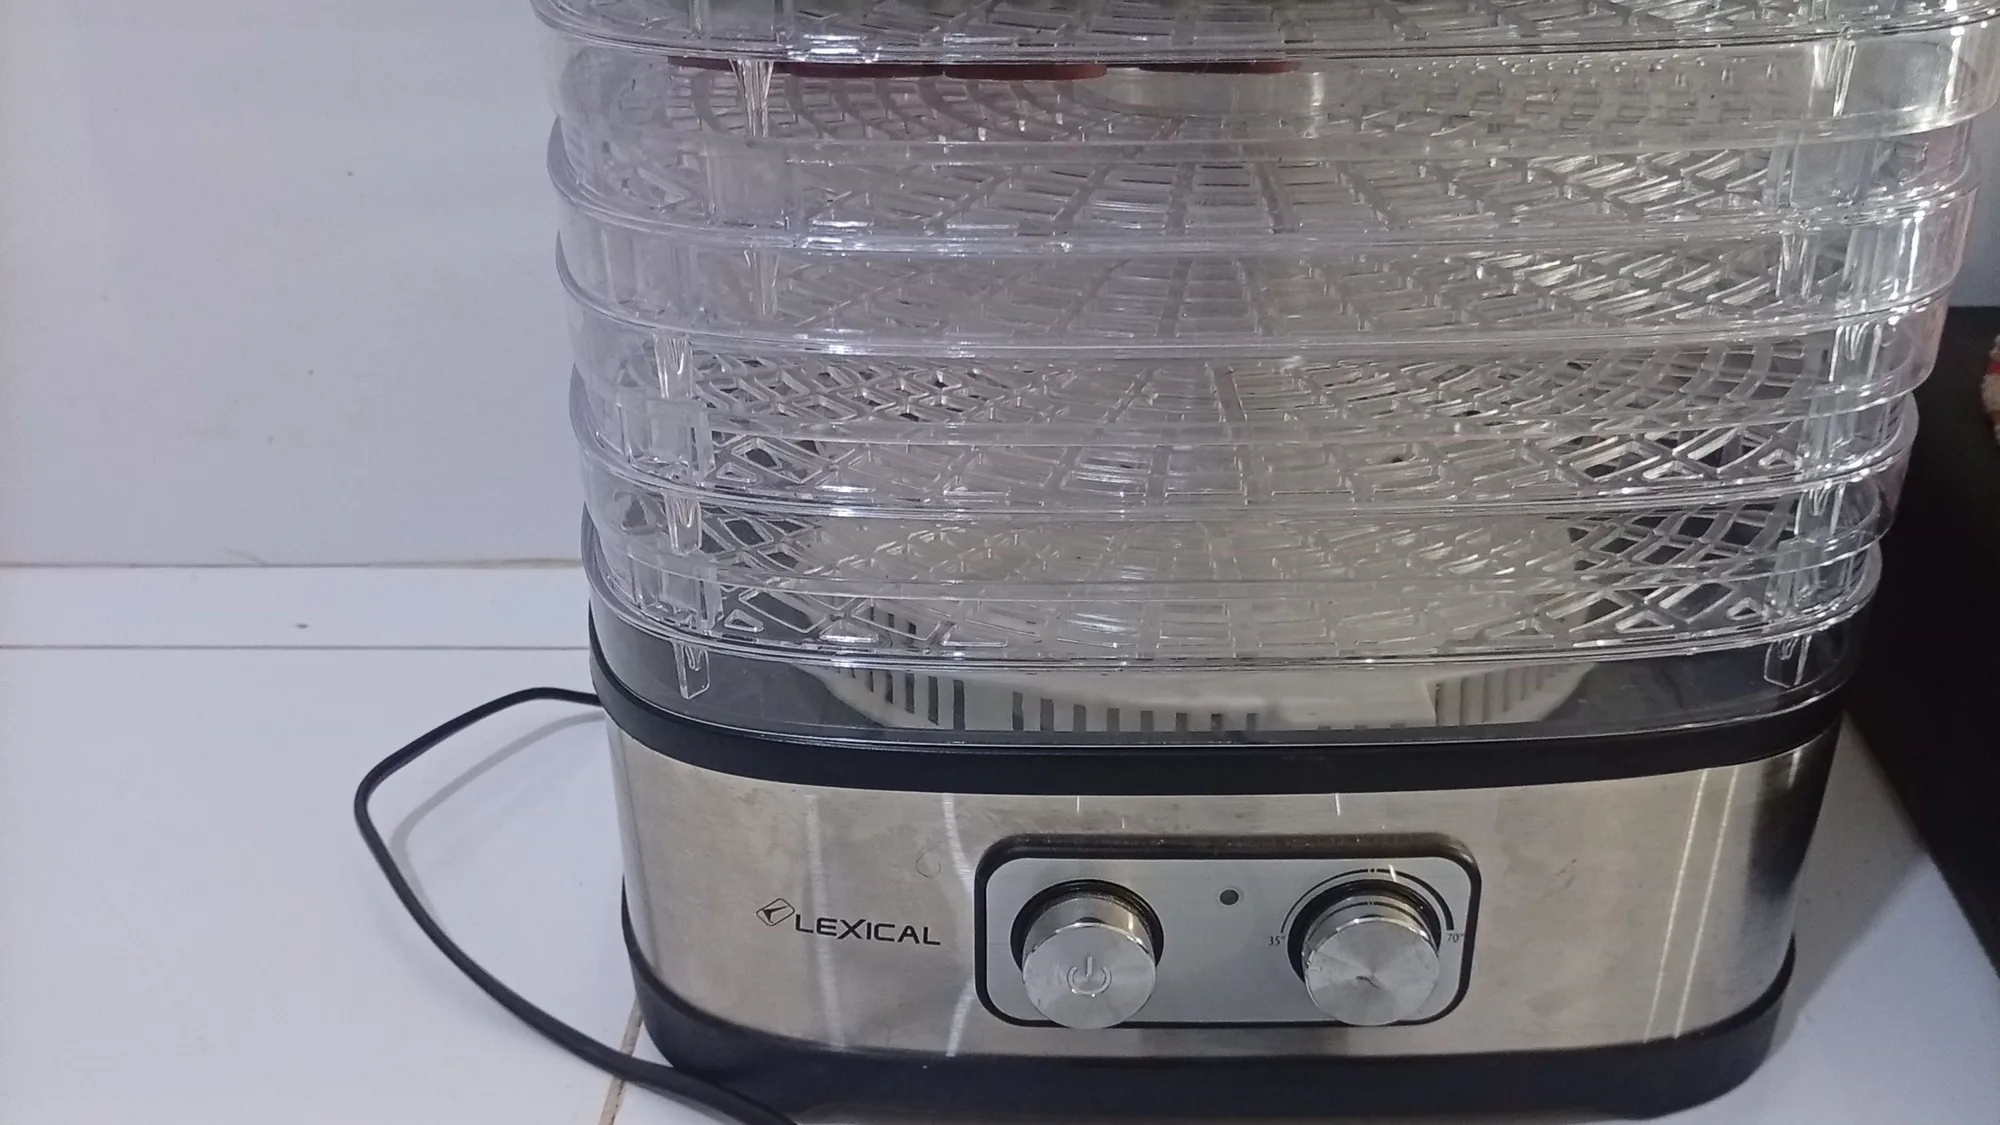
How to Dry Filament (and When You Actually Need To)
Wet filament causes stringing, rough surfaces and weak parts. Here is how to spot it, three ways to dry it, typical temperatures, and how to keep spools dry afterwards.
10 October 2026 · 2 min read
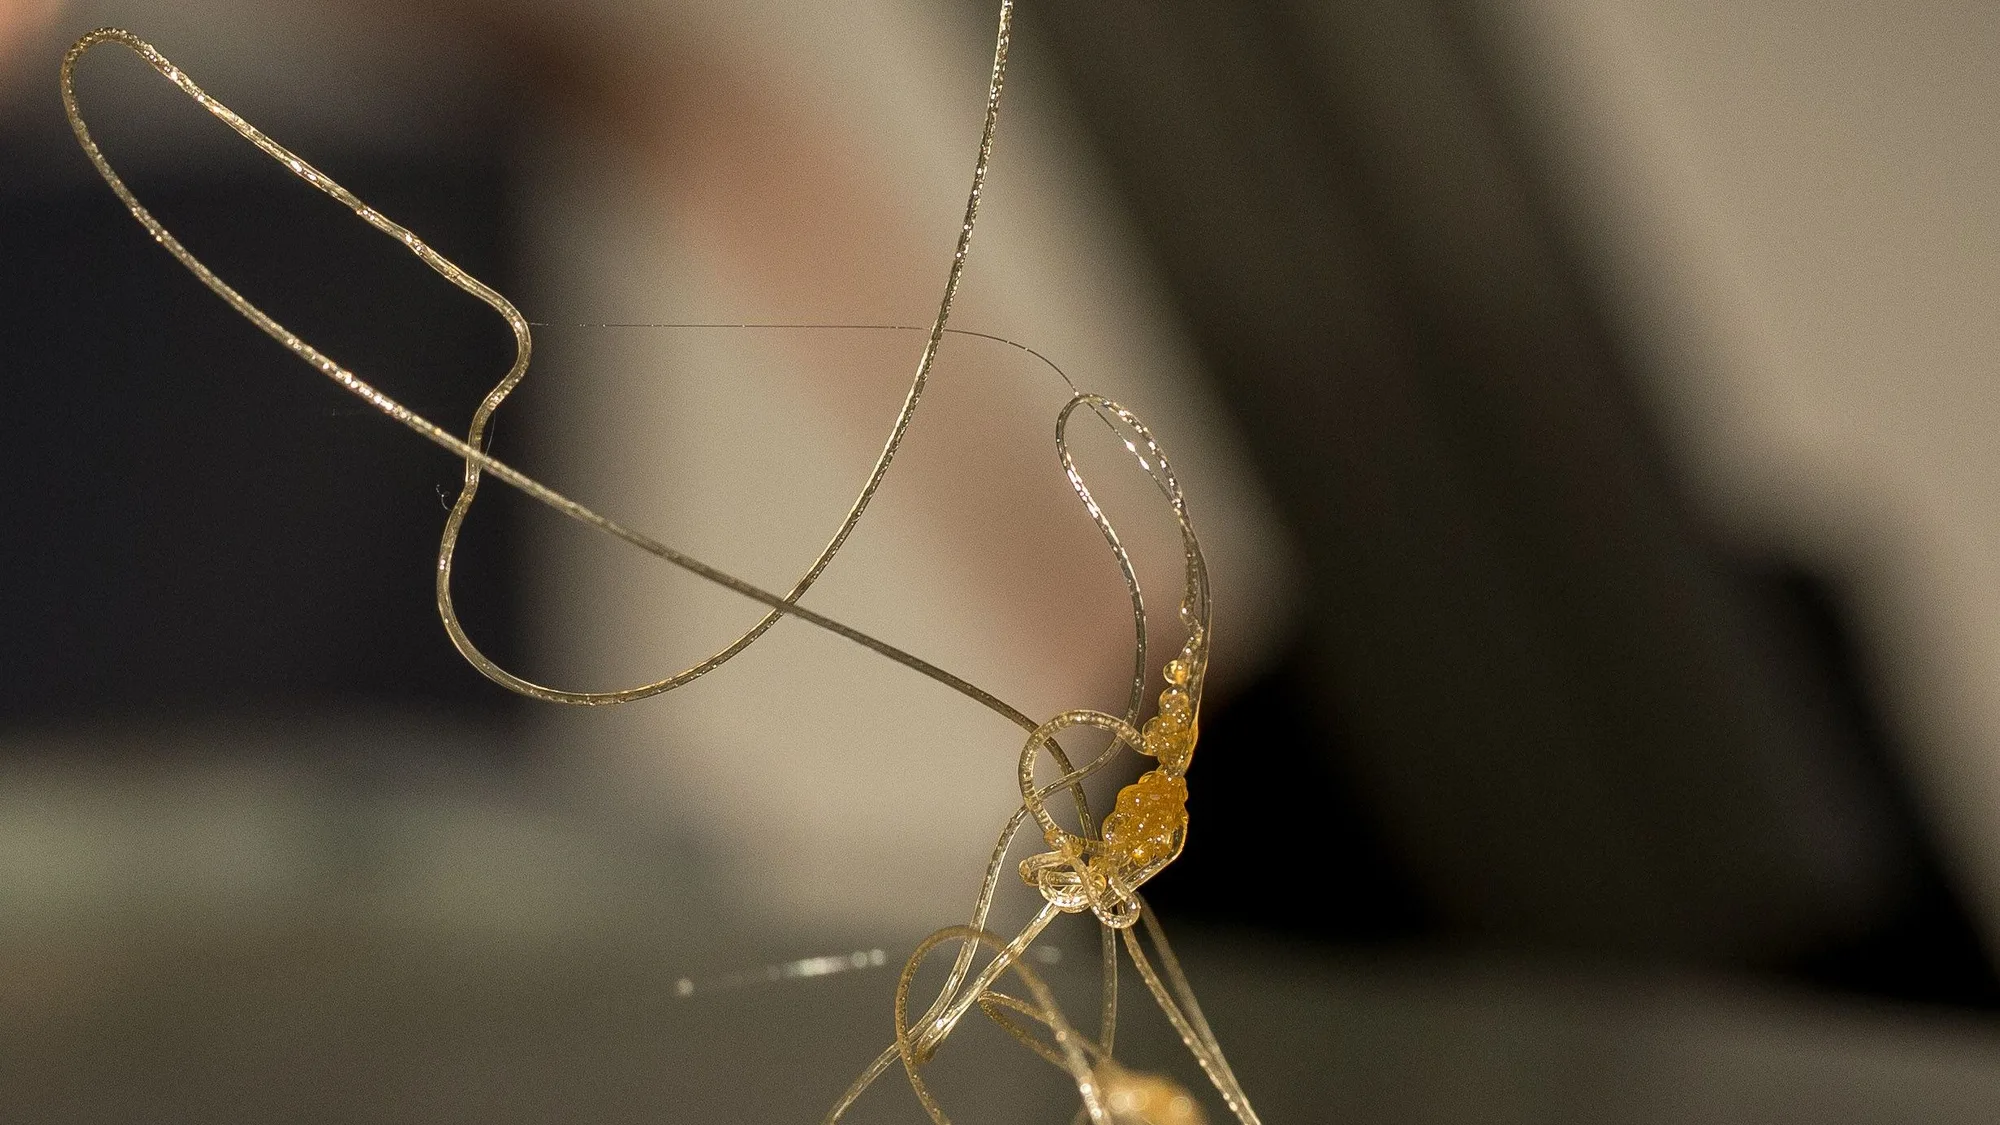
Stringing in 3D Printing: Why It Happens and How to Stop It
Stringing is rarely one problem. Work through the causes in this order: moisture, temperature, retraction, then travel moves, testing as you go.
10 October 2026 · 2 min read
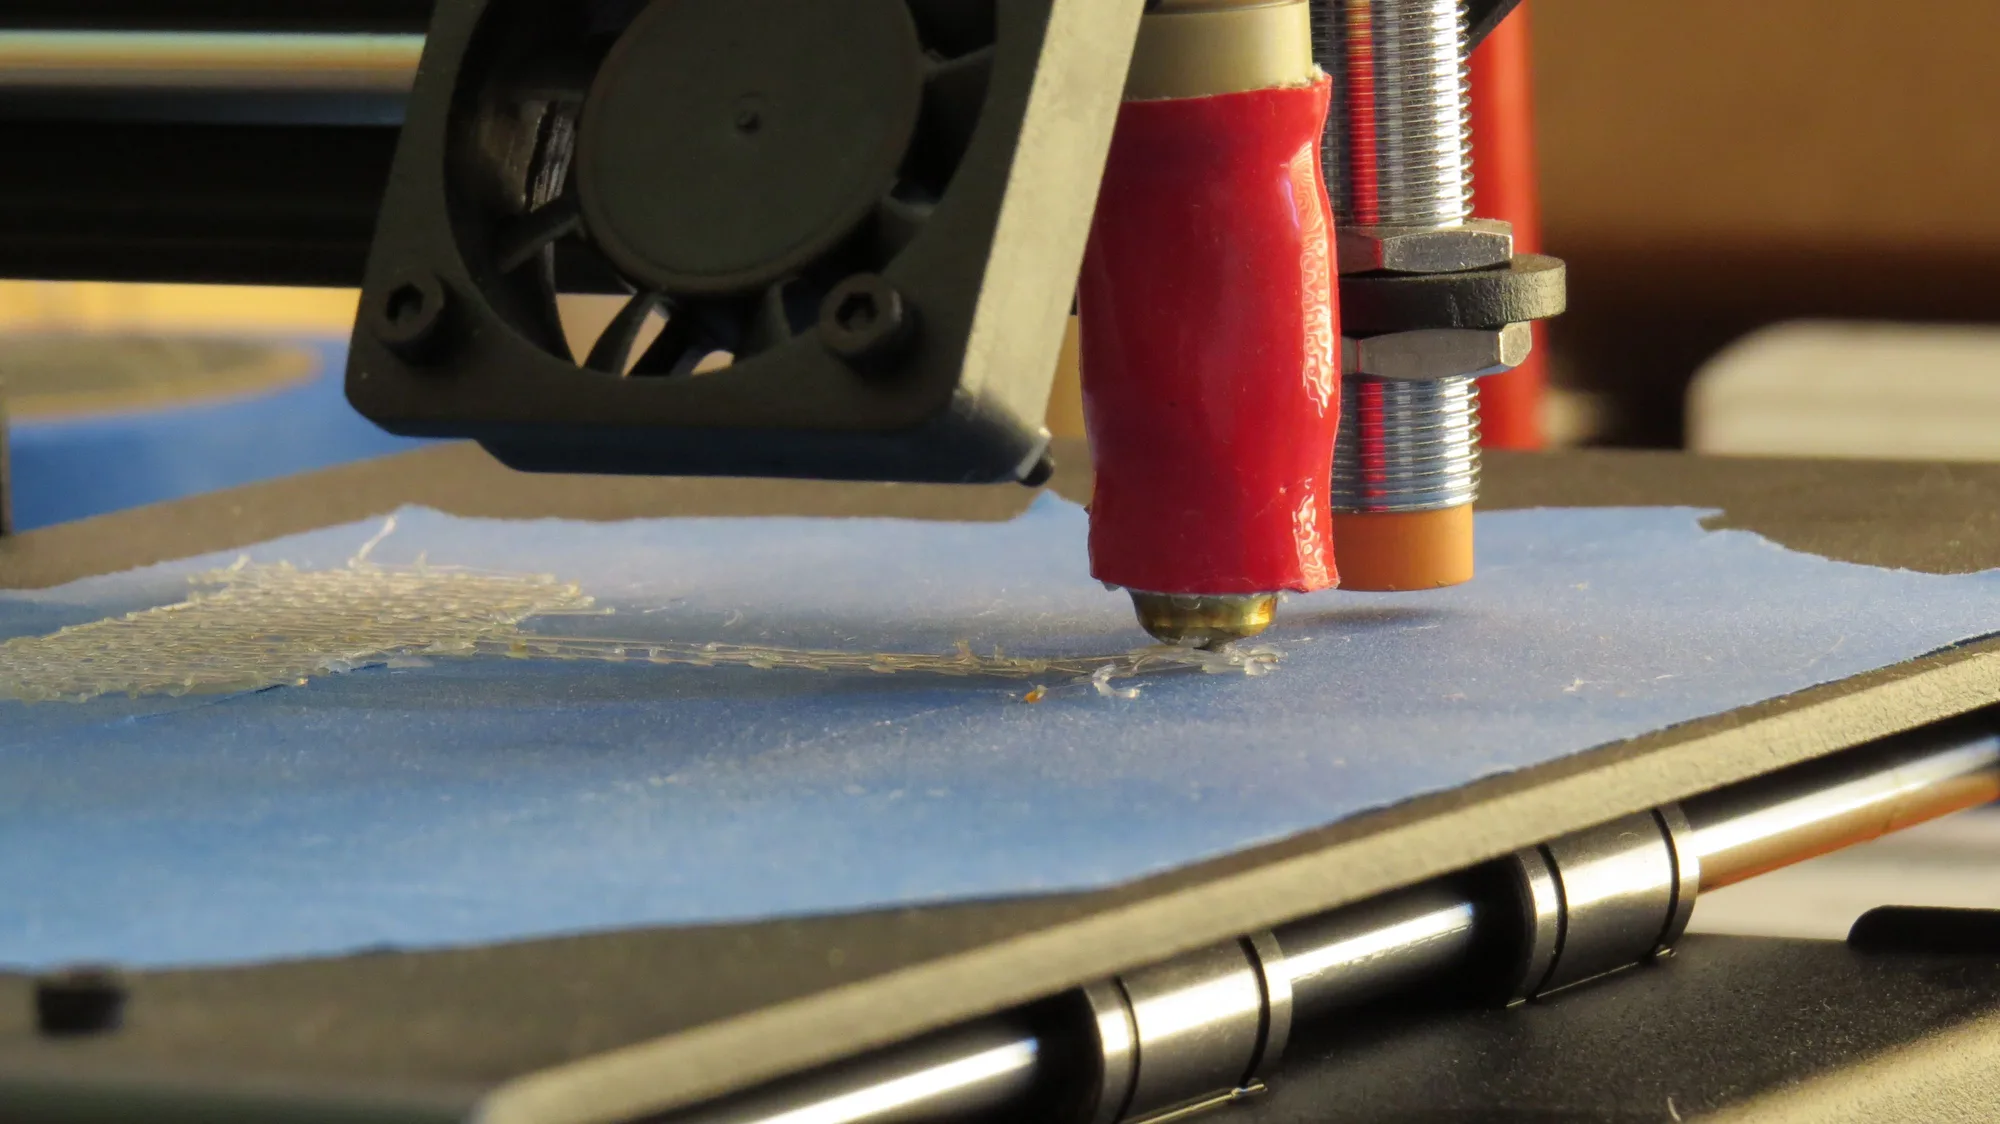
How to Fix a Bad First Layer: A Step-by-Step Checklist
Most failed prints are decided in the first two minutes. Here is the order to check things in, what each symptom means, and the quick test that tells you when it is fixed.
10 October 2026 · 3 min read