How to Wash and Cure Resin Prints
A step-by-step guide to washing and curing resin prints, with starting times from Prusa and Elegoo documentation and fixes for sticky, cracked or yellow parts.
By Sepehr Sabbagh-pour · Published 12 October 2026 · 6 min read
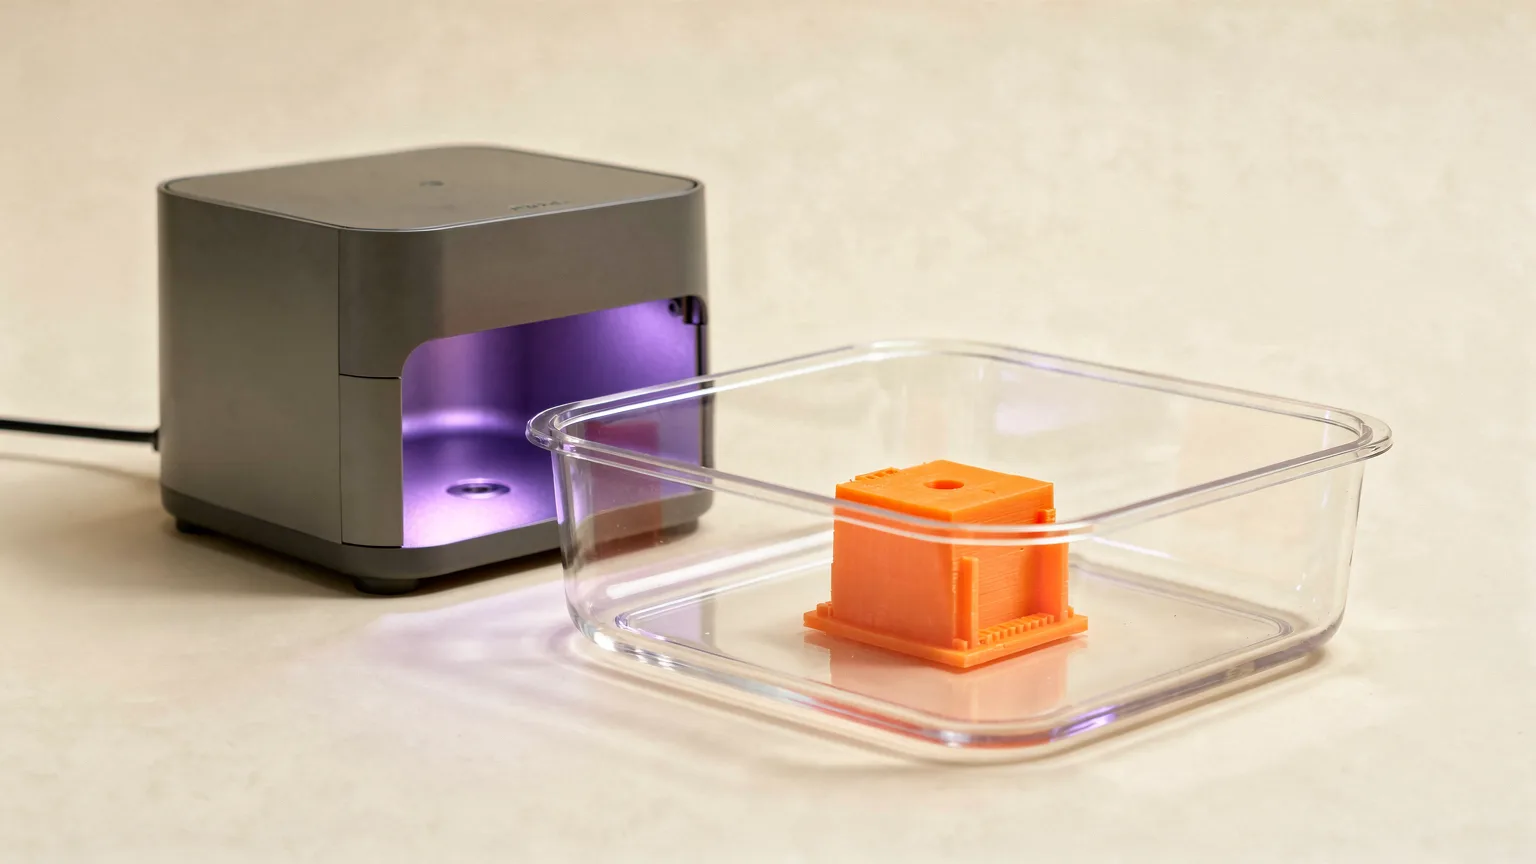
Starting points only. The times below come from Prusa's documentation for its own wash and cure machine and from maker spec pages. Your resin's datasheet and your station's manual take priority. Wear gloves, work in a ventilated room and follow the resin's Safety Data Sheet. See resin 3D printing safety basics.
A resin print is not finished when the printer stops. It comes off the plate covered in liquid resin and only partly hardened. Washing removes the wet resin, and curing with UV light hardens the part fully. This guide explains the order of steps, typical times from maker documentation, and the mistakes that cause sticky, cracked or yellow parts. If you are new to resin, read what is resin 3D printing first.
The steps at a glance
| Step | What it does | Starting point from maker documentation |
|---|---|---|
| 1. Remove the plate or part | Gets the print out of the printer | Wear gloves; keep a protective tray around the vat (Prusa) |
| 2. Wash | Removes liquid resin from the surface | Isopropyl alcohol: 3 minutes default on the Prusa CW1; do not exceed 10 minutes |
| 3. Dry | Lets the solvent leave the surface | Dry with a paper towel, then 3 minutes drying on the CW1 |
| 4. Cure | Hardens the part with UV light | 3 minutes default on the CW1; up to 30 minutes max on an Elegoo station |
| 5. Remove supports | Cleans up the model | Follow the resin maker's advice |
Step 1: Remove the print safely
When the print finishes, open the printer lid and place a tray around the resin vat to catch drips. Prusa's instructions say to wear gloves when removing the printing platform. Let the resin drip off the part for a short while before moving it, and use paper towels to catch the drips. Treat everything that touches liquid resin as contaminated.
Step 2: Wash the print
The wash removes uncured resin. Most standard resins are washed in isopropyl alcohol (IPA), which Prusa calls a volatile flammable liquid. Keep it away from heat and ignition sources. Water-washable resins are rinsed in water instead, and Elegoo markets its water-washable range as rinse-under-water.
Prusa's own process for its CW1 machine works like this:
- Fill the tank with isopropyl alcohol, leaving the surface about 2 to 3 cm (about 1 in.) below the edge.
- Submerge the print, either on the platform or removed and placed in the basket.
- Run the wash for 3 minutes, which is the default.
- Remove the object wearing protective gloves.
Do not leave prints in IPA for long. Prusa recommends against washing objects in IPA for more than 10 minutes, because tiny cracks may appear on the surface, even after more than 24 hours. A longer wash is not a better wash.
If you do not have a wash station, the same principle applies: the part needs a bath that removes liquid resin without a long soak. Follow your resin's datasheet for the solvent and the time.
Step 3: Dry the print
Prusa's guide says to dry the washed part with a paper towel before curing. After that, the CW1 has a drying mode that, by default, runs for 3 minutes. Check your resin's guidance on how dry the part should be before curing. Used paper towels and solvent are waste; dispose of them as the SDS and your local rules require.
Step 4: Cure with UV light
Curing finishes the chemical reaction. Prusa's CW1 default curing time is 3 minutes. Elegoo's Wash and Cure Station 3.0 lets you set the wash and cure duration up to a maximum of 30 minutes. A cheap alternative is sunlight, since resin cures in UV light, including sunlight. That takes longer and is less consistent. A reply in the comments on Prusa's curing page says a part can be left outside, but that it takes more time.
Three practical rules from the maker documentation:
- Expose the part evenly. Prusa notes that some surfaces, such as the base of a model, can remain uncured on a rotating platform. Flip the part during curing, and remember that flipping splits the time: a 6 minute cure with one flip gives each face 3 minutes.
- Do not over-cure. Prusa says yellowing becomes more significant with long post-curing, and that after 60 minutes a model can stay yellowish. For its model resins it suggests starting with shorter times, at least 3 minutes.
- Use the resin's own advice. Different colors and materials need different times.
Step 5: Remove supports and finish
Removing supports comes after washing. Whether to cut them off before or after curing depends on the resin, so follow the resin maker's guidance, and clean the part again if it picks up resin or dust.
Troubleshooting
| Symptom | Likely cause (from maker documentation) | What to try |
|---|---|---|
| Sticky surface after curing | Under-cured side, or an unwashed film | Cure again, flipping the part. A reply on Prusa's curing page suggests 10 more minutes |
| Tiny cracks on the surface | Long exposure to IPA | Shorten the wash; stay under 10 minutes |
| Yellow tint | Long post-curing | Use shorter cures next time; Prusa says yellowing can partly reverse over several days at room temperature |
| Uncured base | Uneven UV exposure | Flip the part during curing |
If the print itself failed, see fixing failed resin prints. To pick a printer and the extras that go with it, see best resin 3D printers.
Quick check that the cure worked
A fully cured part feels dry and not tacky on every face, including the base. If one face is still tacky, cure again with that face towards the light. Do not keep curing indefinitely: if the part is dry, stop.
Frequently asked questions
How long should I wash a resin print?
Prusa's CW1 defaults to 3 minutes in isopropyl alcohol and Prusa advises against washing for more than 10 minutes, because tiny surface cracks can appear. Check your own resin's guidance.
How long should I cure resin prints?
Prusa's CW1 default is 3 minutes, and Elegoo's Wash and Cure Station 3.0 allows up to 30 minutes. Prusa advises shorter times for its model resins because long cures increase yellowing.
Can I cure resin prints in sunlight?
Resin cures in UV light, including sunlight, so it is possible. Prusa notes that curing outside takes more time. Results are less consistent than in a dedicated UV station.
Why is my resin print still sticky?
One side may be under-cured or still carry a film of resin. Prusa suggests curing again, and flipping the part so every face gets UV light.
Sources

Founder and editor
Software engineer since 2009 and Head of Engineering by day, a maker who has owned several 3D printers, writing practical guides to 3D printers, filament and running costs, with every article saying what was and was not tested.
Keep reading
Resin 3D Printing Safety Basics
What printer makers say about handling liquid resin: gloves, ventilation, storage, isopropyl alcohol and disposal, with the SDS as the document to follow.
11 October 2026 · 6 min read
Types of 3D Printer Resin: Standard, Tough, Water-Washable and More
Resin comes in a few families: standard, water-washable, ABS-like or tough, flexible and specialty. Here is what each is for, what it costs and what to check before buying.
10 October 2026 · 6 min read
What Is Resin 3D Printing? How It Works
Resin 3D printing hardens liquid photopolymer with UV light one layer at a time. Here is how SLA, DLP and MSLA differ, typical specs, and what a beginner needs.
10 October 2026 · 5 min read