How to Fix Gaps Between Walls and Infill
Gaps between the outer walls and the infill usually come from too little infill overlap or under-extrusion. Here is what to adjust and in what order.
By Sepehr Sabbagh-pour · Published 10 October 2026 · 4 min read
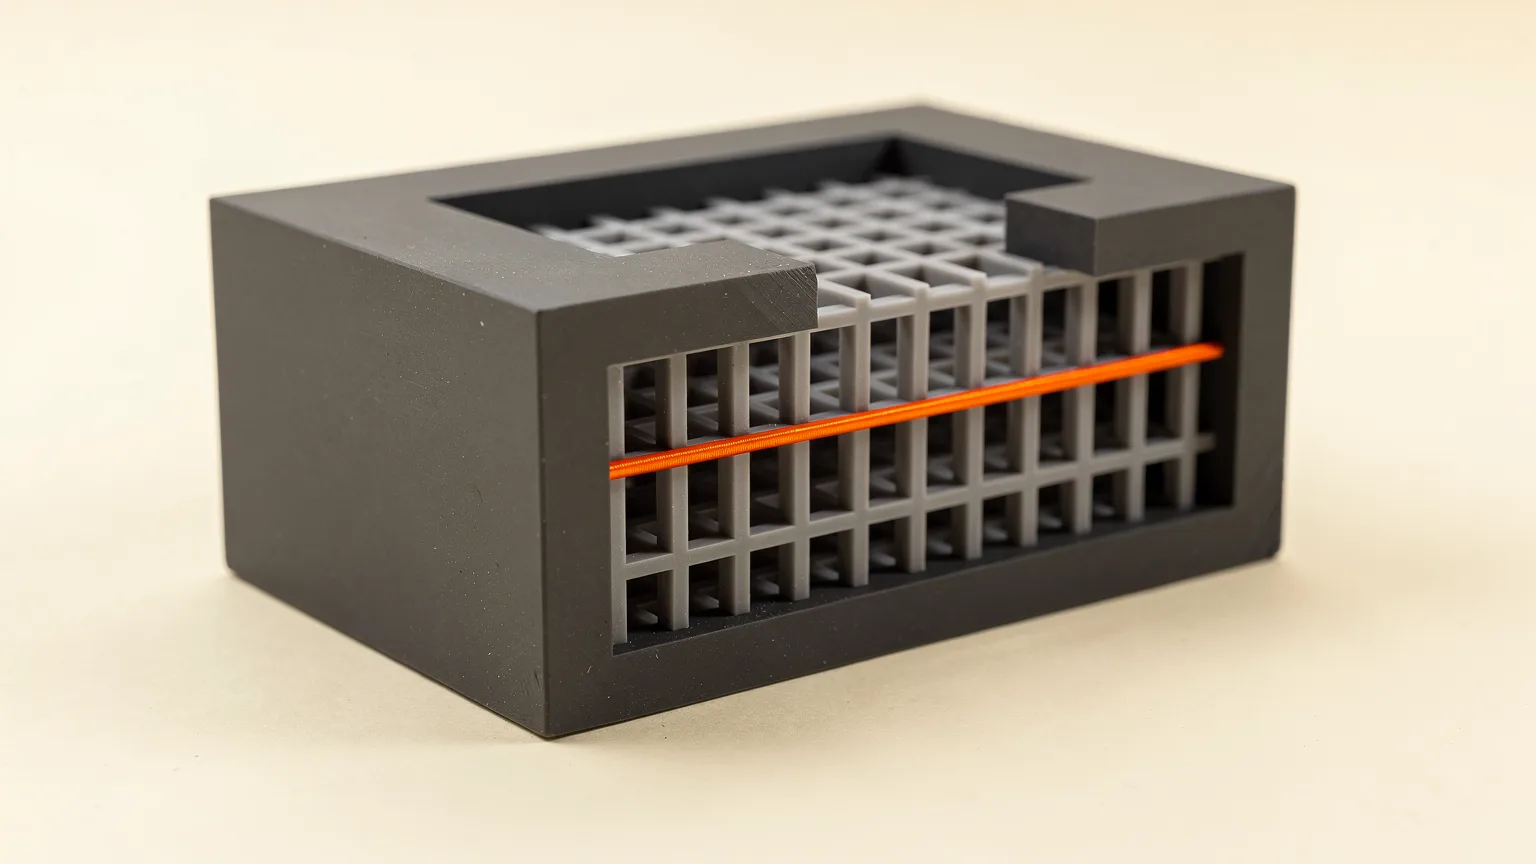
Gaps between the outer walls and the infill usually mean the infill is not overlapping the walls enough, or the printer is under-extruding. The fix is to raise the infill/wall overlap a little (Orca’s documentation suggests staying around 10 to 15%), check that extrusion is calibrated, and make sure the infill is anchored to the walls. This guide covers each setting and what the slicer documentation says about it.
What gaps between walls and infill look like
You see a thin slit or void between the inside of the outer wall and the first infill lines, often visible on a failed print that has split open or on a cut-away. Infill lines look like they stop short of the wall instead of touching it. Walls can feel hollow or flex because the infill is not holding them.
These gaps are different from dips in the top surface, which are covered in fixing pillowing on top layers.
Why the gaps appear
3DXTech lists three causes: the infill/perimeter overlap is set too low, the printer is under-extruding, or the slicer is miscalibrated. The slicer docs explain why overlap matters. Cura describes infill overlap as “the amount of overlap between the infill and the walls as a percentage of the infill line width,” and says that “a slight overlap allows the walls to connect firmly to the infill.” Orca Slicer says the infill area “is enlarged slightly to overlap with wall for better bonding.”
Step 1: Raise the infill/wall overlap
This is the first setting to change. Cura calls it Infill Overlap Percentage, and the base definition file in Cura’s source code sets the default at 10. Orca Slicer calls it Infill wall overlap and measures it against the sparse infill line width, not as a fixed distance. 3DXTech recommends raising the overlap to 10 to 15%.
| Slicer | Setting name | What the documentation says |
|---|---|---|
| Cura | Infill Overlap Percentage | Percentage of infill line width; base default is 10 |
| OrcaSlicer | Infill wall overlap | Relative to sparse infill line width; about 10 to 15% suggested to limit over-extrusion |
Raise it in small steps and reprint the same test part. Orca’s page recommends about 10 to 15% to avoid material buildup and rough surfaces, so more is not better.
Step 2: Check that the infill is anchored
PrusaSlicer says infill “is usually connected to the perimeters with a so-called anchor,” and that the anchor length setting controls how many millimeters connect the two. Setting it to 0 prints the infill independently of the perimeters. If the infill anchor is set to 0 in your profile, increasing it can help. Orca Slicer has the same pair of settings (anchor and maximum anchor length) and says a value of 0 uses the old connection method.
Step 3: Rule out under-extrusion
If raising the overlap does not help, the plastic may not be coming out in the right amount. 3DXTech says to check that the extrusion multiplier is calibrated. Under-extrusion also shows up as thin, gappy walls and weak layers, so follow how to fix under-extrusion to check for a wrong flow setting or filament problem. A partial clog is covered in fixing a clogged nozzle.
Step 4: Slow the infill down
3DXTech also lists slowing the infill speed to improve bonding. Try a moderate reduction and compare, keeping in mind the trade-off in print time that print speed versus quality describes.
Step 5: Keep gap fill on
Gap fill is a different feature: it fills narrow spaces between perimeters that are too thin for another wall. Orca’s documentation warns that gap fill “is contributing to the model’s strength,” so turning it off is not advised. It is not the setting that closes a wall-to-infill gap, but it is worth leaving alone while you tune overlap.
Change one thing at a time. Print the same small test part after each change, and look at where the infill meets the wall. For how infill pattern and density work, read infill explained.
Check the maker’s guidance
Setting names, defaults and ranges differ between slicers and versions. Check your slicer’s own documentation and your printer maker’s profile guidance before changing values.
Frequently asked questions
What causes gaps between walls and infill?
3DXTech lists three causes: infill/perimeter overlap set too low, under-extrusion and slicer miscalibration.
What infill overlap should I use?
3DXTech recommends 10 to 15%, and Orca Slicer's documentation also suggests about 10 to 15% to limit over-extrusion. Cura's base default is 10.
What does the infill anchor do?
PrusaSlicer says infill is usually connected to the perimeters with an anchor, and a value of 0 prints the infill independently of the perimeters.
Can too much infill overlap cause problems?
Yes. Orca Slicer's documentation recommends about 10 to 15% to avoid material buildup and rough surfaces, so raise the overlap in small steps.
Should I turn off gap fill to fix this?
No. Orca Slicer says gap fill contributes to the model's strength and advises against removing it. It is a separate feature from infill overlap.
Sources

Founder and editor
Software engineer since 2009 and Head of Engineering by day, a maker who has owned several 3D printers, writing practical guides to 3D printers, filament and running costs, with every article saying what was and was not tested.
Keep reading
How to Fix a Nozzle That Is Too Close to the Bed (Z Offset)
A nozzle set too close squashes the first layer and can scrape the plate. Here is how to recognise it, raise the Z offset safely and make the setting stick.
10 October 2026 · 4 min read
3D Printer Problems and Fixes: A Troubleshooting Guide
A symptom-first guide to common 3D printer problems: what causes them and what to try first, based on manufacturer troubleshooting documentation.
10 October 2026 · 7 min read
How to Clean a 3D Printer Nozzle and Fix a Clog
How to spot a clogged nozzle and clear it, from a hot push and needle clean to a cold pull, plus prevention tips. Steps follow Prusa's documentation.
10 October 2026 · 7 min read