Supports Stuck to Print? How to Fix and Prevent It
Supports that will not come off are a slicer settings problem. Open the Z distance, thin the interface and pick an easier pattern, in that order.
By Sepehr Sabbagh-pour · Published 11 October 2026 · 5 min read
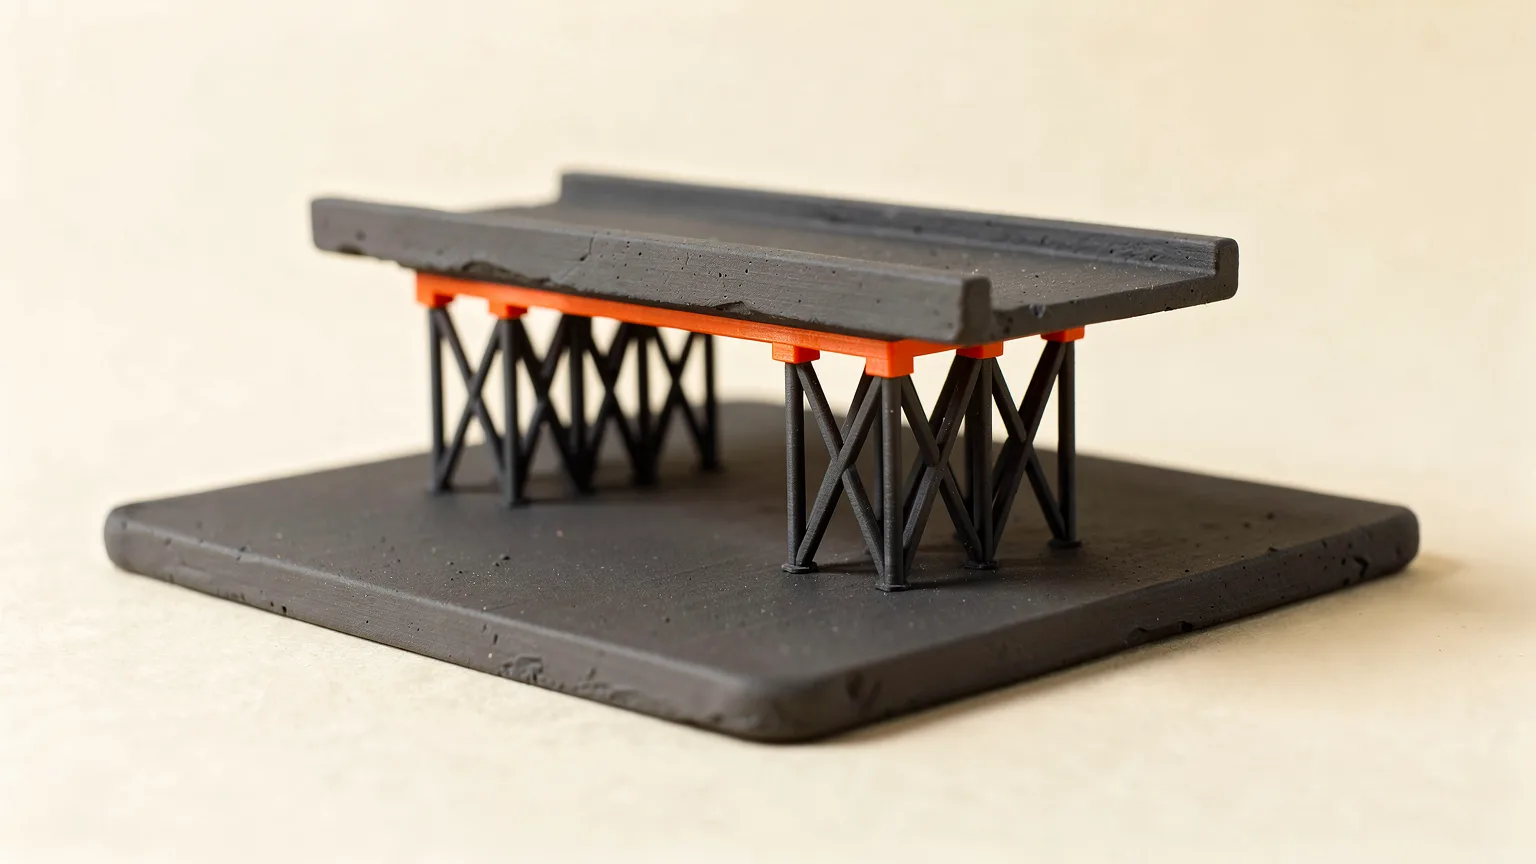
Supports stuck to a print are support structures that have fused to the model's surface instead of snapping off cleanly. They usually stick because the gap between support and model is too small or the contact area is too large. The fix is a slicer change, not more force: open the gap, thin the interface, or switch the support style.
Research-based guide. This article is compiled from slicer documentation and has not been checked on a test printer. Treat every number as a starting point and change one setting at a time.
Why do supports stick to the print?
Supports stick when the slicer leaves too little space between the support and the part, or when too much of the support touches the part. Orca Slicer's wiki defines the Z distance as the gap between the support interface and the object. Prusa's knowledge base describes the top contact Z distance as the vertical distance between the object and the support material interface. A smaller gap gives a smoother underside but lets the layers bond. A larger gap peels off more easily but leaves a rougher surface.
So every removal fix is a trade. You are giving up some surface quality or support strength in exchange for easier removal. Decide which matters more for the part in front of you, then adjust the settings below in order.
Quick reference: settings that make supports easier to remove
| Setting | Change for easier removal | Trade-off | Source |
|---|---|---|---|
| Top contact Z distance | Increase it (Prusa suggests 50 to 75% of layer height) | Rougher underside | Prusa Knowledge Base |
| Interface layers | Use fewer layers | Less even surface under the overhang | OrcaSlicer wiki |
| Pattern spacing | Widen it | Interface can sag if too wide | Prusa Knowledge Base |
| XY separation | Increase it | Less contact area with the model | Prusa Knowledge Base |
| Support pattern | Rectilinear over grid or honeycomb | Less sturdy | Prusa Knowledge Base |
| Support type | Try organic or tree supports | Fewer contact points can mean weaker support | Prusa Knowledge Base |
1. How do you set the Z distance so supports come off cleanly?
Raise the Z distance between support and model. It is the single most direct control over how hard the support is to remove. Prusa's documentation says values between 50 and 75% of the layer height seem to work well for the top contact Z distance. At a 0.2 mm layer height that is roughly 0.1 to 0.15 mm. If your supports are fusing, check whether your value sits at the bottom of that range or below it, then increase it in small steps.
Be careful with zero. Prusa warns that setting the top contact Z distance to 0 stops PrusaSlicer from using bridge flow and speed on the first object layer. A value of zero is meant for soluble supports, where the support dissolves rather than snaps off. OrcaSlicer's wiki lists a separate bottom Z distance for the point where a support lands on the model, and the Prusa article says that works the same way as the top setting. If the damage is on the surfaces that sit on top of a support tower, raise the bottom value as well.
Layer height matters here because the gap is measured against it. Our layer height guide explains how it changes what the slicer can do.
2. Should you reduce the support interface?
Yes, if the support is hard to peel away. The interface is the dense skin printed directly under an overhang. OrcaSlicer's wiki says the number of interface layers is the total thickness of that dense interface, counted in printed layers, and that more layers give a flatter, better supported surface but take longer to print and are harder to peel off. Setting both top and bottom interface layers to 0 removes it entirely. The wiki notes that this is the fastest option but leaves the roughest overhangs.
The pattern also matters. The Orca wiki says concentric interface loops peel off in one piece and leave no line ends on the surface. Interface spacing is a second control: Orca describes a spacing of zero as a solid interface, and Prusa says a solid interface comes from a pattern spacing of 0. A solid interface looks best but grips hardest, so a wider spacing is the easier-to-remove choice.
3. Change the support pattern, spacing and XY distance
Pick a pattern that is easy to pull apart. Prusa says rectilinear, its default, is usually the easiest to remove. It calls rectilinear grid sturdier but harder to remove, and honeycomb sturdy but somewhat difficult to remove. The sheath option adds a perimeter that also makes supports harder to remove.
Wider pattern spacing makes removal easier, but Prusa warns the interface can sag and connect poorly if the spacing is too wide. Increase it a little at a time. A larger XY separation, meaning the horizontal gap between the model's walls and the support, also helps. Prusa says it makes supports easier to remove but reduces their contact area with the model, so do not push it so far that the overhang loses its support.
For the full list of options and when each applies, see our guide to how supports work.
4. Are tree or organic supports easier to remove?
Often, yes. Prusa's documentation says its organic supports are easily removable, do not scar the surface and are fast and cheap to print, and contrasts them with grid supports that left visible marks on the model. The same article warns about two settings. A smaller branch distance makes the support touch the model at more points, which improves overhangs but makes the supports harder to remove. A higher branch density does the same. Prusa's page also carries user comments that describe removal problems with organic supports, so treat the maker's claim as a good default rather than a guarantee.
OrcaSlicer lists Normal, Tree, Auto and Manual support types, with tree supports branching from a central trunk to use less material. If you use Orca, start with our Orca Slicer beginner guide. Prusa users can follow the PrusaSlicer guide.
How do you remove supports that are already stuck?
Use tools rather than force. Prusa says supports are often removable by hand, that pliers help in hard-to-reach spots, and that a scalpel or utility knife can free stuck pieces. It also warns that pieces can fly off, so wear protective glasses. Cut the knife away from your hand and the part, and work slowly along the contact line.
Do not twist the support off a thin feature, because the bond can be stronger than the part. Cut it free in sections. After that, if the underside is scarred, the next print needs a wider gap, not a bigger knife.
Can you avoid supports altogether?
Sometimes. The surest way to avoid support trouble is to have nothing to support. Prusa's bridging guidance says the best fix for unsupported areas is to change the model's orientation until the overhangs or bridges disappear. Before you slice, rotate the part and check the preview. Our guides on fixing sagging overhangs and fixing poor bridging show what to try when a surface droops without a support.
If a support-heavy part is also a cost question, the tools section has a print cost calculator for checking how much material the supports add. There is no single setting that fits every material and printer, so print a small overhang test, change one value, and keep notes.
Frequently asked questions
Why are my supports stuck to my 3D print?
Supports are usually stuck because the gap between the support and the model is too small, or because too much of the support touches the model. Orca Slicer's wiki defines the Z distance as the gap between the support interface and the object, and Prusa's documentation suggests values between 50 and 75% of the layer height for the top contact Z distance. A zero or very small gap, a dense or solid interface, a small XY separation and sturdy patterns like grid or honeycomb all increase grip. Fix it by opening the Z distance a little, reducing interface layers, widening pattern spacing, or switching to rectilinear or tree supports. Change one setting at a time.
What Z distance should I use so supports are easy to remove?
There is no single number, because the gap is measured against your layer height. Prusa's knowledge base says values between 50 and 75% of the layer height seem to work well for the top contact Z distance, which is about 0.1 to 0.15 mm at a 0.2 mm layer height. OrcaSlicer's wiki defines the setting but gives no recommended value. Start inside the Prusa range, print a small overhang test, and raise the value in small steps if the support still fuses. Avoid zero unless you use soluble supports, because Prusa notes that zero stops bridge flow and speed on the first object layer.
Are tree supports easier to remove than normal supports?
Usually, but not always. Prusa's documentation says organic supports are easily removable, do not scar the surface, and are fast and cheap to print, and it contrasts them with grid supports that left visible marks on the model. The same article warns that a smaller branch distance and a higher branch density make the supports touch the model at more points, which helps overhangs but makes removal harder. Prusa's page also carries user comments describing removal problems, so treat the claim as a sensible default. Adjust the branch settings if the tips still fuse to the part, and keep the top interface enabled rather than raising density when you need a smoother underside.
How do I remove supports that will not come off?
Use the right tools and cut instead of twisting. Prusa's documentation says supports are often removable by hand, that pliers help in hard-to-reach spots, and that a scalpel or utility knife can free stuck pieces. It also warns that pieces can fly off during removal, so wear protective glasses. Work slowly along the contact line and free the support in sections, especially near thin features where the bond can be stronger than the part. If the surface is scarred afterwards, the real fix is in the slicer: widen the Z distance or reduce the interface before the next print. Print a small overhang test to confirm the change before you commit to a long job.
Sources

Founder and editor
Software engineer since 2009 and Head of Engineering by day, a maker who has owned several 3D printers, writing practical guides to 3D printers, filament and running costs, with every article saying what was and was not tested.
Keep reading
Thermal Runaway Error: What It Means and How to Fix It
A thermal runaway error is a safety stop: the heater did not heat or hold temperature as expected. Here is what triggers it and what to check, in order.
11 October 2026 · 5 min read
How to Level a 3D Printer Bed
Leveling is really three jobs: getting the bed flat to the nozzle, setting the nozzle height, and judging the first layer. Here is the order to do them.
11 October 2026 · 6 min read
How to Fix Gaps Between Walls and Infill
Gaps between the outer walls and the infill usually come from too little infill overlap or under-extrusion. Here is what to adjust and in what order.
10 October 2026 · 4 min read