How to Level a 3D Printer Bed
Leveling is really three jobs: getting the bed flat to the nozzle, setting the nozzle height, and judging the first layer. Here is the order to do them.
By Sepehr Sabbagh-pour · Published 11 October 2026 · 6 min read
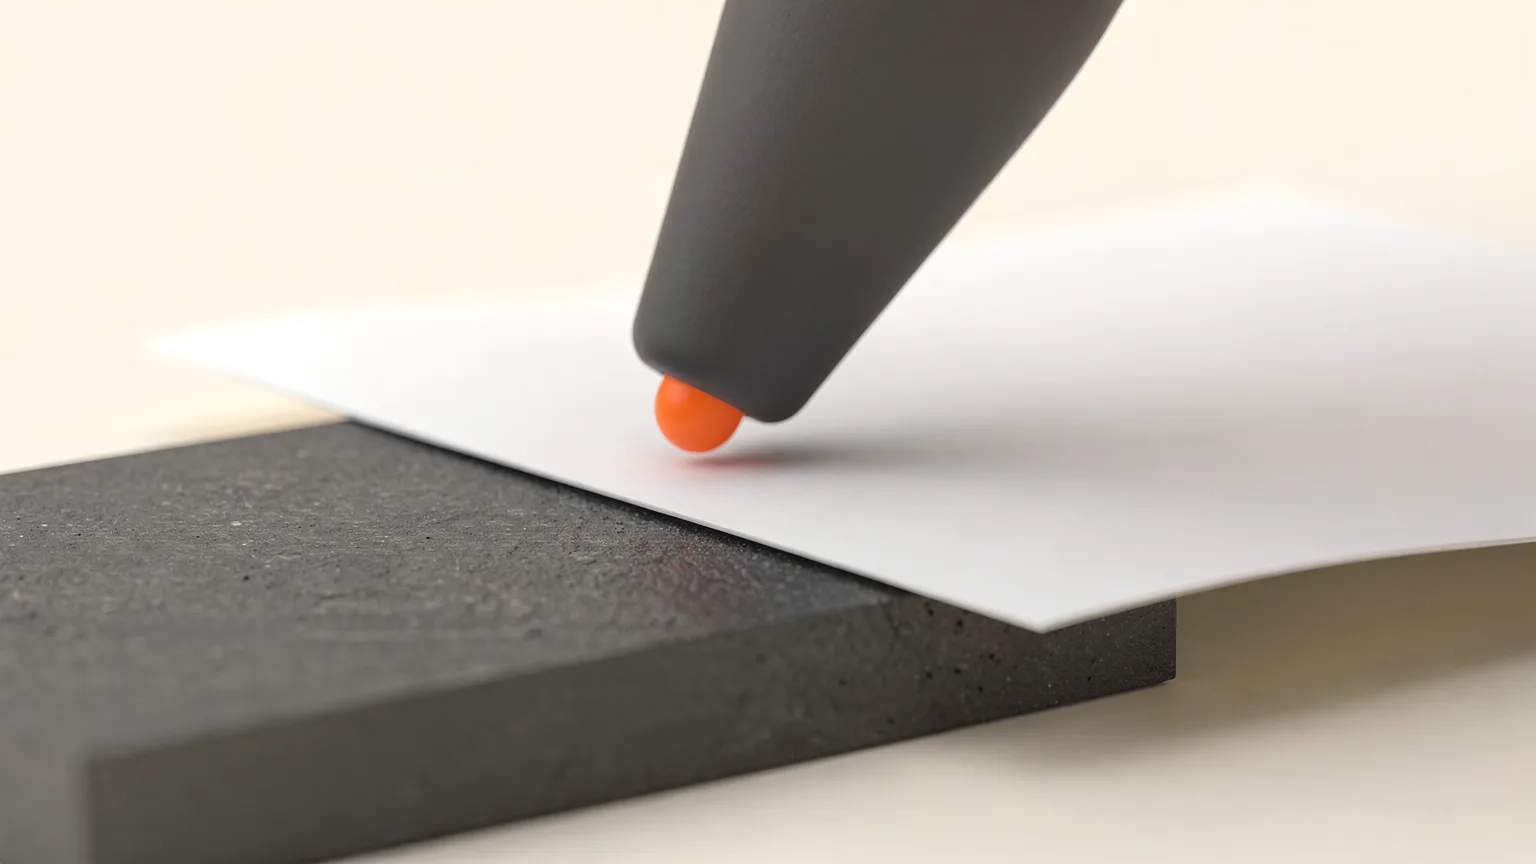
Bed leveling is the process of making the gap between the nozzle and the build plate even across the whole print area, so that the first layer sticks well. It is the first thing to check when prints will not stick or the first layer is patchy. Many modern printers do much of this automatically, but understanding the steps makes it easier to fix when something goes wrong.
This guide is research-based and draws on Klipper, Prusa and Bambu Lab documentation. Exact menus and procedures differ by printer, so follow your manufacturer's guide for the specifics.
Leveling, tramming, Z offset and mesh: what they mean
| Term | What it does |
|---|---|
| Tramming (manual leveling) | Adjusting bed screws or knobs so the bed is parallel to the nozzle's travel |
| Z offset | Setting how far the nozzle sits from the bed at the first layer (if it is too small, see nozzle too close to the bed) |
| Bed mesh or auto leveling | A probe measures the bed at many points and software adjusts Z during printing |
| First layer calibration | Fine-tuning the height by looking at a printed test pattern |
Klipper's documentation states that the bed mesh module compensates for bed surface irregularities but that software correction can only approximate the shape of the bed and cannot compensate for mechanical and electrical issues. It also says the probe's Z offset must be calibrated before mesh calibration. In other words, get the bed mechanically close first, then let software fine-tune it.
Before you start
- Clean the nozzle so there is no filament on the tip. Bambu Lab lists this as the first preparation step.
- Clean the build plate. Dirt and grease cause patchy adhesion and make height problems harder to judge.
- Make sure the plate type selected in the slicer matches the plate on the bed. Bambu Lab notes that on a textured PEI plate the printer lowers the nozzle by 0.04 mm after leveling, so the wrong plate setting leaves the nozzle too high.
- Check for wobble in the bed or gantry. No leveling method fixes a loose bed.
Method 1: Automatic bed leveling
If your printer has a probe, run its built-in routine first. On Bambu Lab printers this is under Settings, Calibration, Print Calibration, and Bambu says to run it if the printer has been moved, stored for a long time, or after the heatbed was disassembled or replaced. Enable bed leveling in the preparation screen before printing so the printer uses the data.
Prusa printers measure the bed in a grid. The default mesh is 3 by 3 (9 points), and Prusa says that if you still see uneven first layer adhesion you can raise the density to 7 by 7 (49 points) in Settings, Mesh bed leveling. It also notes that with the denser grid you can enable magnets compensation to filter inaccurate readings near magnets, which it says can be off by as much as 80 microns.
See auto bed leveling explained for how probes work.
Method 2: Manual tramming with bed screws
Use this for printers without a probe, or if automatic leveling reports large errors.
- Home the printer and move the nozzle to the first corner.
- Slide a sheet of paper between nozzle and bed. Klipper says to perform the paper test when both nozzle and bed are at room temperature.
- Adjust the screw until you feel slight friction as the paper moves.
- Move to each remaining corner and repeat. Return to the first corner and check again, since adjusting one screw affects the others. Go round until all corners feel the same.
Klipper's manual leveling document covers printers with a probe using SCREWS_TILT_CALCULATE, which reports how far to turn each screw in clock minutes (for example, adjust CW 01:15 means one full turn plus a quarter turn clockwise). It says to repeat until all readings are below 6 minutes.
On Bambu Lab X1 and P1 printers, tightening the knob moves the heatbed away from the nozzle and loosening it moves the heatbed closer. Bambu says the manual procedure should only be done when you notice an inaccuracy in leveling or are asked to by customer service, and it uses a supplied G-code file to guide you.
Method 3: Set the nozzle height (Z offset)
Even a perfectly parallel bed fails if the nozzle is at the wrong height. Klipper notes Z distances should be accurate to within about 25 microns (0.025 mm) for good prints, and that thermal expansion typically changes nozzle position by about 100 microns when heated. That is why the paper test is done cold, and why many people adjust slightly during the first layer on a hot printer.
Prusa's first layer calibration prints a zig-zag pattern while you turn a knob to bring the nozzle closer. It describes a good result as flattened, not squished, with an even surface and no gaps between lines or ridges. It also says different sheet types (smooth, satin, textured) need separate calibrations, and that you should recalibrate after changing nozzles or making major changes.
Judge the first layer
| You see | Meaning | Action |
|---|---|---|
| Round, separate lines with gaps | Nozzle too high | Move nozzle closer |
| Rough, transparent or ridged, nozzle scraping | Nozzle too low | Move nozzle away |
| Good in one corner, bad in another | Bed not trammed or mesh needed | Re-level, consider mesh |
Bambu Lab's first layer guide splits problems into nozzle too close (scraping, hard-to-remove parts, under-extrusion) and nozzle too far (sparse lines, weak adhesion, blobs and stringing). It also says small defects, such as 5 percent of the first layer showing flaws while the rest is flat, generally do not affect success. For detail see fixing a bad first layer and fixing a print that will not stick.
Avoid compensating in G-code as a long-term fix. Bambu Lab describes G-code offsets as a quick temporary fix that can introduce new local defects. After finding the root cause, restore defaults and level properly.
Bed mesh limits
Klipper's documentation notes mesh compensation works best when the full mesh variance is small, up to about one layer height. A bed that is warped far beyond that needs replacing or shimming. Check the plate with a straight edge if mesh results keep varying. Related reading: build plates explained and how to calibrate a 3D printer.
How often to level
With a probe, many people level before every print or let the printer do it automatically, as the process takes a minute or two. For printers with manual screws, re-check after moving the printer, changing the build plate, swapping the nozzle or hotend, or when first-layer quality changes. Do not keep re-leveling if the cause is dirty plates or wet filament, which you can check with drying your filament.
Frequently asked questions
How often should I level my 3D printer bed?
With a probe, many printers do it automatically before each print. With manual screws, re-check after moving the printer, changing the plate or nozzle, or when first layers get worse.
Should I level the bed with the printer hot or cold?
Klipper's documentation says to do the paper test with nozzle and bed at room temperature, and notes thermal expansion changes nozzle position by about 100 microns when hot. Fine-tune the height during a first layer test.
What is the difference between leveling and Z offset?
Leveling makes the gap even across the bed. Z offset sets how big that gap is at the first layer. You need both.
Do I still need to level a printer with auto bed leveling?
Often only the automatic routine, but Klipper notes software cannot fix mechanical issues, and Bambu Lab says manual tramming is for when automatic leveling is inaccurate.
How do I know the first layer is right?
Prusa describes a good first layer as flattened but not squished, with an even surface, no gaps between lines and no ridges.
Sources
- Bed Level (Klipper documentation)
- Manual Level (Klipper documentation)
- Bed Mesh (Klipper documentation)
- First Layer Calibration (Prusa Knowledge Base)
- Mesh bed leveling (Prusa Knowledge Base)
- Manual Bed Leveling / Manual Bed Tramming (Bambu Lab Wiki)
- X1/P1 First Layer Print Quality Improvement Guide (Bambu Lab Wiki)
- Printed Model Warping: Causes and Solutions (Bambu Lab Wiki)

Founder and editor
Software engineer since 2009 and Head of Engineering by day, a maker who has owned several 3D printers, writing practical guides to 3D printers, filament and running costs, with every article saying what was and was not tested.
Keep reading
How to Fix Gaps Between Walls and Infill
Gaps between the outer walls and the infill usually come from too little infill overlap or under-extrusion. Here is what to adjust and in what order.
10 October 2026 · 4 min read
How to Fix a Nozzle That Is Too Close to the Bed (Z Offset)
A nozzle set too close squashes the first layer and can scrape the plate. Here is how to recognise it, raise the Z offset safely and make the setting stick.
10 October 2026 · 4 min read
3D Printer Problems and Fixes: A Troubleshooting Guide
A symptom-first guide to common 3D printer problems: what causes them and what to try first, based on manufacturer troubleshooting documentation.
10 October 2026 · 7 min read