Thermal Runaway Error: What It Means and How to Fix It
A thermal runaway error is a safety stop: the heater did not heat or hold temperature as expected. Here is what triggers it and what to check, in order.
By Sepehr Sabbagh-pour · Published 11 October 2026 · 5 min read
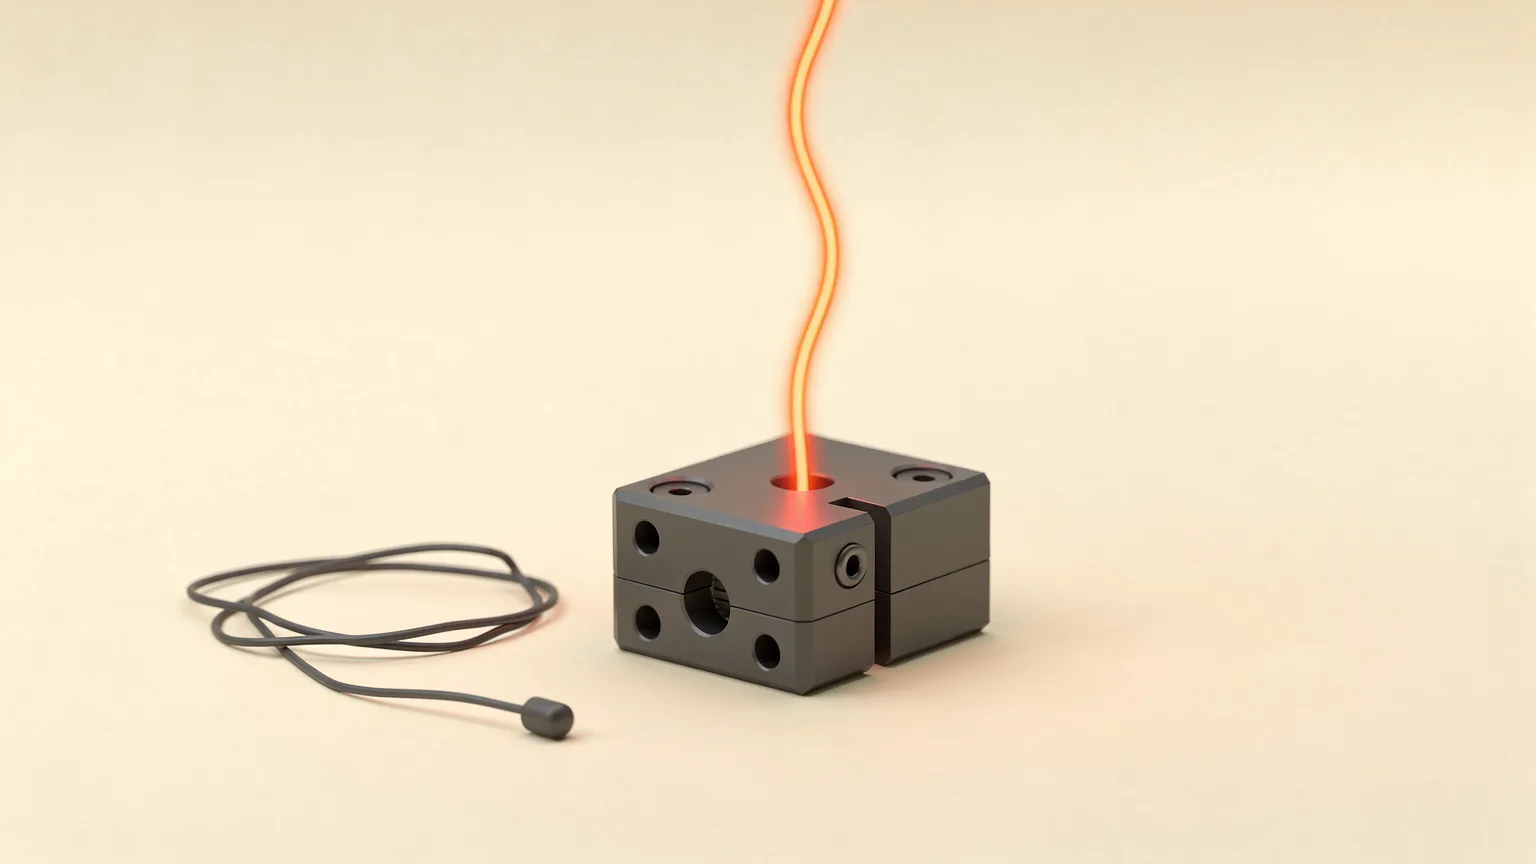
A thermal runaway error means the printer stopped heating because the temperature did not behave the way the firmware expected. Most often the cause is a loose or damaged thermistor or heater connection, or a heater that is being cooled faster than it can heat. The fix is to power off, let everything cool, and check the wiring and the sensor first. Firmware makers add this protection because a sensor that reads too cold can make a printer keep heating. Treat the error as a real safety stop, not a nuisance to switch off.
Safety first. Power the printer off and unplug it before touching any wiring, and let the hotend and bed cool fully. Do not disable thermal protection in firmware to get past the error. If your printer maker tells you not to open panels or disassemble parts, follow that and contact their support. Prusa, for example, says exactly this for the CORE One L.
What a thermal runaway error means
Prusa describes thermal runaway as a safety feature that cuts heater power if a cable malfunctions. If the thermistor comes loose, the electronics read a falsely low temperature and may push the heater harder to compensate. Marlin’s configuration file says thermal protection “provides additional protection to your printer from damage and fire.” Klipper turns heater verification on automatically for every configured heater.
Different firmware words the error differently, but the idea is the same: the heater was on, and the measured temperature did not rise or hold as expected.
When the error is triggered
The exact limits depend on the firmware. These are the values the makers document.
| Firmware or printer | What triggers it | Source value |
|---|---|---|
| Prusa heatbed (CORE One, MK4/S, MK3.9/S, MK3.5/S) | Bed temperature drops | More than 2 °C for over 60 seconds |
| Prusa hotend (MK3.5) | Nozzle temperature drops and does not recover | 12 °C drop, no recovery within 60 seconds |
| Marlin hotend | Temperature stays too far below target after reaching it | Default period 40 s, hysteresis 4 °C |
| Marlin bed | Same logic for the bed | Default period 20 s, hysteresis 2 °C |
| Klipper (verify_heater) | Cumulative temperature error or no heating gain | max_error 120, hysteresis 5 °C, check_gain_time 20 s (60 s for the bed) |
Marlin defaults come from the Configuration_adv.h file in the bugfix-2.1.x branch. A given printer’s firmware build may use different values.
Step 1: Check the room and airflow
Cooling can trip the error even when nothing is broken. Prusa’s bed guidance says to confirm the room is above 18 °C and to move the printer away from air conditioning or windows. For the MK3.5 hotend it says the room should be above 10 °C. Prusa also suggests, for small parts in high-temperature filament, printing several at once or placing them away from the center of the bed.
Step 2: Check the thermistor
A thermistor that has moved or loosened is the classic cause. On Prusa heatbeds, check that the thermistor is firmly held under the golden Kapton tape. On a hotend, Prusa says to make sure the whole thermistor cartridge sits inside the heater block with no part sticking out. Klipper’s verify_heater section exists to catch sensor faults, so a thermistor that has come loose is a likely culprit when it fires.
Step 3: Check the connectors and fuses
With the printer unplugged, check that the thermistor and heater connectors are fully seated on the board. Prusa’s steps add that the heatbed power cable should not have slipped out of its screw terminal, and that no fuse should be blown. Prusa notes that some users report tightening the heatbed connection nuts fixed the error. Only open covers if your maker allows it; if not, stop here and contact support.
Step 4: Check airflow onto the heater block
Prusa says to inspect the fan shroud for damage and to confirm it sits correctly, because a damaged or tilted shroud can direct airflow onto the heater block and cool it. A part-cooling fan blowing at the nozzle can cause a temperature dip, which looks the same as a fault to the firmware.
Step 5: Work out whether the heater or the thermistor failed
If the error persists, Prusa describes a hairdryer test for the hotend. Blow warm air at the hotend and watch the temperature on the display. If the reading rises, the thermistor is working and the heater is the likely problem. If the reading does not change, the thermistor is probably the cause. You can also check either part with a multimeter, as Prusa’s guide describes. Bambu Lab’s wiki takes a similar swap-and-compare approach on the H2 series: swap the two heaters and see whether the error follows the heater.
If you are not comfortable with this, contact the maker. Replacement heaters and thermistors are cheap, but mains-powered parts such as a bed heater are a job for the maker’s documented procedure.
Custom firmware: Marlin and Klipper
On Marlin, the configuration file says that if you get false positives for thermal runaway you can increase THERMAL_PROTECTION_HYSTERESIS and/or THERMAL_PROTECTION_PERIOD. Treat that as a last step after the wiring and sensor are confirmed good, and raise the values only a little. Raising them hides a real fault rather than fixing it.
On Klipper, the documentation says heater verification is automatic and can be tuned with a [verify_heater] section. It says it is rare to customize the hysteresis value. See what Klipper is for the background.
Confirm the fix
Plug the printer back in and heat the hotend and bed to your normal temperatures without printing. Wait for several minutes and confirm the readings hold steady. Then start a small print and watch the first layers. If the error returns, stop and contact the maker. For mid-print stops that are not thermal errors, see why a print stops midway.
Related reading
A blocked nozzle is a different problem; see how to fix a clogged nozzle. For general care, the maintenance checklist and 3D printer safety basics cover regular checks of wiring and heaters. Heat-block parts are explained in hotends and nozzle materials.
Frequently asked questions
What does a thermal runaway error mean on a 3D printer?
It means the firmware stopped the heater because the temperature did not rise or hold as expected. Prusa describes it as a safety feature that cuts heater power if a cable malfunctions.
What causes a thermal runaway error?
Prusa lists a cold room or drafts, a loose thermistor, loose heater or thermistor connections, blown fuses and a damaged fan shroud that blows air onto the heater block.
How do I tell if the heater or the thermistor is faulty?
Prusa describes a hairdryer test: blow warm air at the hotend and watch the temperature. If the reading rises, the thermistor works and the heater is the likely problem. If it does not change, the thermistor is probably at fault.
Can I turn off thermal runaway protection?
You should not. Marlin describes thermal protection as protection from damage and fire. Its configuration file says to raise the hysteresis or period only if you get false positives, after the hardware is confirmed good.
Is it safe to open the printer to check the wiring?
Only if the maker allows it. Power off and unplug first. Prusa tells CORE One L owners not to open panels or disassemble the heatbed and to contact support instead.
Sources

Founder and editor
Software engineer since 2009 and Head of Engineering by day, a maker who has owned several 3D printers, writing practical guides to 3D printers, filament and running costs, with every article saying what was and was not tested.
Keep reading
How to Level a 3D Printer Bed
Leveling is really three jobs: getting the bed flat to the nozzle, setting the nozzle height, and judging the first layer. Here is the order to do them.
11 October 2026 · 6 min read
How to Fix Gaps Between Walls and Infill
Gaps between the outer walls and the infill usually come from too little infill overlap or under-extrusion. Here is what to adjust and in what order.
10 October 2026 · 4 min read
How to Fix a Nozzle That Is Too Close to the Bed (Z Offset)
A nozzle set too close squashes the first layer and can scrape the plate. Here is how to recognise it, raise the Z offset safely and make the setting stick.
10 October 2026 · 4 min read