How to Fix Failed Resin Prints
Most failed resin prints trace back to a short list of causes. Match what you see to the likely cause, change one thing at a time and confirm with a small test print.
By Sepehr Sabbagh-pour · Published · 4 min read
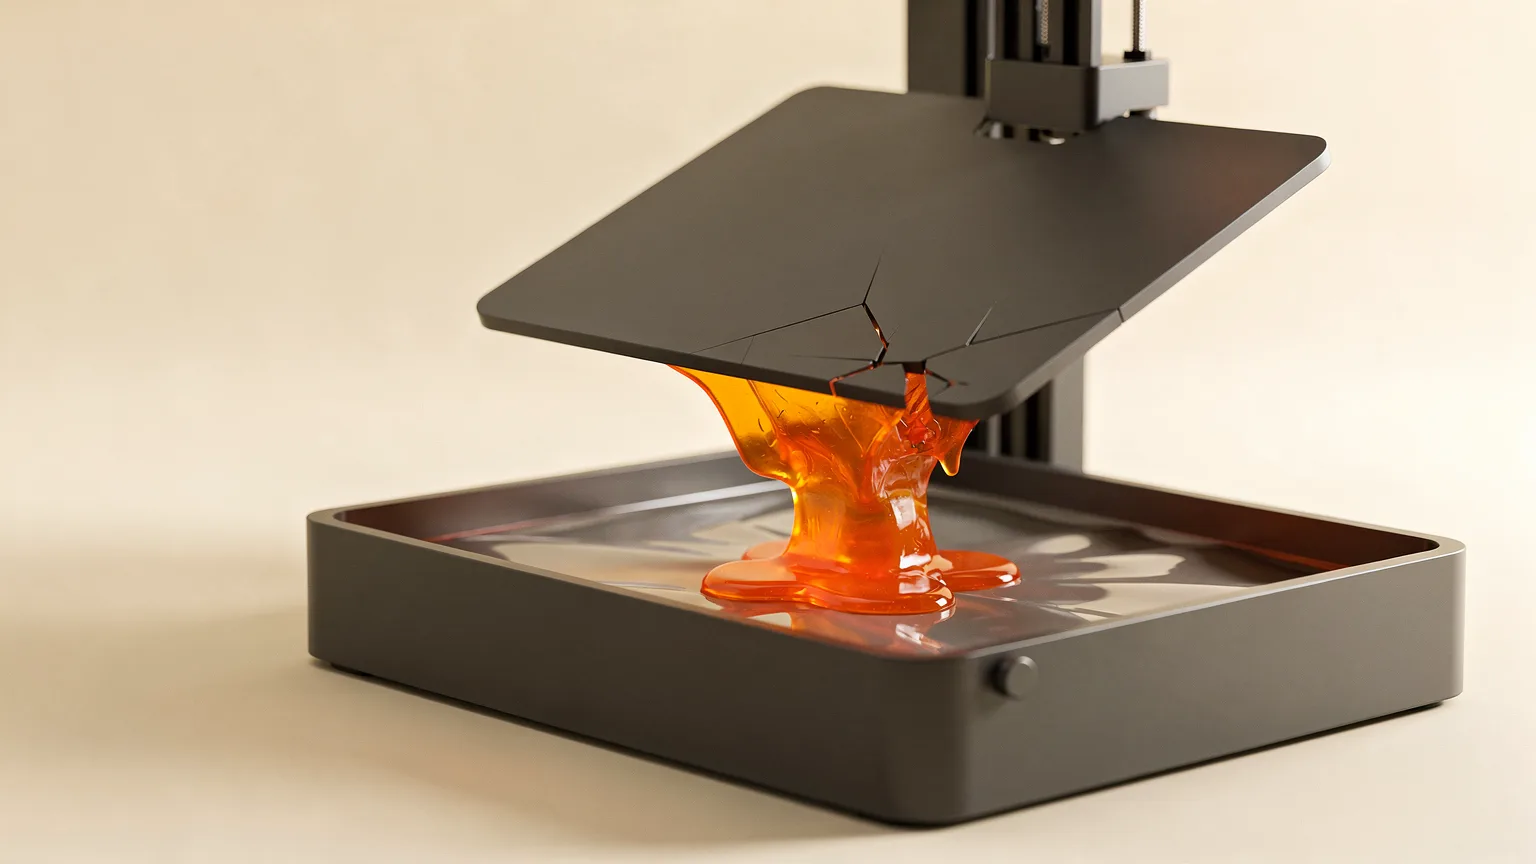
A failed resin print usually leaves clues in the vat, on the plate or on the supports. Work from the symptom, change one thing at a time and keep notes. The steps below are starting points from printer-maker documentation and well-established resin practice. They have not been tested by us, and your resin's data sheet and your printer's manual take priority over any value here.
Before you touch a failed print or the vat, wear nitrile gloves and eye protection and follow the resin's Safety Data Sheet. Our resin safety guide covers the basics.
Match the symptom to the cause
| What you see | Common causes | Check first |
|---|---|---|
| Nothing stuck to the build plate | Leveling or Z calibration, low bottom exposure, cold resin, dirty plate, wrong profile | Re-level, confirm the resin profile, check room temperature |
| Print stuck to the film instead of the plate | Weak base adhesion, lift settings, worn release film | Bottom exposure, Z zero, lift distance and speed, film condition |
| Supports printed but the model fell off | Weak support contacts, low normal exposure, high peel force, poor orientation | Support contact size, exposure, cross-section |
| Layers split or the part fractures mid-print | Peel force, abrupt cross-section changes, low temperature | Orientation, supports, temperature, lift speed |
| Missing section or partial print | Islands, debris in the vat, weak supports, file issue | Slice preview, vat, supports |
| Failure always on the same side | Leveling, release film damage, screen or light-source issue | Move or rotate the model and repeat |
| Print is extremely hard to remove | Bottom exposure too high | Reduce bottom exposure in small steps |
| Hollow print cracks or leaks | Trapped resin, poor drain and vent holes | Inspect enclosed cavities |
1. Check the easy things first
Before you assume the screen or the file is bad, rule out the basics. Check that the Z axis moves smoothly with the vat removed, as a binding lead screw makes the plate separate from the film unevenly. Save the slice to your computer, reopen it in the slicer preview, and try a known-good USB drive, because intermittent file errors can look like random failures. Then re-level the build plate following the printer's manual.
2. Fix adhesion to the build plate
If nothing sticks, or only one side prints, start with leveling and Z calibration. Printer makers include leveling, bottom exposure and lift behavior in their adhesion guidance. Formlabs notes that a part needs a suitable flat surface to grip the plate, and that a first layer with too little surface area cannot resist the peel forces. Also wipe the plate clean with isopropyl alcohol so no half-cured resin remains.
Then look at bottom exposure and bottom layer count in your resin's profile. A slightly higher bottom exposure helps adhesion, but too high makes the print very hard to remove, so change it in small steps. Printing on a raft, or tilting the part so the first layers have more contact area, also helps.
3. Warm the resin
Cold resin is more viscous and can need more time to cure. Phrozen's official guidance, as quoted by Chitu Systems, says most of its resins perform best above 24 °C, with 24 to 30 °C (75 to 86 °F) as the ideal range. Treat that as one maker's guidance. Your resin's data sheet takes priority. Warming the room or resin is usually more reliable than adding exposure time to compensate indefinitely.
4. Strengthen supports and orientation
If the raft and supports printed but the model fell, the issue is not plate adhesion. Peel force, support contacts and orientation matter more. Formlabs says a part pulled from its supports usually means the support tips were not strong enough, and suggests larger touch points, higher support density and manual supports where a part separates. Use the slicer preview to look for islands (features that start without a connection) and sudden jumps in cross-section, such as thin arms meeting a large body. Reorienting the part is often more effective than adding supports everywhere.
5. Prevent delamination and suction cups
Formlabs lists model orientation, supports, pauses of an hour or longer, an older vat, a loose build platform and debris as common causes of delamination. Large changes in surface area between layers make a bigger layer more likely to separate from a smaller one. Avoid long pauses mid-print, and tighten the plate. Hollow models can create sealed cavities that act as suction cups; add drain and vent holes sized and placed for your part so resin can leave and air can enter.
6. Inspect the vat and release film
Debris, cured bits or clouding in the vat can block light and leave holes or missing sections. Filter the resin, remove cured fragments with a plastic scraper (never metal, which can cut the film) and inspect the film for scratches or wear. If the film is worn, replace it per the printer maker's instructions.
7. Find out whether the model or the machine is at fault
Rotate or move the model on the plate and print again. If the defect moves with the model, look at the file, islands and supports. If it stays in the same physical spot, look at leveling, the release film, and the screen or light source. This one test avoids replacing parts that were fine.
A quick test to confirm the fix
Print a small calibration model from the resin or printer maker, using their recommended profile, before committing a full plate. Change one setting, print, compare, and note the result. Settings differ by resin, color and printer, so a working profile for one bottle may not suit the next. If you are still choosing a resin, see types of 3D printer resin, and for the cleaning steps after a good print, how to wash and cure resin prints.
Frequently asked questions
Why will my resin print not stick to the build plate?
The usual causes are leveling or Z calibration, low bottom exposure, cold resin, a dirty plate or the wrong profile. Re-level first, then check bottom exposure and room temperature.
Why does my model fall off the supports?
Weak support contacts, low exposure, fast lift speed or a large cross-section jump are common. Increase contact size or density, reorient the part and check the slice preview for islands.
How do I know if the printer or the model file is the problem?
Rotate or move the model and print again. If the defect follows the model, check the file and supports. If it stays in the same spot on the plate, check leveling, the film and the screen.
Can I reuse resin from a failed print?
Liquid resin in the vat can usually be filtered and reused, but cured bits must be removed first. Follow the resin maker's Safety Data Sheet for handling and disposal.
Sources

Founder and editor
Software engineer since 2009 and Head of Engineering by day, a maker who has owned several 3D printers, writing practical guides to 3D printers, filament and running costs, with every article saying what was and was not tested.
Drafted with AI assistance, then edited and reviewed by Sepehr before it goes live. How we use AI.
Keep reading
 AI illustration
What Is Resin 3D Printing? How It Works
Resin 3D printing hardens liquid photopolymer with UV light one layer at a time. Here is how SLA, DLP and MSLA differ, typical…
 AI illustration
How to Wash and Cure Resin Prints
A step-by-step guide to washing and curing resin prints, with starting times from Prusa and Elegoo documentation and fixes for…
 AI illustration
Resin 3D Printing Safety Basics
What printer makers say about handling liquid resin: gloves, ventilation, storage, isopropyl alcohol and disposal, with the SDS…