Orca Slicer export gcode is a two click job: click Slice plate, then Export G-code file. This lesson, tested in OrcaSlicer 2.4.2 on macOS, shows that flow, the File menu entries for saving and exporting, the Save dialogs, and what files land in your folder. We exported but did not print.
How do you export G-code in OrcaSlicer?
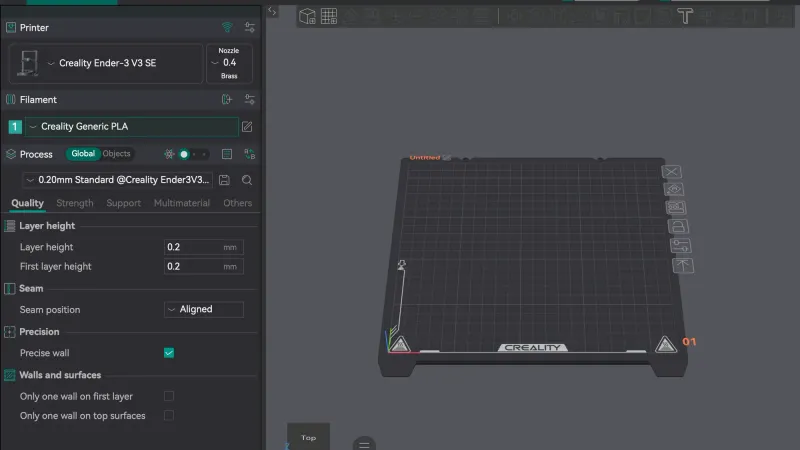
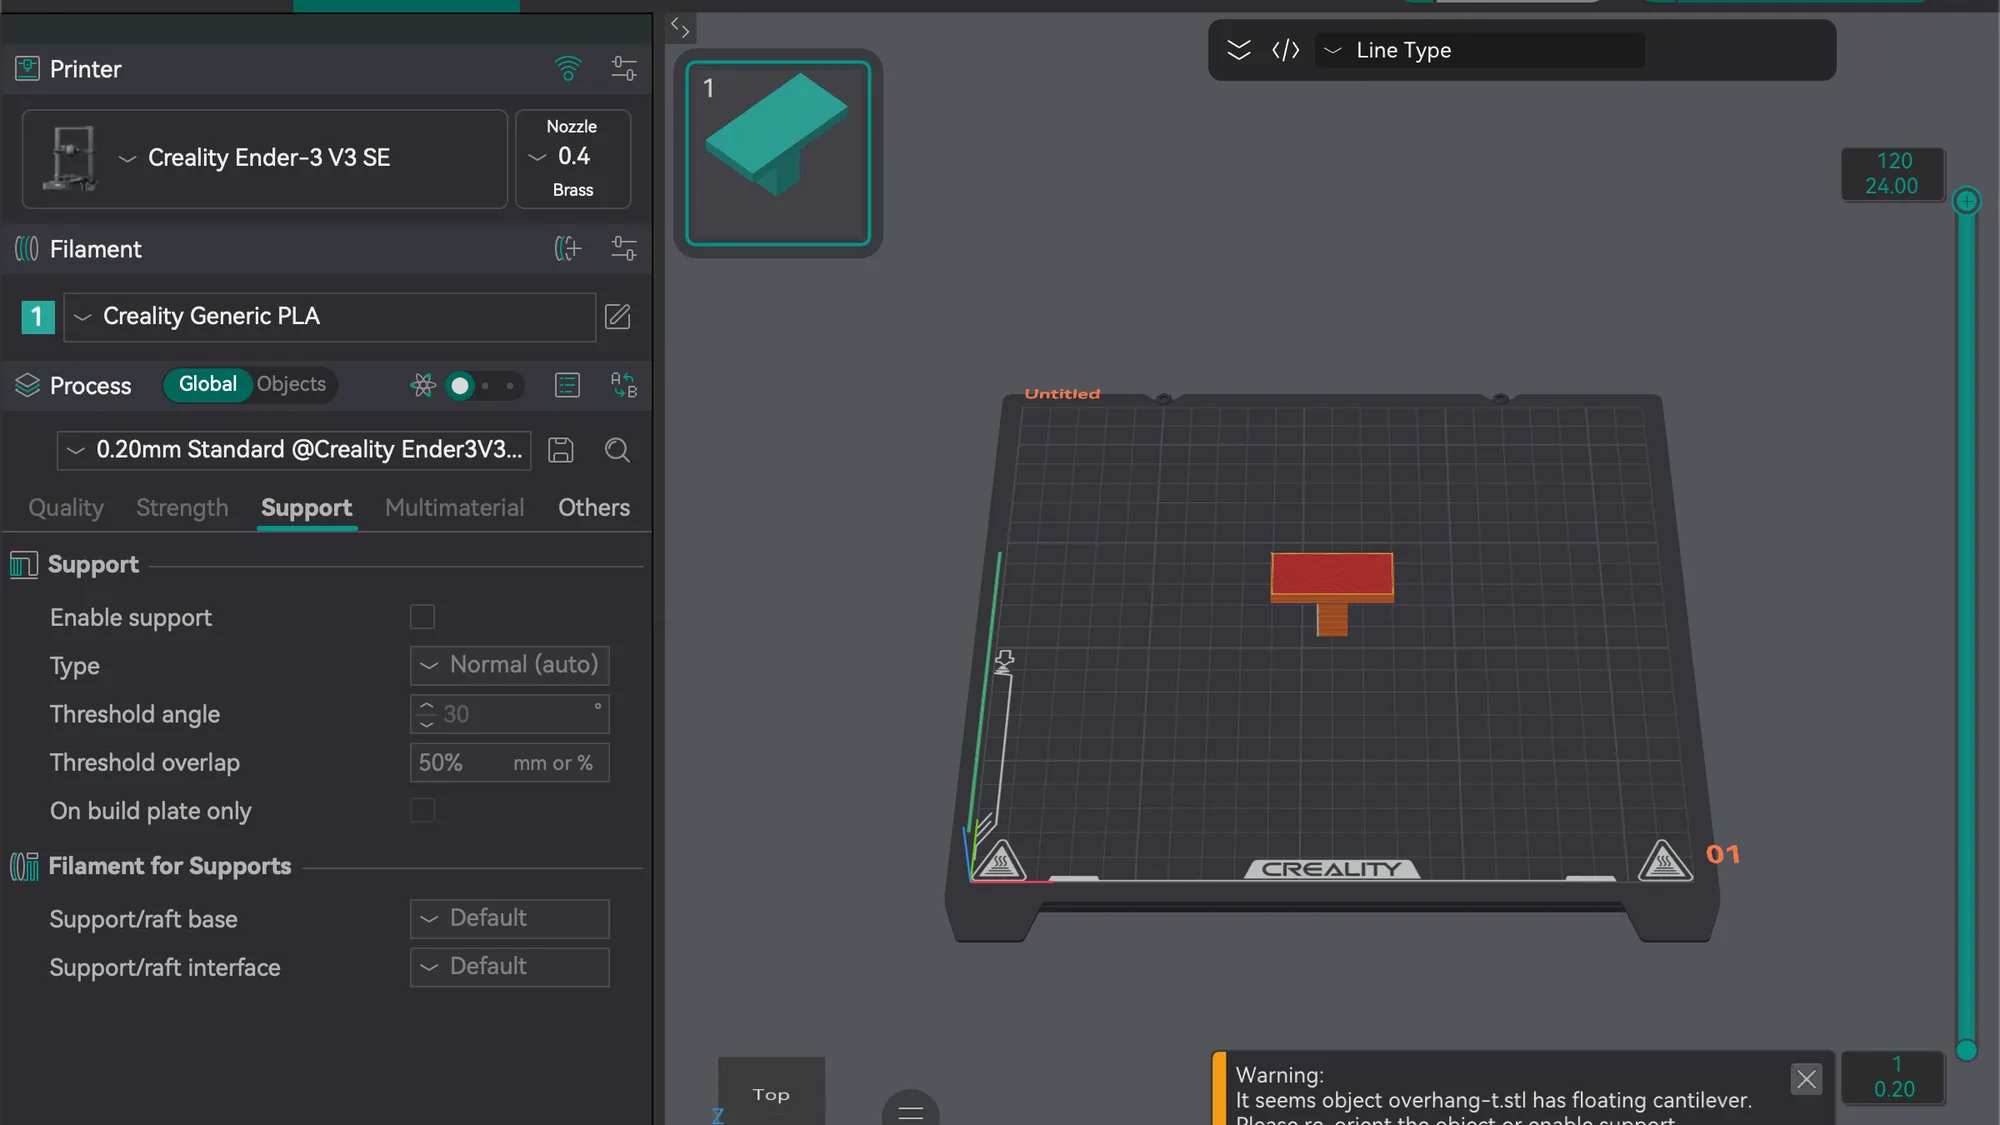
We started on the Prepare tab in Simple mode with the Creality Ender-3 V3 SE, Creality Generic PLA and the 0.20mm Standard process preset. The overhang-t test part from our previous lesson on the Calibration menu was on the plate. Before slicing, the Export G-code file button at the top right was greyed out. That makes sense, because there is nothing to export yet. G-code is the instruction file the printer reads, and our guide what is G-code explains it.
We clicked Slice plate. OrcaSlicer switched to the Preview tab, the Slice plate button went grey, and Export G-code file became active. The layer slider read 120 layers and 24.00 mm. A warning also appeared saying the object has a floating cantilever, because our test part overhangs and we had not turned supports on. That is expected for this part and not a failure.
Next to the export button there is a small arrow. Clicking it opened a short list with two entries, Print and Export G-code file. We did not click Print, because we have no printer connected and did not want to send anything. We only read the label.
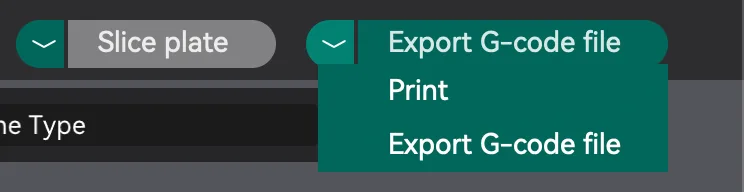
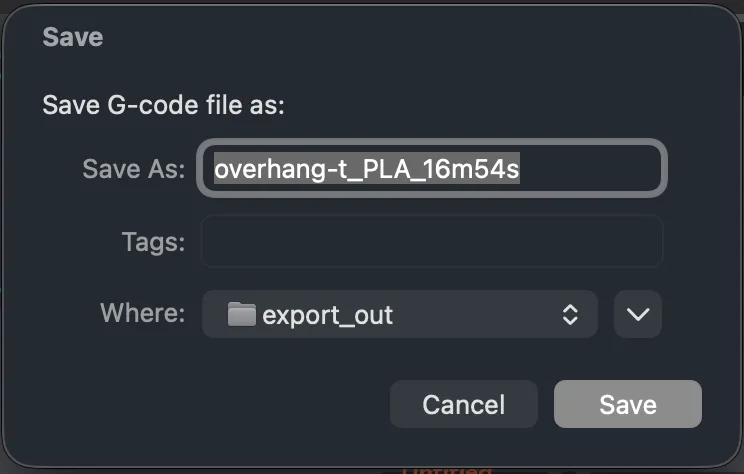
We then clicked the main Export G-code file button. A macOS Save dialog opened with the prompt Save G-code file as:. The suggested name was overhang-t_PLA_16m54s. It is built from the model name, the filament type and the slicer's own time estimate of 16 minutes 54 seconds. The Where field began in the folder we used last, so look at it before you press Save. We typed a path with Cmd+Shift+G to choose a scratch folder, then pressed Save.
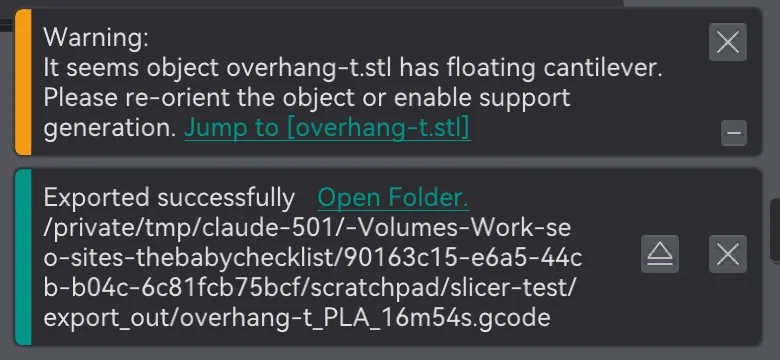
When the export finished, a green notice at the bottom right read Exported successfully with an Open Folder link and the full path. A second dialog titled warnings then repeated the floating cantilever message with an OK button. It blocks the window until you click OK, so do not be surprised by it.
What does the File menu offer for saving and exporting?
These are in the macOS menu bar, not inside the window. We read the File menu directly. Its entries are New Window, New Project, Open Project, Recent files, Save Project, Save Project as, Import, Export, Sync Presets and an item named Preset Bundle, separated by dividers. We did not open that last item, so we cannot describe it.
The Export sub menu has ten entries in this build, in this order:
- Export all objects as one STL
- Export all objects as STLs
- Export all objects as one DRC
- Export all objects as DRCs
- Export Generic 3MF
- Export plate sliced file
- Export all plate sliced file
- Export G-code
- Export toolpaths as OBJ
- Export Preset Bundle
Menu items for the sliced entries were all enabled once the plate was sliced. We did not check which ones are disabled before slicing, and we did not try the DRC, Generic 3MF, toolpaths or Preset Bundle exports.
What is the difference between saving a project and exporting G-code?
We used File, Save Project as. The Save dialog said Save file as, the suggested name was overhang-t, and the file it wrote was overhang-t.3mf. The asterisk in the window title went away afterwards, which tells you the project is no longer modified. A 3MF project holds your model and your settings so you can reopen it and keep editing. See STL vs 3MF vs G-code for the wider comparison.
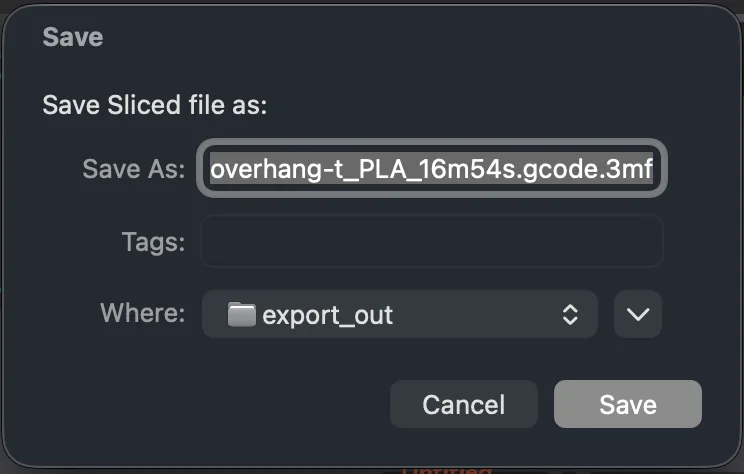
We also tried two other exports. Export plate sliced file asked Save Sliced file as: and suggested overhang-t_PLA_16m54s.gcode.3mf. Export all objects as one STL showed a dialog headed Export STL file: with the name overhang-t.
Here are the four files that ended up in our scratch folder, read with a file listing afterwards:
| File | Made by | Size |
|---|---|---|
| overhang-t_PLA_16m54s.gcode | Export G-code file | 315,728 bytes |
| overhang-t.3mf | Save Project as | 23,454 bytes |
| overhang-t_PLA_16m54s.gcode.3mf | Export plate sliced file | 70,279 bytes |
| overhang-t.stl | Export all objects as one STL | 1,284 bytes |
The STL was tiny because our part is a simple 24 triangle shape. The sliced 3MF is a zip archive. When we listed its contents it held a plate_1.gcode entry of exactly 315,728 bytes, the same size as the standalone G-code. So it packs the same toolpaths together with the project data, while the plain project 3MF has no G-code in it.
What is inside an exported G-code file?
We only read the file and did not run it. It is plain text with 13,505 lines. The first lines look like this:
;FLAVOR:Marlin
;TIME:1014.51
;Filament used:1.13m
;Layer height:0.2
; HEADER_BLOCK_START
; generated by OrcaSlicer 2.4.2 on 2026-10-18 at 20:34:34
; total layer number: 120
; max_z_height: 24.00
The numbers in the header are the slicer's estimates. The 1014.51 second time is the 16 minutes 54 seconds from the file name. Near the end the file lists filament used as 1130.26 mm, 2.72 cm3 and 3.37 g. Those are estimates and not measured results. The toolpath commands sit between an EXECUTABLE_BLOCK_START line and an EXECUTABLE_BLOCK_END line, and the file finishes with a block between CONFIG_BLOCK_START and CONFIG_BLOCK_END of about 640 lines. That block records the settings used, such as first_layer_height = 0.200, so the G-code carries a copy of how it was sliced. It does not replace the project file for editing.
When you are ready to save your own work, a sensible habit is to keep the 3MF project and export G-code only when you are done. Next lesson, orca-slicer-variable-layer-height, covers changing layer height across one model.
Next lesson: Orca Slicer Variable Layer Height Tool: Smooth Curves.