Overhangs need something under them, and OrcaSlicer calls that something support. This lesson, tested in OrcaSlicer 2.4.2 on macOS, shows how to use OrcaSlicer supports: the warning that tells you when you need them, the Support tab, what the supports look like in Preview, and Support Painting for placing them by hand.
How do you know a part needs supports in OrcaSlicer?
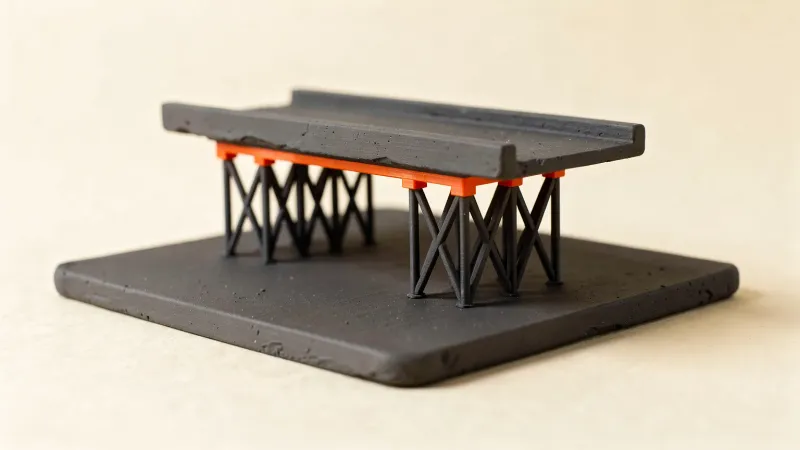
Start on the Prepare tab in Simple mode with the Creality Ender-3 V3 SE, Creality Generic PLA and the 0.20mm Standard Process preset. We loaded one overhang-t part, a T shape with a wide bar on a narrow stem, lying with the bar on top. Our previous lesson on Advanced mode used the same part.
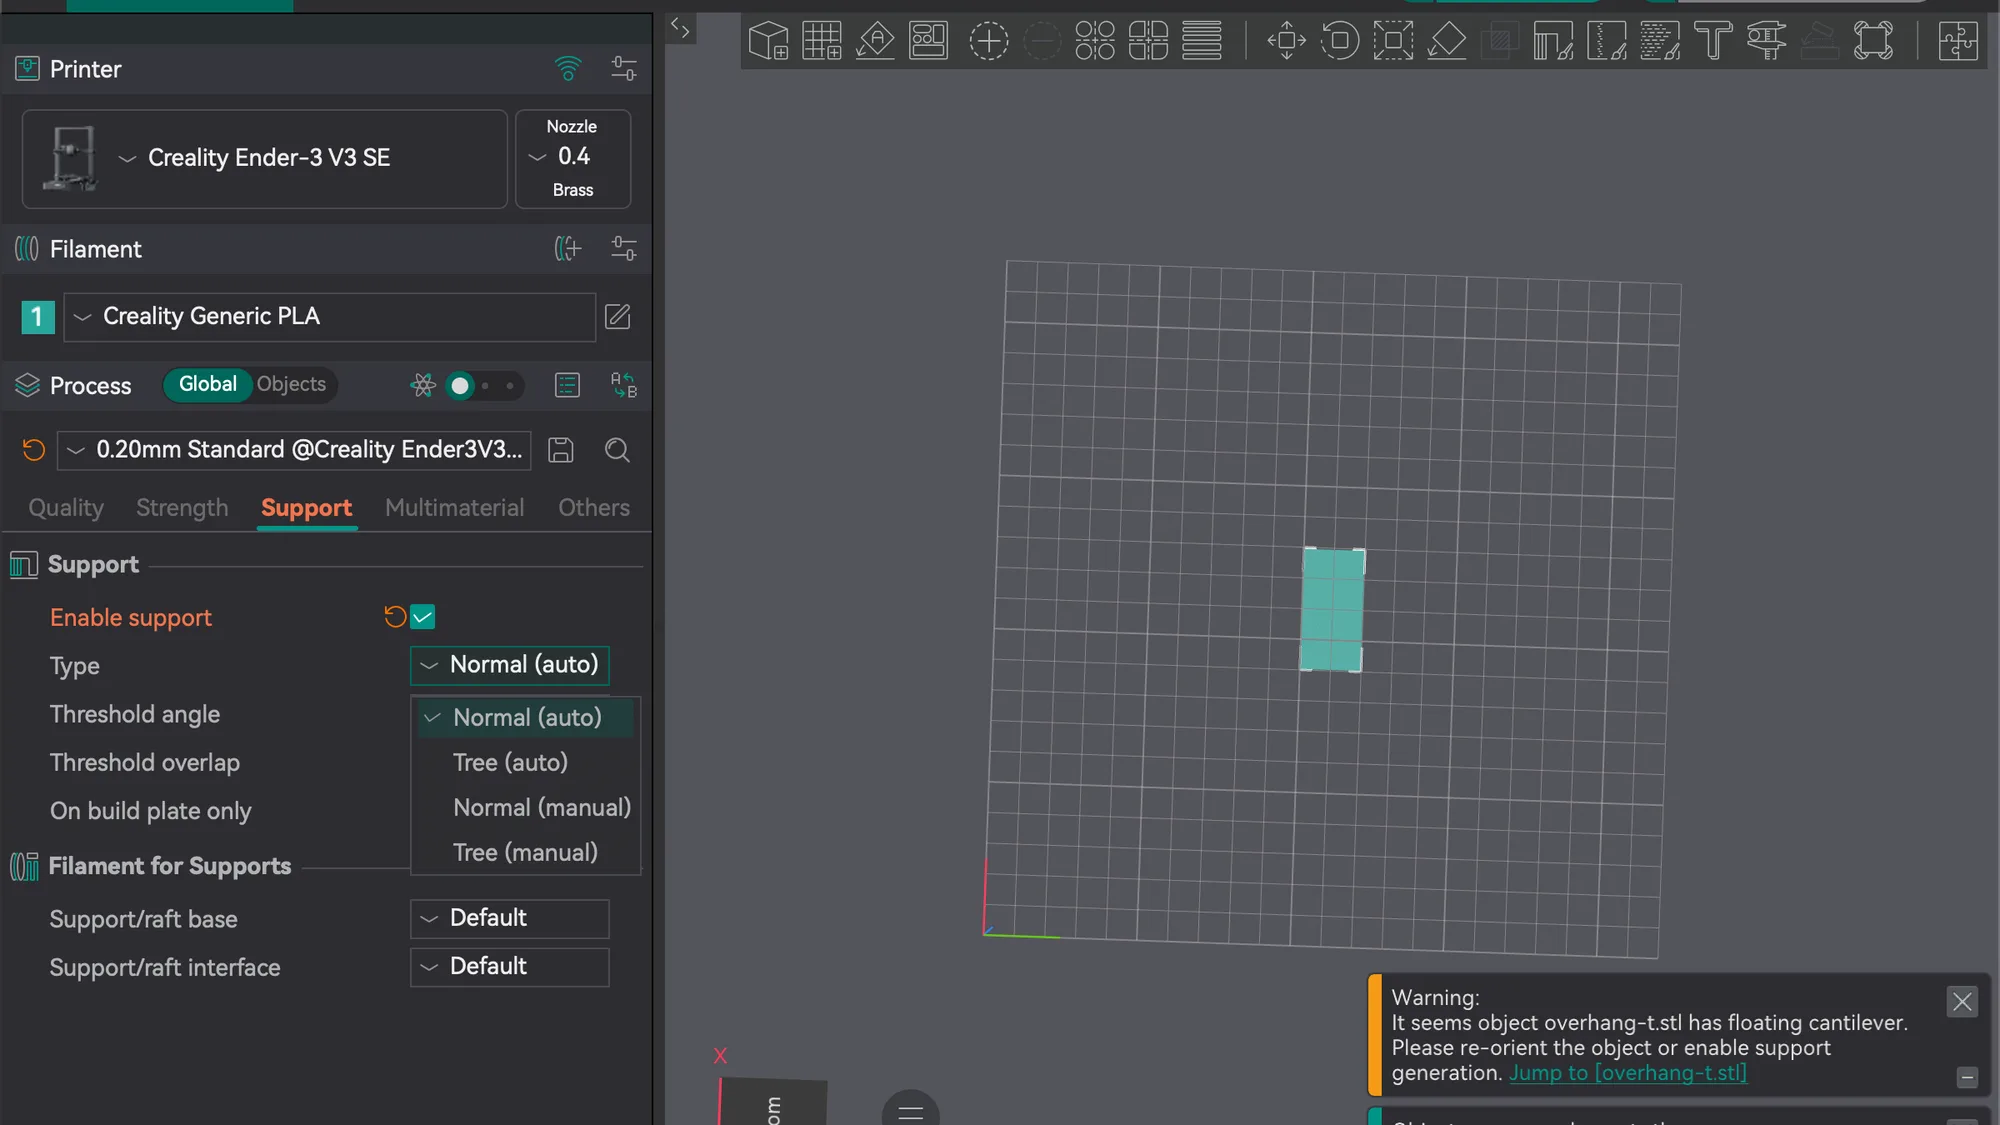
Open the Support tab in the Process panel. Enable support is unticked. Click Slice plate anyway. In the bottom right of the 3D view a yellow warning card appeared: "It seems object overhang-t.stl has floating cantilever. Please re-orient the object or enable support generation." It has a link, Jump to [overhang-t.stl], that selects the part. The card appeared after slicing, so we cannot say whether it also appears before you slice. The warning offers two fixes, turning the part over or enabling supports. The supports explained guide covers when each one is the better choice.
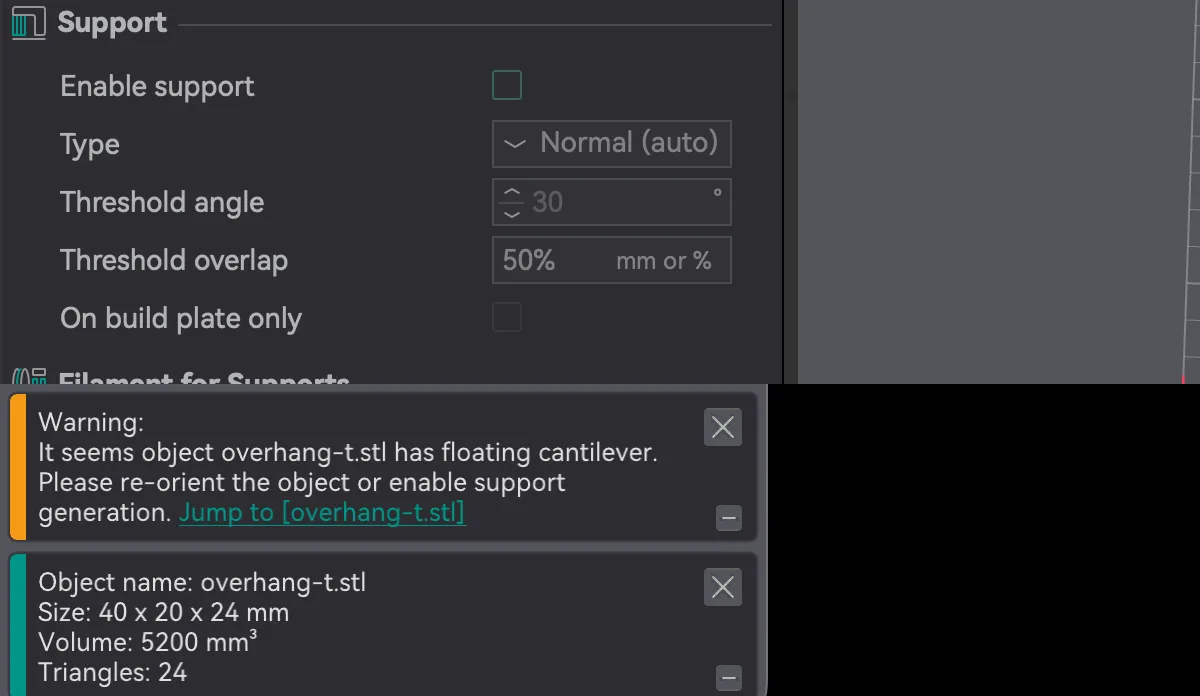
With support off, the slicer estimated 16m54s and 3.37 g of filament for this part. Keep those two numbers, because we compare against them below.
What is on the Support tab?
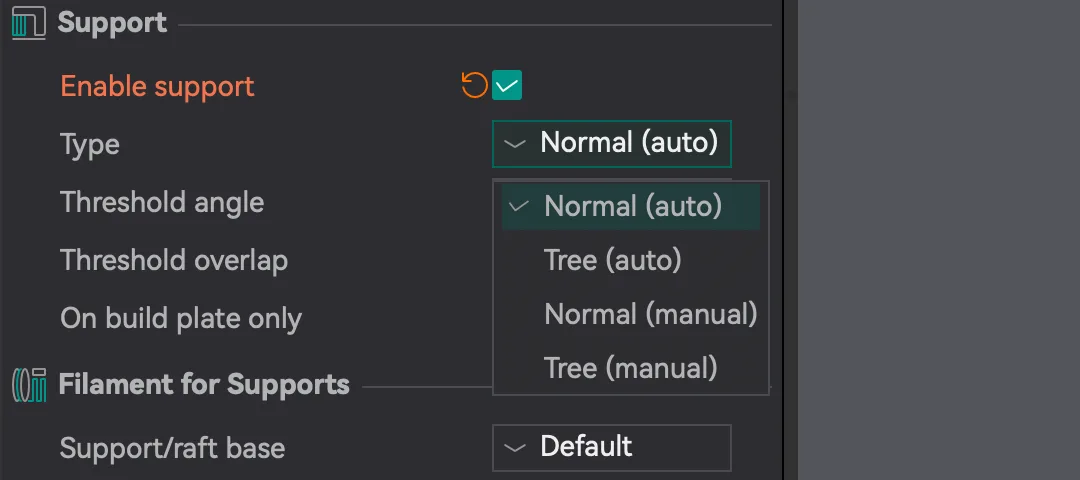
In Simple mode the Support tab has two groups. The Support group holds five fields and Filament for Supports holds Support/raft base and Support/raft interface, both set to Default. We left those alone. Tick Enable support and the other fields in the Support group become active. The Enable support label and the preset name turn orange, which is how OrcaSlicer marks a changed value.
The Type drop-down has four entries:
- Normal (auto), the value we started with
- Tree (auto)
- Normal (manual)
- Tree (manual)
Hover over a field label for two or three seconds to read its tooltip. Each one starts with a link to the OrcaSlicer wiki and ends with a parameter name. What we read:
- Enable support: "This enables support generation." Parameter
enable_support, default false. - Type: "Normal (auto) and Tree (auto) are used to generate support automatically. If Normal (manual) or Tree (manual) is selected, only support enforcers are generated." Parameter
support_type. - Threshold angle: "Support will be generated for overhangs whose slope angle is below the threshold. The smaller this value is, the steeper the overhang that can be printed without support." It adds that if the value is 0, normal supports use the Threshold overlap instead, and tree supports fall back to 30. Parameter
support_threshold_angle. The field showed 30 degrees. - On build plate only: "This setting only generates supports that begin on the build plate." Parameter
support_on_build_plate_only, default false.
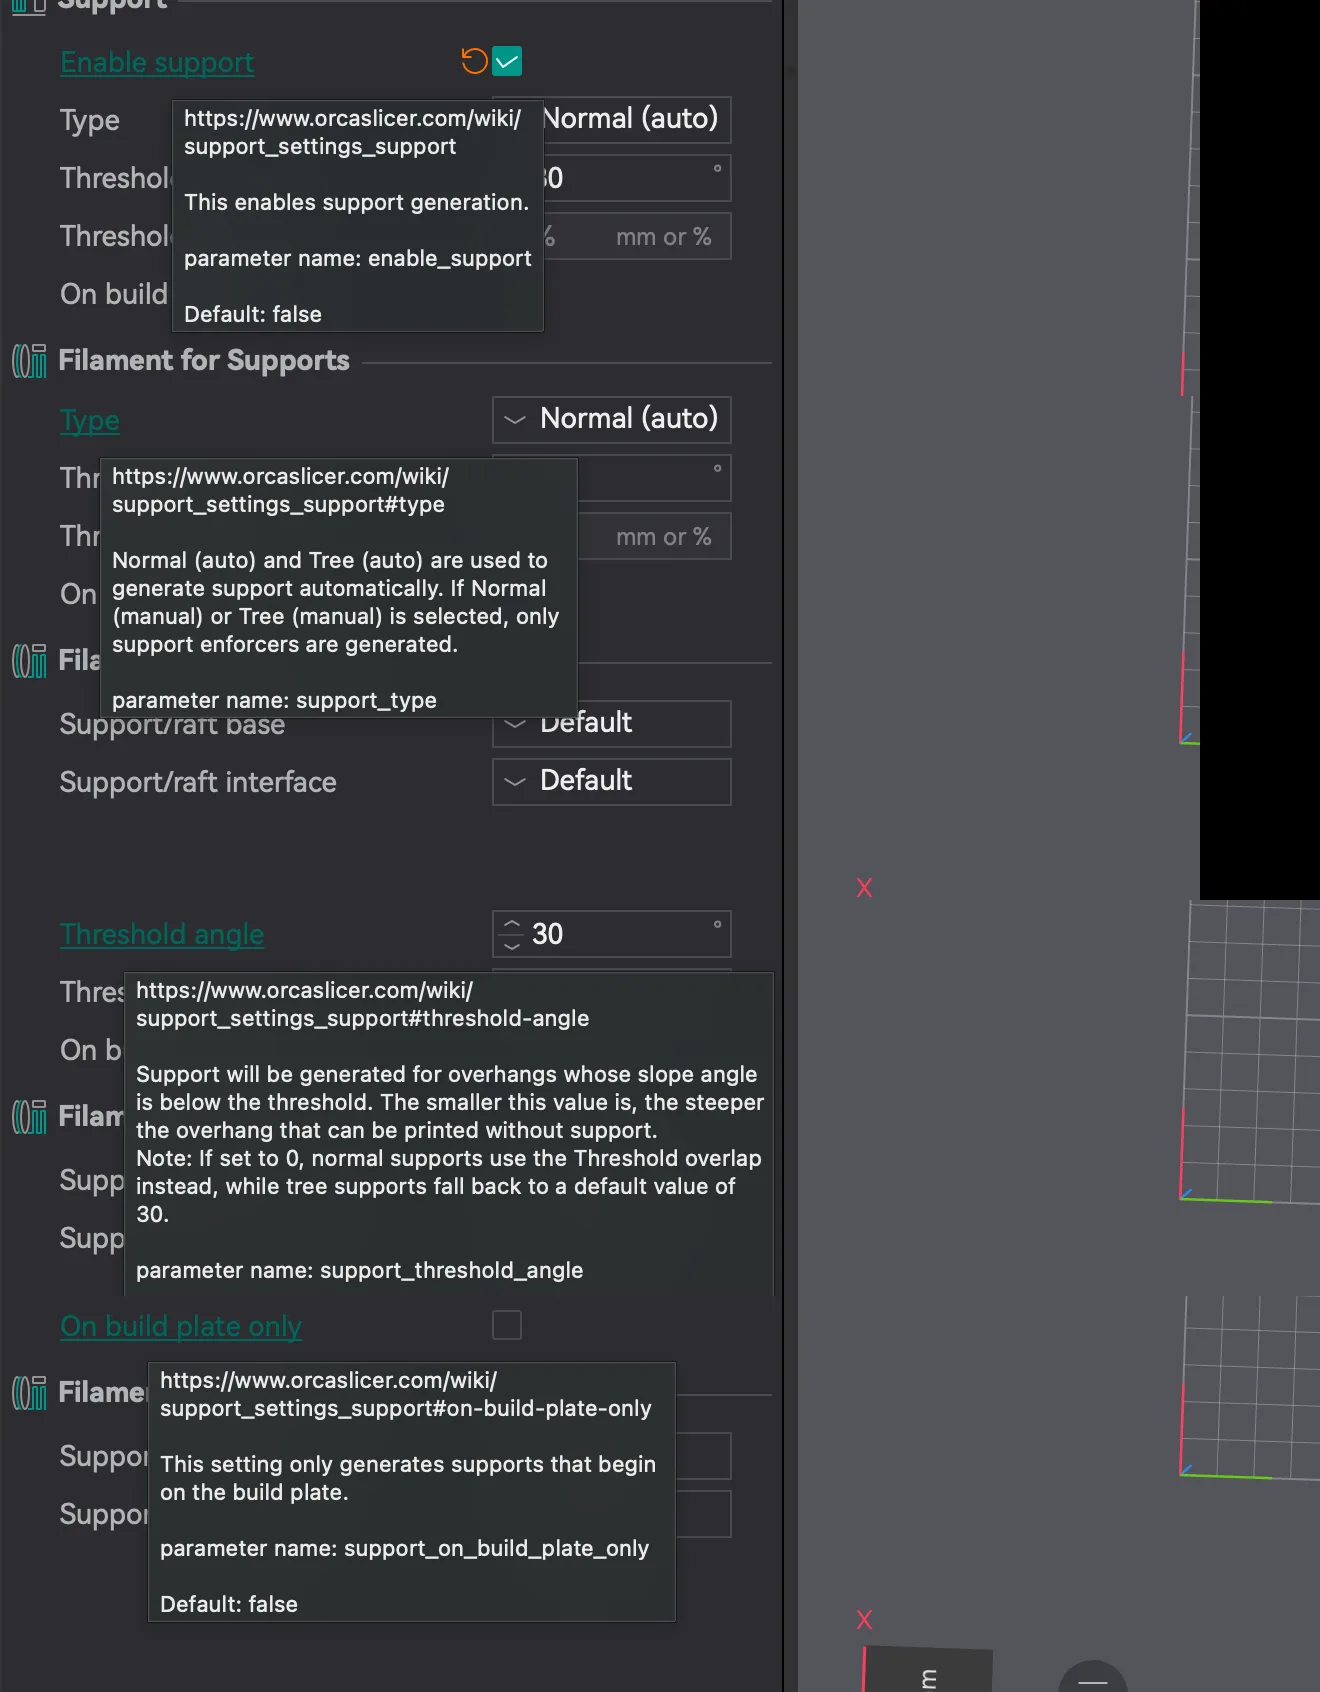
Threshold overlap showed 50% with the unit label "mm or %", and the field was greyed out while Threshold angle was 30. That fits the Threshold angle tooltip, which says the overlap value is used when the angle is 0, but we did not test it. We also did not open the Style options that other modes may show, and we did not slice with Tree supports, so we cannot say how they differ in the estimate.
What do supports look like in Preview, and what do they cost?
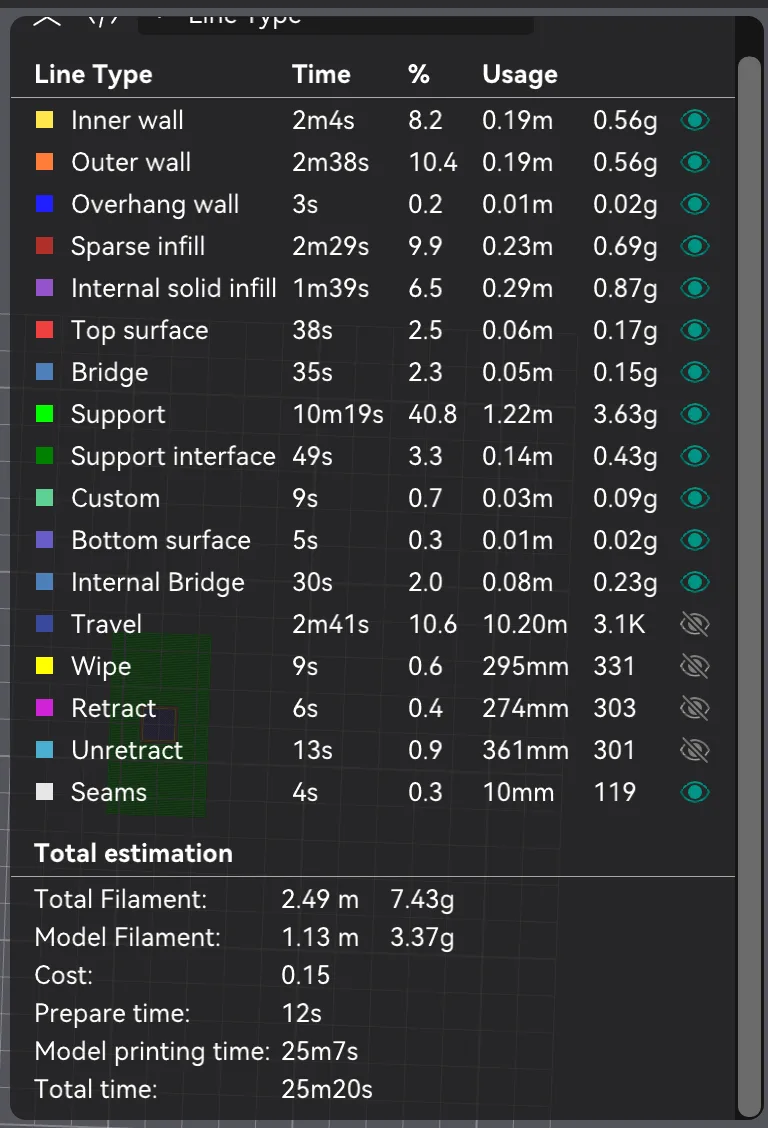
With Enable support ticked and Type on Normal (auto), click Slice plate. The app switches to the Preview tab. The Line Type table lists a Support row and a Support interface row, each with its own colour swatch, and they were not there with support off. The warning card did not return after the supported slice.
| Setting | Support rows | Total filament | Total time |
|---|---|---|---|
| Support off | none | 3.37 g | 16m54s |
| Normal (auto), threshold angle 30 | Support 10m19s, 3.63 g; Support interface 49s, 0.43 g | 7.43 g | 25m20s |
The Model Filament line stayed at 3.37 g, so the extra 4.06 g is all support. For this T shape the supports add about 8m26s and more than double the filament. These numbers come from the slicer, not from a print, so they say nothing about how easy the supports are to remove or what they do to the surface. For why supports cost surface quality, see supports explained.
How does Support Painting work in OrcaSlicer?
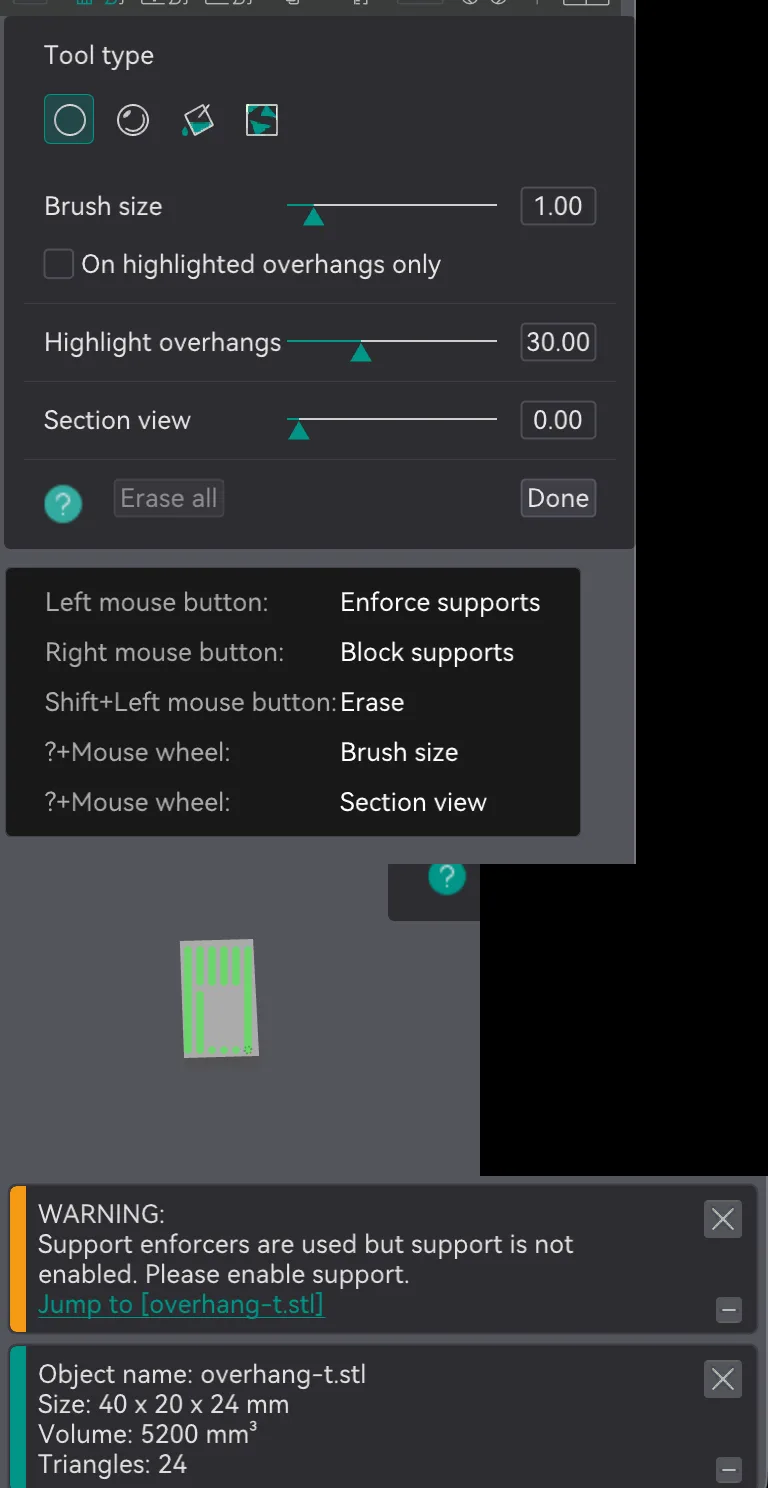
Support Painting lets you add or remove support in chosen places. Select the part, then click the Support Painting icon in the top toolbar, or press L. Its tooltip reads "Support Painting [L]". A panel opens at the right of the 3D view with a Tool type row of four buttons, whose tooltips are Circle, Sphere, Fill and Gap Fill. Below are Brush size (1.00), On highlighted overhangs only (unticked), Highlight overhangs (30.00), Section view (0.00), Erase all and Done. Choosing Fill replaces Brush size with Smart fill angle, also 30.00.
Click the question mark button in the panel for a help card:
- Left mouse button: Enforce supports
- Right mouse button: Block supports
- Shift+Left mouse button: Erase
- Mouse wheel with a modifier key: Brush size, and Section view
The card shows a question mark where the modifier key name should be, so we did not test the wheel shortcuts. To see the underside of the T we turned the view with the number key 2 (bottom view). Enforcer paint shows as green and blocker paint as red.
We checked three things.
- Enforcer with support off. After painting, we unticked Enable support. OrcaSlicer showed "WARNING: Support enforcers are used but support is not enabled. Please enable support." So paint alone does nothing; Enable support must be ticked.
- Enforcer with Normal (manual). We changed Type to Normal (manual), painted the whole underside of the bar with Fill, and sliced. The estimate was 7.43 g of filament and a model printing time of 25m7s, the same as Normal (auto). This matches the Type tooltip: in manual mode only enforcers make support.
- Blocker with Normal (auto). With Type back on Normal (auto), we right clicked with Fill on the underside, which turned it red, and sliced. The Line Type table had no Support rows and the estimate returned to 16m54s and 3.37 g. A blocker overrides the automatic supports.
Click Done to leave the tool, or Erase all to clear every stroke first. A warning in Prepare or Preview does not mean the slice failed, but a blocker can also remove supports a part really needs, so check the result in Preview.
How do you go back to no supports?
We used Erase all in Support Painting, clicked Done, then unticked Enable support. The orange marks stayed on the preset name, so we clicked the reset arrow beside the preset name; its tooltip reads "Click to reset all settings to the last saved preset." Support came back to its unticked state. Our what is a slicer guide explains why a preset keeps a saved state. The next lesson, orca-slicer-brim-skirt-seam, covers brim, skirt and seam settings.
Next lesson: Orca Slicer Brim, Skirt and Seam Settings.