3D Printing Supports: When You Need Them and How to Remove Them
Supports hold up parts of a print that start in mid-air. Learn when you need them, the main support styles, how to reduce them and how to remove them cleanly.
By Sepehr Sabbagh-pour · Published 11 October 2026 · 4 min read
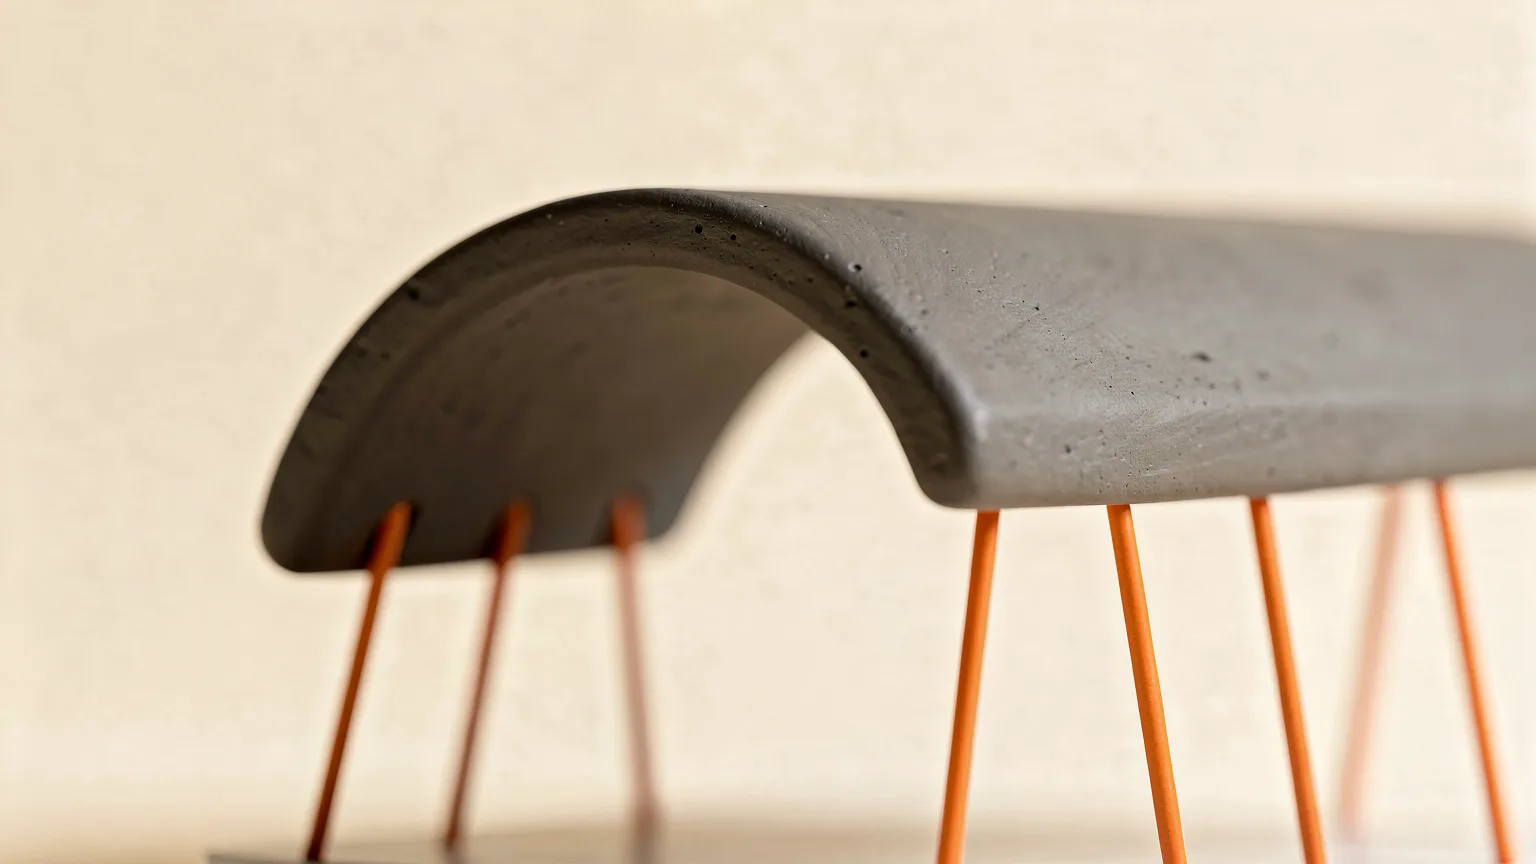
3D printing supports are temporary structures that hold up parts of a model that would otherwise print in mid-air. This guide explains when supports are needed, how the main styles differ, how to reduce them and how to remove them safely. The information comes from Prusa and OrcaSlicer documentation and is not based on our own printing, so treat every setting as a starting point.
When do you need supports?
Prusa's knowledge base explains it simply: a 3D printer builds an object layer over layer, and each new layer must be supported by the one beneath. If part of a model starts in mid-air with nothing below, an extra support structure is needed for a successful print.
Small overhangs and bridges often print without help. How far a slope can go before it needs support depends on the layer height and the cooling, among other things, and slicers use a threshold angle. PrusaSlicer describes its overhang threshold as the most horizontal slope, measured from the horizontal plane, that can print without support (90 is vertical). A lower value generates less support. See layer height explained for how layers affect overhangs, and fixing poor bridging for spans.
How can you reduce the need for supports?
Prusa advises considering a different orientation or splitting the model into several parts, which can reduce overhangs and the number of supports generated. Other options from the documentation:
- Supports on build plate only stops supports growing from the model's own surfaces, so you avoid small blemishes where they touch.
- Support blockers and enforcers let you remove supports from places the automatic algorithm filled unnecessarily, or add them to only the places that need them.
- Paint-on supports in PrusaSlicer let you mark areas directly.
- A support enforcer in the middle of a long bridge can split it into shorter bridges, according to Prusa.
Our sagging overhangs guide covers what happens when an overhang is left unsupported.
What are the support styles?
| Style | Documentation summary |
|---|---|
| Grid (normal) | Prusa says the default grid supports have a well-defined minimum area, which makes them very stable, but they tend to leak out along the object's walls. |
| Snug | Maintains the shape of the overhang so it does not spill onto walls. The trade-off is possibly lower stability for tall, thin pillars. |
| Organic (tree) | Branches grow from the sides and get denser beneath the parts that need support. Prusa says they are easily removable, do not scar the surface and are fast and cheap to print. |
| Tree slim, strong, hybrid (OrcaSlicer) | Slim uses less material, strong gives extra support for heavier overhangs, hybrid creates a normal style structure under large flat overhangs. |
OrcaSlicer also lets you choose automatic or manual placement, and offers a "critical regions only" option that supports only sharp tails and cantilevers. Menu names vary between slicers; OrcaSlicer for beginners, PrusaSlicer for beginners and Cura for beginners show where to look.
Support settings that matter
- Top contact Z distance: the vertical gap between the object and the support interface. Prusa notes that setting it to 0 is how support layers are kept synchronized with the object layers when a wipe tower is used.
- Raft: raises the object by a number of layers with support material generated underneath, and you peel it away afterwards. Related options are covered in brim vs raft vs skirt.
- Enforce support for the first layers: adds adhesion for objects with a thin or poor footprint.
- Soluble or breakaway supports: used with multi-material setups, with extra synchronization rules around a wipe tower in PrusaSlicer.
How do you remove supports?
Prusa says that, depending on the geometry and material, supports are often easy to remove with bare hands. Pliers help in hard-to-reach places, and a scalpel or utility knife can cut away stubborn pieces. It also warns that pieces of support can be surprisingly sharp and sometimes eject violently in a random direction, so consider protective glasses when removing hard supports.
Leftover marks and bumps are common; see fixing blobs and zits for surface blemishes.
Practical order. First reorient the model, then try tree or organic supports on the build plate only, then add blockers for any spots that are hard to reach. Wear eye protection when snapping supports off. If they will not come off, see how to fix supports stuck to the print.
Frequently asked questions
When do you need supports in 3D printing?
You need supports when part of a model starts in mid-air with nothing below it. Slicers detect these areas using an overhang threshold angle, and you can add or remove supports manually.
What is the difference between tree supports and normal supports?
Normal grid supports form a stable regular structure but can leak along the walls. Tree or organic supports branch out from fewer contact points, and Prusa says organic supports are easily removable, do not scar the surface and are fast and cheap to print.
How do you remove 3D print supports?
Often by hand. Pliers help in tight spots and a scalpel or utility knife can cut stuck pieces. Prusa warns that support pieces can be sharp and may fly off, so wear eye protection.
Can you reduce the number of supports?
Yes. Reorienting the model, splitting it into parts, limiting supports to the build plate and using support blockers or a lower overhang threshold can all reduce supports.
Sources

Founder and editor
Software engineer since 2009 and Head of Engineering by day, a maker who has owned several 3D printers, writing practical guides to 3D printers, filament and running costs, with every article saying what was and was not tested.
Keep reading
Print Speed vs Quality: How Fast Can You Print?
Faster prints are limited by how much plastic the hotend can melt, not the box number. Learn the limits and how to speed up without losing quality.
11 October 2026 · 7 min read
PrusaSlicer for Beginners: Setup and First Slice
A step-by-step PrusaSlicer guide for beginners: install it, pick your printer and filament, set layer height, supports and infill, preview and export your first print.
11 October 2026 · 6 min read
Retraction Settings Explained
Retraction pulls filament back before travel moves to stop ooze and stringing. Learn each setting, typical starting values and how to tune them.
11 October 2026 · 7 min read