Retraction Settings Explained
Retraction pulls filament back before travel moves to stop ooze and stringing. Learn each setting, typical starting values and how to tune them.
By Sepehr Sabbagh-pour · Published 11 October 2026 · 7 min read
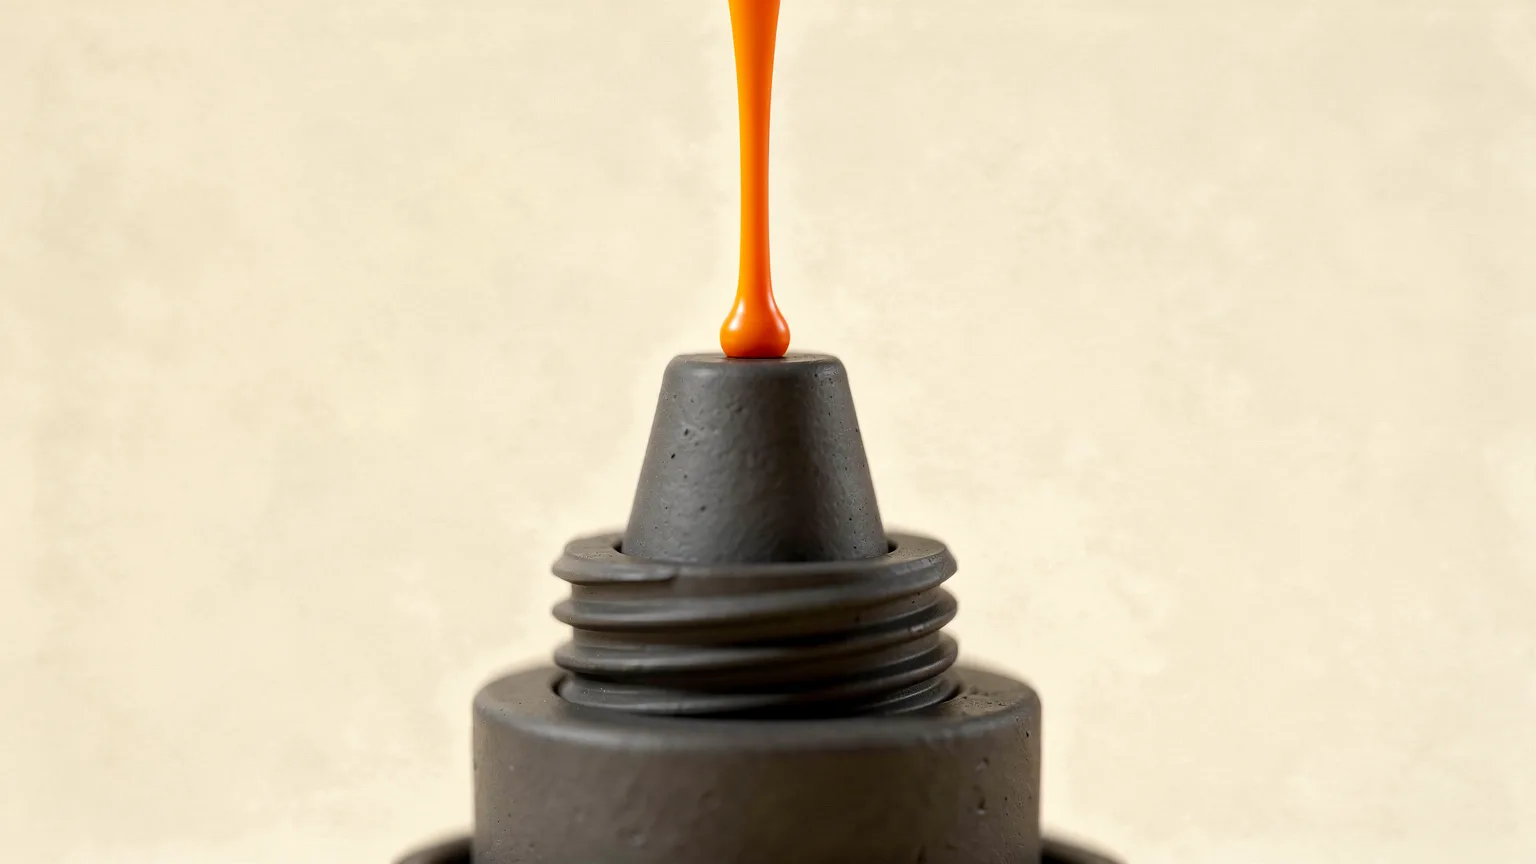
Retraction is the slicer setting that pulls filament back into the nozzle before the print head travels across a gap, then pushes it forward again when printing resumes. It exists to stop plastic oozing out during those non-printing moves. This guide explains each retraction setting, typical starting values from slicer documentation, and how to tune them. It is research-based, so treat every number as a starting point.
What retraction does
Prusa's documentation puts it simply: when the extruder finishes one section of the G-code, the filament is pulled back into the nozzle, and once the extruder reaches the next location the filament is pushed out and extrusion continues. The OrcaSlicer wiki describes the goal as preventing oozing and stringing during non-print moves.
Without retraction, molten plastic keeps seeping from the nozzle during travel, leaving fine strings and small blobs between parts. If you already see those, start with our guide to fixing stringing, which puts retraction in the right order after wet filament and temperature.
The main retraction settings
| Setting | What it does | Watch out for |
|---|---|---|
| Retraction length | How far the filament is pulled back | Too short does not stop oozing; too long can cause clogs or under-extrusion (OrcaSlicer) |
| Retraction speed | How fast the extruder pulls back | Prusa notes higher speed improves stringing, but too high can skip steps in the motor |
| Deretraction speed | How fast filament is pushed back in | In OrcaSlicer, zero means the same as retraction speed |
| Extra length on restart | Pushes a little extra after a retraction | Rarely needed; only if the start of lines looks thin |
| Minimum travel (threshold) | Only retract on moves longer than this | Prusa's preset is 1 mm; raising it saves time but increases oozing and stringing |
| Retract on layer change | Forces a retraction at each new layer | Prusa recommends leaving it on |
| Wipe while retracting | Moves the nozzle along the last path while retracting | Cleans leaked material and can reduce blobs (OrcaSlicer, Prusa) |
| Lift Z (z-hop) | Raises the nozzle during travel | Prusa says a lower value improves stringing, but disabling it may let the nozzle hit the part |
Typical starting values
Every printer and material is different, but the documentation gives sensible ranges to begin with:
- Direct-drive extruders: the OrcaSlicer retraction test defaults to a sweep from 0 to 2 mm in 0.1 mm steps, which it describes as suitable for most direct-drive extruders.
- Bowden extruders: OrcaSlicer suggests widening that sweep to 1 to 6 mm in 0.2 mm steps.
- Prusa i3 MK2.5/MK3 family: Prusa says retraction length should be a maximum of 2 mm. The Bowden-fed MINI presets use a longer default of 3.2 mm.
- Clean filaments: OrcaSlicer notes that for materials with minimal oozing, such as PLA or ABS, the tower may look clean from the start, and a length of 0.2 to 0.4 mm may be enough.
The reason for the difference is the filament path. In a Bowden setup the extruder sits away from the hotend, so the filament has to move farther before the nozzle feels any change. Our comparison of direct drive vs Bowden covers the trade-offs.
Material matters
OrcaSlicer says PETG and TPU are more prone to stringing than PLA or ABS and may need longer retraction. Prusa says flexible filaments usually need longer retractions because the material stretches while it is pulled back, and that they can need a lot of tuning. Slicers let you override the printer's retraction values per filament so you can keep separate values for each material. For a look at how these materials differ, see PETG vs PLA.
How to tune retraction step by step
- Rule out other causes. Dry the spool, check the nozzle is clean and not leaking, and confirm the temperature is within the range on the spool. OrcaSlicer advises drying the filament and checking the nozzle is properly installed if stringing remains. Our guide to drying filament explains how.
- Start from the stock profile. Prusa recommends its official preset settings. A profile made for your printer already has sensible values.
- Print a retraction tower. OrcaSlicer generates a tower with notches printed at different retraction lengths. The best length is the shortest one that gives the cleanest tower.
- Read the result from the G-code, not the notch. OrcaSlicer warns to use the Calib_Retraction_tower comment in the G-code preview rather than the plain retract command, because the real retraction may be split with a wipe.
- Change one thing at a time. Adjust length first, then speed, then wipe and minimum travel.
Other settings that reduce retractions
Prusa lists several options that cut the number of retractions or their effect:
- Avoid crossing perimeters: optimizes travel paths to cross fewer walls, which lowers stringing.
- Only retract when crossing perimeters: skips retraction when the travel stays inside the outer wall, where any ooze will not show.
- Sequential printing: printing objects one at a time reduces the chance of stringing between them.
- Lower nozzle temperature: Prusa suggests lowering it by 5 to 10 degrees C and checking whether stringing improves.
Klipper: firmware retraction and pressure advance
On Klipper printers you can leave retraction to the slicer or enable firmware retraction. The Klipper configuration reference describes the [firmware_retraction] section as enabling G10 (retract) and G11 (unretract) commands issued by many slicers. Its defaults are a retract length of 0 mm and retract speed of 20 mm/s, so you must set values yourself. For more on the firmware, see what is Klipper.
Pressure advance is a separate feature that compensates for pressure in the nozzle. Klipper's documentation says it reduces ooze during non-extrude moves and blobbing at corners. It also suggests that once pressure advance is tuned, a small slicer retraction (the example given is 0.75 mm) and the slicer's wipe on retract option may still help against ooze, and recommends disabling z-lift on retract.
Common mistakes
- Setting a very long retraction to cure stringing that is really caused by wet filament or heat.
- Raising retraction speed so high that the extruder skips steps.
- Disabling z-hop to cut stringing and then catching the nozzle on the part.
- Using the same values for PLA and flexible filament.
- Tuning on a partly clogged nozzle. If the extruder clicks or the flow looks uneven, deal with that first; see fixing under-extrusion.
Frequently asked questions
What is a good retraction distance?
It depends on the extruder. OrcaSlicer's test sweeps 0 to 2 mm for direct drive and suggests 1 to 6 mm for Bowden. Prusa says its MK3 family should stay at 2 mm or less. Use the shortest value that gives clean results.
Can too much retraction cause problems?
Yes. OrcaSlicer notes that a retraction that is too long can lead to clogs or under-extrusion. Prusa adds that very high retraction speed can make the extruder motor skip steps.
Should I use firmware retraction or slicer retraction?
Either works. Klipper supports firmware retraction through G10 and G11 but defaults to zero length, so you must configure it. Slicer retraction keeps settings in each filament profile, which many users find simpler.
Does pressure advance replace retraction?
No. Klipper's documentation says pressure advance reduces ooze and corner blobbing, but a small slicer retraction and wipe may still help once it is tuned.
Sources

Founder and editor
Software engineer since 2009 and Head of Engineering by day, a maker who has owned several 3D printers, writing practical guides to 3D printers, filament and running costs, with every article saying what was and was not tested.
Keep reading
Print Speed vs Quality: How Fast Can You Print?
Faster prints are limited by how much plastic the hotend can melt, not the box number. Learn the limits and how to speed up without losing quality.
11 October 2026 · 7 min read
PrusaSlicer for Beginners: Setup and First Slice
A step-by-step PrusaSlicer guide for beginners: install it, pick your printer and filament, set layer height, supports and infill, preview and export your first print.
11 October 2026 · 6 min read
STL vs 3MF vs G-code: 3D Printing File Types Explained
STL and 3MF describe a model; G-code tells the printer what to do. Learn what each file contains and which one to use at each step of a print.
11 October 2026 · 6 min read