Print Speed vs Quality: How Fast Can You Print?
Faster prints are limited by how much plastic the hotend can melt, not the box number. Learn the limits and how to speed up without losing quality.
By Sepehr Sabbagh-pour · Published 11 October 2026 · 7 min read
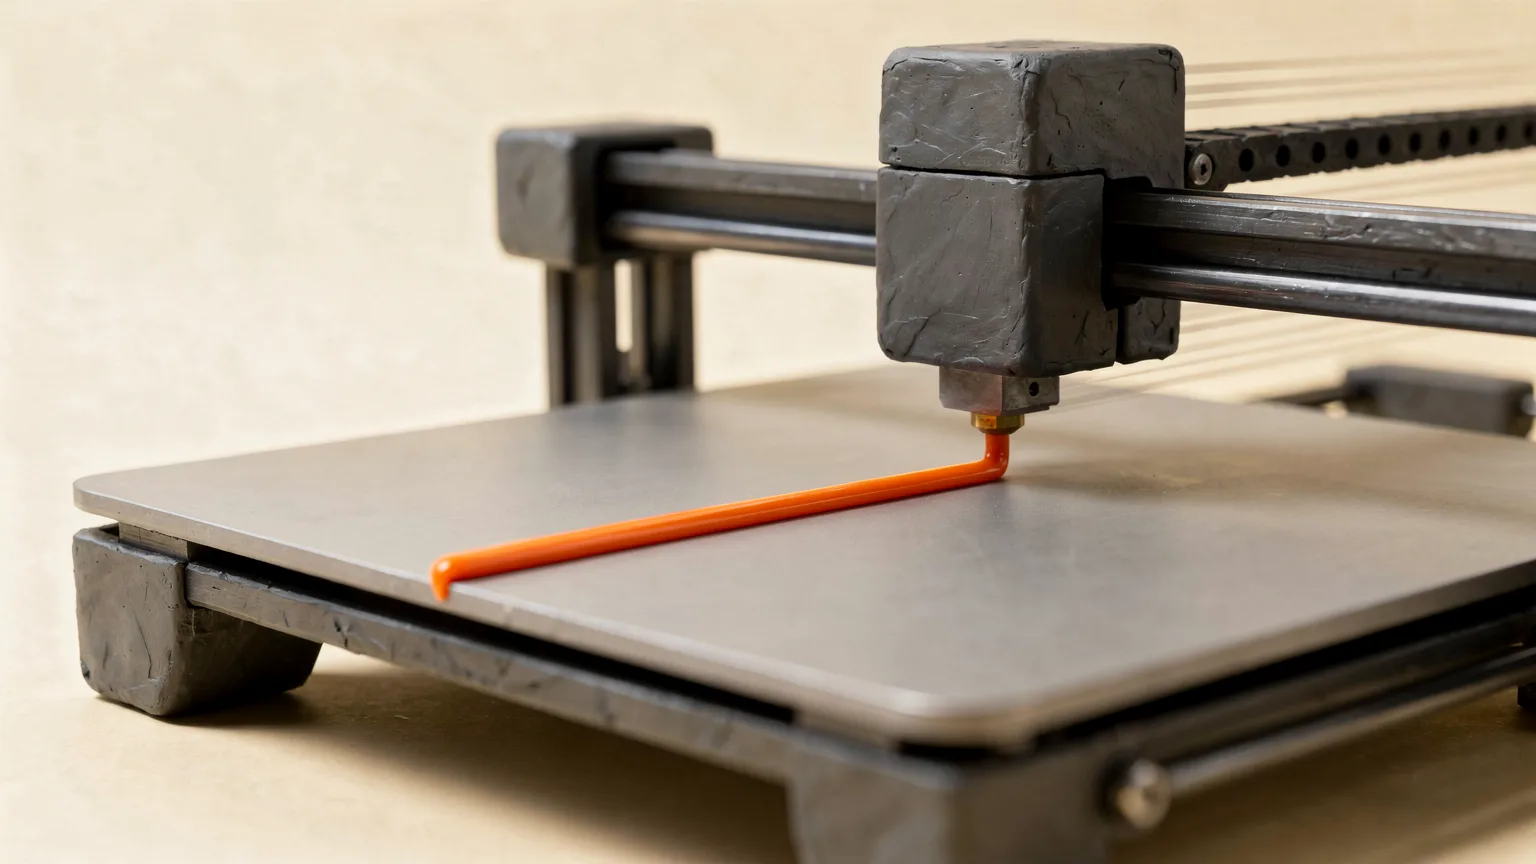
3D printing speed is a trade. Go faster and a print finishes sooner, but quality, strength and reliability can drop once the printer hits a limit. The limit is rarely the number on the box. It is usually how much plastic the hotend can melt per second, how well the frame handles vibration, and how fast the plastic can cool. This explainer covers those limits using slicer and firmware documentation. It is research-based, with no benchmark prints of our own, so use the figures as starting points.
The speed number on the box is not the whole story
Printer makers quote top speeds and accelerations, but the OrcaSlicer documentation lists several things that cap every speed setting in the slicer: the maximum volumetric speed of the filament, the machine's motion ability, acceleration and jerk settings. A high speed slider does nothing if one of those limits sits lower. The slicer will quietly slow the move down.
That is why two printers with the same quoted speed can finish the same part at different times, and why a profile that works on one spool may fail on another.
Volumetric flow: the real limit
Hotends melt plastic at a finite rate, measured in cubic millimeters per second (mm3/s). This is called volumetric speed or flow rate. You can estimate the flow a setting asks for:
flow = line width x layer height x print speed
For example, a 0.42 mm line at 0.2 mm layer height printed at 100 mm/s needs 0.42 x 0.2 x 100 = 8.4 mm3/s. Double the layer height to 0.4 mm and the same speed needs 16.8 mm3/s. This is why thick layers hit the flow limit long before thin ones, and why a larger nozzle can print faster; our guide to nozzle sizes covers that side.
OrcaSlicer says the maximum volumetric speed varies with the material, machine, nozzle diameter and even the extruder setup, and that even within PLA the brand and color can change the maximum flow rate. Each material profile includes a limit so the slicer can slow moves down before the nozzle clogs, under-extrudes or weakens layer bonding.
How to find your filament's limit
OrcaSlicer includes a flow-rate calibration print. Its documentation recommends the default test values (start at 5 mm3/s, end at 20 mm3/s, step of 0.5), then measuring the height on the printed test where layers begin to fail. The formula it gives is start + (height measured x step), so a failure at 19 mm gives 5 + (19 x 0.5) = 14.5 mm3/s.
The documentation also says this is a best-case figure. It does not account for retraction or other settings that can cause clogs, and it suggests reducing the result by 10 to 20 percent, or more, to protect quality and strength. If you raise speed or flow, it advises raising the nozzle temperature toward the higher end of the filament's range, which you can find with a temperature tower.
What gets worse when you print faster
| Symptom | Why speed causes it | Where to look |
|---|---|---|
| Under-extrusion, gaps, weak layers | Flow exceeds what the hotend can melt | Lower speed or raise temperature; see fixing under-extrusion |
| Ringing (echoes behind sharp corners) | Fast direction changes shake the frame | Lower acceleration; see ghosting and ringing |
| Curling or drooping overhangs | Plastic has less time to cool before the next pass | Slow down for overhangs, more cooling |
| Poor bed adhesion | First layer laid down too fast | Slow the first layer; see first layer fixes |
| Weaker parts | Layers bond less at high flow | OrcaSlicer warns high volumetric speed can hurt layer adhesion |
Speeds per feature: slow where it shows
Modern slicers do not use one speed. They set separate speeds for each feature, and the documentation gives the logic:
- Outer wall: OrcaSlicer says it is usually set slower than the inner wall for better quality and layer adhesion, because it is the visible surface.
- Inner wall and infill: these can run faster to save time, though OrcaSlicer still recommends keeping inner walls below the maximum volumetric speed.
- First layer: OrcaSlicer calls printing it slower than the rest a widely recommended practice that helps adhesion and reduces warping and curling.
- Overhangs: the slicer can slow down for steeper overhangs. It recommends slowing down for curled perimeters unless cooling is strong enough that curling does not happen.
- Bridges: OrcaSlicer suggests raising internal bridge speed to save time and lowering external bridge speed to improve quality.
- Travel: usually set high to cut the time spent not printing.
Acceleration matters as much as speed
Speed is how fast the nozzle moves along a straight line. Acceleration is how quickly it gets there. Small parts and detailed models spend most of their time accelerating and braking, so high top speed barely helps. OrcaSlicer's guidance is to use a lower acceleration for the outer wall, a higher one for inner walls and travel, and a lower one for the first layer, which it says can improve plate adhesion.
Klipper's documentation explains why this can show up on the surface. Ringing is caused by mechanical vibration from quick changes of direction, and usually has mechanical origins such as an insufficiently rigid frame, loose or springy belts and heavy moving mass. It recommends fixing those first, and describes input shaping as a technique that reduces ringing. For more on that firmware, see what is Klipper.
Layer height changes the equation
Print time depends heavily on layer height, since a part has fewer layers at 0.28 mm than at 0.12 mm. Raising layer height is often a bigger time saver than raising speed, and it keeps flow demands within reach only if the hotend can supply them. Our guide to layer height goes through the trade-offs.
A practical way to speed up safely
- Start from the stock profile for your printer and material.
- Find the filament's maximum volumetric speed with a flow test and set it in the filament profile.
- Raise inner wall and infill speeds first. They hide the most, and they save the most time.
- Keep the outer wall and first layer slower.
- Lower acceleration if ringing appears.
- If layers look weak, raise the nozzle temperature within the filament's range or slow down. OrcaSlicer says a change in surface sheen, glossy versus matte, is often a visual cue of material degradation or poor layer adhesion.
- Print a part you care about at the end and check strength by hand before trusting the settings for functional parts.
To see what a shorter print is worth in electricity and material, the print cost calculator lets you plug in your own print time and weight.
Rule of thumb. Slow the surfaces people see, speed up the parts they do not, and let the filament's measured flow limit set the ceiling.
Frequently asked questions
Does printing faster reduce quality?
It can. Past the filament's flow limit you get under-extrusion and weak layers, and fast direction changes can cause ringing. Staying under those limits and slowing the outer wall keeps most of the quality.
What is volumetric speed in 3D printing?
It is the volume of plastic the hotend melts and extrudes per second, in mm3/s. A rough estimate is line width x layer height x print speed.
Should the first layer be printed slowly?
OrcaSlicer calls a slower first layer a widely recommended practice because it helps adhesion and reduces warping and curling.
Is acceleration more important than top speed?
For small or detailed parts, often yes. They spend most of their time accelerating and braking, so a high top speed is rarely reached. Lower acceleration on outer walls also helps surface quality.
Sources

Founder and editor
Software engineer since 2009 and Head of Engineering by day, a maker who has owned several 3D printers, writing practical guides to 3D printers, filament and running costs, with every article saying what was and was not tested.
Keep reading
PrusaSlicer for Beginners: Setup and First Slice
A step-by-step PrusaSlicer guide for beginners: install it, pick your printer and filament, set layer height, supports and infill, preview and export your first print.
11 October 2026 · 6 min read
Retraction Settings Explained
Retraction pulls filament back before travel moves to stop ooze and stringing. Learn each setting, typical starting values and how to tune them.
11 October 2026 · 7 min read
STL vs 3MF vs G-code: 3D Printing File Types Explained
STL and 3MF describe a model; G-code tells the printer what to do. Learn what each file contains and which one to use at each step of a print.
11 October 2026 · 6 min read