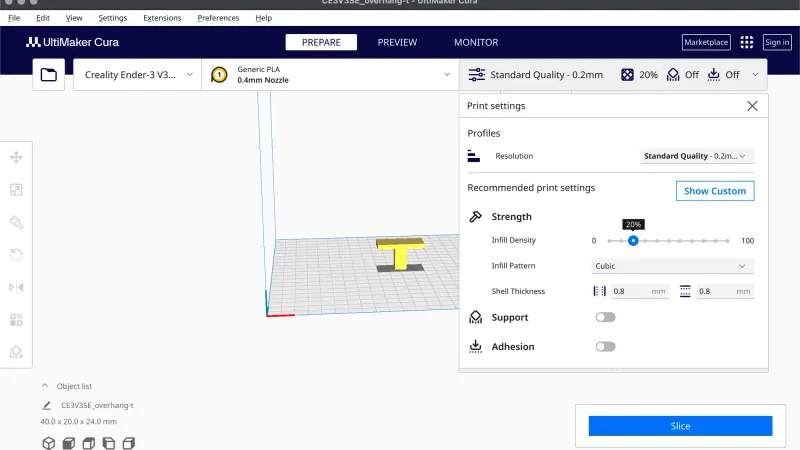
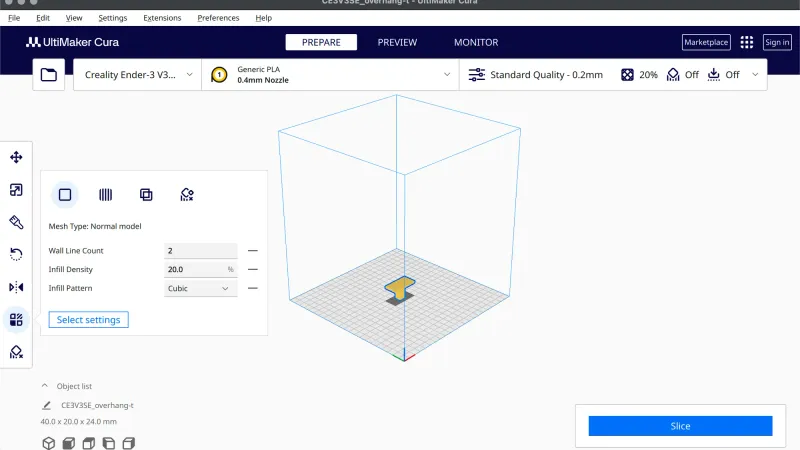
Cura custom settings are the full list behind the Recommended panel, and this is where you change a single value such as Print Speed or Wall Line Count. This lesson, tested in UltiMaker Cura 5.13.0 on macOS, shows how to open the list, find a setting, widen what is visible and undo your edits.
How do you switch Cura to Custom mode?
Open the print settings bar at the top right of the Prepare stage. If it only highlights, click it a second time. The panel opens in Recommended mode, which the previous lesson covered. At the right of the heading Recommended print settings there is a blue Show Custom button. Click it.
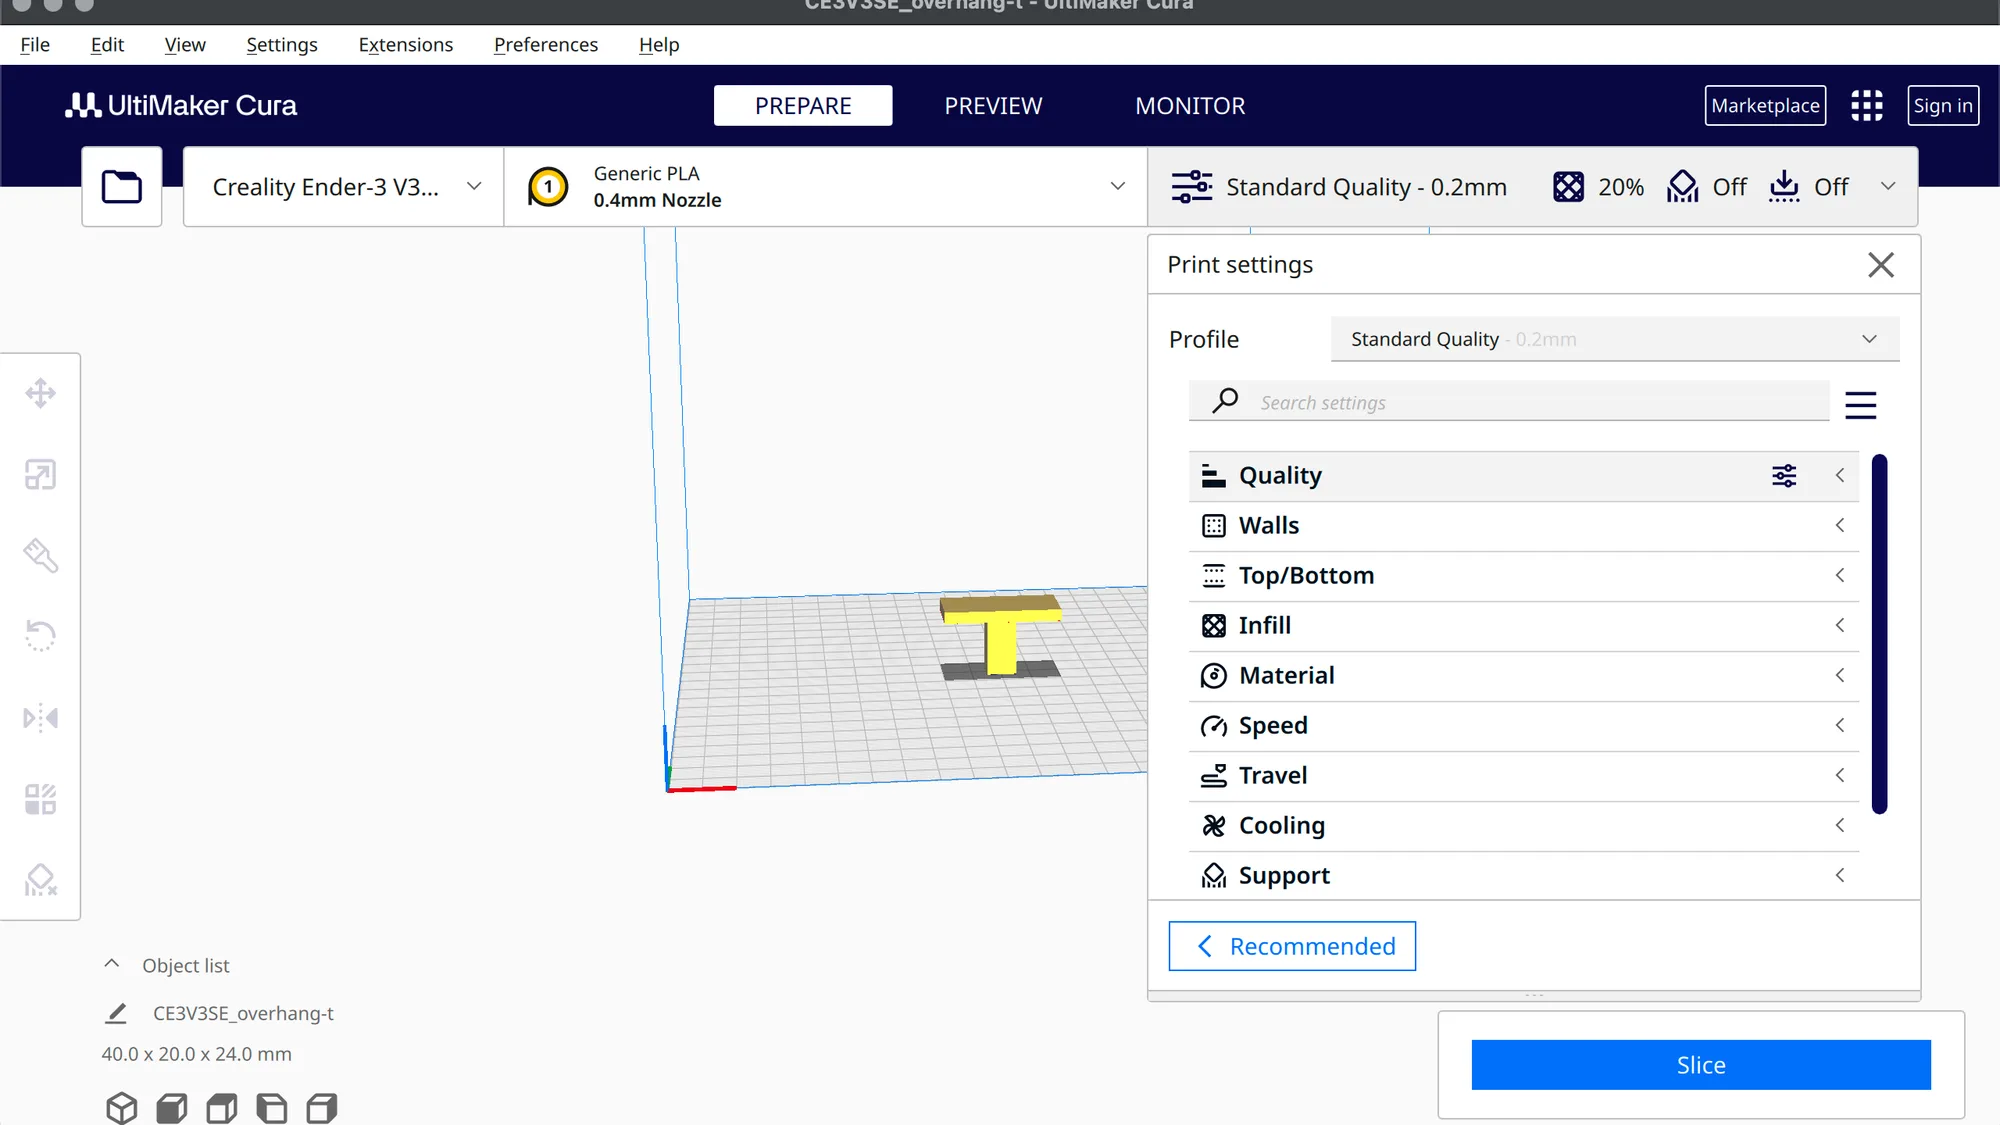
The panel changes. The Resolution row becomes a Profile drop-down. Under it sit a Search settings box with a small three line menu button at its right, then a scrolling list of categories. At the bottom is a button with an arrow reading Recommended. Clicking it takes you back, and at the end of this lesson we did exactly that. We used overhang-t.stl, 40.0 x 20.0 x 24.0 mm, with a Creality Ender-3 V3 SE profile, Generic PLA and a 0.4 mm nozzle.
What does the Profile drop-down contain?
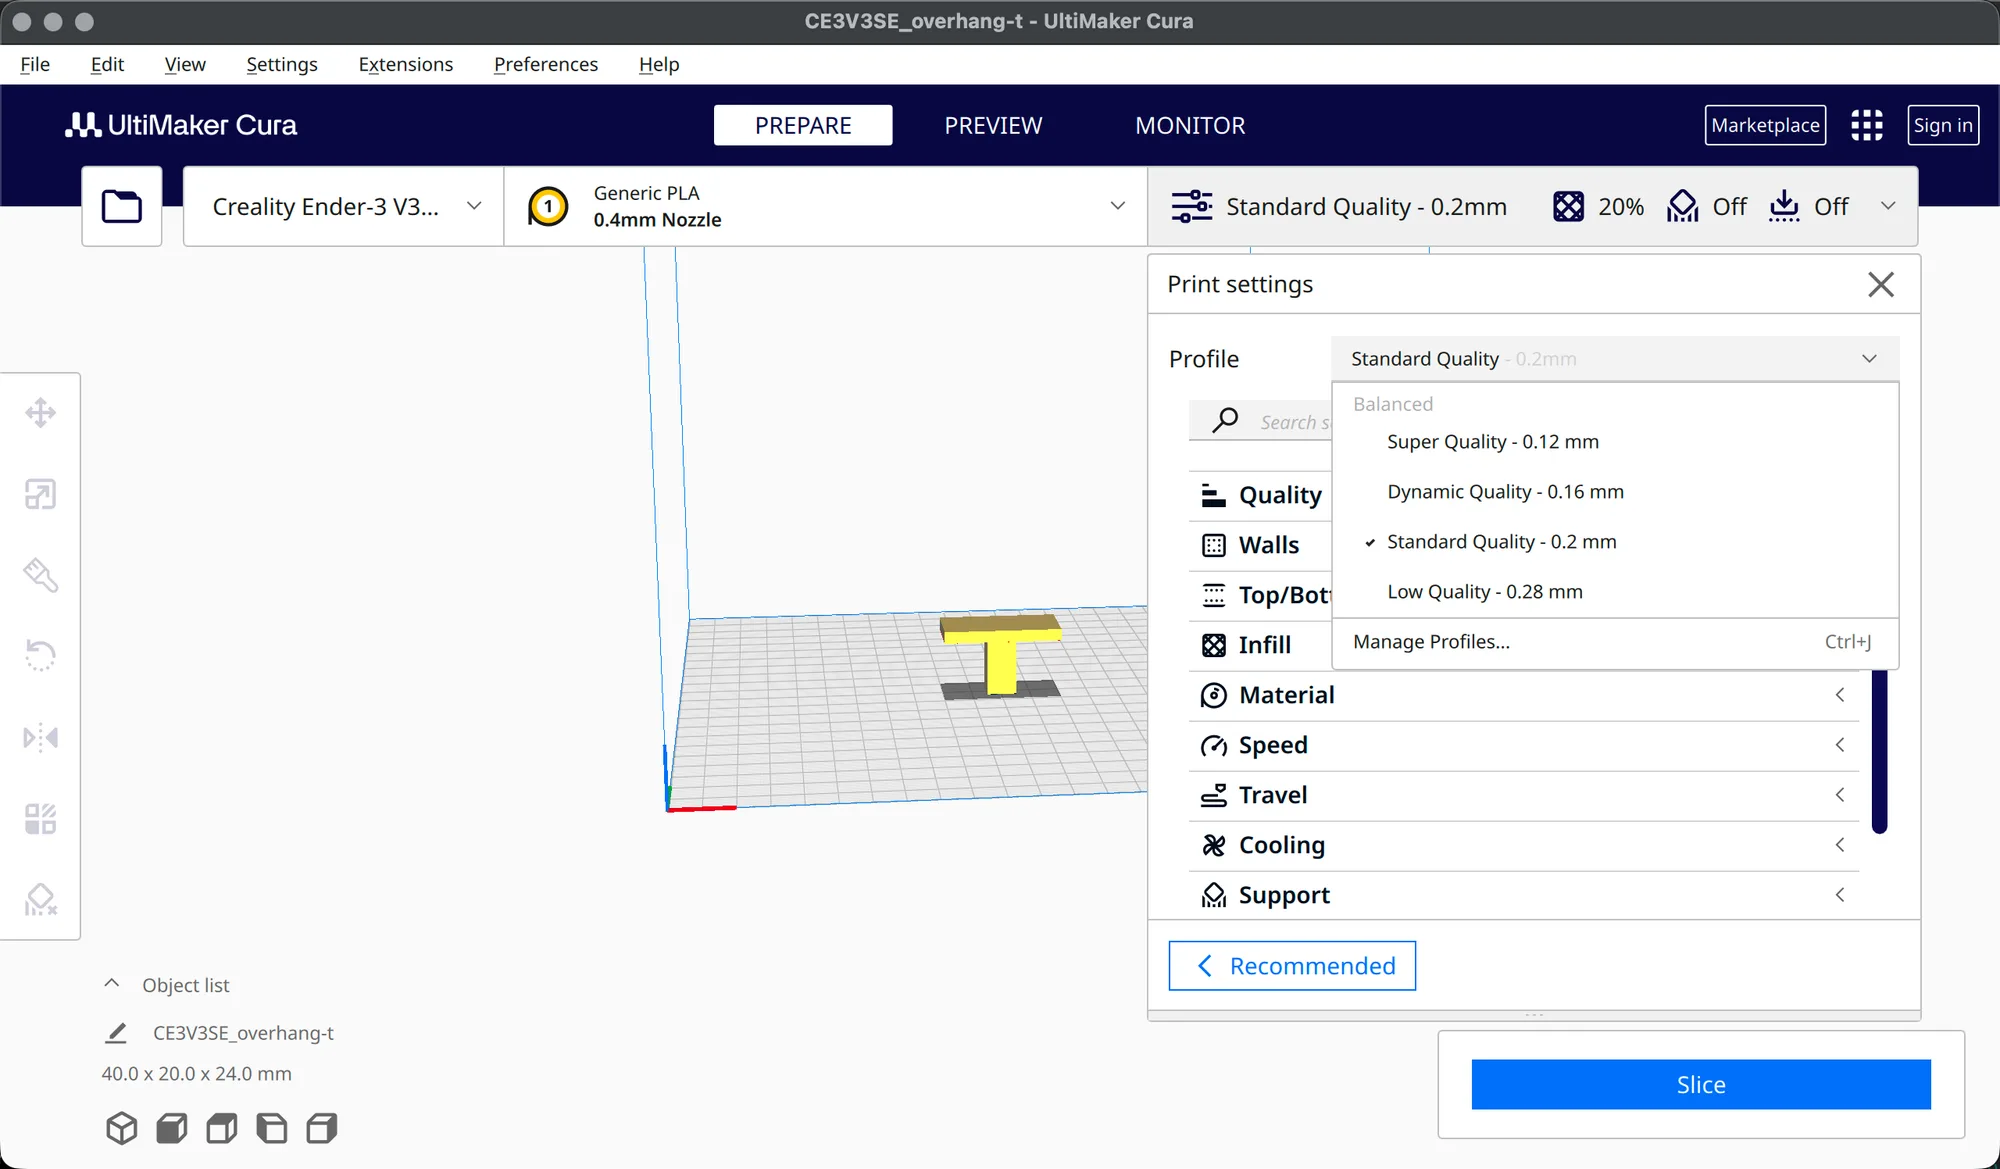
Click the Profile drop-down. Under a small grey heading, Balanced, we saw four entries: Super Quality 0.12 mm, Dynamic Quality 0.16 mm, Standard Quality 0.2 mm (ticked) and Low Quality 0.28 mm. Below a divider is Manage Profiles..., with the shortcut shown as Ctrl+J. These are the same four profiles as the Resolution list in Recommended mode, so changing the profile here changes the label in the top bar too. Escape did not close the open list for us. Our next click landed on Super Quality by mistake, so click an entry or an empty part of the panel on purpose, and check the label afterwards.
Which categories does the list show?
With the default visibility, called Basic, the category list read from the top: Quality, Walls, Top/Bottom, Infill, Material, Speed, Travel, Cooling, Support, Build Plate Adhesion and Dual Extrusion. Each row has an icon and an arrow, and a click expands it. The names differ from some other slicers, so note that Cura says Walls where others say perimeters or shell. See walls and perimeters explained if the terms are new.
When we set visibility to All, three more categories appeared after Dual Extrusion: Mesh Fixes, Special Modes and Experimental. Reaching them meant dragging the scroll bar at the right of the list, because the mouse wheel did not scroll the list in our test.
How does Search settings work?
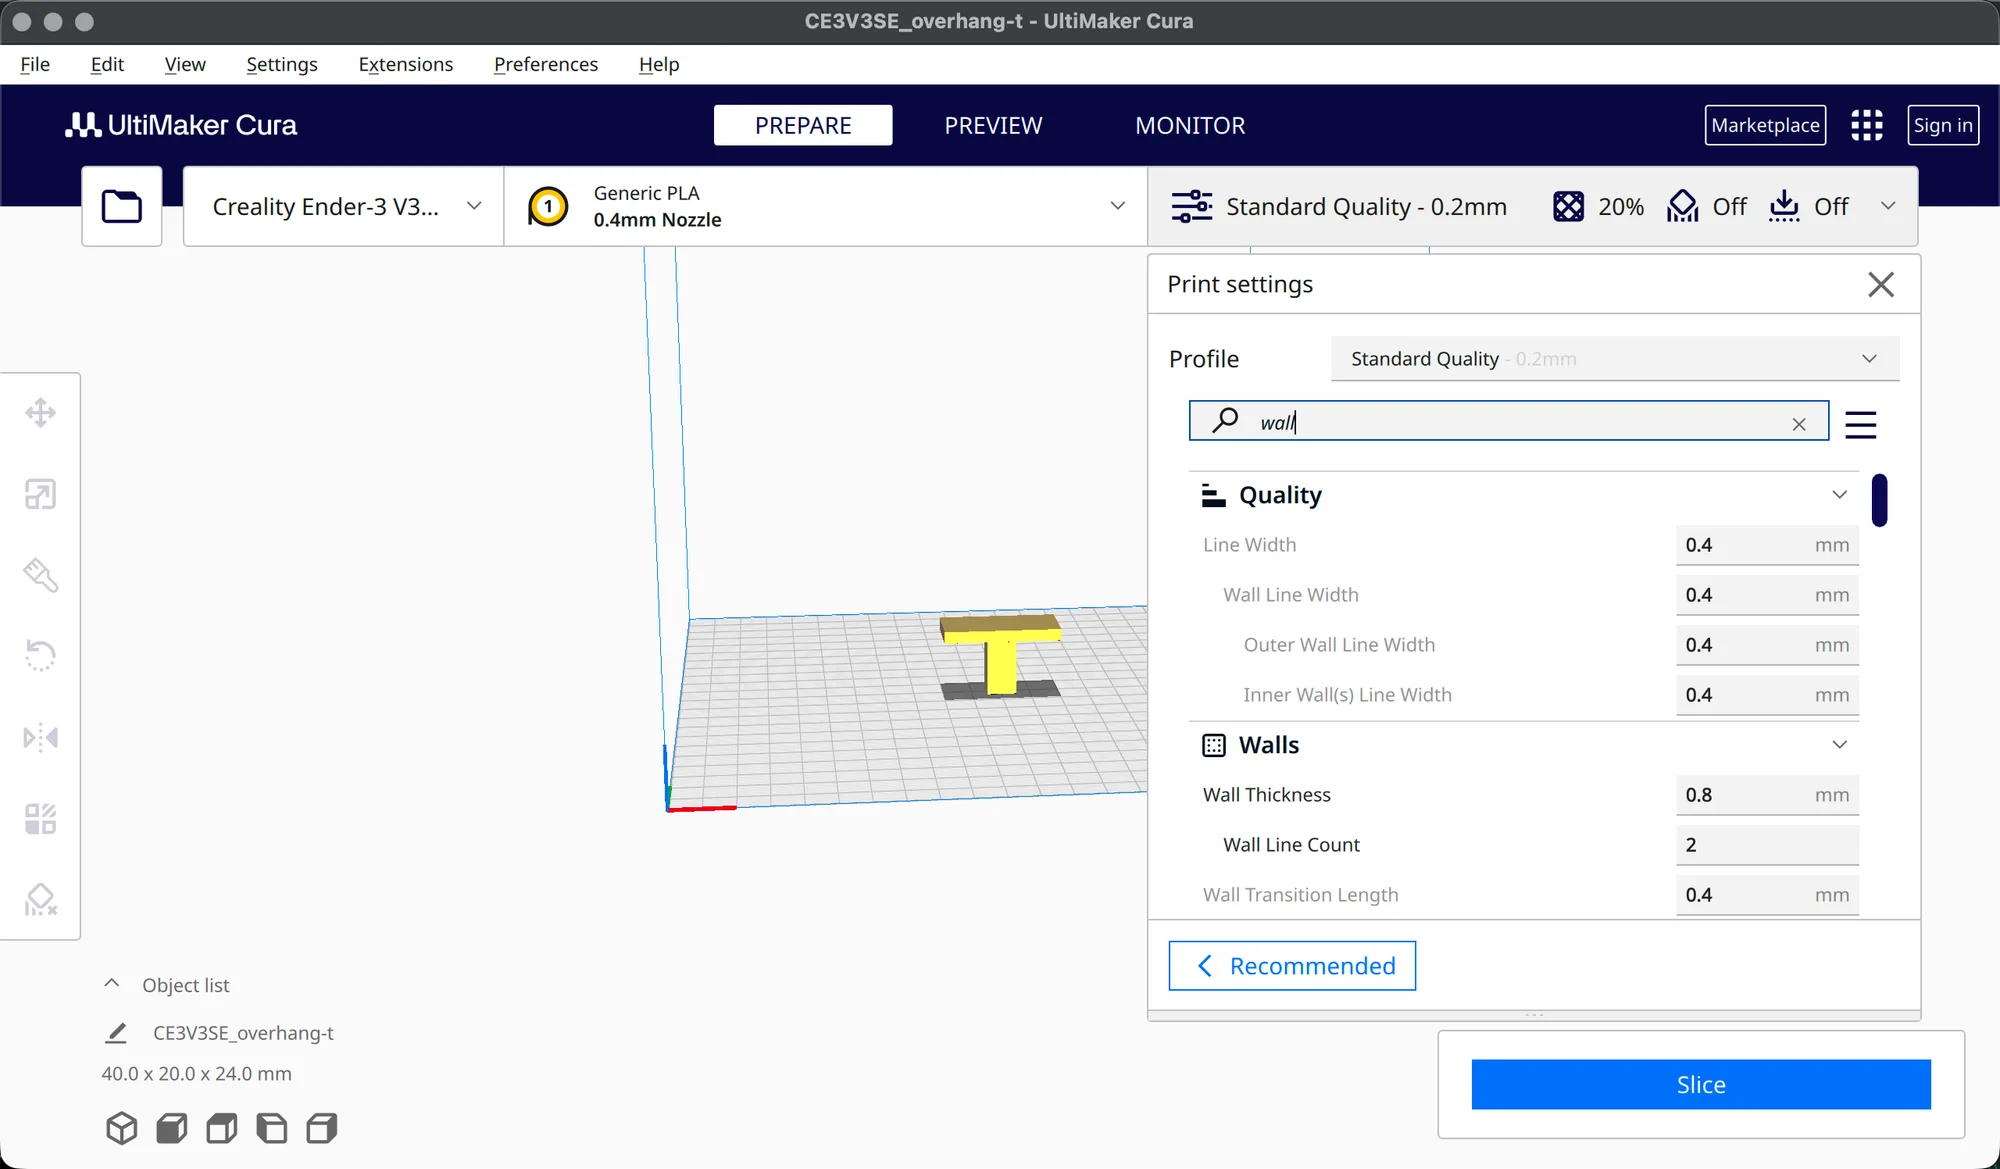
Click the Search settings box and type. The list filters as you type, and categories without a match disappear. Typing wall showed matches in two categories. Under Quality we saw Line Width, Wall Line Width, Outer Wall Line Width and Inner Wall(s) Line Width, all 0.4 mm. Under Walls we saw Wall Thickness at 0.8 mm, Wall Line Count at 2 and Wall Transition Length at 0.4 mm. Wall Thickness and Wall Line Count had dark labels, and the others had paler labels. That fits with Search reaching settings outside the visibility level currently chosen, though we did not test why the colours differ.
Typing speed matched Top/Bottom, Infill, Material and Speed among others. For example, Skin Support Speed showed 45.0 mm/s and Skin Support Fan Speed showed 100.0 %. A small x at the right end of the box clears the search and restores the normal list.
How do you change which settings are visible?
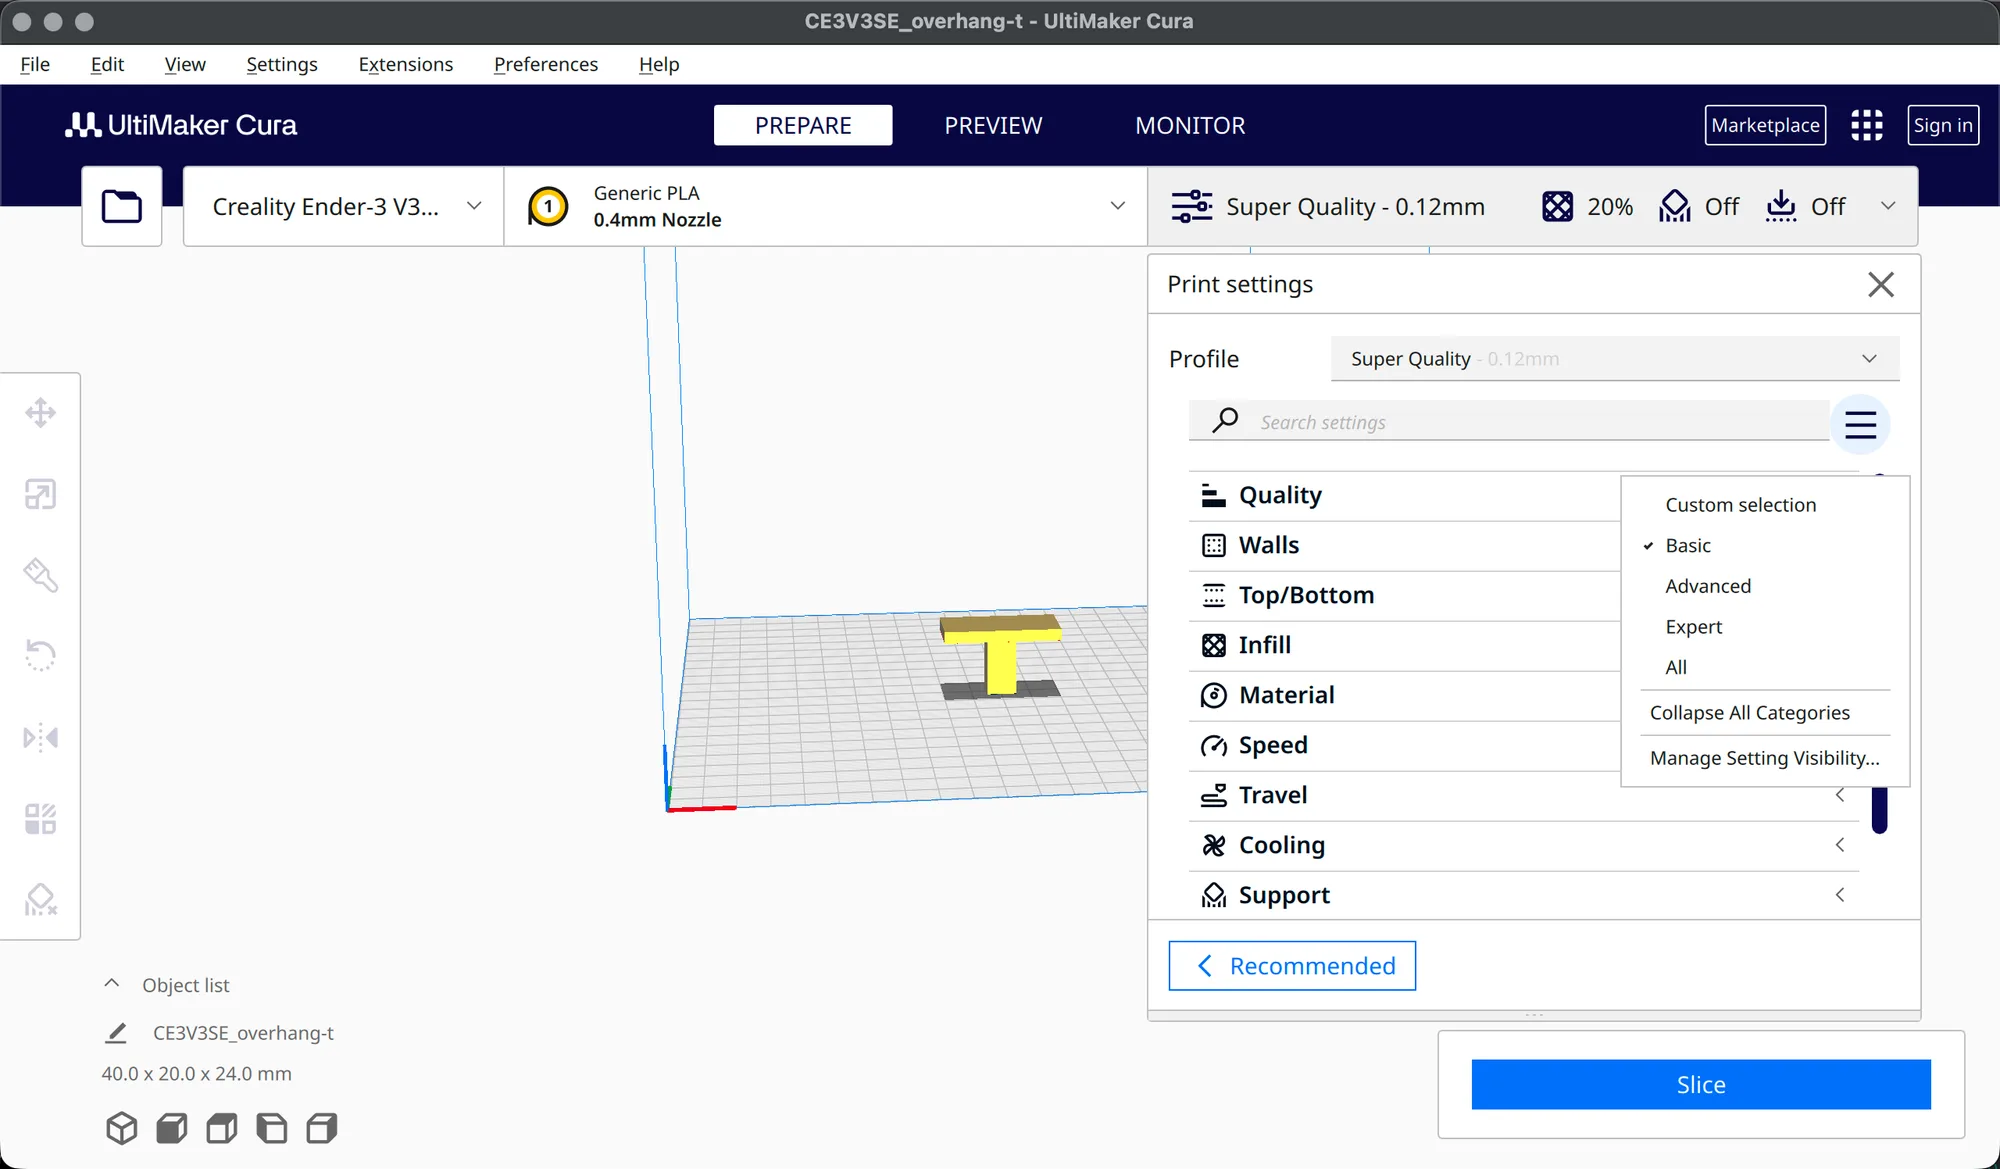
Click the three line menu button next to Search settings. The menu lists Custom selection, then Basic, Advanced, Expert and All, with a tick beside the active one, then Collapse All Categories and Manage Setting Visibility.... Ours was on Basic.
Visibility changes how long the lists are. The Speed category under Basic held one row, Print Speed at 180.0 mm/s. Under Advanced the same category showed at least Print Speed 180.0, Infill Speed 180.0 and Wall Speed 90.0, and it kept going below. We did not count rows on screen. For the totals we counted the preset files shipped inside the app, in setting_visibility, and they list 33 settings for Basic, 125 for Advanced and 471 for Expert. Your screen can differ with another printer, and All is a superset of Expert.
Choose Manage Setting Visibility... and a window titled Preferences opens on its Settings page. The left list holds General, Settings, Printers, Materials and Profiles. The main area is headed Setting Visibility, with a Defaults button, a Check all box, a Filter box, a drop-down showing the active preset (Advanced when we looked) and a long list of tick boxes. Layer Height, Line Width and Wall Line Width were ticked, while Skirt/Brim Line Width was not. Tick or untick to build your own list. We changed nothing there and closed the window with its red button.
What do Affects, Affected By and the reset icons mean?
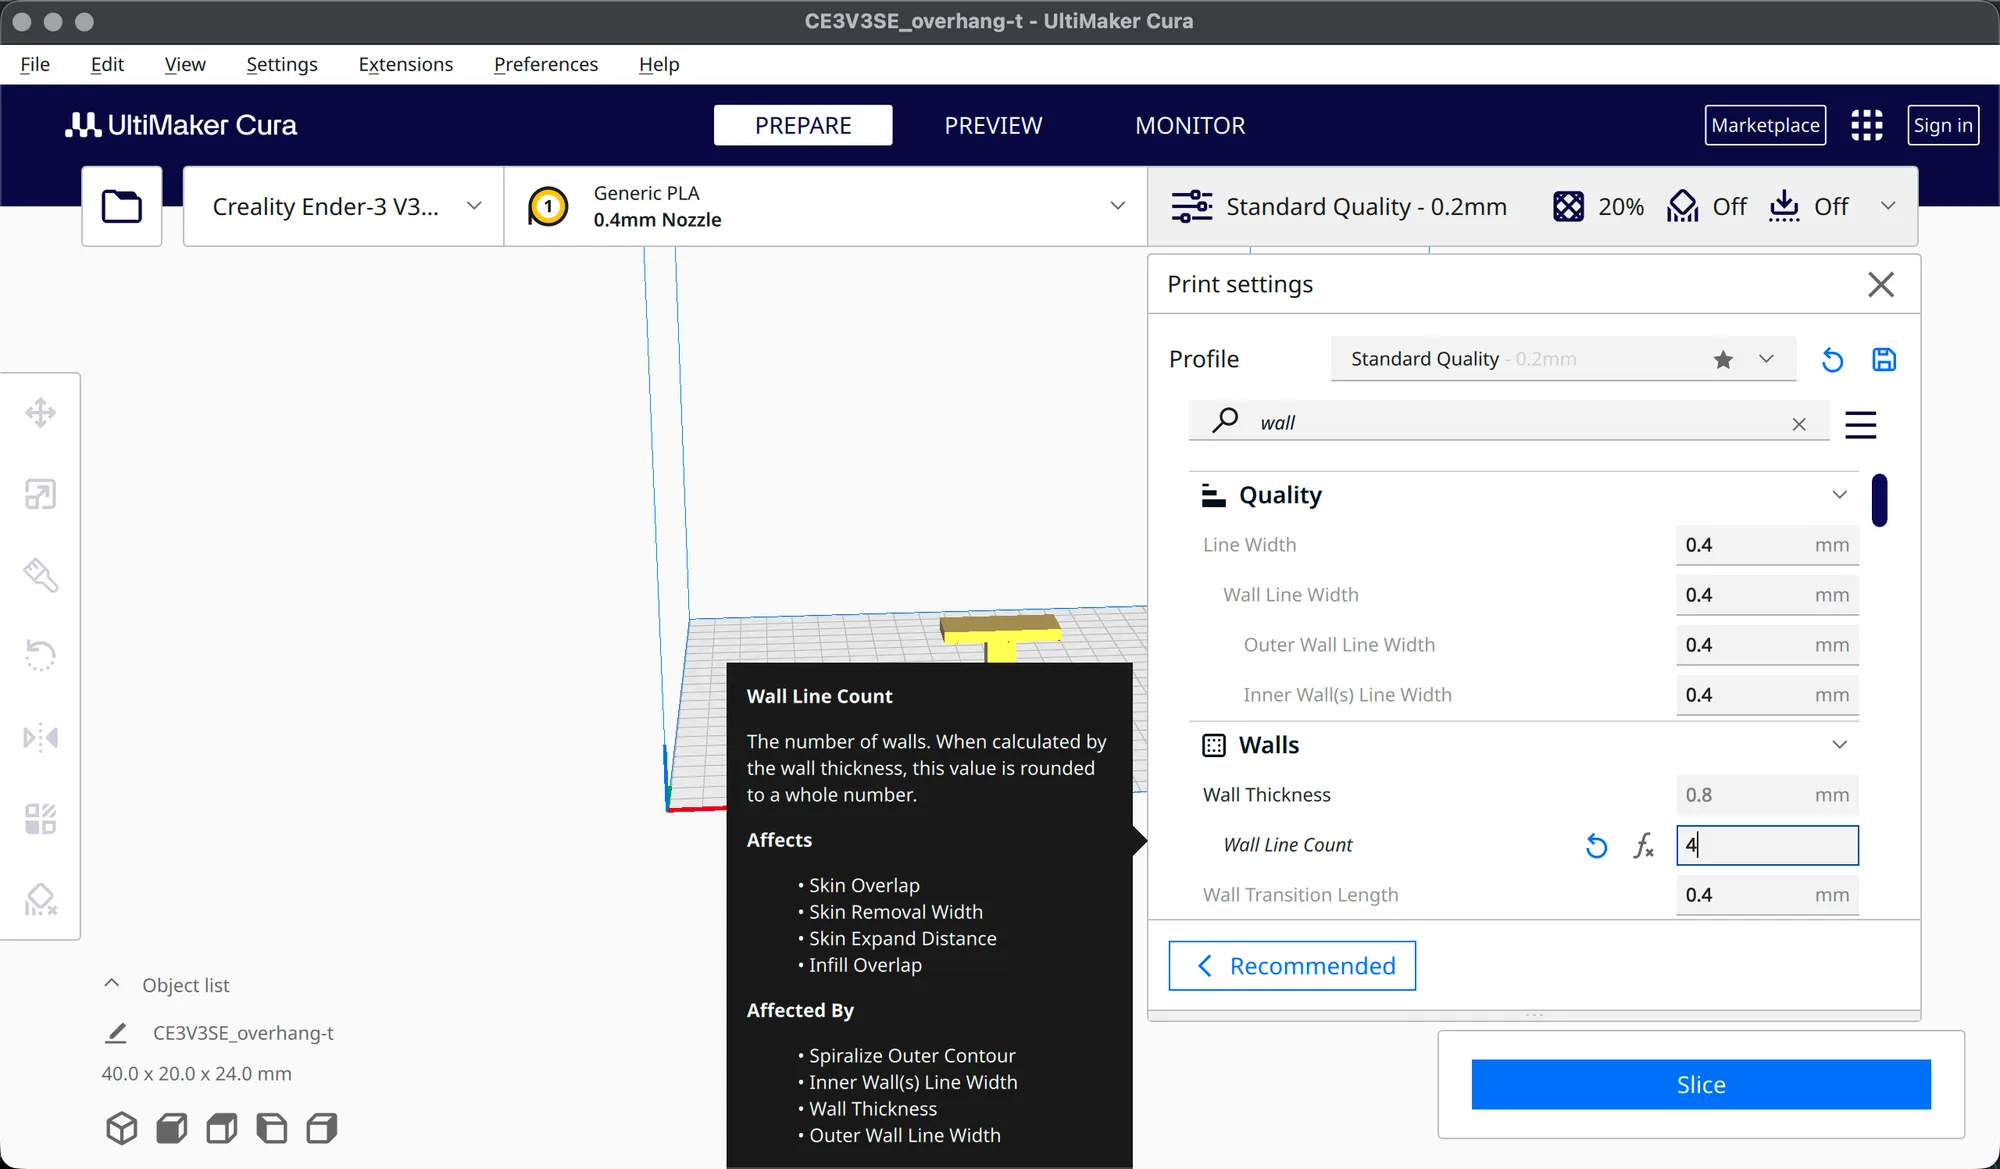
Hover a setting label and a dark tooltip appears. For Print Speed it read: "The speed at which printing happens." and then listed under Affects: Infill Speed, Wall Speed, Top/Bottom Speed, Travel Speed and Raft Print Speed. For Wall Line Count it gave "The number of walls. When calculated by the wall thickness, this value is rounded to a whole number." Affects: Skin Overlap, Skin Removal Width, Skin Expand Distance and Infill Overlap. Affected By: Spiralize Outer Contour, Inner Wall(s) Line Width, Wall Thickness and Outer Wall Line Width. We saw no separate link icon in this version, so the tooltip is how you trace relationships.
Edit a value and the row changes. We typed 100 into Print Speed. The label went italic, a blue reset arrow appeared left of the field, and hovering it gave: "This setting has a value that is different from the profile. Click to restore the value of the profile." At the top, the Profile box gained a star, and two icons appeared beside it. Their tooltips read Reset to defaults. and Compare and save. We saw no tooltip for the star.
Wall Line Count behaved differently. After we typed 4, its row showed a reset arrow and an fx icon, and the fx tooltip read: "This setting is normally calculated, but it currently has an absolute value set. Click to restore the calculated value." Wall Thickness stayed at 0.8 but its field turned pale. Clicking the reset arrow put Wall Line Count back to 2.
How much do edits change the slicer estimate?
We sliced the same part, with Standard Quality 0.2 mm, 20% Cubic infill, Support and Adhesion off, and changed one value at a time. The panel hides the estimate while open, so close it to read the box at the bottom right. These are slicer figures only. Nothing was printed, and the part is small. Changing Print Speed also moves the settings in its Affects list, though we did not check each one.
| Setting value | Slicer time | Material |
|---|---|---|
| Defaults: Print Speed 180 mm/s, Wall Line Count 2 | 29 minutes | 4 g, 1.18 m |
| Print Speed 100 mm/s | 30 minutes | 4 g, 1.18 m |
| Print Speed 40 mm/s | 41 minutes | 4 g, 1.18 m |
| Wall Line Count 4 | 29 minutes | 4 g, 1.41 m |
Halving the speed hardly mattered here, which suggests that on a part this short the machine spends its time on acceleration and travel rather than top speed. Going down to 40 mm/s added twelve minutes, and speed never changed the filament. Extra walls added material and no time on our estimate, which we cannot explain. For the trade off between speed and finish, read print speed vs quality.
Can you save your changes as a custom profile?
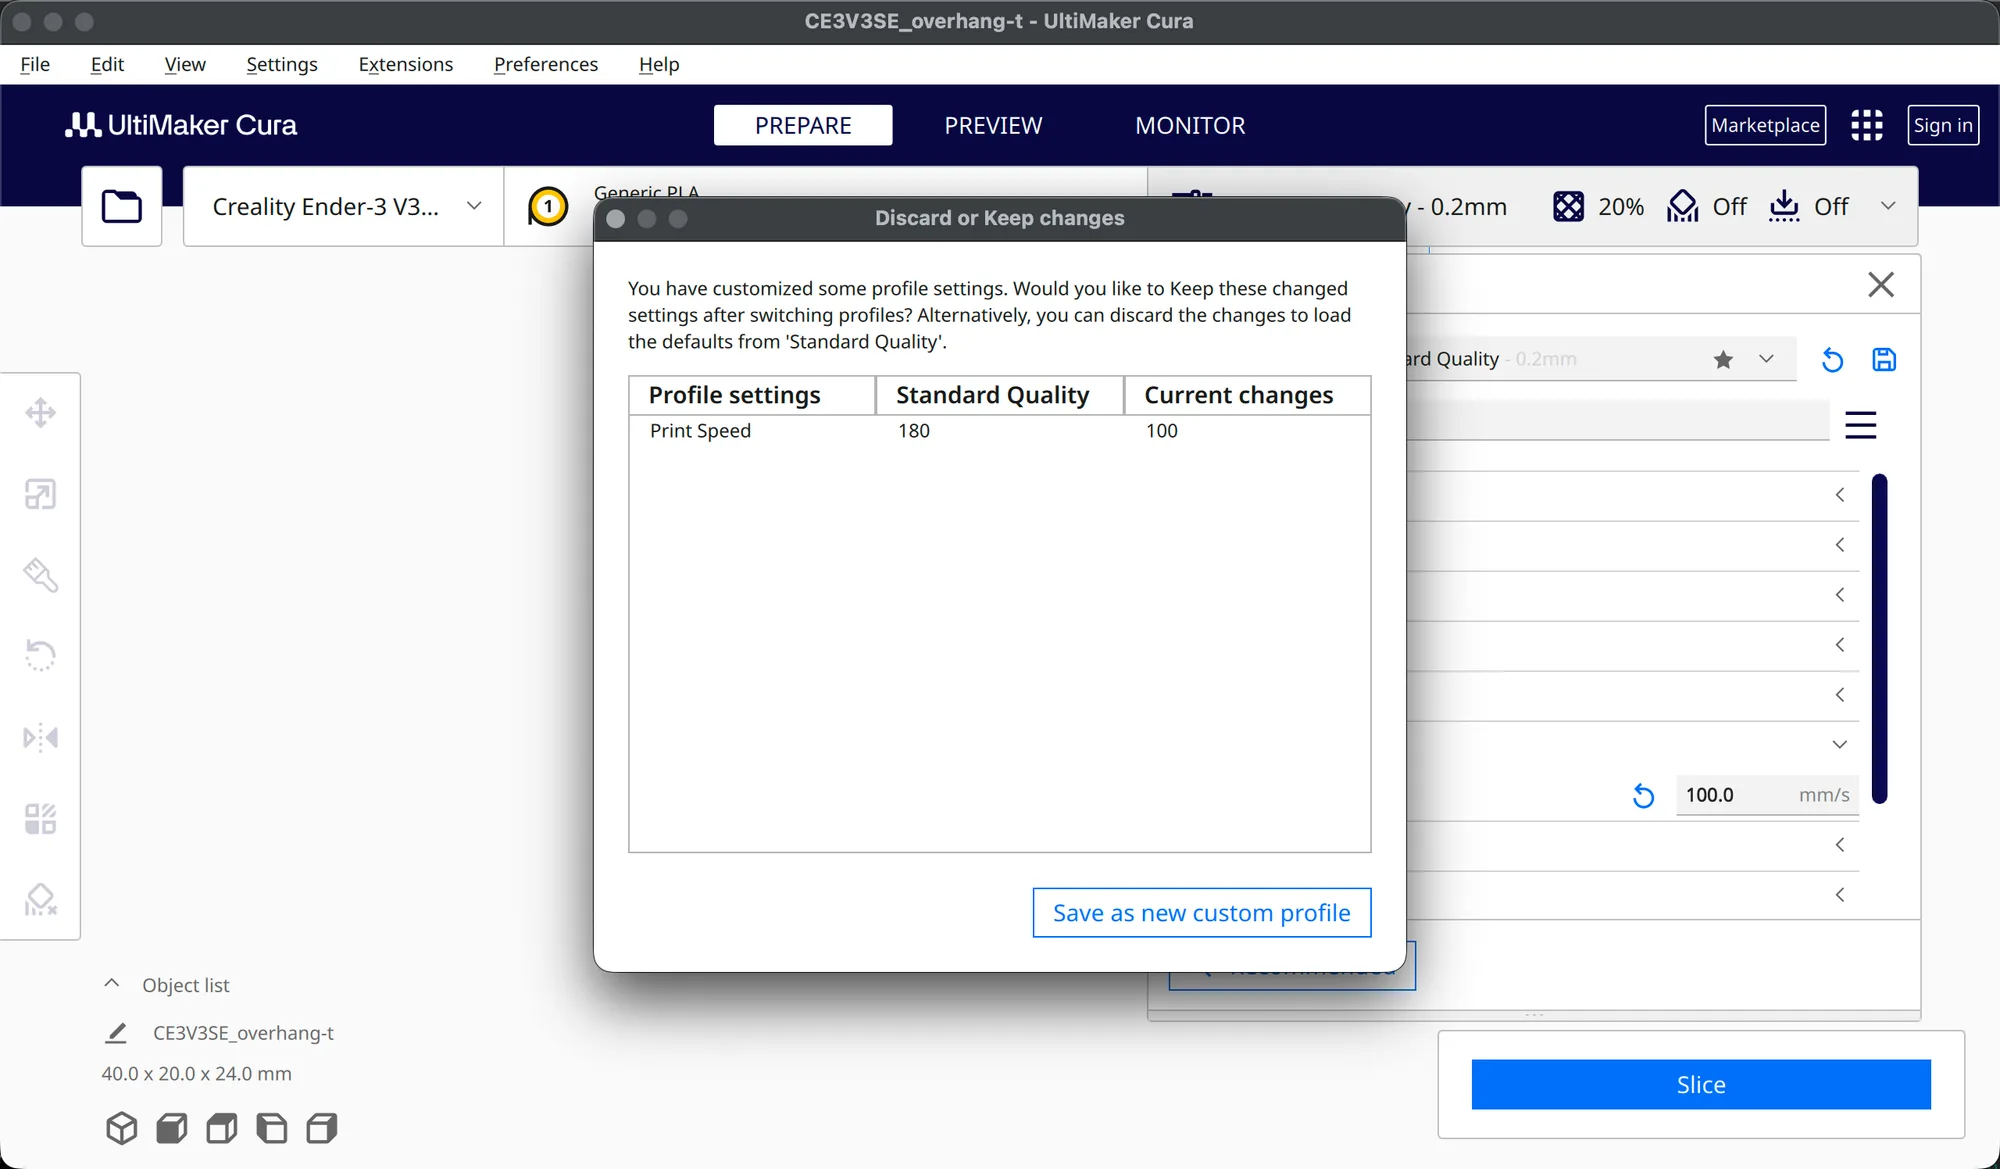
With Print Speed at 100, we clicked the Compare and save icon. A window titled Discard or Keep changes opened. It says you have customized some profile settings and asks whether to keep them after switching profiles, or discard them to load the defaults from Standard Quality. Below is a table with the columns Profile settings, Standard Quality and Current changes, and one row: Print Speed, 180, 100. The only button is Save as new custom profile. We did not save one. We closed the window, so nothing was created and nothing needs deleting.
To finish, we reset every edit, set visibility back to Basic and clicked Recommended, which restored the 20% infill and the Standard Quality label. Next in the course is Cura supports (cura-supports), which is not published yet.
Next lesson: Cura Supports: Enable, Tree vs Normal and Blockers.