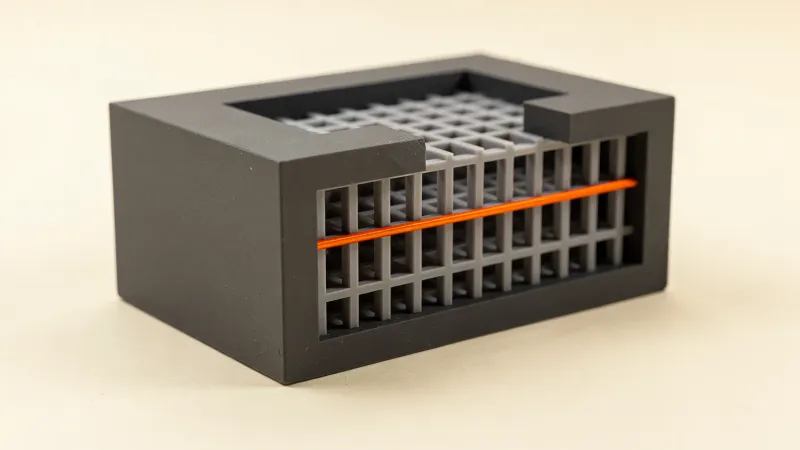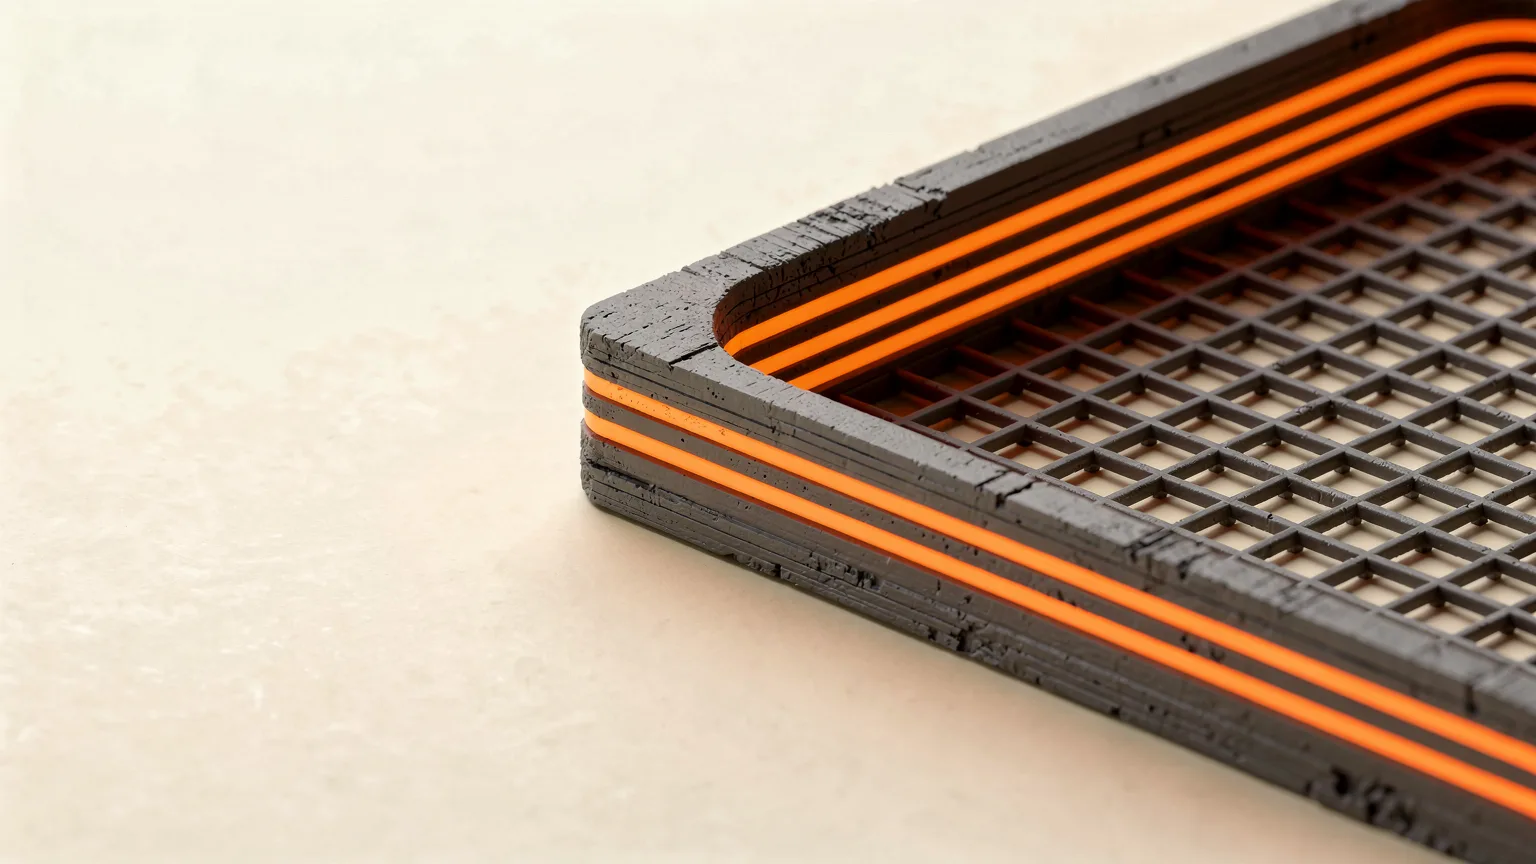
Wall count in 3D printing is the number of outline loops, called walls or perimeters, that the slicer prints around each layer of a part. Prusa says wall count, not infill, mostly decides how strong a model is, and its own profiles never use fewer than two.
This guide explains what walls do, how many to use, and the related settings: the wall generator, thin walls and print order. Every figure comes from Prusa and OrcaSlicer documentation, not from our own prints.
What are walls and perimeters in 3D printing?
Walls and perimeters are the same thing under two names. PrusaSlicer calls them perimeters, OrcaSlicer calls the setting wall loops, and both mean the number of closed outlines printed on each layer. OrcaSlicer's wiki defines wall loops as the number of walls printed on each layer.
The outermost wall is the visible surface. Walls inside it sit between the surface and the infill. Top and bottom layers close the part, and infill fills the space in the middle. A slicer generates all of these from your model.
How many walls do you need?
Two walls is the practical minimum, and most functional parts need more. Prusa states that its profiles always use a minimum of two perimeters, and that you should add perimeters when you need a stronger print. Prusa and OrcaSlicer give no single ideal number, so choose by the job of the part.
| Walls | What it suits | Trade-off |
|---|---|---|
| 1 | Vase mode, which Prusa sets to one perimeter automatically | Thin, not a route to a strong part |
| 2 | Default for general prints (Prusa's minimum) | Fastest closed-wall option |
| 3 to 4 | Parts that carry load or get handled | Longer print, more filament |
| 5 and up | Very stiff brackets and thick parts | Diminishing returns as the part approaches solid |
The ranges in the table are rules of thumb built on the documented behavior: more walls add strength and rigidity and cost time. The sources do not publish measured strength figures, so none are given here.
As a quick calculation, wall thickness is wall count multiplied by line width. With a typical 0.4 mm nozzle and a line width near 0.4 mm, four walls make a shell about 1.6 mm thick. Check your own profile for its real line width, and see the nozzle sizes guide for how nozzle diameter changes this.
Do more walls make a print stronger than more infill?
Yes, usually. Prusa says the strength of a model is mostly defined by the number of perimeters, not the infill. Walls carry load at the outside of the part, where bending and impact stresses are highest, while sparse infill mainly props up the top layers.
OrcaSlicer's wiki agrees on the direction: more wall loops enhance layer adhesion, strength and rigidity. They also reduce infill ghosting, where the infill pattern shows through the surface, and they increase print time. So for a stronger part, raise the wall count before pushing infill toward solid.
- Stronger part: add walls first, then consider infill.
- Faster print: drop to two walls and a low infill.
- Cleaner surface: extra walls can hide infill pattern marks.
What does the wall generator do?
The wall generator is the algorithm that works out where each wall line goes. OrcaSlicer's wiki says it is usually recommended to use the Arachne generator, because it can produce small-detail features that traditional methods cannot.
The classic method uses a fixed line width. Arachne varies the line width so walls fit thin features better, which helps with small text and narrow ribs. If a thin feature disappears or leaves a gap, read how to fix gaps between walls and missing small details.
What is the detect thin wall setting?
Detect thin wall prints a wall that is too thin for two line widths as a single extrusion line. By default, walls print as closed loops. OrcaSlicer's wiki warns that such single-line walls may have reduced surface quality and strength because they are not closed loops, and that the setting can cause defects in large prints.
Prusa describes the same option as letting one perimeter act as both inside and outside shell, and adds that walls thinner than one extrusion width will likely still be ignored. It also means odd wall counts such as 1 or 3 become possible, where Prusa's usual recommendations are even counts of 2, 4 or 6.
Which wall order gives the best surface?
Inner/Outer/Inner gives the best external finish and accuracy, according to OrcaSlicer's wiki, and it recommends it over Outer/Inner in most cases. The outer wall prints undisturbed by an inner wall. It needs at least three walls to take effect, and overhangs perform worse because the outer wall has no inner wall to print against.
| Order | Best for | Cost |
|---|---|---|
| Inner/Outer | Overhangs, since a wall can adhere to its neighbor | Slightly reduced surface quality, the outer wall is squashed |
| Inner/Outer/Inner | Best finish and accuracy (needs 3+ walls) | Weaker overhangs |
| Outer/Inner | Same finish and accuracy benefits | Z seams look less consistent |
Prusa's version is the External perimeters first option. It prints from the outermost wall inward, which may help dimensional accuracy, at the price of a slightly less smooth surface. Where the seam lands is a separate choice, covered in seam position explained.
How do walls affect print time?
Each added wall adds a full extra outline to every layer, so print time and filament use rise with wall count. OrcaSlicer's wiki lists increased print time as the cost of more wall loops. Speed settings change how much, so see print speed versus quality, and layer height sets how many layers each wall repeats across.
Rule of thumb. Start at two walls for decoration, use three or four for anything that bears load, and raise walls before infill when strength is the goal.
Where this information comes from
The figures and behavior above come from the Prusa Knowledge Base page on layers and perimeters and from two OrcaSlicer wiki pages, on walls and on wall and surface quality. Slicer versions differ, so check your own profile before relying on a default.