3D Print Missing Details? Why Slicers Drop Small Features
A 3D print missing details usually means the slicer dropped features thinner than one extrusion line. Wall settings, a smaller nozzle or a thicker model bring them back.
By Sepehr Sabbagh-pour · Published 11 October 2026 · 5 min read
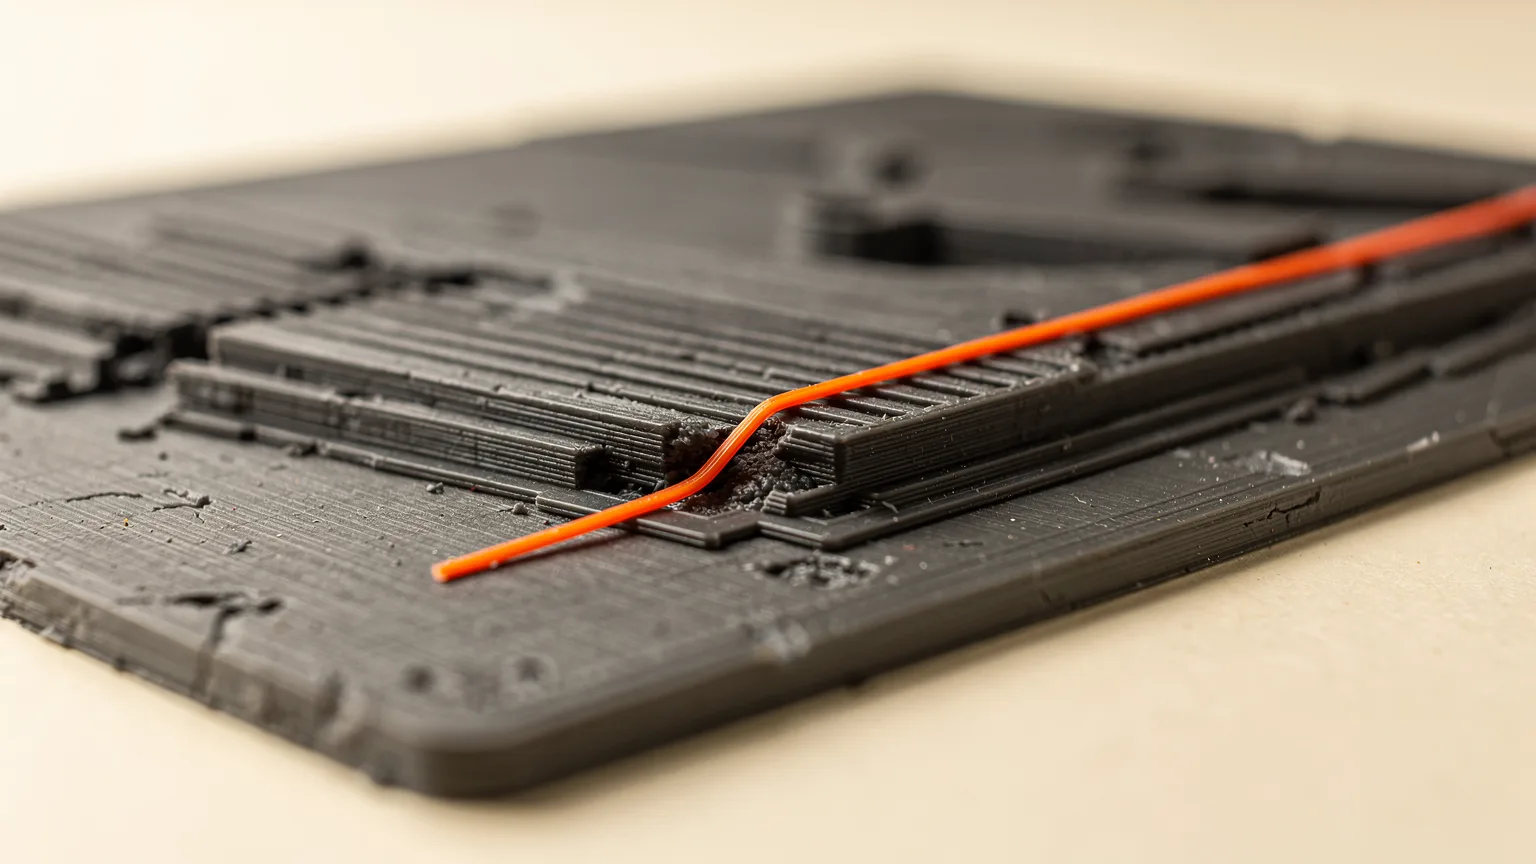
A 3D print missing details usually means the slicer dropped them, not that the printer failed. Features narrower than one extrusion line, such as thin text, hair-thin ridges or sharp points, are removed or merged before any G-code exists. The fixes are to change the wall settings, use a smaller nozzle, or thicken the model.
Research-based guide. This article is compiled from the documentation of PrusaSlicer and OrcaSlicer and has not been checked on a test printer. Menu names differ by slicer and version, so treat the settings as starting points and change one at a time.
Why does a 3D print miss small details?
A 3D printer builds every wall out of lines of plastic, and a line has a width. Prusa's knowledge base explains that PrusaSlicer treats an extrusion as a rectangle with semicircular ends, and that the width includes both ends. A detail thinner than that line cannot be drawn with one pass of the nozzle, so the slicer has three choices: skip it, widen it, or merge it into a neighbor.
Older slicers offset the model outline by a constant line width, which Prusa says caused problems with thin walls, text and logos. Newer slicers use the Arachne wall generator, which varies the line width. Even so, there is a floor. In both PrusaSlicer and OrcaSlicer, a setting called minimum feature size decides what is too thin to print at all.
Quick diagnosis: what is missing and why
| What is missing | Likely cause | First fix |
|---|---|---|
| Thin text or logo strokes, whole walls absent in the preview | Feature thinner than the minimum feature size | Lower minimum feature size or thicken the model |
| Small gaps or slots closed up | Walls widened or merged by the wall generator | Check the wall generator and wall settings |
| Detail present in the preview but soft or blobby on the print | Nozzle too large, layer height too coarse or over-extrusion | Smaller layers, smaller nozzle, check flow |
| Detail in the preview but gaps in the real print | Under-extrusion or a partial clog | Follow the under-extrusion guide |
The first row is the most common and the easiest to confirm. Open the slicer preview and scrub through the layers. If the feature is not there, no amount of printer tuning will bring it back.
How do I stop the slicer dropping thin features?
Change the wall settings so thin features are kept, widened or both. The exact options depend on the slicer.
- Check the wall generator. Prusa says Arachne has been PrusaSlicer's default perimeter generator since version 2.5.0, and that it was ported from Ultimaker Cura. OrcaSlicer's wiki describes Arachne as adjusting extrusion width to follow the shape of the model more closely, and Classic as a simple method that fills walls at the set line width. For thin features, Arachne is the one to use.
- Lower the minimum feature size. Prusa's documentation says features thinner than this value will not be printed. OrcaSlicer says the same: features below it are skipped, and features above it are widened to the minimum wall width. OrcaSlicer enters both values as a percentage of the nozzle diameter. Lowering the value keeps thinner features, but very thin features can print poorly, so adjust in small steps.
- Check the minimum wall width. This is the width that replaces thin features. Prusa describes it as the width of a perimeter that will replace thin features defined by the minimum feature size.
- Turn on Detect thin walls only if you are not using Arachne. Prusa says Detect thin walls lets the slicer generate a single perimeter that serves as both inside and outside shell, but walls thinner than a single extrusion width will likely still be ignored. It also says the option is disabled when Arachne is selected.
- Lower the minimum wall length. OrcaSlicer says raising it removes short, unconnected walls, so if small isolated bits are vanishing, check that it is not set too high.
After each change, re-slice and check the preview before printing. For a primer on where these settings live, see the beginner guides for Orca Slicer, PrusaSlicer and Cura.
If you are unsure which slicer to use, see Cura vs Orca vs PrusaSlicer.
Can a smaller nozzle or finer layers bring back detail?
Yes, but they fix different things. Prusa says layer height changes only the vertical resolution, and that for more resolution in the XY plane you need a nozzle with a different diameter. A smaller nozzle draws narrower lines, so it can print features a 0.4 mm nozzle would drop. Prusa also says the layer height should stay below 80% of the nozzle diameter and that it does not suggest going lower than 0.10 mm.
Both changes cost time. A smaller nozzle and thinner layers mean many more passes. If you swap the nozzle, you also have to tell the slicer. Prusa says the two settings to adjust for a non-standard nozzle are the nozzle diameter in the printer settings and the extrusion width in the print settings. For the trade-offs, read what nozzle size actually changes and layer height explained. Nozzle materials matter too when you print abrasive filaments; see hotends and nozzle materials.
What if the details are in the preview but not on the print?
Then the slicer did its job and the problem is physical. Soft, rounded or blobby detail is often over-extrusion, where too much plastic fills the small features; see how to fix over-extrusion. Gaps and thin, broken lines are more often under-extrusion or a partial clog; see how to fix under-extrusion. Stringing can also hide fine detail, so check stringing if thin gaps fill with wisps.
Should I change the model instead?
When the detail is genuinely smaller than your line width, the most reliable fix is to change the model. Thicken thin walls, make text bolder or raised more, and widen slots. A good habit is to design features at least as wide as the lines your slicer will use, since a stroke thinner than a single line has no way to be printed as designed. Prusa's note that walls thinner than a single extrusion width will likely still be ignored is the practical rule here.
If the detail is truly microscopic, a different process may be the answer. Resin printers form each layer with light instead of a line of plastic, which is why they suit miniatures; see FDM vs resin 3D printers.
A sensible order to try
- Open the slicer preview and confirm the detail is missing there.
- Confirm the wall generator is Arachne.
- Lower the minimum feature size in small steps.
- Check the minimum wall width and minimum wall length.
- Drop the layer height slightly, staying at or above 0.10 mm.
- Try a smaller nozzle, with the nozzle diameter and extrusion width updated to match.
- Thicken the feature in the model if the detail is still thinner than a line.
If printing still disappoints, the tools page lists calculators, and the wider 3D printer problems guide covers other defects.
Frequently asked questions
Why is my 3D print missing small details?
Most often the slicer removed them before printing. A printer draws walls with lines of plastic that have a set width, and a feature thinner than one line cannot be drawn with a single pass. Prusa's documentation says features thinner than the minimum feature size will not be printed, and that walls thinner than a single extrusion width will likely still be ignored even with Detect thin walls on. Open the slicer preview and scrub through the layers: if the detail is absent there, the cause is the slicer settings or the model, not the printer. If it is present in the preview but missing on the print, look instead at under-extrusion, a partial clog or stringing.
What is minimum feature size in a slicer?
Minimum feature size is the thickness below which the Arachne wall generator discards a feature. Prusa says features thinner than this value will not be printed, and features thicker than it are widened to the minimum perimeter width. OrcaSlicer describes the same pair of settings, minimum feature size and minimum wall width, and enters both as a percentage of the nozzle diameter. Lowering minimum feature size lets the slicer keep thinner features such as small text, but very thin features may still print poorly. Change it in small steps, re-slice and check the preview each time before committing to a long print.
Does a smaller nozzle print finer detail?
Yes, because a smaller nozzle draws narrower lines. Prusa's knowledge base says layer height changes only the vertical resolution, and that to increase resolution in the XY plane you should look at nozzles with a different diameter. The trade-off is time, since narrower lines and thinner layers mean far more passes. If you change the nozzle, update the nozzle diameter in the printer settings and the extrusion width in the print settings, as Prusa advises for non-standard nozzles. Prusa also says the layer height should stay below 80% of the nozzle diameter, and that it does not suggest going lower than 0.10 mm.
Does Detect thin walls fix missing details?
It can help on older slicer setups, but it is not a complete fix. Prusa says Detect thin walls lets PrusaSlicer generate a single perimeter that works as both inside and outside shell, but walls thinner than a single extrusion width will likely still be ignored. Prusa also says the option is disabled when the Arachne perimeter generator is selected, because Arachne adapts line widths on its own. With Arachne, the settings that matter are minimum feature size and minimum wall width. If a detail is still dropped, thicken it in the model so it is at least as wide as one printed line.
Sources

Founder and editor
Software engineer since 2009 and Head of Engineering by day, a maker who has owned several 3D printers, writing practical guides to 3D printers, filament and running costs, with every article saying what was and was not tested.
Keep reading
Supports Stuck to Print? How to Fix and Prevent It
Supports that will not come off are a slicer settings problem. Open the Z distance, thin the interface and pick an easier pattern, in that order.
11 October 2026 · 5 min read
Thermal Runaway Error: What It Means and How to Fix It
A thermal runaway error is a safety stop: the heater did not heat or hold temperature as expected. Here is what triggers it and what to check, in order.
11 October 2026 · 5 min read
How to Level a 3D Printer Bed
Leveling is really three jobs: getting the bed flat to the nozzle, setting the nozzle height, and judging the first layer. Here is the order to do them.
11 October 2026 · 6 min read