Seam Position Explained: Hide or Align Your Layer Seam
Every printed layer has a seam where the nozzle starts and stops. Here is what each seam position option does and how to hide or align it.
By Sepehr Sabbagh-pour · Published · 4 min read
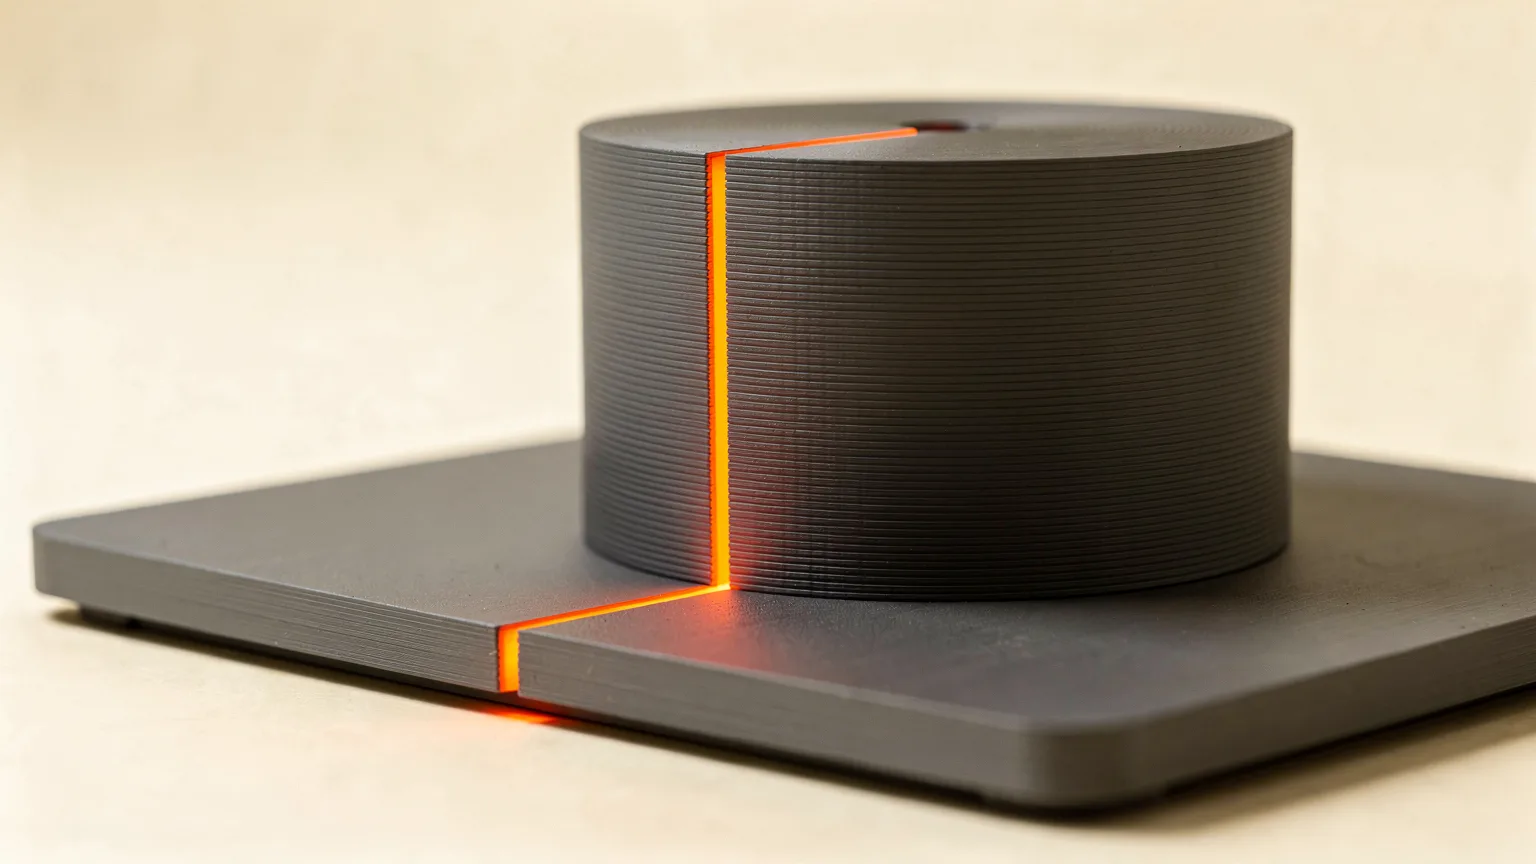
Seam position in 3D printing is the setting that decides where each layer's outer loop starts and ends, which is where the visible vertical seam forms. Slicers offer nearest, aligned, rear and random placement. Aligned or rear stack the seam into one tidy line, while random scatters it.
This guide explains what each option does in OrcaSlicer, PrusaSlicer and Cura, and how to hide the seam or put it where you want it. It is based on the slicer makers' own documentation, not on our own test prints.
What is a seam in 3D printing?
A seam is the small blemish where the nozzle begins and finishes each closed outer loop of a layer. A printer cannot start and end a loop without a join, so every layer has one. Prusa's help article states it plainly: "With the FFF/FDM technology, it is not possible to eliminate the seam." The goal is to control where it lands and how visible it is.
Cura's setting description explains the cause: when paths in consecutive layers start at the same point, a vertical seam may show on the print. Stack the starts and you get a line. Scatter them and you get scattered blemishes instead.
What are the seam position options?
The names differ slightly by slicer, but the ideas are the same. This table summarizes the maker documentation.
| Option | What it does | Best for |
|---|---|---|
| Nearest | Starts at the point closest to where the nozzle already is, preferring concave corners (PrusaSlicer, OrcaSlicer) | Speed and low travel |
| Aligned | Picks the candidate closest to the previous layer's seam so the seam stacks in a vertical line | Tidy, predictable seam |
| Aligned Back / Rear | Aligned, but pulled toward the back (maximum Y) of the model | Parts displayed facing forward |
| Random | A different start point each layer | Cylinders without sharp edges, or strength |
| Shortest (Cura) | Takes the shortest path, so the print is quicker | Speed |
| Sharpest Corner (Cura) | Snaps the seam to the sharpest corner of the outline | Models with clear corners |
| User Specified (Cura) | Aligns the seam near an X/Y position you choose | Full control |
In Cura the first option in the file is internally called back but labeled "User Specified", and the default in the definitions is Sharpest Corner. Cura also has a separate Seam Corner Preference with Hide Seam, Expose Seam, Hide or Expose Seam and Smart Hiding choices.
Which seam position hides the seam best?
For most parts, aligned or rear hides the seam best, because a single straight line along a corner or the back face is easy to ignore. Nearest also hides well on models with sharp corners. Prusa says that on a model with sharp corners, Nearest "will make the seam effectively invisible." The OrcaSlicer wiki says Aligned Back, Aligned or Back typically work best, especially with seam painting.
Random is the odd one out. Prusa says it makes the seam less noticeable but the surface less smooth, and that it "makes little sense" on models with sharp edges, although it is viable for cylindrical shapes without sharp edges.
How do you choose a seam position?
- Display piece with a front: use Aligned Back (OrcaSlicer) or Rear (PrusaSlicer) and rotate the model so its least important face points to the back.
- Box or bracket with sharp corners: use Aligned or Nearest so the seam sits inside a vertical corner.
- Smooth round object: there is no corner to hide in, so paint the seam to one spot or accept Random.
- Part that carries load: OrcaSlicer's wiki says Random may suit parts needing higher strength, such as a pin for a hole, because it spreads the weak points.
Layer thickness changes how much any of this matters. Taller layers make a more obvious seam line, so see layer height explained.
Can you paint the seam by hand?
Yes. Prusa says that from PrusaSlicer 2.3 the seam painting tool gives detailed control over seam placement, and OrcaSlicer supports seam painting too. You brush on enforced or blocked areas of the model, so the slicer puts the seam inside a groove, behind a feature or along a hidden edge. It is the most reliable fix for round parts. If you are new to these tools, read our guides to OrcaSlicer and PrusaSlicer.
What are scarf seams and seam gap?
A scarf seam is a way to make the join nearly disappear instead of just moving it. OrcaSlicer's wiki says scarf joints adjust extrusion flow at seam points to create a smooth overlap between the start and end of each loop. Its settings include a type of None (default), Contour or Contour and hole, a scarf length that defaults to 20 mm, and a slow joint speed, recommended under 100 mm/s.
The same wiki says scarf joints are never applied on the first layer, in spiral vase mode or on belt printers, and that they may slightly increase print time and work less well on sharp corners and overhangs. Prusa gives the same caveats.
Seam gap sets the space between the two ends of the loop. A larger gap reduces seam bulging and a smaller gap makes the seam less visible. OrcaSlicer's wiki says that for a well-tuned printer with pressure advance and retraction, 0 to 15 percent is typically optimal. Staggered inner seams, an advanced option there, offset each inner wall's seam so weak points do not line up.
Why is my seam still ugly?
If the seam is a bulge or a blob rather than a thin line, placement is not the main problem. OrcaSlicer's wiki says to calibrate pressure advance first because it strongly affects seam start and end quality, and Prusa notes that Linear Advance and extrusion multiplier calibration affect how visible the seam is. Read what pressure advance is, how to fix blobs and zits and retraction settings explained.
Wall order matters too. The OrcaSlicer wiki says inner-outer-inner order is generally best for seams, followed by inner-outer. For a printer-wide checklist, see the calibration guide. If you want to avoid the seam entirely, Prusa says vase mode does, but you are limited to one perimeter and no infill. For a choice of slicer, see our comparison pages.
Frequently asked questions
What is seam position in 3D printing?
Seam position is the slicer setting that decides where each layer's outer loop starts and stops, which is where the visible seam forms. Slicers offer options such as nearest, aligned, rear and random, and Cura adds shortest, sharpest corner and user specified. Prusa's documentation says it is not possible to eliminate the seam in FDM printing, so the setting is about control: stacking the seam in one tidy line, hiding it in a corner, or moving it to the back of the part where it is rarely seen.
Which seam position is best?
For most models, aligned or rear is the safest choice, because the seam stacks into a single vertical line that is easy to place in a corner or on the back face. OrcaSlicer's wiki says Aligned Back, Aligned or Back typically work best, especially with seam painting. Nearest suits sharp-cornered parts and fast printing, and Random is better for strength or smooth cylinders than for looks. The best choice also depends on how the part will be displayed and which face is seen first.
How do I hide the layer seam on a round part?
A round part has no corner to hide the seam in, so use the seam painting tool, available in PrusaSlicer from version 2.3 and in OrcaSlicer, to enforce the seam on one spot such as a groove, a flat or the back. Rotating the model so that spot faces away also helps. Scarf seams, if your slicer offers them, can make the join nearly invisible on smooth walls, though OrcaSlicer's wiki notes they work less well on sharp corners and overhangs.
What is a scarf seam?
A scarf seam is a joint that tapers the start and end of each outer loop and adjusts extrusion flow so they overlap smoothly, instead of simply butting together. OrcaSlicer's wiki lists a default scarf length of 20 mm and recommends slow joint speeds under 100 mm/s. It is never applied on the first layer, in spiral vase mode or on belt printers, and may slightly increase print time. It works best on smooth walls and less well on sharp corners and overhangs.
Why does my seam bulge or have a blob?
A bulging seam usually means extrusion pressure is not tuned, not that the seam position is wrong. OrcaSlicer's wiki says to calibrate pressure advance first because it strongly affects seam start and end quality, then tune the seam gap, where 0 to 15 percent of nozzle size is typically optimal on a well-tuned printer. Wall order also matters, with inner-outer-inner generally best for seams. Check flow and retraction before changing the seam position again.
Sources

Founder and editor
Software engineer since 2009 and Head of Engineering by day, a maker who has owned several 3D printers, writing practical guides to 3D printers, filament and running costs, with every article saying what was and was not tested.
Drafted with AI assistance, then edited and reviewed by Sepehr before it goes live. How we use AI.
Keep reading
 AI illustration
What Is a Slicer? How 3D Printing Software Works
A slicer cuts a 3D model into layers and writes the G-code your printer follows. Here is how slicing works, the main settings…
 AI illustration
Layer Height Explained: Speed vs Detail
Layer height sets how thick each printed layer is. It trades speed against vertical detail, and it is limited by your nozzle…
 AI illustration
What Is Klipper? Firmware for 3D Printers Explained
Klipper is 3D printer firmware that splits the work between a small computer and the printer board. Here is how it works, what it…