How to Fix Blobs and Zits on 3D Prints
Blobs and zits in 3D printing come from the seam and from oozing. This research-based guide covers seam placement, scarf seams, pressure advance and travel settings.
By Sepehr Sabbagh-pour · Published · 4 min read
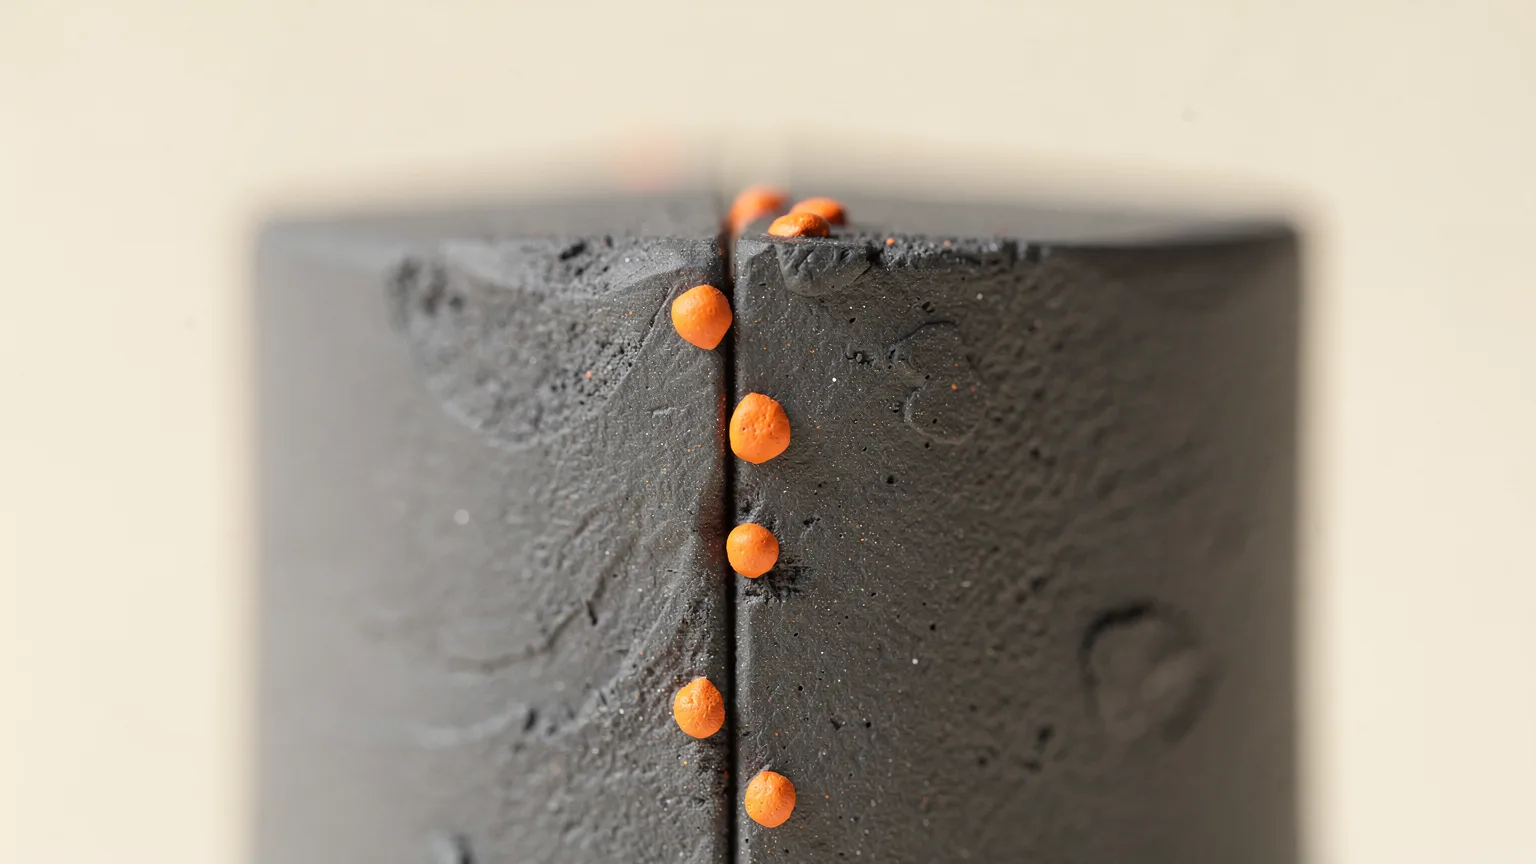
Research-based guide. Advice here is taken from Prusa, OrcaSlicer and Klipper documentation. It has not been tested by Nozzle Notes.
Blobs and zits are small bumps or pimples on the outside of a print. Most of them sit in a vertical line, which is the seam. Prusa explains that unless you print in spiral vase mode, each perimeter loop has to start and end somewhere, and that start and end point creates a potentially visible vertical seam, also called zits, layer seams or scars.
That means some seam is unavoidable. Prusa says plainly that with FDM it is not possible to eliminate the seam, but that well-tuned settings should keep it from being very noticeable. The goal is to make the seam small and put it where nobody looks.
Which kind of blob do you have?
| What you see | Cause | Fix |
|---|---|---|
| A line of bumps up one side | Seam where each loop starts and stops | Sections 1 to 3 |
| Blobs scattered over the surface | Oozing during travel moves, retraction or pressure issues | Sections 3 and 4 |
| Bulges at corners | Pressure in the nozzle at direction changes | Pressure advance or linear advance, section 4 |
| A growing mass of plastic around the nozzle | Print came loose and plastic stuck to the nozzle | Stop the print; see the warning below |
1. Move the seam where it hides
In PrusaSlicer the setting is under Print settings, Layers and perimeters, Seam position. Prusa describes the options:
- Nearest places the seam on the nearest edge and, on a model with sharp corners, makes it effectively invisible.
- Aligned lines the seam up through the whole object.
- Random scatters small zits across the surface. Prusa says it makes little sense on models with sharp edges but is viable for cylindrical shapes, and it increases strength.
- Rear puts the seam at the back, useful for objects displayed in a known orientation.
OrcaSlicer offers nearest, aligned, aligned back, back and random, and notes that aligned back, aligned or back usually work best, especially with seam painting.
2. Try a scarf seam or seam gap
Prusa's seam guide also covers scarf joint seams, which overlap extrusions at the start and end of a loop to hide the seam on smooth perimeters. It warns that scarf seams increase print time and are less effective in sharp corners and overhangs. OrcaSlicer's wiki says scarf seams can reduce visible z-seams and recommends printing them at a slow speed (below 100 mm/s).
The seam gap setting controls the distance between the two ends of the loop. OrcaSlicer says a larger gap reduces bulging at the seam, a smaller gap reduces how visible the seam is, and for a well-tuned printer a value between 0 and 15% of the nozzle size is typically optimal.
3. Cut oozing at the start of the seam
OrcaSlicer's wiki explains that a blob at the start of a seam usually happens when filament oozes out of the nozzle during a travel move. It lists these fixes:
- Calibrate pressure advance. Too low a value leaves excess pressure in the nozzle after the previous extrusion.
- Make travel speed and acceleration as high as your printer allows, which cuts the time available for ooze.
- Enable wipe before external perimeters, which moves the de-retraction inside the model.
- Raise the travel distance threshold so that short moves do not retract (it suggests 2 to 4 mm as a starting point).
- Enable retract on layer change so each layer starts under the same conditions.
For general retraction tuning and wet-filament checks, read retraction settings explained, fix stringing and how to dry filament.
4. Tune pressure advance (or linear advance)
Klipper's documentation says pressure advance does two useful things: it reduces ooze during non-extrude moves and reduces blobbing during cornering. Prusa describes linear advance as predicting the pressure build-up in the extruder at higher speeds so the firmware extrudes less just before stopping, preventing blobs at sharp corners. Prusa also says its stock presets already include the values, so you only need to tune it for filament that is not covered. Other makers expose the same feature under names such as flow dynamics calibration. Check your printer's documentation.
5. Rule out dry-filament and temperature problems
Hot, wet or poorly dried filament oozes more. Dry the spool, drop the nozzle temperature a few degrees inside the printed range, and check your travel settings again. Related: over-extrusion can also leave bumps along the surface.
Warning: extruder blob. A different problem is a large mass of plastic stuck around the nozzle. Prusa says this happens when the first layer detaches from the bed and sticks to the nozzle, and that the best prevention is a clean print surface, a good first layer and checking early prints. Do not leave the printer unattended. If a blob has formed, follow the maker's instructions for removing it. Prusa's guide describes heating the nozzle using the printer menu, then removing the softened plastic with pliers, with the printer switched off before touching the blob, because the heater and thermistor cables may be tangled in it.
Quick test
Print a small cylinder or a Benchy with the same settings after each change, and compare the seam from one angle. Change one setting per print.
The first layer is a frequent starting point for blobs. See how to fix a bad first layer for that.
Frequently asked questions
What are zits in 3D printing?
Zits are small bumps along the seam, the spot where each perimeter loop starts and ends. Prusa notes they are also called layer seams or scars.
Can the seam be removed completely?
No. Prusa says that with FDM it is not possible to eliminate the seam, only to make it less noticeable. Spiral vase mode avoids it because it has no layer changes.
What is the best seam position?
It depends on the shape. Prusa says nearest can make the seam invisible on models with sharp corners, and random can suit cylinders. OrcaSlicer suggests aligned back, aligned or back for most models.
Does pressure advance help with blobs?
Klipper's documentation says pressure advance reduces ooze during non-extrude moves and blobbing during cornering. Calibrate it for each filament and nozzle where your firmware supports it.
Sources

Founder and editor
Software engineer since 2009 and Head of Engineering by day, a maker who has owned several 3D printers, writing practical guides to 3D printers, filament and running costs, with every article saying what was and was not tested.
Drafted with AI assistance, then edited and reviewed by Sepehr before it goes live. How we use AI.
Keep reading
 AI illustration
3D Printer Problems and Fixes: A Troubleshooting Guide
A symptom-first guide to common 3D printer problems: what causes them and what to try first, based on manufacturer…
 AI illustration
How to Fix Elephant's Foot on 3D Prints
Elephant's foot is a flared bottom edge caused by a squished first layer. Fix the Z offset and bed heat first, then use elephant…
 AI illustration
How to Fix Ghosting and Ringing
Ghosting in 3D printing, also called ringing, is an echo of sharp edges caused by vibration. This research-based guide covers…