How to Fix Over-Extrusion
Over-extrusion is when too much plastic comes out of the nozzle. Fix 3D printing over-extrusion by calibrating flow, then checking Z height and hardware.
By Sepehr Sabbagh-pour · Published · 3 min read
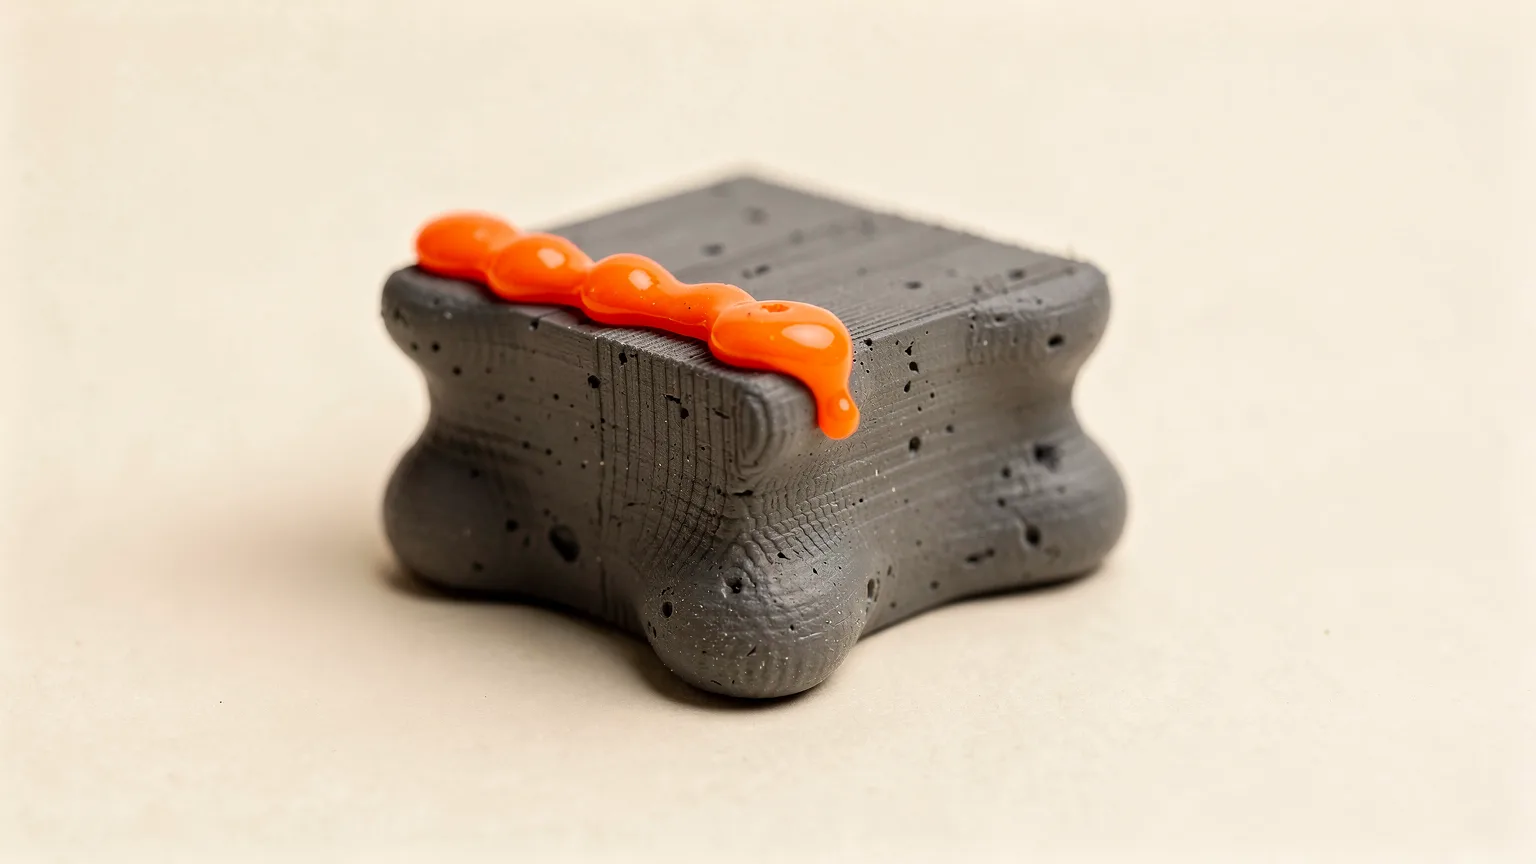
Over-extrusion is when the printer pushes out more plastic than the slicer planned. Prusa describes the result as scarring of the bottom layers and unnecessary buildup of material on the top layers, with an uneven surface that stops parts from joining seamlessly. OrcaSlicer's wiki lists excess material, rough surfaces and dimensional inaccuracies. This 3D printing guide covers the fixes in order. It is based on maker documentation, not our own print tests, so treat values as starting points.
| What you see | Likely cause | Try first |
|---|---|---|
| Lumpy, rough top surface | Flow too high | Flow calibration |
| Bulging bottom edge, glossy squashed first layer | Nozzle too close to the bed | Raise Z offset (elephant's foot) |
| Thick lines and scattered blobs from the start | Loose hotend hardware, bad Z probing | Check hotend screws |
| Isolated zits and blobs only | Seam, pressure or retraction | Fix blobs and zits |
1. Check the first layer height
A nozzle set too close to the bed squashes plastic out sideways and can look exactly like over-extrusion. Bambu Lab's first layer guide says a line squished until it creates raised edges, or a dragging nozzle, means the nozzle is too low. Follow how to fix a bad first layer and re-level or recalibrate if needed (bed leveling guide).
2. Check for loose hardware
Bambu Lab describes a mechanical cause on the A1: thick, inconsistent lines and scattered blobs in the first layer test can come from four loose screws on the hotend heating assembly, which also interfere with bed probing and give incorrect Z heights. Bambu's wiki gives the fix for that printer (re-tighten the screws with an H1.5 hex key). On other printers, check that the nozzle and heater block are fitted as the maker describes. Also confirm the nozzle diameter set in the slicer matches the fitted nozzle (nozzle sizes explained).
3. Calibrate flow
Flow, called the extrusion multiplier in PrusaSlicer or flow ratio in OrcaSlicer and Bambu Studio, scales how much filament is pushed for each move. Prusa notes over-extrusion is a common problem with many filament brands and that the default for PLA is 1, with adjusted values usually between 0.9 and 1.1.
Prusa's precise method uses calipers and a 40 x 40 x 40 mm cube printed in vase mode at a normal layer height of 0.1 to 0.2 mm. Measure the wall thickness at three points in the middle of each wall and average them. Then extrusion multiplier = 0.45 divided by the average measured thickness. Prusa states this assumes a 0.4 mm nozzle, 0.45 mm extrusion width and a multiplier of 1 for basic materials such as PLA, ABS and PETG. Enter the new value in the filament settings and reprint to check.
Prusa's visual method needs no tools: print the test cube at 0.20 mm layer height, inspect the top layer by sight and touch, and change the multiplier by 1 to 2% at a time. Decrease it if there is too much material near the perimeters.
OrcaSlicer's flow ratio calibration prints a set of blocks with different modifiers and you choose the smoothest top surface. The Archimedean chords method makes eleven blocks from -0.05 to +0.05 in 0.01 steps. OrcaSlicer's wiki also warns Bambu Lab printer users not to select the Flow calibration option, to avoid conflicts with the printer's own system. Flow comes after temperature, volumetric speed and pressure advance in OrcaSlicer's recommended calibration order, so a rough surface can also come from those. See the OrcaSlicer beginner guide and how to calibrate a 3D printer.
4. Check temperature and filament
Overheated plastic runs more freely, and wet filament extrudes unevenly. Bambu Lab says moisture can cause uneven extrusion because absorbed water turns to steam in the hotend. Dry the filament. Keep the nozzle temperature within the range printed on the spool, and change it in small steps. Flow values calibrated for one brand and color often do not carry over to another, so repeat calibration for each filament.
Quick confirmation. Print the test cube again. The fix has worked when top surfaces are smooth with distinct, even lines, walls are the thickness the slicer expected, and a printed cube measures close to its model dimensions with calipers. If the top looks gappy afterwards, you have gone too far, so raise flow a step. The opposite problem is covered in how to fix under-extrusion.
Frequently asked questions
What is over-extrusion in 3D printing?
It is when the printer extrudes more plastic than the slicer planned. Prusa describes scarring of bottom layers and material buildup on top layers, which leaves an uneven surface.
What flow rate should I use?
Prusa's default extrusion multiplier for PLA is 1, with adjusted values usually between 0.9 and 1.1. The right value depends on your printer and filament, so calibrate with a test print.
How do I tell over-extrusion from a nozzle that is too close to the bed?
Both can make a squashed, rough first layer. If the problem is limited to the first layer and the top surfaces are fine, check Z height first. If top surfaces are also lumpy, calibrate flow.
Does temperature affect over-extrusion?
Plastic that is too hot flows more freely, and wet filament extrudes unevenly because water turns to steam in the hotend. Stay inside the filament's recommended range and dry the spool before changing flow.
Sources

Founder and editor
Software engineer since 2009 and Head of Engineering by day, a maker who has owned several 3D printers, writing practical guides to 3D printers, filament and running costs, with every article saying what was and was not tested.
Drafted with AI assistance, then edited and reviewed by Sepehr before it goes live. How we use AI.
Keep reading
 AI illustration
3D Printer Problems and Fixes: A Troubleshooting Guide
A symptom-first guide to common 3D printer problems: what causes them and what to try first, based on manufacturer…
 AI illustration
How to Fix Under-Extrusion
Under-extrusion means the printer lays down less plastic than the slicer asked for. Check the first layer, nozzle, extruder…
 AI illustration
How to Fix Ghosting and Ringing
Ghosting in 3D printing, also called ringing, is an echo of sharp edges caused by vibration. This research-based guide covers…