How to Fix Under-Extrusion
Under-extrusion means the printer lays down less plastic than the slicer asked for. Check the first layer, nozzle, extruder, filament and flow in that order.
By Sepehr Sabbagh-pour · Published 12 October 2026 · 6 min read
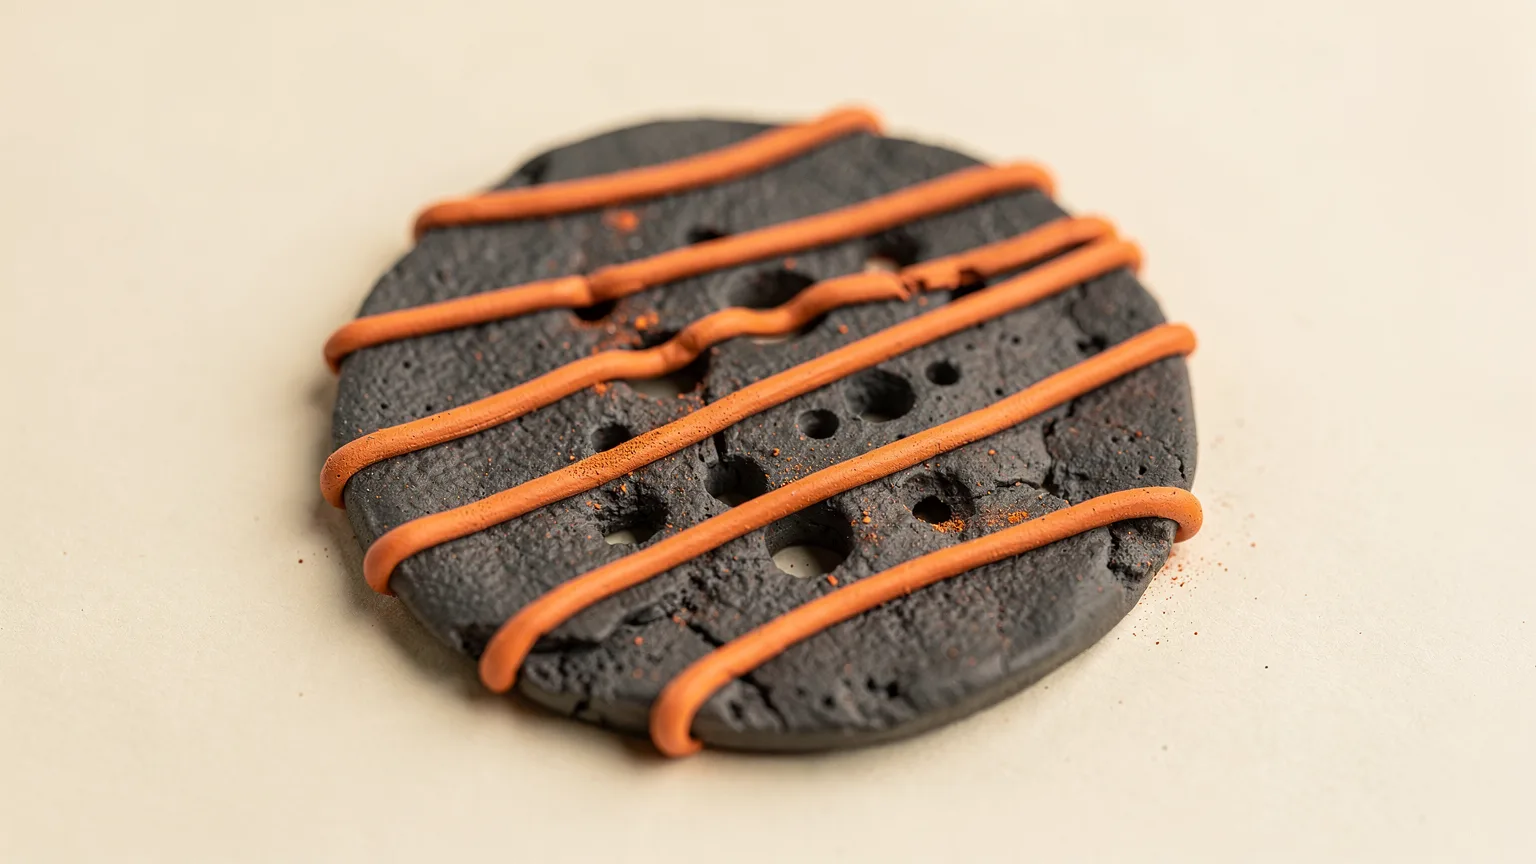
Under-extrusion is when the printer puts down less plastic than the slicer expects. Prusa describes it as material missing in the layers, which leaves printed objects fragile and prone to breaking apart. You see small gaps between lines or perimeters, thin or see-through walls, and weak top surfaces. The fix depends on whether the cause is mechanical, material or a setting, so this guide goes in that order. It draws on Prusa, Bambu Lab and OrcaSlicer documentation, not our own tests.
| What you see | Likely cause | Try first |
|---|---|---|
| Gaps right from the first layer | Nozzle too close to bed, partial clog | Redo first layer calibration, cold pull |
| Starts fine, then thins out mid-print | Heat creep, wet filament, worn gears | Check hotend fan, dry filament, clean gears |
| Extruder clicks or grinds | Blocked flow or too much resistance | Fix extruder clicking |
| Even small gaps across all top surfaces | Flow set too low | Flow calibration |
1. Check the first layer height
Prusa lists a nozzle that is too close to the build plate as a cause: it can obstruct filament flow. Avoid compensating for poor adhesion by squishing the first layer. Recalibrate after moving the printer or doing hotend maintenance. See how to fix a bad first layer.
2. Inspect the nozzle and hotend
Prusa says a nozzle that was removed must be reinstalled correctly, because a bad install can cause both clogs and leaks. It should be tightened when hot, with a gap between the nozzle and the heater block. A cold pull can clear a partial clog (our clogged nozzle guide has more). When switching to hardened or stainless nozzles, Prusa says to raise the temperature by 5 to 10 degrees C, and it recommends a 0.6 mm nozzle minimum for composite filaments. See hotends and nozzle materials and nozzle sizes explained.
Bambu Lab also advises confirming the nozzle is clean and fixed firmly, and it suggests extruding by hand from the screen to check that filament flows from the tip.
3. Check the extruder gears and hotend cooling
Prusa notes that dirty or misaligned extruder gears can prevent filament from advancing properly, and that an idler screw that is too loose or too tight causes under-extrusion. It also names insufficient hotend cooling: filament melts too early, a problem called heat creep. Check the hotend fan spins and its path is clear. Prusa adds that printing PLA or similar materials inside an enclosed printer can cause under-extrusion, so keep the enclosure moderate. Heat creep and enclosure choices are covered in enclosed vs open-frame printers.
4. Fix the filament side
Moisture is a common culprit. Bambu Lab says absorbed water turns to steam inside the hotend and disrupts filament flow, and Prusa singles out PETG, ABS and soluble filaments as sensitive to moisture. Dry the spool and store it sealed.
Check temperature as well. Prusa says that if your filament is not in PrusaSlicer, you can adjust the print temperature by 5 to 15 degrees C from the nearest profile, and that a temperature that is too low or too high causes problems. When changing from ABS or PETG to PLA, Prusa advises loading the PLA at the previous filament's temperature so old material is pushed out. Prusa also mentions that diameter tolerance is typically plus or minus 0.05 mm and that inconsistent diameter changes the amount extruded, so a very cheap spool can be the cause.
5. Calibrate the flow ratio
If the hardware and filament are fine and gaps remain, flow may be set too low. Prusa's extrusion multiplier is the total flow rate scale; typical adjustments fall between 0.9 and 1.1. Its visual method is to print a cube and adjust by 1 to 2% at a time: increase the multiplier if you see gaps. OrcaSlicer's wiki describes under-extrusion as gaps, weak layers and poor structural integrity, and provides a flow ratio calibration print that creates eleven blocks with modifiers from -0.05 to +0.05 in 0.01 steps. You pick the block with the smoothest surface and no visible gaps. OrcaSlicer's wiki warns Bambu Lab printer users not to select the Flow calibration option because it conflicts with the printer's own system. Also compare against slicer defaults and the OrcaSlicer profiles for your printer, as Prusa recommends stock profiles tailored to your printer, filament and nozzle.
If the gaps are only where the infill meets the walls, see how to fix gaps between walls and infill.
Quick confirmation. Print a single-wall or top-surface test cube. Under-extrusion is fixed when the top surface closes into a smooth sheet with no gaps between lines and the walls feel solid. Change one variable per attempt.
If a detail is absent from the slicer preview as well, the cause is the slicer, not extrusion; see fixing missing small details.
Frequently asked questions
What causes under-extrusion?
Prusa lists a nozzle too close to the bed, wrong slicer settings, nozzle problems, dirty or misaligned extruder gears, weak hotend cooling and filament issues such as wrong temperature or moisture.
How do I know if it is under-extrusion or a clog?
A partial clog is one cause of under-extrusion. If the problem is constant and gets worse, or the extruder clicks, check the nozzle first. If gaps are small and even across the whole print, look at flow settings.
What flow ratio should I use?
Prusa's extrusion multiplier default for PLA is 1, and adjusted values usually fall between 0.9 and 1.1. OrcaSlicer's calibration print tests modifiers from -0.05 to +0.05. Calibrate for each filament rather than guessing.
Can wet filament cause under-extrusion?
Yes. Bambu Lab says moisture turns to steam in the hotend and disrupts flow. Drying the spool is a low-cost step before changing settings.
Sources

Founder and editor
Software engineer since 2009 and Head of Engineering by day, a maker who has owned several 3D printers, writing practical guides to 3D printers, filament and running costs, with every article saying what was and was not tested.
Keep reading
How to Fix Pillowing and Gaps in Top Layers
Pillowing in 3D printing is a lumpy top surface with small holes, caused by top layers sagging into the infill. More top layers, denser infill and stronger cooling usually fix it.
12 October 2026 · 3 min read
How to Improve Bridging in 3D Printing
Bridges sag because plastic is printed in mid-air. Shorten the span, cool it, tune bridge speed and flow, or redesign the part.
12 October 2026 · 5 min read
Why 3D Prints Do Not Stick to the Bed and How to Fix It
A 3D print not sticking to the bed is usually a dirty plate, wrong plate setting, wrong nozzle height or a first layer that is too fast or cool. Fix them in this order.
12 October 2026 · 4 min read