How to Improve Bridging in 3D Printing
Bridges sag because plastic is printed in mid-air. Shorten the span, cool it, tune bridge speed and flow, or redesign the part.
By Sepehr Sabbagh-pour · Published 12 October 2026 · 5 min read
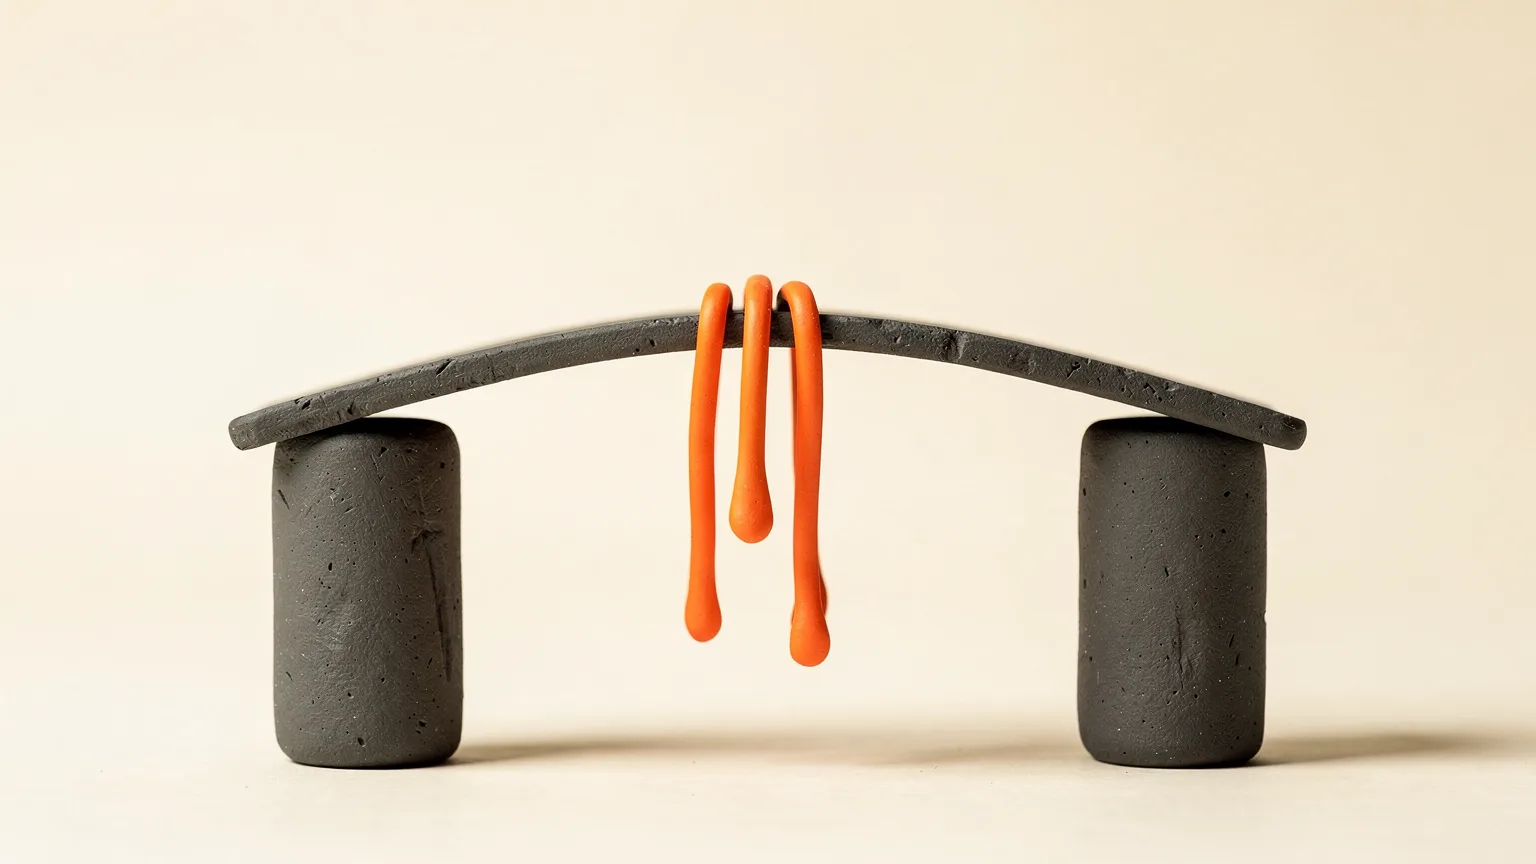
Poor bridging looks like drooping lines, stringy strands across a gap, or a rough underside with holes between lines. A bridge is a stretch of filament printed across open space with no layer beneath it. The plastic has to cool and firm up fast enough to hold its shape between two anchor points, and anything that slows that down makes it sag.
This guide is research-based: it relays Prusa and Bambu Lab documentation. Slicer menus and good values differ by printer, filament and slicer, so use the numbers here as starting points.
Why bridges fail
Prusa's bridging guide gives the root cause as sagging of filament printed mid-air, and says the printer's fans need to cool the extruded plastic in mid-air to create a solid connection. Bambu Lab adds a second reason: unlike a normal layer, bridge filament is not pressed flat against a surface. It keeps a rounder cross-section, so with default settings the line width can be smaller than the spacing between lines, leaving gaps, and gravity pulls the layer down.
| Symptom | Likely cause | Try first |
|---|---|---|
| Whole bridge droops | Span too long or plastic too hot and slow to firm up | Shorten span, more cooling, lower temperature |
| Gaps between bridge lines | Too little material per line | Test bridge flow and thick bridges |
| Lines break or tear off | Line pulled apart, flow too low at low layer height | Check flow, slow down, enable thick bridges |
| Strings across the span | Oozing or wet filament | Dry filament, see stringing guide |
1. Make sure the part is cooled
Cooling is the main mechanism, so check the part cooling fan is spinning and the duct is not blocked. Bambu Lab's overhang guide says to increase the part cooling fan and auxiliary fan percentage as needed, and to check both fans are working during printing. A lower nozzle temperature also helps plastic firm up sooner, but go in small steps, and stay inside the range printed on the spool. Materials printed with little or no cooling, such as ABS, give the plastic less help to firm up, so expect bridging to be harder. See fixing sagging overhangs.
2. Adjust bridge speed
Prusa recommends a lower speed for bridges (in PrusaSlicer, under Speed, then Bridges). Bambu Lab explains that reducing bridge speed gives the filament more time to cool and stabilize before the next line, but warns that slower is not always better and that the best value depends on the machine and filament. Try a few speeds and compare. Bambu also notes speed changes apply only to the nozzle currently selected.
3. Test bridge flow, in both directions
Here the two manufacturers differ. Prusa recommends a lower bridge flow ratio on the first bridging layer (Object settings, Advanced, Bridge flow ratio). The idea is to pull the string of extruded filament behind the nozzle so it drops less. Bambu Lab describes the opposite problem: gaps between round lines, which an increased Bridge Flow can fix by letting adjacent lines expand and touch. Bambu also warns that blindly adjusting bridge flow rarely improves quality and that you should test with the same filament and process settings you plan to print with. The sensible reading is that the right direction depends on the slicer and the symptom: gaps suggest more flow, tearing or sag suggests testing less. Change one value at a time.
4. Check thick bridges
Bambu Studio has a Thick Bridges option, where the bridge line has the diameter of the nozzle. Bambu says with it on, bridges are more reliable and can span longer distances but may sag, while with it off the bridge looks thinner and only works for shorter spans. If the layer height is low, the bridge flow can be too small and the bridge may be pulled off. If you use another slicer, look for an equivalent setting.
5. Shorten the span
This is the most dependable fix. Bambu says shorter bridge spans are usually more stable and sag less, and that changing bridge direction can reduce the unsupported distance. Prusa's options are:
- Rotate the object until the bridges disappear. Prusa calls this the best solution when feasible.
- Add support islands halfway across long bridges using support enforcers.
- Change the bridging angle (Print settings, Infill, Advanced, Bridging Angle, in Advanced or Expert mode).
For help with support, see supports explained. Designing the part with an arch, chamfer or sacrificial layer is another way to remove the problem entirely.
6. Keep filament dry and the nozzle clean
Wet filament oozes and strings, and a partly clogged or dirty nozzle makes lines uneven. Dry the filament if you hear popping, and for string-like wisps across gaps see fixing stringing.
Use a test model. Prusa recommends testing with dedicated bridging models before full prints. Bambu Lab's guide follows a community test model on MakerWorld that prints rows of bridges at different flow values and a second plate for speed. A small test takes minutes and saves a failed print.
Confirm the fix
Print a test with spans of 10, 20 and 30 mm and look at the underside. A good result has parallel lines touching each other with only slight sag. If the shortest span works but the longest does not, you have reached the limit for that filament and printer, so add supports or redesign (and if those supports then fuse to the part, see fixing supports stuck to the print). Related reading: fixing under-extrusion if the lines are thin all over.
Frequently asked questions
Why do my bridges sag?
Plastic printed over open space has to cool before gravity pulls it down. Weak cooling, too hot a nozzle, long spans and low line flow all make it worse.
How long a bridge can a 3D printer manage?
It depends on the printer, filament, cooling and slicer settings, so there is no single number. Print a test with several span lengths to find your own limit.
Should bridge flow be higher or lower?
Prusa recommends lowering the bridge flow ratio to reduce drooping, while Bambu Lab describes raising bridge flow to close gaps between lines. Test small changes with your own slicer and filament.
Does printing slower help bridging?
Often, because the filament has more time to cool, but Bambu Lab notes slower is not always better. Compare a few speeds on a test model.
Sources

Founder and editor
Software engineer since 2009 and Head of Engineering by day, a maker who has owned several 3D printers, writing practical guides to 3D printers, filament and running costs, with every article saying what was and was not tested.
Keep reading
How to Fix Pillowing and Gaps in Top Layers
Pillowing in 3D printing is a lumpy top surface with small holes, caused by top layers sagging into the infill. More top layers, denser infill and stronger cooling usually fix it.
12 October 2026 · 3 min read
Why 3D Prints Do Not Stick to the Bed and How to Fix It
A 3D print not sticking to the bed is usually a dirty plate, wrong plate setting, wrong nozzle height or a first layer that is too fast or cool. Fix them in this order.
12 October 2026 · 4 min read
Why a 3D Print Stops Halfway and What to Check
A print can stop for several different reasons. Read the error message first, then check the filament, the hotend, the power and the connection.
12 October 2026 · 6 min read