Why 3D Prints Do Not Stick to the Bed and How to Fix It
A 3D print not sticking to the bed is usually a dirty plate, wrong plate setting, wrong nozzle height or a first layer that is too fast or cool. Fix them in this order.
By Sepehr Sabbagh-pour · Published 12 October 2026 · 4 min read
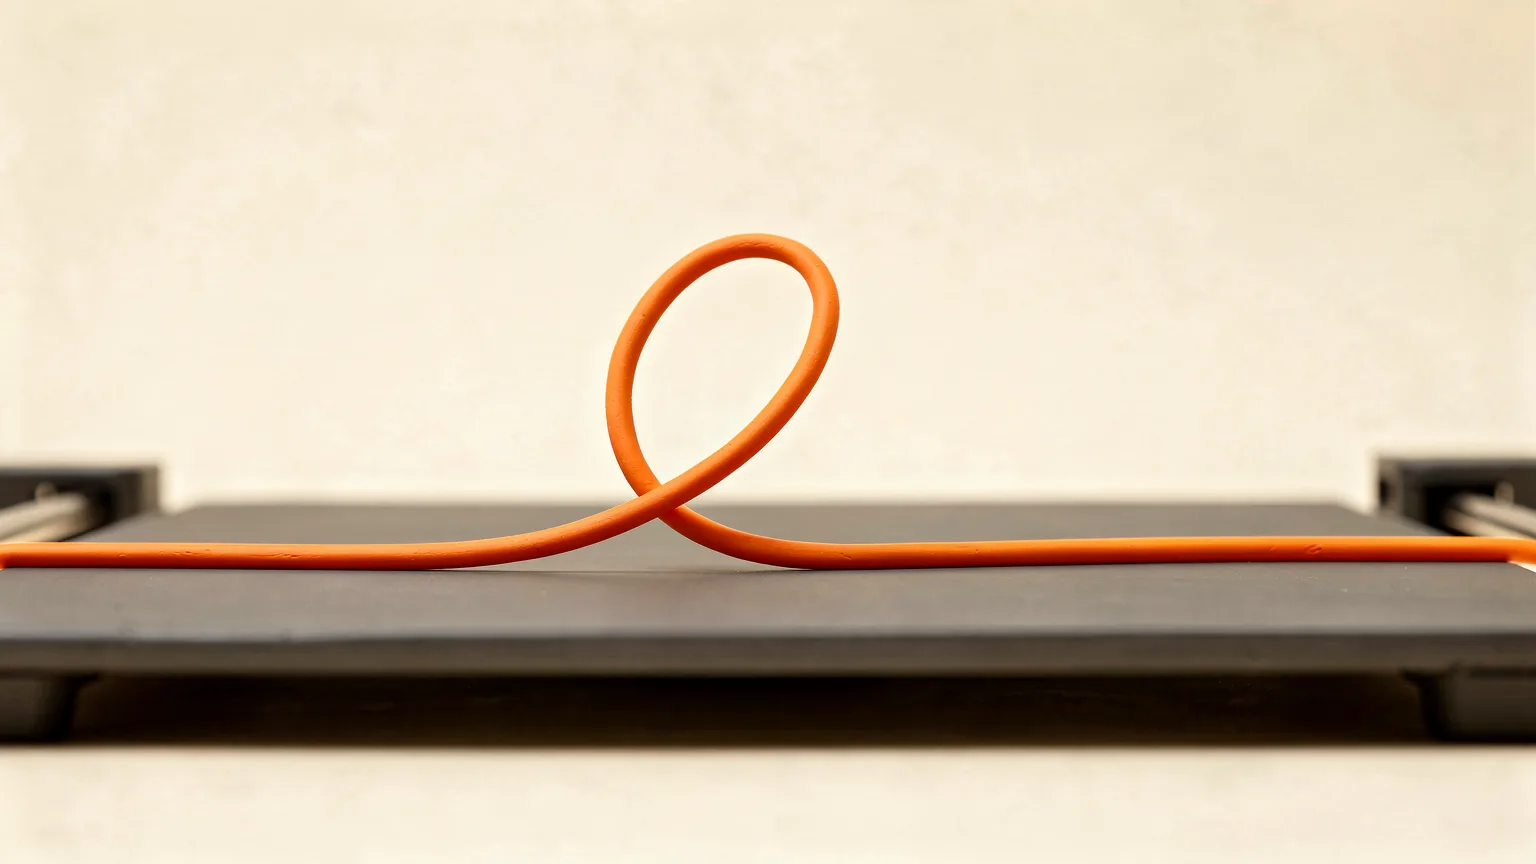
If the first layer lifts, peels or gets dragged around by the nozzle, the print will almost always fail. Prusa calls first layer trouble "by far the most common 3D printing problem". The causes are few, and checking them in the right order saves wasted filament.
Research-based guide. This article is compiled from manufacturer documentation and has not been checked on a test printer. Treat every number as a starting point and change one setting at a time.
Quick diagnosis
| Symptom | Likely cause | Try |
|---|---|---|
| Lines do not touch or peel as a whole sheet | Greasy plate | Clean the plate |
| Thin, see-through first layer or no extrusion | Nozzle too close | Recalibrate first layer height |
| Round, stringy lines that do not flatten | Nozzle too far or plate type mismatch | Check plate type, bed leveling |
| Corners lift later in the print | Warping or small contact area | Brim, bed temperature, no early fan |
| Fails only with one material | Wrong bed temperature or plate | Use the maker profile, glue stick |
1. Clean the plate
Prusa advises 90% isopropyl alcohol for smooth, satin and textured sheets and says to avoid skin or nail products because moisturizers and oils harm adhesion. If adhesion fades even with alcohol, it suggests a few drops of dish soap in warm (not hot) water, then drying the sheet well. Bambu Lab goes further and strongly recommends washing its plates with hot water and detergent, calling it the fix for most adhesion problems, and holding the plate by its edges afterwards.
Acetone is a special case. Prusa says it can restore smooth PEI about once a month, but that overuse makes PEI brittle, and it should never be used on textured or satin sheets.
2. Match the plate type in the slicer
Bambu Lab says the heatbed temperature depends on the plate type chosen. Pick the wrong one and the bed may be too cool. On its Textured PEI plate the printer lowers the nozzle by 0.04 mm after leveling, so selecting a different plate type in the slicer leaves the nozzle too high. The plate in the slicer must match the plate on the bed.
3. Check bed leveling and nozzle height
Bambu Lab recommends running bed leveling calibration (with a clean nozzle tip) and keeping automatic leveling enabled at the start of each print. Prusa explains the opposite failure on its first-layer pages: a nozzle that is too close blocks the opening and little plastic comes out, while squishing the first layer to force adhesion can damage the sheet. Prusa warns against compensating for poor adhesion by setting Live Adjust Z lower. See fixing a bad first layer and how to level a 3D printer bed for the process.
4. Slow the first layers and check temperatures
Prusa suggests reducing speed to about 75% for the first three layers. Bambu Lab recommends an initial layer speed of 30 mm/s or less and initial layer infill speed of 60 mm/s or less. Both makers say to use the recommended nozzle and bed temperatures for the material. Prusa adds that for materials that do not adhere well, raising the heatbed by 5 to 10 degrees C may help.
5. Use a brim or separator where it fits
A brim increases the first layer contact area. Prusa suggests trying it before adding adhesives, and Bambu Lab recommends a brim width of 5 to 8 mm for small footprints that cannot hold themselves. See brim vs raft vs skirt.
Glue is optional. Prusa says an ordinary PVA glue stick is not needed for PLA, but may help with nylon, PETG, polycarbonate, ABS, ASA and flexible filaments. It also protects smooth PEI from PETG, which can bond so strongly that removing it harms the sheet. Do not use superglue. Bambu Lab similarly suggests its own glue for non-PLA materials on a smooth PEI plate.
6. Dry the filament and check for clogs
Bambu Lab notes that moisture turns to vapor in the nozzle, causing uneven extrusion that can hurt first layer adhesion. Prusa also lists a full or partial clog among first layer causes. If the first layer extrudes unevenly even after the steps above, dry the spool (see how to dry filament) and check the nozzle.
Why this matters beyond the first layer
A print that detaches mid-way often ends as a tangle of loose plastic. Prusa and Bambu Lab both name poor first layer adhesion as a root cause of that outcome; see why prints turn into spaghetti. Warped corners are covered in fixing warping.
Confirm the fix
Print a wide, thin square. The lines should look flat and merged with no gaps, and the part should resist a light push. Settings above are starting points from maker documentation, not guarantees for every printer.
Frequently asked questions
Why is my 3D print not sticking to the bed?
The most common reasons in maker guides are a dirty plate, the wrong build plate type selected in the slicer, a nozzle that is too far from the bed, a first layer printed too fast, or a bed temperature that is too low for the material.
Should I use glue stick on the bed?
Prusa says a basic PVA glue stick is not needed for PLA but can help with materials such as nylon, PETG, polycarbonate, ABS, ASA and flexibles. On smooth PEI it also acts as a separation layer for PETG, which can otherwise bond too strongly.
How do I clean a PEI build plate?
Prusa recommends 90% isopropyl alcohol, with warm (not hot) water and dish soap if adhesion fades. Acetone is only for smooth PEI, about once a month, and never for textured or satin sheets. Bambu Lab recommends washing its plates with warm water and detergent and avoiding touching the surface.
Does first layer speed matter?
Yes. Slower speed gives the plastic more time to bond. Prusa suggests about 75% speed for the first three layers. Bambu Lab suggests an initial layer speed of 30 mm/s or less and initial layer infill of 60 mm/s or less.
Sources

Founder and editor
Software engineer since 2009 and Head of Engineering by day, a maker who has owned several 3D printers, writing practical guides to 3D printers, filament and running costs, with every article saying what was and was not tested.
Keep reading
How to Fix Pillowing and Gaps in Top Layers
Pillowing in 3D printing is a lumpy top surface with small holes, caused by top layers sagging into the infill. More top layers, denser infill and stronger cooling usually fix it.
12 October 2026 · 3 min read
How to Improve Bridging in 3D Printing
Bridges sag because plastic is printed in mid-air. Shorten the span, cool it, tune bridge speed and flow, or redesign the part.
12 October 2026 · 5 min read
Why a 3D Print Stops Halfway and What to Check
A print can stop for several different reasons. Read the error message first, then check the filament, the hotend, the power and the connection.
12 October 2026 · 6 min read