How to Fix Pillowing and Gaps in Top Layers
Pillowing in 3D printing is a lumpy top surface with small holes, caused by top layers sagging into the infill. More top layers, denser infill and stronger cooling usually fix it.
By Sepehr Sabbagh-pour · Published 12 October 2026 · 3 min read
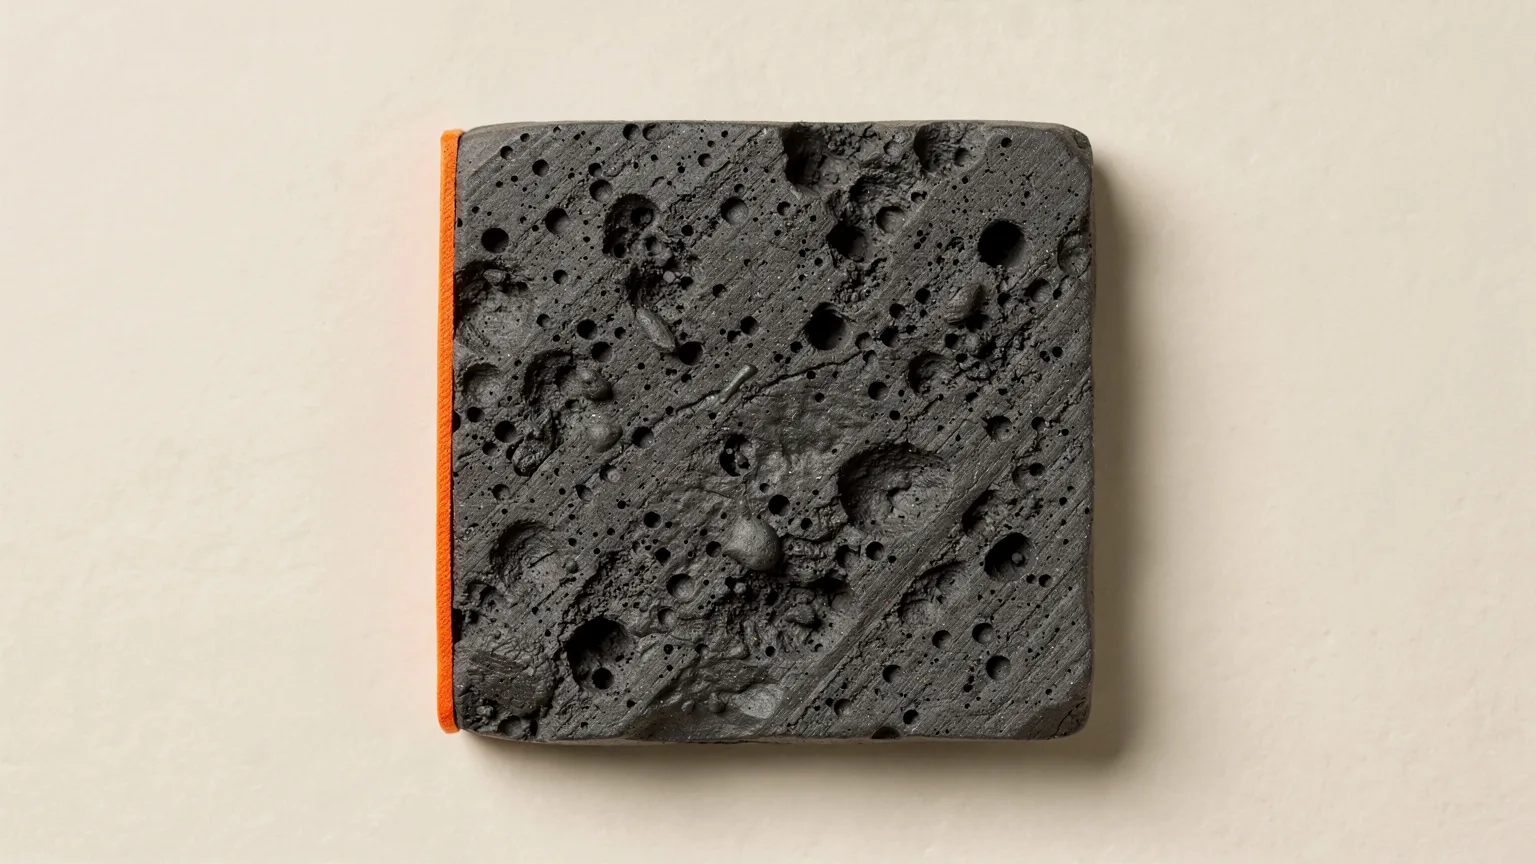
Pillowing in 3D printing is a surface defect where the top of a print looks uneven and pillow-shaped, with bumps, gaps and small holes. Anycubic's guide describes the cause: insufficient infill support, inadequate cooling and a weak top layer let the top layers become thin, sag and sometimes collapse. The first layers over the infill have to bridge empty cells, and if they do not cool in time they droop into them.
Research-based guide. This article is compiled from manufacturer documentation and has not been checked on a test printer. Treat every number as a starting point and change one setting at a time.
Pick the likely cause
| Observation | Likely cause | First step |
|---|---|---|
| Holes in a regular pattern over the infill | Too few top layers | Thicken the top shell |
| Bumps only on large flat tops | Sparse infill | Raise infill density |
| Rough, shiny, drooping top skin | Too hot or too little cooling | Fan to 100% on top layers |
| Fine pitting on small flat areas | Residual small holes | Try ironing |
1. Add top layers
Anycubic says a very thin top layer deforms easily and recommends top thickness of 5 to 6 times the layer height. Its example is a 0.1 mm layer height needing 0.5 to 0.6 mm of top thickness. Applied to a 0.2 mm layer height, the same ratio gives about 1.0 to 1.2 mm, or 5 to 6 layers. Most slicers let you set either top layers or top thickness. For how layer height interacts, see layer height explained.
2. Increase infill density
The top layers need something to rest on. Anycubic says around 20% infill is typically enough for most models, and that a stronger pattern helps. It names concentric and lightning in Cura as patterns that support top layers while using little material. The trade-off is more filament and print time; see infill explained for the options.
3. Improve top layer cooling
Anycubic says to enable print cooling and make sure the fan runs at 100% on the top layer. Prusa's cooling article gives the logic: printing must always happen on an already solidified layer, and plastic over gaps has to freeze quickly, so fans matter. Prusa's slicer lets you set cooling per filament, including a minimum layer time and fan speeds. Check that the part cooling fan actually spins, because a failing fan produces exactly this look.
Fast cooling is not free for every material. Prusa notes that more cooling can cause warping or layer separation with some filaments, so use it where the top layers need it. If layers start to split, see fixing layer separation.
4. Check temperature
Anycubic names temperature as one of the biggest factors. A cooler nozzle gives the plastic less time to stay soft over the gaps. Stay inside the range printed on the spool and change in small steps, rechecking layer bonding after each change.
5. Use ironing on flat tops
Prusa explains that ironing runs a second pass over the top surface in which the hot nozzle flattens curled plastic and fills small holes with a tiny amount of extruded filament. It works at a fixed 45 degree angle to the normal top infill pattern. Prusa lists these downsides: longer print time, a risk of heat creep and clogs on large areas (especially with PLA in hot weather), and edges that become slightly fuzzy. It recommends ironing for flat tops such as nameplates, badges, boxes and lids, and says it is not useful for round or organic shapes.
What does not help
Raising only the flow rate, or cranking the temperature up, tends to make the sag worse, since the plastic stays softer and there is more of it over the gap. Fix the support and cooling first.
A sensible order
- Raise top layers to 5 or 6 (or to 5 to 6 times the layer height in thickness).
- Raise infill to about 20% if it is lower.
- Set the fan to 100% on the top layers.
- Lower the temperature slightly.
- Turn on ironing for flat tops that still look rough.
If other surfaces also look off, a related problem is under-extrusion and not pillowing; see fixing under-extrusion.
Gaps deeper inside the part, where the infill meets the walls, have a different fix: gaps between walls and infill.
Confirm the fix
Print a flat box about 40 mm square with 10% infill as a test. If the top is smooth with no holes, repeat on a real part. The numbers here come from maker guides and are starting points, not guarantees.
Frequently asked questions
What causes pillowing in 3D printing?
Anycubic names temperature and infill as the biggest factors: too little infill support, inadequate cooling and a thin top layer let the top layers sag, leaving an uneven surface with bumps, gaps and holes.
How many top layers do I need?
Anycubic recommends a top thickness of 5 to 6 times the layer height. At 0.2 mm layers that is 1.0 to 1.2 mm, or 5 to 6 layers. Treat this as a starting point.
Does ironing fix pillowing?
It can help. Prusa says ironing runs a second pass over the top layer that flattens curled plastic and extrudes a small amount to fill holes. It increases print time and slightly blurs edges, and it is for flat tops, not organic shapes.
Will more infill fix it?
It often helps because the top layer has more to rest on. Anycubic notes patterns such as concentric and lightning in Cura can support top layers while using less material.
Sources

Founder and editor
Software engineer since 2009 and Head of Engineering by day, a maker who has owned several 3D printers, writing practical guides to 3D printers, filament and running costs, with every article saying what was and was not tested.
Keep reading
How to Improve Bridging in 3D Printing
Bridges sag because plastic is printed in mid-air. Shorten the span, cool it, tune bridge speed and flow, or redesign the part.
12 October 2026 · 5 min read
Why 3D Prints Do Not Stick to the Bed and How to Fix It
A 3D print not sticking to the bed is usually a dirty plate, wrong plate setting, wrong nozzle height or a first layer that is too fast or cool. Fix them in this order.
12 October 2026 · 4 min read
Why a 3D Print Stops Halfway and What to Check
A print can stop for several different reasons. Read the error message first, then check the filament, the hotend, the power and the connection.
12 October 2026 · 6 min read