Layer Height Explained: Speed vs Detail
Layer height sets how thick each printed layer is. It trades speed against vertical detail, and it is limited by your nozzle diameter. Here are the rules and typical values.
By Sepehr Sabbagh-pour · Published 12 October 2026 · 3 min read
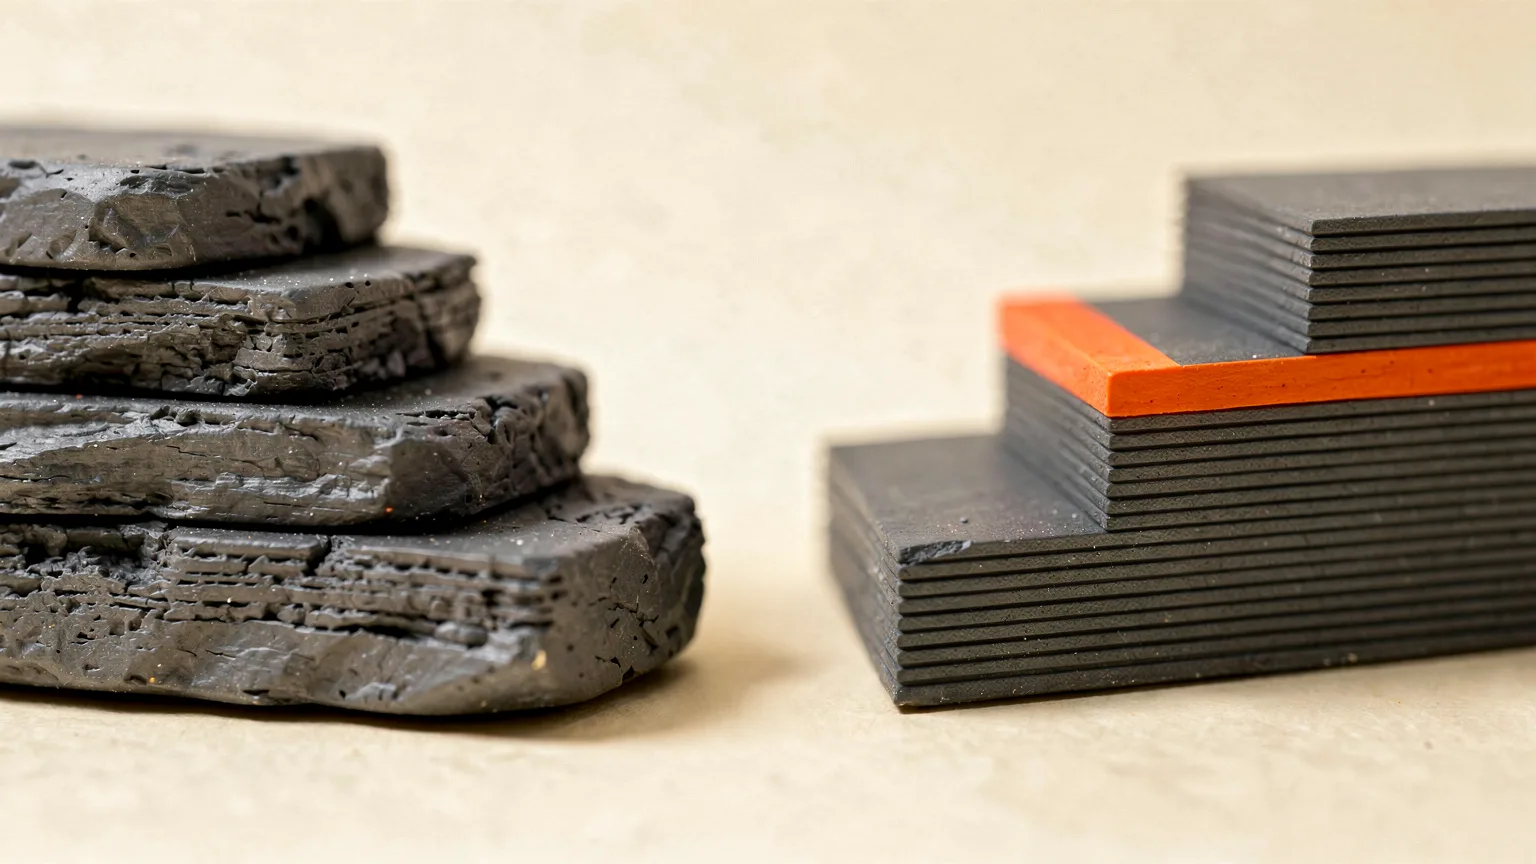
Layer height in 3D printing is the thickness of each slice your printer lays down. It is one of the first settings in any slicer, and it controls the trade between speed and surface detail. This guide explains what layer height does, the limits set by your nozzle, and typical values from slicer documentation. The figures below are starting points from Prusa and OrcaSlicer documentation, not our own test results.
What does layer height do?
Prusa's documentation calls layer height the main factor affecting both print time and vertical resolution. Taller layers shorten the print significantly at the cost of more visible layer lines. A small layer height, such as 0.10 mm, gives extra detail at the cost of longer prints.
OrcaSlicer's wiki adds that smaller layer heights give a smoother finish, less noticeable layer lines, more detail on curves and better performance on overhangs. Smaller layers reduce the unsupported distance between layers, so steeper overhangs become possible, while larger layers increase sagging and need supports at shallower angles. See how to fix sagging overhangs and 3D printing supports explained.
Prusa also points out that layer height changes only the vertical resolution. Embossed text lying flat on the bed looks the same at any layer height. For finer detail in the XY plane, use a different nozzle diameter, which our nozzle sizes guide covers.
What layer height range works for each nozzle?
OrcaSlicer's wiki gives a quick reference. It says the usual optimal range is 20% to 80% of the nozzle diameter. Below 20% you may see flow inconsistencies and fish scale patterns, especially at high speed. Above 80%, layer adhesion issues and reduced quality become more likely. Prusa gives the same upper limit: stay below 80% of the nozzle diameter, and the layer height can never exceed the nozzle diameter.
| Nozzle | Minimum | Maximum | First layer |
|---|---|---|---|
| 0.2 mm | 0.04 mm | 0.16 mm | 0.12 mm |
| 0.4 mm | 0.08 mm | 0.32 mm | 0.25 mm |
| 0.6 mm | 0.12 mm | 0.48 mm | 0.35 mm |
| 0.8 mm | 0.16 mm | 0.64 mm | 0.45 mm |
Source: OrcaSlicer wiki quick reference. Check your own slicer profile, which may set tighter limits.
Which layer height should you choose?
Prusa generally does not suggest going below 0.10 mm, because the quality gain with 0.07 or 0.05 mm layers is relatively minor while print time grows a lot. Prusa's own print profiles use 0.20 mm as the first layer height. Beyond that, the choice comes down to what the part is for:
- Fast functional parts: taller layers, within the 80% limit. Time saved is large.
- General prints: the default profile for your printer and nozzle is a sensible start.
- Figurines and curved detail: thinner layers, accepting a longer print.
Print time does not depend on layer height alone. Speed and acceleration matter as well, so read print speed versus quality.
First layer height
Prusa notes that when you print with low layer heights you may still want a thicker first layer to improve adhesion, and that changing it will likely mean recalibrating the first layer. OrcaSlicer recommends 0.25 mm for a 0.4 mm nozzle (62.5% of nozzle diameter) with a maximum of 65%. If the first layer is the problem, see fixing a bad first layer.
Variable layer height
Prusa mentions a Variable layer height function, and OrcaSlicer has one too. It lets different parts of a model use different layer heights, for example thin layers on a curved top and thicker layers on straight walls. This gives a compromise between time and quality, but it is slicer specific, so check its documentation. Some visible banding can come from the printer rather than the setting, as described in fixing Z banding.
Rule of thumb. On a 0.4 mm nozzle, stay between 0.08 and 0.32 mm, treat 0.10 mm as a practical lower limit and print a small test piece before committing to a long job.
Layer height does not change how thin a feature can be in the XY plane; if details are missing, read why slicers drop small features.
Frequently asked questions
What is the best layer height for a 0.4 mm nozzle?
The usable range is 20% to 80% of the nozzle diameter, which is 0.08 to 0.32 mm. Many standard profiles sit in the middle of that range, and Prusa suggests not going below 0.10 mm.
Does a smaller layer height improve print quality?
It improves vertical detail and makes layer lines less visible, but Prusa says the improvement below 0.10 mm is relatively minor while print time rises significantly.
Does layer height affect strength?
The slicer documentation focuses on quality and time. OrcaSlicer notes that layers thicker than about 80% of the nozzle diameter increase the risk of layer adhesion issues, so staying within the recommended range protects bonding.
Can layer height be larger than the nozzle?
No. Prusa says the layer height cannot be higher than the nozzle diameter, and should be below 80% of it. PrusaSlicer shows an error if you enter a larger value.
Sources

Founder and editor
Software engineer since 2009 and Head of Engineering by day, a maker who has owned several 3D printers, writing practical guides to 3D printers, filament and running costs, with every article saying what was and was not tested.
Keep reading
Infill Explained: Percentages, Patterns and Strength
Infill is the internal structure of a print. Learn typical percentages, how the common patterns differ, and why wall count often matters more for strength.
12 October 2026 · 4 min read
Print Speed vs Quality: How Fast Can You Print?
Faster prints are limited by how much plastic the hotend can melt, not the box number. Learn the limits and how to speed up without losing quality.
11 October 2026 · 7 min read
PrusaSlicer for Beginners: Setup and First Slice
A step-by-step PrusaSlicer guide for beginners: install it, pick your printer and filament, set layer height, supports and infill, preview and export your first print.
11 October 2026 · 6 min read