Infill Explained: Percentages, Patterns and Strength
Infill is the internal structure of a print. Learn typical percentages, how the common patterns differ, and why wall count often matters more for strength.
By Sepehr Sabbagh-pour · Published 12 October 2026 · 4 min read
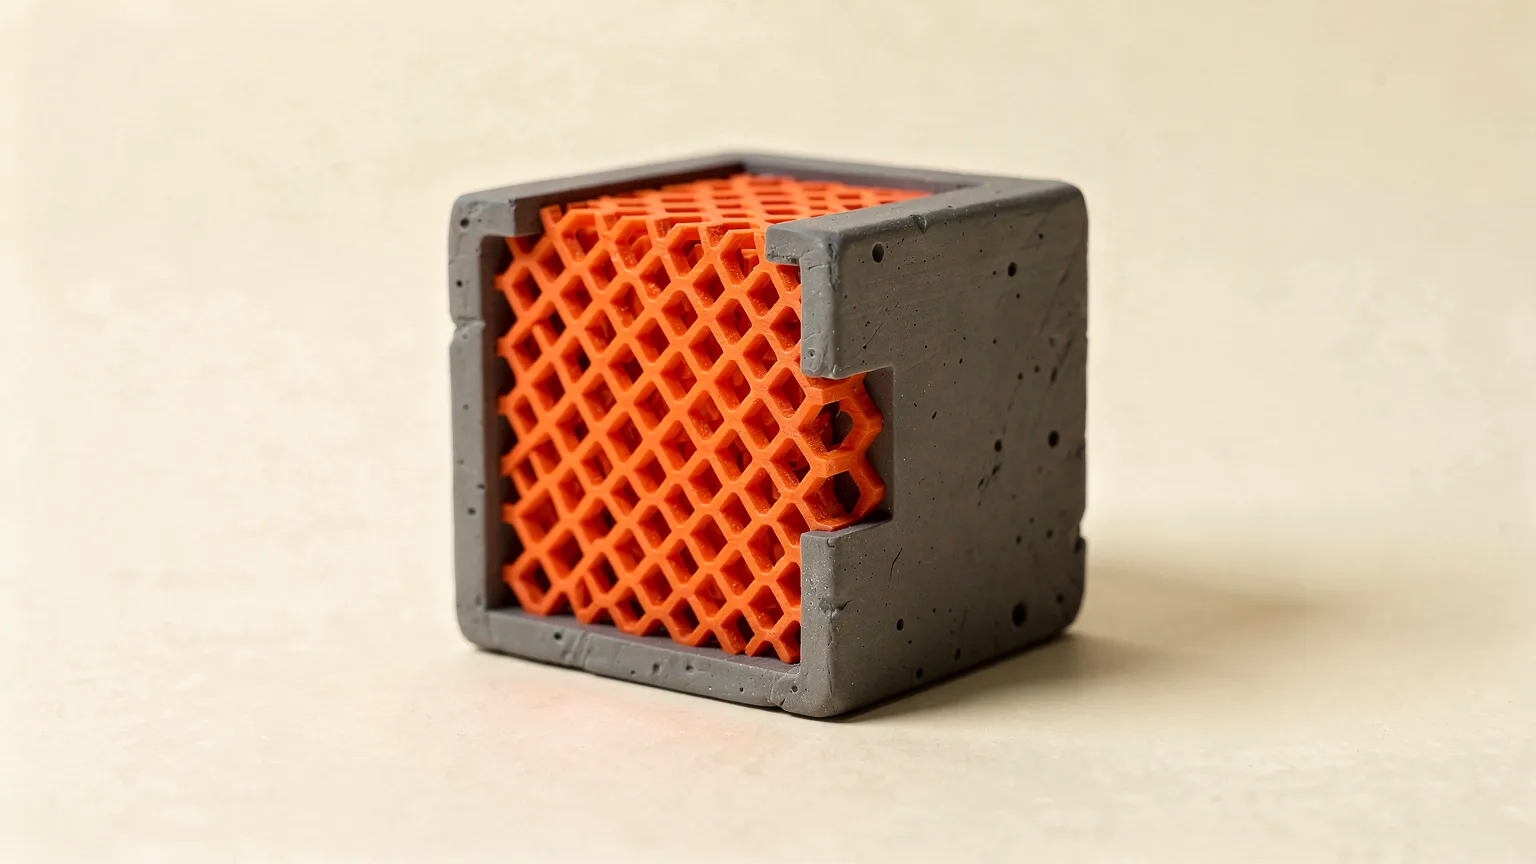
3D printing infill is the internal structure that fills the inside of a print. Instead of printing a solid block, the slicer prints a sparse pattern that holds up the top layers and adds stiffness. The two choices you control are infill density (a percentage) and infill pattern. This guide explains typical values and how the common patterns differ, using Prusa and OrcaSlicer documentation. These are starting points from manufacturer and slicer documentation, not our own test results.
What does infill do?
Prusa's knowledge base says the main purpose of infill is to give internal support to the top layers, which would otherwise have to bridge over empty space. Infill also affects print speed, structural strength, filament use and even the look of the part.
OrcaSlicer's wiki describes infill density as the amount of material used to fill the interior, expressed as a percentage where 100% is completely solid. Higher density increases strength, material use and print time. It adds that density is calculated as a percentage of the infill volume, not the whole print volume, and that patterns do not all interpret density the same way.
What infill percentage should you use?
| Infill density | Typical use (from Prusa's guidance) |
|---|---|
| 0% | Possible if the top closes gradually, but Prusa generally does not recommend it. |
| 10 to 15% | Most models. |
| Up to 30% | When you need a heavier part, more compression resistance or more stiffness. Prusa says you will rarely need more. |
| 100% | Possible, but PrusaSlicer forces the rectilinear pattern and Prusa warns it can hurt the look of the object. |
More infill costs more filament and time, so it also changes the price of a print. Our print cost calculator and guide to 3D printer running costs show how material adds up.
Does infill make a print stronger?
Less than most people expect. Prusa states that the strength of a model is mostly defined by the number of perimeters, not by infill, and advises adding perimeters if you want a stronger print. Infill still helps with compression resistance. The same page also describes a setting to force a solid layer every few layers, but says increasing perimeters or infill percentage is preferred for strength.
Layer orientation matters too, because layer bonding is a weak point of FDM parts. See how to fix layer separation.
Which infill pattern is best?
PrusaSlicer's documentation lists these considerations for choosing a pattern: print speed, density per material used, visuals, support for top layers and flexibility for TPU and TPE. Here is how Prusa describes the common ones.
| Pattern | Prusa's description |
|---|---|
| Gyroid | Prusa's favorite. Supports well in every direction, prints relatively quickly, saves material, does not cross itself within a layer and has a good strength to weight ratio. |
| Rectilinear | One of the fastest. Lines run in one direction per layer, rotated 90 degrees on the next, so material does not build up at crossings. The only pattern recommended for 100% infill. |
| Grid | Simple and fast, but printed in both directions each layer, so material accumulates where paths cross. Can cause noise or even a failed print. |
| Cubic and adaptive cubic | Adaptive cubic gets denser near walls and sparser in the middle. Prusa says it uses approximately one quarter less material than rectilinear and suits large prints with a big internal volume. |
| Support cubic | Gets denser only toward top layers. Prusa says it has by far the lowest material use and print time, but does not improve mechanical strength. |
| Lightning | Branching structure that gets denser toward top surfaces. Saves even more material than support cubic. |
| Honeycomb | Mechanically resistant with no crossings, but uses approximately 25% more material and can take up to twice as long as the simpler patterns. |
| Concentric, Archimedean chords | Can help flexible models printed in flexible filament and allow easier filling with liquid. |
Pattern names and availability differ between slicers, so check yours. The OrcaSlicer beginner guide and PrusaSlicer beginner guide show where the settings live.
Other infill settings worth knowing
- Infill anchor. A short line that connects infill to the perimeters. Prusa says it makes infill sturdier and that some materials, namely PETG, need it to stabilize extrusion flow at the start of an infill line.
- Infill overlap. How far the infill reaches into the walls. Too little can leave a gap; see fixing gaps between walls and infill.
- Combine infill every X layers. Prints infill at a thicker layer height than the walls to save time. The maximum layer height is limited by your nozzle diameter. See layer height explained.
- Multiline infill. OrcaSlicer can generate the pattern with several parallel lines while keeping density and material use constant. Its wiki says this can improve strength and print speed, and may help weak patterns such as lightning.
Quick rule. Start at 10 to 15% for display parts and brackets, add walls before adding infill, and only raise infill if the part is compressed or needs to be heavy. Test with a small part first.
Frequently asked questions
What is the best infill percentage for 3D printing?
Prusa says most models can be printed with 10 to 15% infill, and that you will rarely need more than 30%. Adding extra perimeters is usually a better way to make a part stronger.
What is the best infill pattern?
It depends on the goal. Prusa calls gyroid one of the best patterns because it gives equal support in every direction and prints fairly quickly. Rectilinear is fast and recommended for 100% infill, while lightning and support cubic save the most material.
Is 100% infill the strongest?
Not necessarily. Prusa says strength is mostly set by the number of perimeters, and 100% infill can hurt the look of the object. It also uses much more filament and time.
Can I print with 0% infill?
Prusa says a model can be printed hollow if the top closes gradually, but generally does not recommend it. Flat tops over empty space have to bridge and may sag.
Does infill affect print time and cost?
Yes. Higher density and complex patterns increase both print time and filament use. Honeycomb, for example, is described by Prusa as using about 25% more material and taking up to twice as long as simple patterns.
Sources

Founder and editor
Software engineer since 2009 and Head of Engineering by day, a maker who has owned several 3D printers, writing practical guides to 3D printers, filament and running costs, with every article saying what was and was not tested.
Keep reading
Layer Height Explained: Speed vs Detail
Layer height sets how thick each printed layer is. It trades speed against vertical detail, and it is limited by your nozzle diameter. Here are the rules and typical values.
12 October 2026 · 3 min read
Print Speed vs Quality: How Fast Can You Print?
Faster prints are limited by how much plastic the hotend can melt, not the box number. Learn the limits and how to speed up without losing quality.
11 October 2026 · 7 min read
PrusaSlicer for Beginners: Setup and First Slice
A step-by-step PrusaSlicer guide for beginners: install it, pick your printer and filament, set layer height, supports and infill, preview and export your first print.
11 October 2026 · 6 min read