Why 3D Prints Turn Into Spaghetti and How to Stop It
Spaghetti means the print came loose or collapsed and the nozzle kept extruding into the air. Work out when it started, then fix adhesion, support or travel.
By Sepehr Sabbagh-pour · Published 12 October 2026 · 3 min read
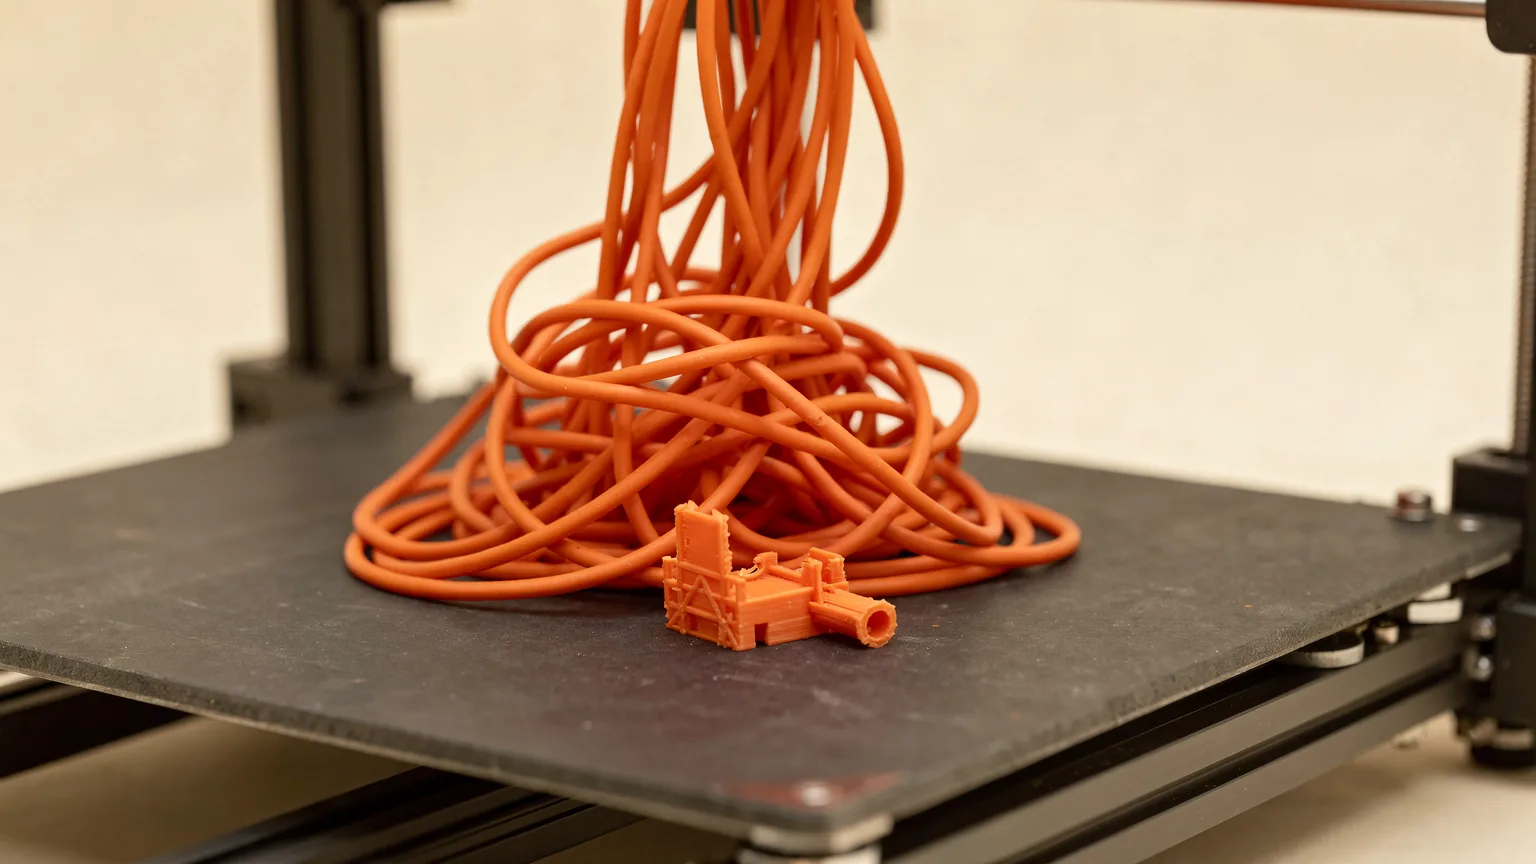
"Spaghetti" is a tangled pile of filament on or around a print. Prusa explains that it is extruded filament misplaced by the print head because at some point the object below moved or collapsed. Bambu Lab adds that the nozzle keeps extruding into the air along the G-code path, which can waste filament, clog the nozzle and leave the printer hard to clean.
Research-based guide. This article is compiled from manufacturer documentation and has not been checked on a test printer. Treat every number as a starting point and change one setting at a time.
First, when did it start?
Bambu Lab's guide splits the problem by timing, which narrows the search quickly.
| When it failed | Type | Main fixes |
|---|---|---|
| First few layers | First-layer adhesion | Clean plate, plate type, leveling, dry filament, slower first layer |
| Corners lifting over time | Warping | Clean plate, brim, leveling |
| Overhang area collapses | Support collapse | Supports, slower overhangs |
| A clunk, then part knocked off | Nozzle scraping | Z hop, brim, stabilize the model |
Spaghetti at the start
Prusa's advice is blunt: if the first layer is not perfect, the chance of any type of print failure goes up. Bambu Lab lists these fixes for first-layer spaghetti:
- Clean the build plate with warm water, dish soap and a grease-free sponge, and avoid touching it with fingers.
- Make sure the "build plate type" in the slicer matches the plate in use.
- Run auto bed leveling and check for debris under the plate.
- Dry the filament, since moisture causes uneven extrusion.
- Slow the initial layer to 30 mm/s or less, with initial layer infill at 60 mm/s or less.
The full process is in why prints do not stick to the bed and fixing a bad first layer.
Spaghetti mid-print
Warping
Corners lift slowly until the lifted height exceeds the nozzle gap, and the nozzle knocks the part off. Bambu Lab says this is common with high-shrinkage filaments such as ABS, ASA, PC and nylon. It recommends a clean plate, the correct plate type, a brim and bed leveling. See fixing warping.
Collapsed overhangs
If overhangs are unsupported or poorly cooled, the area collapses and the nozzle hits it. Bambu Lab says to check for overhangs steeper than 45 degrees and enable supports, slow down overhang and support speeds, and consider the support type: normal supports are large and stable for heavy overhangs, tree supports use less filament and are easy to remove. More detail in fixing drooping overhangs and supports explained.
Nozzle scraping
A "clunk" followed by a loose part often means the nozzle hit the model while travelling. Bambu Lab suggests changing the Z hop type to "Normal" and, for tall or narrow parts with a small base, adding an outer brim of 5 to 8 mm or painting extra supports. See brim vs raft vs skirt.
Bad model or G-code
Prusa notes that errors in the model or sliced file can also cause spaghetti. Check the preview of the generated G-code before printing; PrusaSlicer shows a warning triangle for obvious problems, and broken geometry can be repaired. Look for thin walls, gaps and floating islands in the layer preview.
Quick things to try on a repeat
- Prusa suggests re-running a print that failed from detachment with bed temperature raised by 5 to 10 degrees C, applied from the printer's Tune menu after bed leveling, without re-slicing.
- If several parts share a plate and only some fail, use Skip Objects (Bambu Lab) to finish the rest.
- Stop a failing print early rather than letting it run: the tangle can clog the nozzle.
Clean up afterwards
After a failure, let the nozzle cool as the maker advises, remove the mess carefully and check the nozzle for plastic stuck to it before the next print. If extrusion stays poor, see clogged nozzle fixes.
Confirm the fix
Watch the first layer and the first overhang of the next print. If both stay down and clean, the cause was likely addressed. The settings here come from maker documentation and are starting points for your own printer.
Frequently asked questions
What causes 3D print spaghetti?
Prusa lists three common reasons: the object detaches from the bed, the object collapses during the print, or there is an error in the model or sliced file. Bambu Lab adds nozzle scraping that knocks a part loose.
How do I stop spaghetti at the start of a print?
Bambu Lab says first-layer spaghetti is caused by the first layer not sticking. It suggests cleaning the plate, checking the plate type, running bed leveling, drying filament and slowing the initial layer to 30 mm/s or less.
Can I save a plate if only one part failed?
On Bambu Lab printers, the Skip Objects feature lets you skip the failed models and finish the rest, which saves filament and time.
Does raising bed temperature help?
Prusa suggests re-running a failed print with the bed temperature raised by 5 to 10 degrees C, using the printer's Tune menu once bed leveling finishes, to improve first layer adhesion.
Sources

Founder and editor
Software engineer since 2009 and Head of Engineering by day, a maker who has owned several 3D printers, writing practical guides to 3D printers, filament and running costs, with every article saying what was and was not tested.
Keep reading
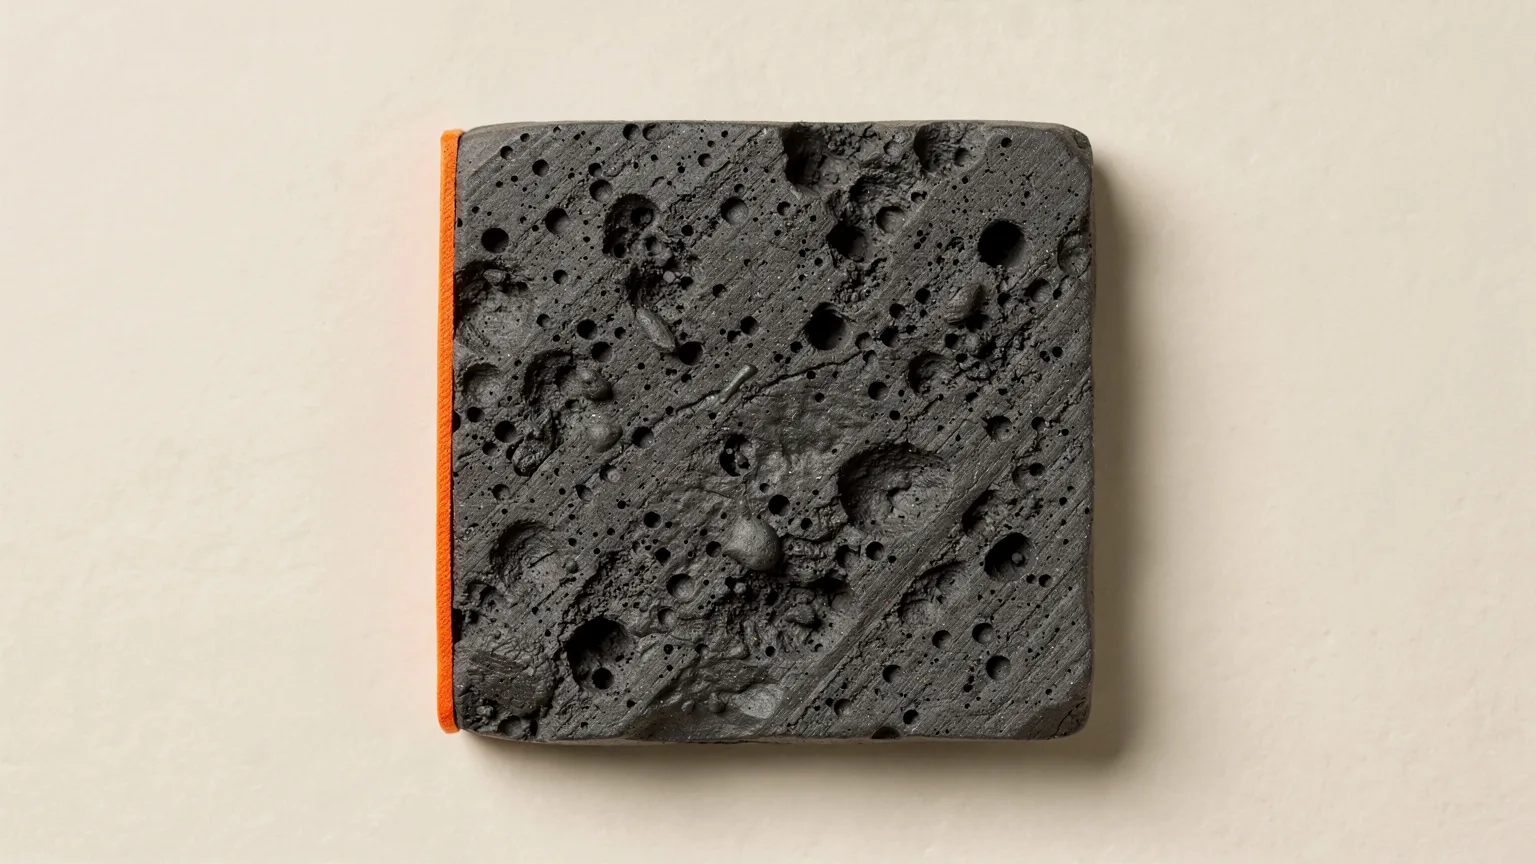
How to Fix Pillowing and Gaps in Top Layers
Pillowing in 3D printing is a lumpy top surface with small holes, caused by top layers sagging into the infill. More top layers, denser infill and stronger cooling usually fix it.
12 October 2026 · 3 min read
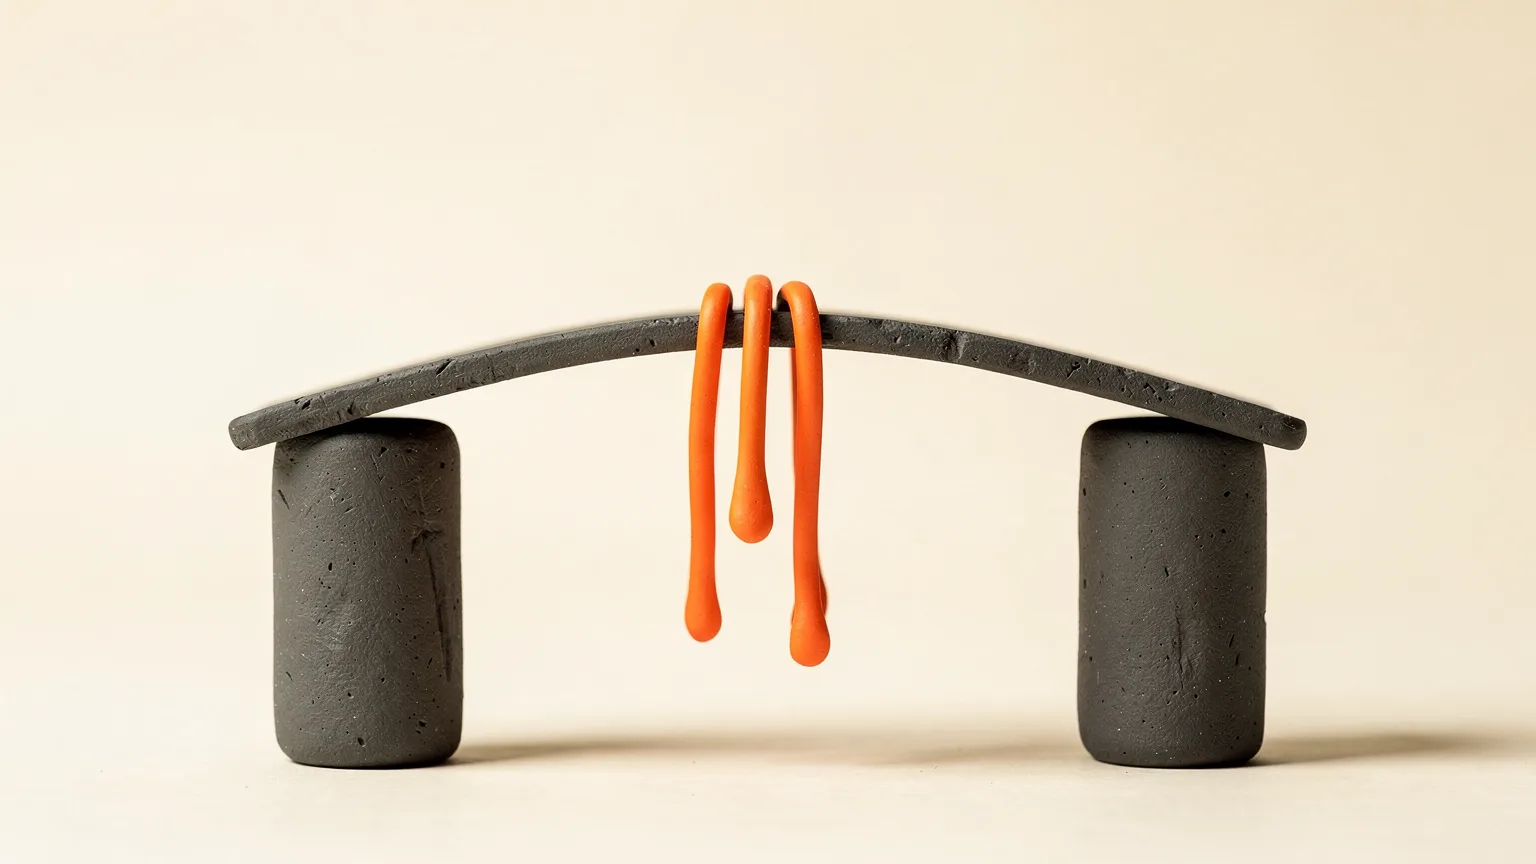
How to Improve Bridging in 3D Printing
Bridges sag because plastic is printed in mid-air. Shorten the span, cool it, tune bridge speed and flow, or redesign the part.
12 October 2026 · 5 min read

Why 3D Prints Do Not Stick to the Bed and How to Fix It
A 3D print not sticking to the bed is usually a dirty plate, wrong plate setting, wrong nozzle height or a first layer that is too fast or cool. Fix them in this order.
12 October 2026 · 4 min read