How to Calibrate a 3D Printer: Flow, Temperature and Steps
Calibration works best in a set order, because each step changes the next. Start with the hardware basics, then tune temperature, flow, pressure advance and retraction one test at a time.
By Sepehr Sabbagh-pour · Published 12 October 2026 · 8 min read
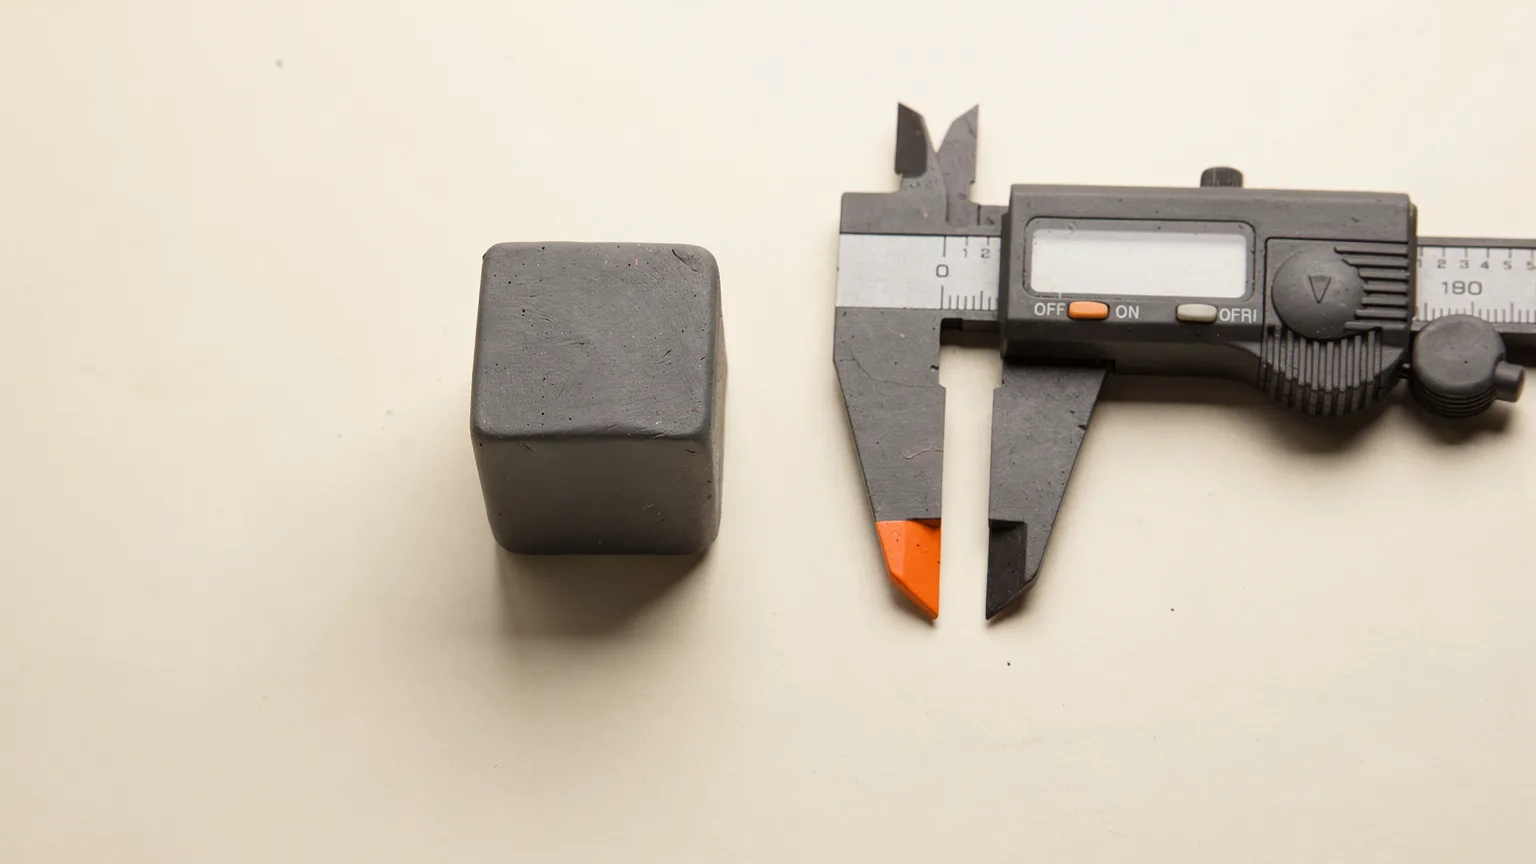
Calibration means measuring what your printer actually does and then correcting the settings to match. Done in the right order it removes most causes of rough surfaces, stringing and weak layers. The order matters: temperature changes how much plastic flows, and flow changes how much pressure builds in the nozzle. This guide follows the order recommended in the OrcaSlicer calibration guide and the Klipper documentation. The values given are starting points taken from that documentation, not results from our own printing, and your printer maker's guidance comes first.
Many calibration tests are built into OrcaSlicer, and the same ideas apply in other slicers and firmwares. OrcaSlicer's own pages warn against selecting its flow calibration option on Bambu Lab printers, so check your printer's documentation before running any test.
Before you calibrate: the basics
Calibration cannot fix a loose belt or a dirty nozzle. Check these first:
- Belts and screws are tight and the frame does not rock.
- The nozzle is clean, with no partial clog. See how to fix a clogged nozzle.
- The filament is dry. Wet filament gives misleading results on every test. See how to dry filament.
- The bed is level and the first layer is right. See how to fix a bad first layer and how to level a 3D printer bed.
The calibration order
| Step | What it sets | Why it comes here |
|---|---|---|
| 1. Temperature | Nozzle and bed temperature | It changes viscosity, so it affects every later test |
| 2. Max volumetric speed | Fastest flow the filament and hotend can sustain | Sets a safe ceiling before tuning flow |
| 3. Pressure advance | Extrusion lag at speed changes | Improves corners and seams |
| 4. Flow ratio | How much plastic is extruded | Gives accurate dimensions and smooth top surfaces |
| 5. Retraction | Pull-back before travel moves | Done after flow and pressure advance, to cut stringing |
| 6. Advanced items | Cornering, input shaping, tolerance | Optional refinement for speed and fit |
1. Check extruder steps (esteps / rotation distance)
If the extruder feeds the wrong length of filament, every later calibration is compensating for a hardware error. Klipper documents a "measure and trim" check:
- Heat the hotend to a suitable temperature with filament loaded.
- Mark the filament about 70 mm from the extruder intake and measure that distance precisely with calipers (the initial distance).
- Extrude 50 mm slowly (Klipper's example uses G91 followed by G1 E50 F60). A fast extrusion rate can skew the result.
- Measure the distance again. Actual extrusion = initial distance minus new distance.
- New rotation distance = old value x actual / requested (50 mm).
Klipper advises repeating the check if the actual and requested lengths differ by more than about 2 mm, and says not to use this method on X, Y or Z axes. Firmwares that use esteps instead of rotation distance follow the same logic; consult your firmware's documentation.
2. Temperature tower
OrcaSlicer's temperature tower prints blocks at stepped temperatures. Nozzle temperature affects viscosity: low temperature can cause under-extrusion, poor layer adhesion and stringing, and high temperature can cause filament degradation, clogging and stringing. Look for the block with the best balance of stringing, layer adhesion, overhangs and bridging. If a range looks good, use the middle of it, or the higher end if you plan to print faster. Stay inside the temperature range printed on the spool. For stringing in particular, see fix stringing.
3. Max volumetric speed
Max volumetric speed (mm³/s) varies with the material, hotend, nozzle and even filament brand and color, so it needs to be set per filament. OrcaSlicer's default test runs from 5 to 20 mm³/s in 0.5 steps. Print it, find the height where quality fails, and use start + (height measured x step). In the wiki's example, a height of 19 mm gives 5 + (19 x 0.5) = 14.5 mm³/s. The wiki notes this is a best-case result and suggests reducing the setting by 10% to 20% or more for quality and strength. Raising the temperature toward the higher end of the filament's range can help at higher flow, as the temperature tower shows.
4. Pressure advance
Pressure advance compensates for the lag in extrusion pressure when the print head changes speed. OrcaSlicer offers tower, pattern and line methods, with separate versions for direct-drive and Bowden extruders. For the tower method, the value rises with height from the start value in set steps: value = start + (step x measured height). The wiki example gives 0 + (0.002 x 8) = 0.016. Marlin printers need Linear Advance enabled in firmware, and Klipper has pressure advance built in.
5. Flow ratio
Flow ratio controls how much filament is extruded. Too low gives under-extrusion, gaps and weak layers. Too high gives excess material and rough surfaces. OrcaSlicer's recommended method prints eleven blocks with different modifiers (a range of -0.05 to +0.05 in 0.01 steps for the recommended setting). Pick the block with the smoothest top surface and no gaps between the arcs, then update: new flow ratio = old flow ratio ± modifier. In the wiki's example, an old value of 0.98 and a best block of +0.01 gives 0.99. Save the filament profile afterward.
6. Retraction
Retraction tower tests print a vertical structure with notches at different retraction lengths. The best length is the shortest that gives the cleanest tower. OrcaSlicer's defaults run from 0 to 2 mm in 0.1 mm steps, suited to most direct-drive extruders; for Bowden setups the wiki suggests 1 to 6 mm in 0.2 mm steps. Do this after flow and pressure advance, as the Orca guide recommends.
7. Optional advanced steps
The guide also lists cornering (jerk and junction deviation), input shaping to reduce ringing, a VFA speed test and a tolerance calibration so parts fit together accurately. These matter most when you push speed. If you see ripples after corners, read how to fix ghosting and ringing.
A quick test to confirm it worked
Print a small test cube or calibration model and measure it with calipers, and look at the top surface and corners. Compare it with a print from before. If dimensions are consistent and top layers are smooth, save the profile and name it clearly (brand, color, nozzle). Repeat only the temperature, flow and pressure advance steps when you change filament. If prints still fail, see common 3D printer problems.
Frequently asked questions
In what order should I calibrate a 3D printer?
OrcaSlicer's guide suggests temperature, max volumetric speed, pressure advance, flow ratio, retraction, then optional cornering, input shaping and tolerance. Check mechanics and the first layer before any of these.
How often should I recalibrate?
Redo temperature, flow ratio and pressure advance whenever you change filament brand, color or nozzle. Mechanical checks are worth repeating after maintenance or if print quality drops.
Do Bambu Lab printers need manual calibration?
Many Bambu Lab printers run their own calibration routines. OrcaSlicer's wiki warns not to select its flow calibration option on Bambu Lab printers, so follow the printer's own documentation.
What is the difference between flow ratio and pressure advance?
Flow ratio sets how much plastic is extruded overall. Pressure advance compensates for lag when the print head speeds up or slows down, mainly improving corners and seams.
Can I calibrate without a slicer test?
The extruder check needs only a marker, calipers and a command, as Klipper's documentation shows. Temperature, flow and retraction tuning are easiest with a printed test model.
Sources

Founder and editor
Software engineer since 2009 and Head of Engineering by day, a maker who has owned several 3D printers, writing practical guides to 3D printers, filament and running costs, with every article saying what was and was not tested.
Keep reading
How to Dry Filament (and When You Actually Need To)
Wet filament causes stringing, rough surfaces and weak parts. Here is how to spot it, three ways to dry it, typical temperatures, and how to keep spools dry afterwards.
10 October 2026 · 2 min read
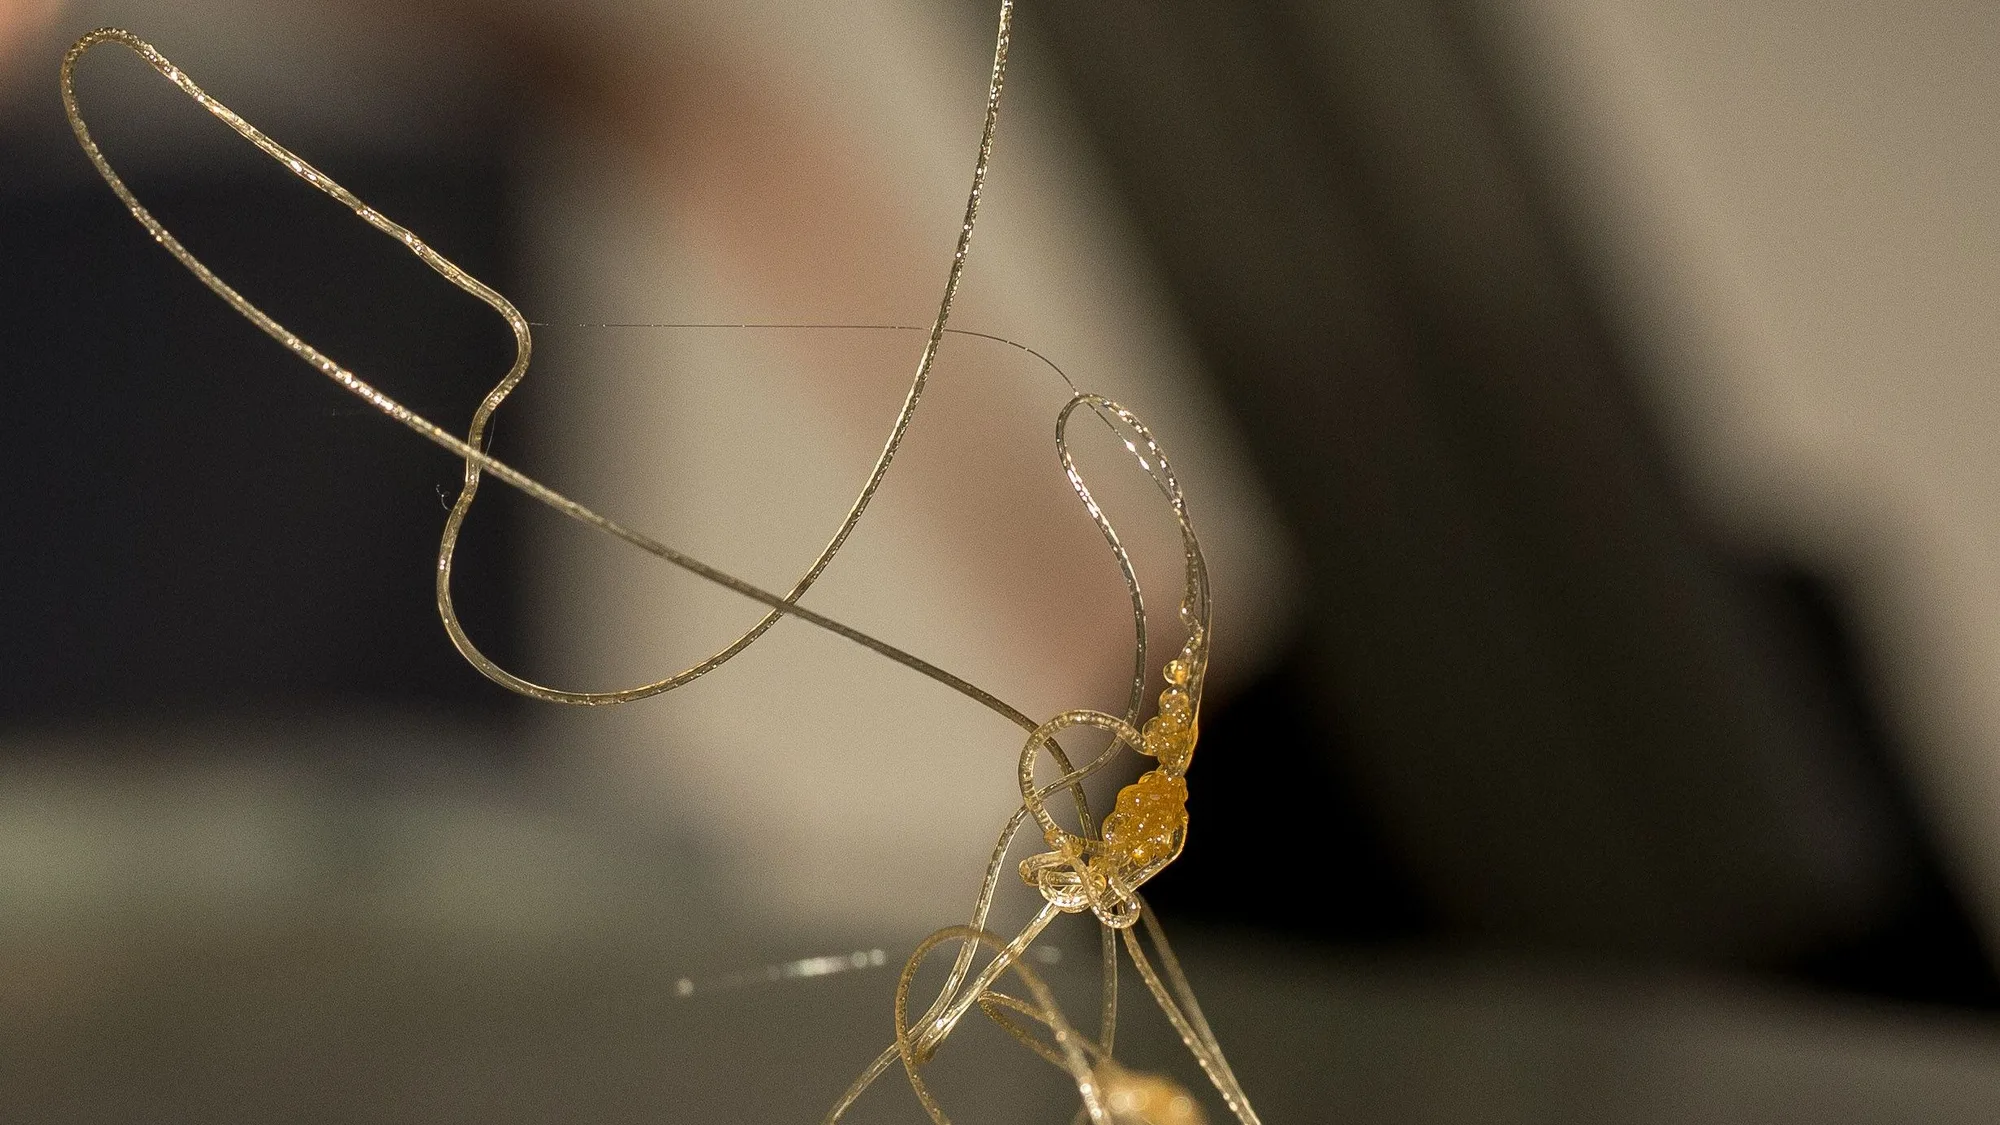
Stringing in 3D Printing: Why It Happens and How to Stop It
Stringing is rarely one problem. Work through the causes in this order: moisture, temperature, retraction, then travel moves, testing as you go.
10 October 2026 · 2 min read
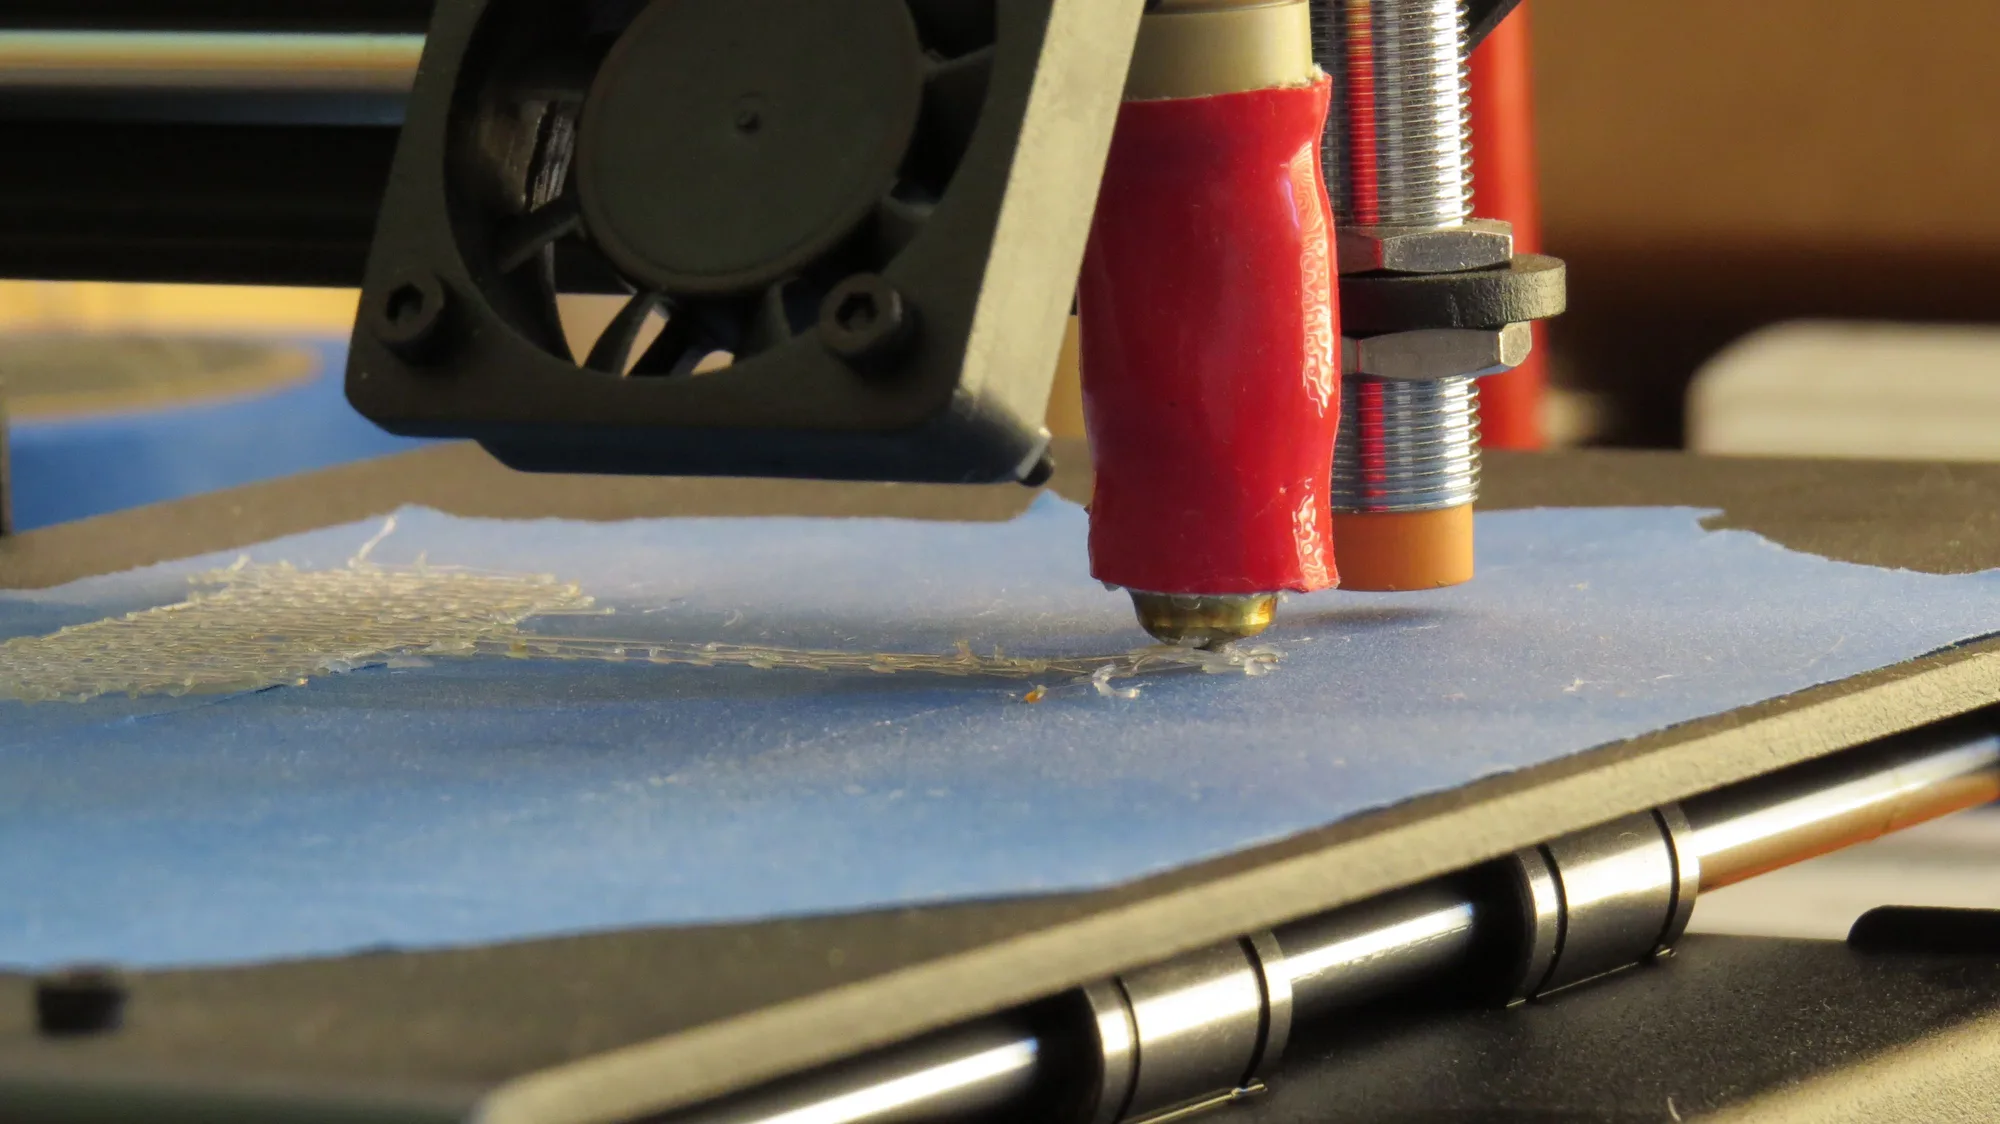
How to Fix a Bad First Layer: A Step-by-Step Checklist
Most failed prints are decided in the first two minutes. Here is the order to check things in, what each symptom means, and the quick test that tells you when it is fixed.
10 October 2026 · 3 min read