What Is Pressure Advance and How Do You Calibrate It?
Pressure advance pushes extra filament in as the head accelerates and pulls it back as it slows. Here is what it does, what each firmware calls it, and how to calibrate it.
By Sepehr Sabbagh-pour · Published · 5 min read
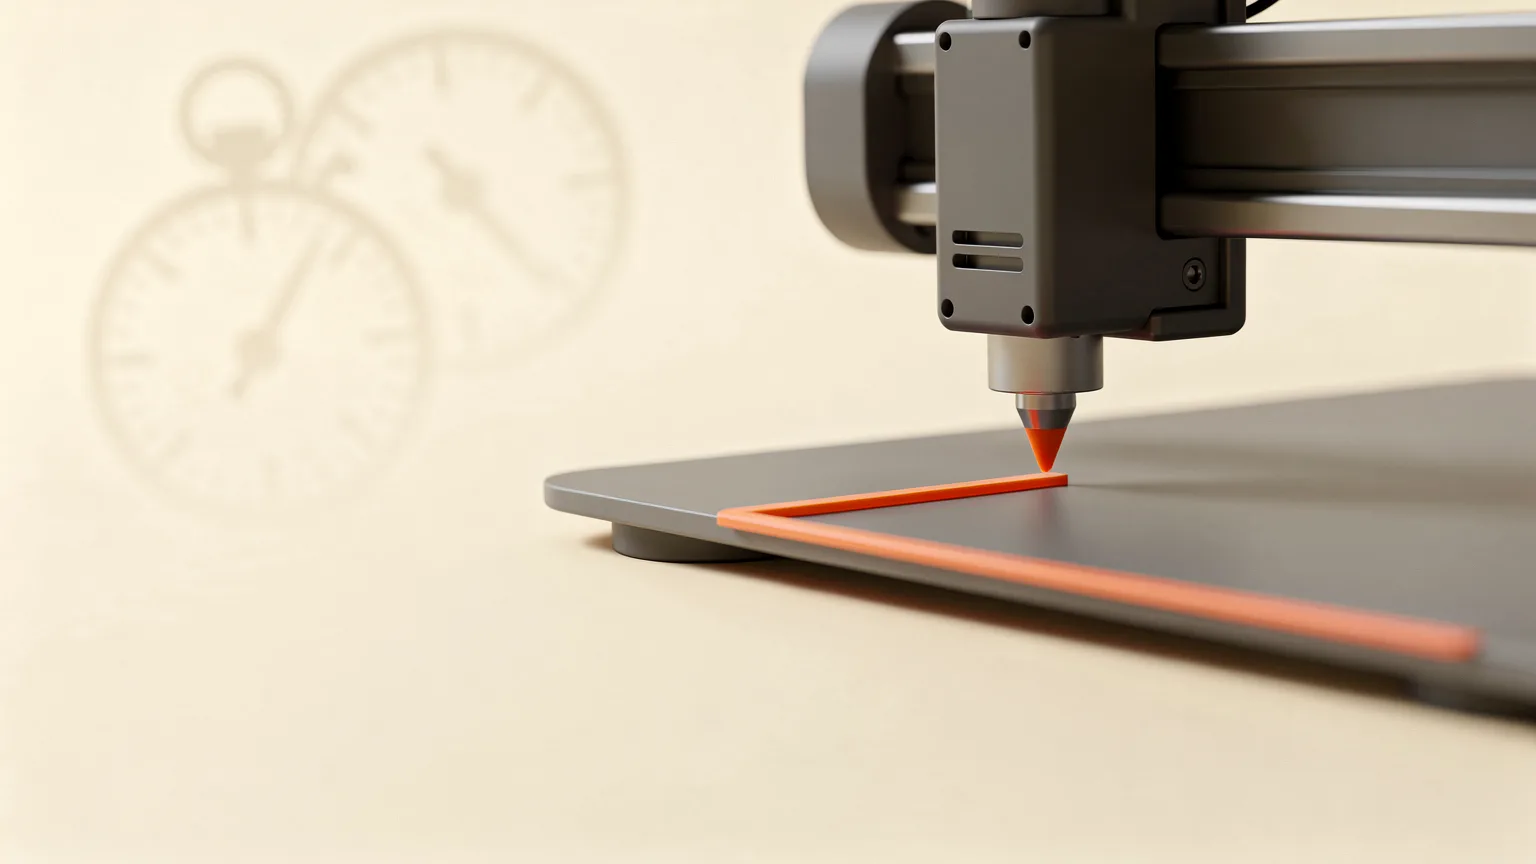
Pressure advance is a firmware setting that pushes extra filament into the nozzle as the print head speeds up and pulls it back as it slows down, so extrusion keeps up with movement. It reduces bulging corners and ooze, and you tune one number per extruder, nozzle and filament.
This guide explains what the setting does, what it is called on each firmware, and how the main slicer and firmware calibration methods work. Everything comes from Klipper, Marlin, Prusa and OrcaSlicer documentation, not from our own test prints.
What is pressure advance?
Molten plastic in a nozzle behaves like a slightly squeezed spring. When the extruder pushes, pressure builds before plastic flows out evenly, and when the extruder stops, plastic keeps oozing. Klipper's documentation says pressure advance reduces ooze during non-extrude moves and reduces blobbing at corners. It does this by pushing in extra filament during acceleration and retracting it during deceleration.
Marlin describes its version, Linear Advance, as a way to manage the pressure inside the nozzle as print speed changes. It lists less bleeding at corners and rougher solid infill, and it allows higher print speeds without losing quality. Prusa says its Pressure Advance aims to improve printed part quality by offsetting nozzle pressure changes.
Klipper also notes that pressure advance does not change print time or the total amount of filament extruded. It only reshapes when the filament moves.
What is pressure advance called on each firmware?
The idea is the same everywhere, but the name, command and number scale differ. Do not copy a value from one system to another.
| Firmware | Name | Command or setting | Typical range in the docs |
|---|---|---|---|
| Klipper | Pressure advance | pressure_advance in the [extruder] section | 0.050 to 1.000, high end mostly for Bowden |
| Marlin | Linear Advance (K factor) | M900 K | About 0.1 to 2.0 in v1.5, higher for Bowden |
| Prusa Buddy firmware 5.0.0 and later | Pressure Advance | M572 S (0 disables it) | Prusa advises leaving the default S value |
Prusa says Pressure Advance replaces Linear Advance on the MK4/S, MK3.9/S, XL and MINI/+ from firmware 5.0.0. Older M900 K commands still work there and are converted 1:1 to a pressure advance value. Printers that run Klipper expose the setting directly, and many ship with a sensible default.
Why do corners bulge without it?
At a corner the toolhead slows, turns and speeds up again. Without compensation the extruder keeps feeding at a steady rate while the head slows, so pressure builds and a bulge forms. Then the head accelerates away and the nozzle is briefly starved. Klipper uses corner blobbing as its tuning signal for exactly this reason.
If you see bulges at corners, thin spots after them or oozing between features, pressure advance is one possible cause. Other causes include too much flow and retraction settings, so compare with fixing blobs and zits, fixing over-extrusion and retraction settings explained.
Does pressure advance replace retraction?
No. Pressure advance handles pressure changes while the nozzle is printing, and retraction pulls filament back before a travel move. Klipper says the setting reduces ooze during non-extrude moves, so you may be able to use a smaller retraction afterward, but the two features work together. If stringing remains after tuning, read how to fix stringing.
How do you calibrate pressure advance?
You calibrate pressure advance by printing a test that varies the value, finding the section with the cleanest corners or most even lines, and entering that value in your firmware or filament profile. The right number depends on the extruder, nozzle, filament brand and even pigment, so each filament may need its own value.
Klipper's documentation says to tune rotation_distance and nozzle temperature first. Marlin's says to calibrate steps per millimeter first and keep gear and fitting backlash low. Both sources say to recalibrate when filament, temperature or hardware changes. The general process is in our printer calibration guide.
Klipper tuning tower
Klipper's steps are:
- Slice the hollow square tower from the Klipper docs at about 100 mm/s, with zero infill and a layer height near 75% of the nozzle diameter. Turn off dynamic acceleration control and scarf joint seams.
- Run
SET_VELOCITY_LIMIT SQUARE_CORNER_VELOCITY=1 ACCEL=500. - Start the tower with
TUNING_TOWER COMMAND=SET_PRESSURE_ADVANCE PARAMETER=ADVANCE START=0 FACTOR=.005for direct drive, orFACTOR=.020for Bowden. - Measure the height of the best corners with calipers. If unsure, take the lower height.
- Calculate
pressure_advance = start + measured height x factor. The docs give 0 + 12.90 x 0.020 = 0.258 as an example. - Save the value in the
[extruder]section and issueRESTART.
Klipper adds that if there is no clear improvement up to 1.000, pressure advance is unlikely to help and should be disabled. Values above about 0.200 may cause extruder skipping when returning to normal acceleration, so lower the acceleration or disable it in that case.
OrcaSlicer calibration tests
OrcaSlicer's wiki lists three methods, each with direct drive and Bowden versions. See our OrcaSlicer beginner guide for the rest of the calibration menu.
- Line method: quick and simple, but accuracy depends heavily on first layer quality, so bed mesh leveling is recommended. Pick the most even line and enter that value. The wiki's example found 0.016.
- Pattern method: based on Andrew Ellis' generator, which derives from Marlin's pattern, and can run several tests in a batch.
- Tower method: does not depend on the first layer but takes longer. The formula is PA = start + (step x measured height). With a start of 0, a step of 0.002 and a height of 8 mm, the result is 0.016.
OrcaSlicer also notes that Marlin printers need Linear Advance enabled with M900, that Bambu Lab printers should leave the flow calibration option unchecked, and that the result should be saved to the material profile. For high-speed printers it points to Adaptive Pressure Advance as possibly more accurate.
Marlin K factor
Marlin's page says the best K is the one where the transition between slow and fast sections looks smooth, with no starved or over-extruded area. Add M900 Kxx to the slicer start G-code to set K per material, and set LIN_ADVANCE_K to 0 in firmware so only your value applies. Turn off slicer options that interfere, such as coasting and wipe.
Is pressure advance different for direct drive and Bowden?
Yes. Both Klipper and Marlin say Bowden extruders need higher values than direct drive, because there is more compressible filament between gear and nozzle. Klipper's tower factor is four times larger for Bowden (0.020 against 0.005). Marlin adds that Bowden setups are more likely to hit its acceleration limits and are less precise. See direct drive versus Bowden for the hardware difference.
Rule of thumb. Tune flow and temperature first, calibrate pressure advance per filament, save it in the material profile, and when two corners disagree pick the lower value, as Klipper advises.
Common questions about pressure advance
Input shaping is a separate feature that targets ringing, not corner bulges. If you see ripples after sharp corners, read fixing ghosting and ringing. Use our print cost calculator if you want to see what failed test prints cost in filament.
Frequently asked questions
What does pressure advance do in 3D printing?
Pressure advance compensates for the springy pressure inside the nozzle. Klipper's documentation says it reduces ooze during non-extrude moves and reduces blobbing at corners by pushing in extra filament during acceleration and retracting it during deceleration. Marlin's Linear Advance and Prusa's Pressure Advance aim at the same thing under different names. It does not change print time or the total filament used, and it needs one tuned value for each extruder, nozzle and filament, so a number copied from another setup may not suit yours.
How do I know if pressure advance is set correctly?
Look at the corners and at the start and end of lines. Bulging corners suggest the value is too low, while gaps or thin spots after a corner suggest it is too high. Klipper's tower test finds the height with the best corners, and you convert that height to a value with start plus height times factor. OrcaSlicer's line method lets you pick the most even line, and Marlin says the best K shows a smooth transition between slow and fast sections with no starved or over-extruded area.
What is a normal pressure advance value?
It depends on firmware and extruder type, so there is no single normal value. Klipper says typical values run from 0.050 to 1.000, with the high end mostly for Bowden extruders. Marlin's v1.5 Linear Advance expects roughly 0.1 to 2.0, with Bowden needing higher K than direct drive. Prusa advises leaving its default S value for most uses. OrcaSlicer's wiki example found 0.016 on one test, which shows how small direct drive values can be. Always calibrate rather than copy a number.
Do I need to recalibrate pressure advance for every filament?
Usually yes. Klipper's documentation says the value is specific to each extruder, nozzle and filament brand or pigment, so it recommends recalibrating per printer and per spool. Marlin also says to recalibrate when the filament, temperature or hardware changes, and that very flexible filaments may not work with Linear Advance at all. In OrcaSlicer you save the result to the material profile, so each filament you use keeps its own calibrated value for next time.
Is pressure advance the same as Linear Advance?
They are the same idea with different implementations. Linear Advance is Marlin's name, set with M900 K. Pressure advance is Klipper's name, and Prusa uses it for newer printers from firmware 5.0.0, set with M572. Prusa converts old M900 K values 1:1 to a pressure advance value on those printers, but the scales differ between Marlin, Klipper and Prusa in general, so do not carry a number across firmware without calibrating again.
Sources

Founder and editor
Software engineer since 2009 and Head of Engineering by day, a maker who has owned several 3D printers, writing practical guides to 3D printers, filament and running costs, with every article saying what was and was not tested.
Drafted with AI assistance, then edited and reviewed by Sepehr before it goes live. How we use AI.
Keep reading
 AI illustration
What Is a Slicer? How 3D Printing Software Works
A slicer cuts a 3D model into layers and writes the G-code your printer follows. Here is how slicing works, the main settings…
 AI illustration
How to Calibrate a 3D Printer: Flow, Temperature and Steps
Calibration works best in a set order, because each step changes the next. Start with the hardware basics, then tune temperature…
 AI illustration
What Is OctoPrint? Remote Control for 3D Printers
OctoPrint is a free web interface that lets you watch and control a 3D printer from a browser. Here is what it does, what it runs…