Input Shaping Explained: Less Ringing, Faster Prints
Input shaping cancels the vibration that causes ringing on prints. Here is how it works, what the shaper types mean and the limits the firmware docs describe.
By Sepehr Sabbagh-pour · Published · 5 min read
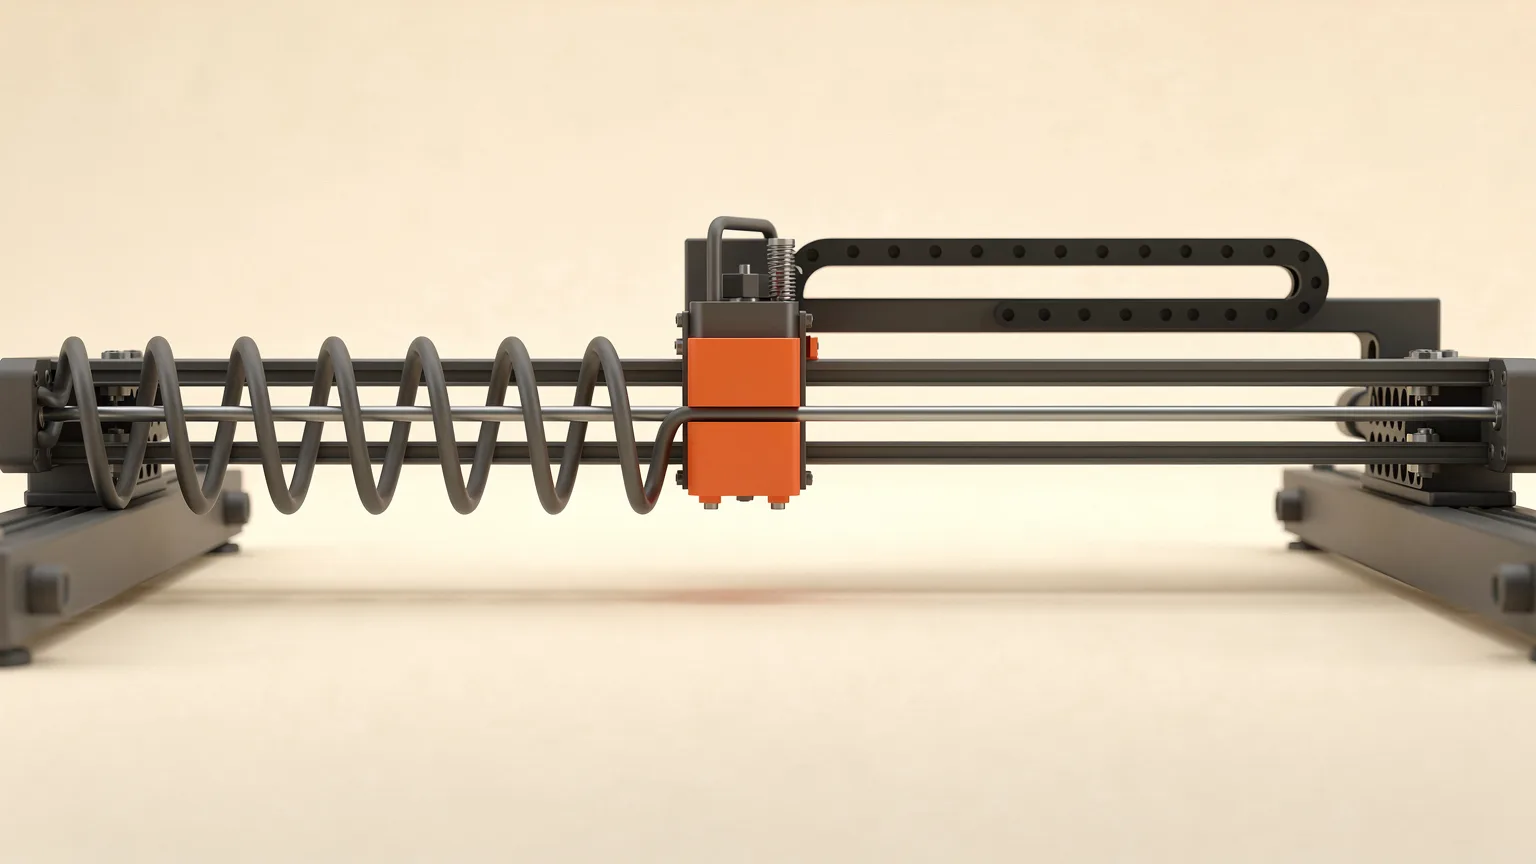
Input shaping is a motion-control technique that reduces ringing on 3D prints by shaping the printer's movement commands so the vibrations they cause cancel each other out. It is a firmware feature in Klipper, Marlin and Prusa firmware, and it lets you print faster without ripples next to sharp corners.
This guide explains how it works, what the shaper types mean, and what it cannot fix. Everything here comes from firmware and slicer documentation, listed under Sources, not from our own printing.
What is input shaping in 3D printing?
Input shaping is an open-loop control technique for reducing vibrations in computer-controlled machines, according to the general definition on Wikipedia. The controller builds a command whose later parts produce vibration that offsets the vibration from its earlier parts. Marlin's documentation puts it the same way: it cancels the dominant frame resonance, the "ringing", by timing part of the motion pulses to coincide with ringing from earlier pulses.
On a printer, the resonance is the frame, gantry or bed wobbling at a natural frequency after a sudden change of direction. That wobble is copied into the plastic as faint ripples, usually called ghosting or ringing. If you are seeing those ripples now, start with how to fix ghosting and ringing.
How does input shaping work?
Input shaping works by splitting each sudden move into smaller, delayed pieces timed to the printer's resonant frequency. The vibration from the second piece lands out of phase with the first, so the two largely cancel. The Wikipedia example uses a 1 Hz resonance: a step applied as two half-size inputs, 0.5 seconds apart (half the resonant period), produces oscillations that cancel.
The firmware needs to know two things: the resonant frequency of each axis and, in some firmware, a damping ratio. Prusa's documentation lists a default damping ratio of 0.1, and Klipper's documentation assumes the same figure for its default. The frequency is found by printing a test model and measuring it, or by using an accelerometer.
Because the move is spread over a short window, the corners of the print get slightly smoothed. That is the main cost, and it is why the shaper type matters.
What are the input shaper types?
The shaper types differ in how much they smooth the motion and how forgiving they are of a wrong frequency. Klipper's documentation orders the smoothing as ZV < MZV < ZVD ≈ EI < 2HUMP_EI < 3HUMP_EI, and it gives each a duration in terms of the shaper frequency.
| Shaper | Duration | Smoothing | Notes from Klipper's documentation |
|---|---|---|---|
| ZV | Shortest | Least | More sensitive to frequency errors; suggested for very low ringing frequencies (about 25 Hz and below) |
| MZV | 0.75 / shaper frequency | Low | The default and the usual first choice |
| EI | 1 / shaper frequency | Medium | More robust to frequency changes, suited to bed slingers and delta printers |
| 2HUMP_EI | 1.5 / shaper frequency | High | For several resonances at once; test only if the frequency is above about 50 to 60 Hz |
| 3HUMP_EI | 2 / shaper frequency | Highest | For several resonances; the most smoothing |
Prusa's M593 command exposes six types by number: ZV (the default), ZVD, MZV, EI, 2HUMP_EI and 3HUMP_EI. As a rule, pick the one with the least smoothing that still removes the ringing, and treat the heavier shapers as a last resort.
How do you set up input shaping?
You set up input shaping by finding each axis's resonant frequency and entering it, with a shaper type, in firmware. Support and method depend on the printer:
- Klipper: print a ringing test tower and measure the oscillations, or use an accelerometer for automatic measurement. Klipper's documentation notes the accelerometer route requires some crimping and soldering. Its worked example counts 6 oscillations over 12.14 mm at 100 mm/s, which gives about 49.4 Hz. See what Klipper is for background.
- Marlin: input shaping sits on top of Fixed-Time Motion, which Marlin says requires a 32-bit board with enough RAM. The documentation names only the ZV shaper.
- Prusa: the CORE One, MK4S, MK3.9S, MK3.5S, XL and MINI are supported, with firmware 5.0.0 or later on the MK4 family and 5.1.0 or later on the MINI/+ and XL. The CORE One L and XL have an integrated accelerometer and are pre-calibrated at the factory. See the Prusa CORE One first look.
- OrcaSlicer: its calibration menu includes an input shaping test for Marlin, RepRap and Klipper. The default frequency range is 15 to 110 Hz, and a damping value of 0.1 to 0.2 is a common start. See the OrcaSlicer beginner guide.
Some printers measure this for you, so check your maker's documentation before tuning by hand. Our broader printer calibration guide shows where this step fits.
Does input shaping make prints faster?
Input shaping does not speed up prints by itself, but it allows higher acceleration before ringing becomes visible. Klipper's documentation says input shaping has essentially no direct effect on print time; the maximum acceleration setting does. Prusa says the feature allows higher travel speed and acceleration, which reduces stringing and permits faster printing, with Pressure Advance handling the extra nozzle pressure.
Klipper recommends choosing the maximum acceleration as the lower of two limits: where ringing is still acceptable, and where smoothing starts to round small features. Its example found a small test gap widening from 3500 mm/s2, so it set 3000 mm/s2. It also says to keep square corner velocity at the default 5 mm/s, because raising it increases smoothing. For the extrusion side of fast printing, read what pressure advance is, and for the wider trade-off see print speed versus quality.
What can input shaping not fix?
Input shaping cannot fix a mechanical problem. Klipper's documentation says ringing often has mechanical causes such as a weak frame, loose or springy belts, misalignment or heavy moving mass, and that these should be fixed first. It also says ringing below roughly 20 to 25 Hz suggests stiffening the printer or reducing moving mass before tuning.
Other limits to know:
- Re-measure after changes. Resonances shift when moving mass, belt tension or the bed change. OrcaSlicer recommends recalibrating about once a year or after mechanical changes. Prusa recommends recalibrating after hardware modifications.
- Crash detection. Prusa says its crash detection is not compatible with Input Shaper because of the high accelerations and speeds.
- Filament still limits you. Prusa notes that wrong temperature or cooling can cause poor layer bonding at higher speeds.
- Z axis. Klipper says most users will not see direct quality gains from a Z shaper.
Frame design also matters, which is part of the CoreXY versus bed slinger comparison.
Short version. Fix belts, frame and loose parts first, then enable input shaping with the lightest shaper that clears the ringing, and raise acceleration only as far as small details stay sharp.
Sources
Figures come from Klipper's Resonance Compensation documentation, Marlin's Fixed-Time Motion page, the OrcaSlicer input shaping calibration wiki, the Prusa Knowledge Base Input Shaper article and the Wikipedia article on input shaping. Check your own firmware version, because options and defaults change.
Frequently asked questions
What is input shaping in 3D printing?
Input shaping is a firmware technique that reduces ringing, the faint ripples that appear beside sharp corners and edges on a print. The firmware changes how it commands each sudden move so that the vibration from later parts of the move cancels vibration from earlier parts. It needs the resonant frequency of each axis, found by printing a test model or using an accelerometer. It is available in Klipper, Marlin's Fixed-Time Motion and Prusa firmware, and many printers run it automatically. It does not repair loose belts or a flexible frame, which should be fixed first.
Does input shaping reduce print quality?
It can slightly smooth sharp corners, because each move is spread over a short time window. The amount depends on the shaper type and frequency: Klipper's documentation orders them from least to most smoothing as ZV, MZV, EI, 2HUMP_EI and 3HUMP_EI. MZV is its default and usual first choice. Choosing a lower acceleration limit, where small features stay sharp, keeps the smoothing from showing. Done well, the ringing it removes is a bigger quality gain than the rounding it adds, but the documentation says to check a small test gap rather than assume.
Do I need an accelerometer for input shaping?
No. Klipper's documentation describes basic tuning with only a printed ringing test model, where you measure the spacing of the ripples to work out the frequency. An accelerometer is the more accurate, automatic option, though Klipper notes it needs some crimping and soldering. OrcaSlicer's wiki says printers with built-in accelerometers measure frequencies faster and more accurately. Prusa's CORE One L and XL include one and arrive pre-calibrated, while other Prusa models can use an optional accelerometer set for calibration.
Which input shaper type should I use?
Start with MZV, which Klipper's documentation calls the default and usual first choice. Move to EI if your frequency measurement is uncertain or the printer is a bed slinger or delta, since EI tolerates frequency changes better but smooths more. ZV smooths least and is suggested only for very low ringing frequencies, about 25 Hz and below. 2HUMP_EI and 3HUMP_EI are for several resonances and cause the most smoothing, so treat them as a last resort. Use the lightest shaper that clears the ringing.
How often should I recalibrate input shaping?
Recalibrate when something mechanical changes. Klipper's documentation says resonances shift after changes to moving mass, belt tension or the bed. OrcaSlicer's wiki recommends recalibrating about once a year, and also after relocating the printer or changing belts, motors or the frame. Prusa recommends recalibrating after hardware modifications, such as a heavier toolhead. If ringing returns without any change, check belt tension and loose parts before repeating the measurement.
Sources

Founder and editor
Software engineer since 2009 and Head of Engineering by day, a maker who has owned several 3D printers, writing practical guides to 3D printers, filament and running costs, with every article saying what was and was not tested.
Drafted with AI assistance, then edited and reviewed by Sepehr before it goes live. How we use AI.
Keep reading
 AI illustration
What Is a Slicer? How 3D Printing Software Works
A slicer cuts a 3D model into layers and writes the G-code your printer follows. Here is how slicing works, the main settings…
 AI illustration
How to Fix Ghosting and Ringing
Ghosting in 3D printing, also called ringing, is an echo of sharp edges caused by vibration. This research-based guide covers…
 AI illustration
What Is Klipper? Firmware for 3D Printers Explained
Klipper is 3D printer firmware that splits the work between a small computer and the printer board. Here is how it works, what it…