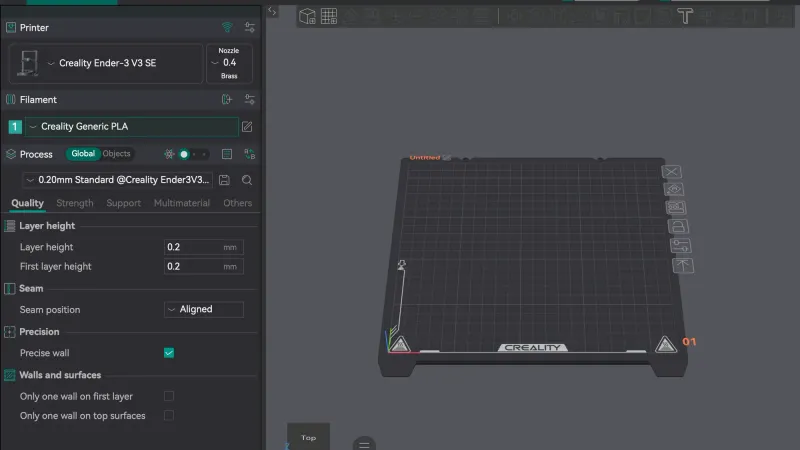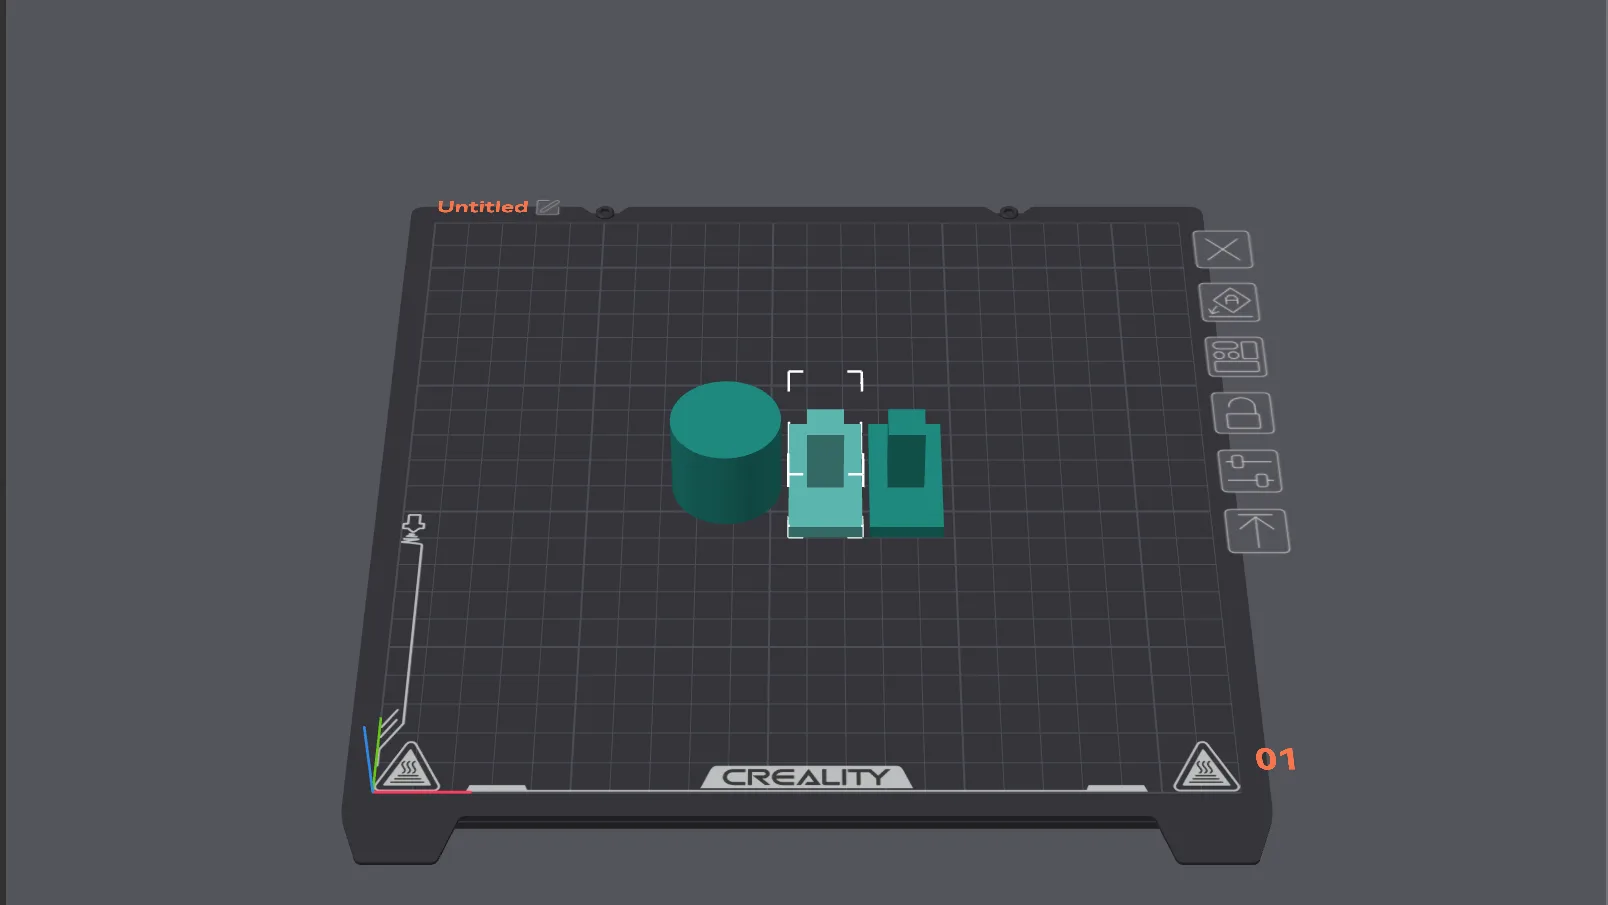
To import a model in OrcaSlicer, press Cmd+I or choose File, Import, then pick an STL. This lesson, tested in OrcaSlicer 2.4.2 on macOS, then moves, rotates, scales, arranges, copies and deletes the model, using exact numbers wherever the program offers them.
How do you import a model in OrcaSlicer?
Start on the Prepare tab with an empty plate. There are two ways in that we tried, and both open the same file chooser:
- Press Cmd+I, or
- Choose File, then Import, then Import 3MF/STL/STEP/SVG/OBJ/AMF... (the same submenu also has Import Zip Archive and Import Configs).
The chooser's title reads "Choose one or more files (3MF/STEP/STL/SVG/OBJ/AMF/USD*/ABC/PLY):". We picked cylinder.stl. It appeared in the middle of the plate and was already selected, and a box at the bottom right read: Object name cylinder.stl, Size 30 x 30 x 25 mm, Volume 17643.1 mm³, Triangles 256. If you are unsure which file type to export from your CAD program, the STL vs 3MF vs G-code comparison explains the difference. We did not test dragging a file onto the window, so we cannot say how that behaves.
How do you select and move an object?
A click on an object selects it, and a click on empty plate deselects it. With nothing selected, most toolbar buttons are greyed out. One practical detail from our run: the click only registered after the pointer had hovered over the object first, so if a click seems ignored, move the mouse onto the model and click again.
With the object selected, press M to open Move. A panel appears at the top right with a drop-down set to World coordinates (the other choice is Object coordinates), a Position row with X, Y and Z fields in mm, a green question mark button and a Done button. Our cylinder read X 110.00, Y 110.00, Z 12.50. The plate on this printer is 220 mm square, so 110 is the middle, and 12.50 is half the 25 mm height.
To type a value, click the X field, press Cmd+A to select its contents, type 60 and press Return. The cylinder moved to the left of the plate. Each axis works the same way.
How do you rotate and scale a model with exact numbers?
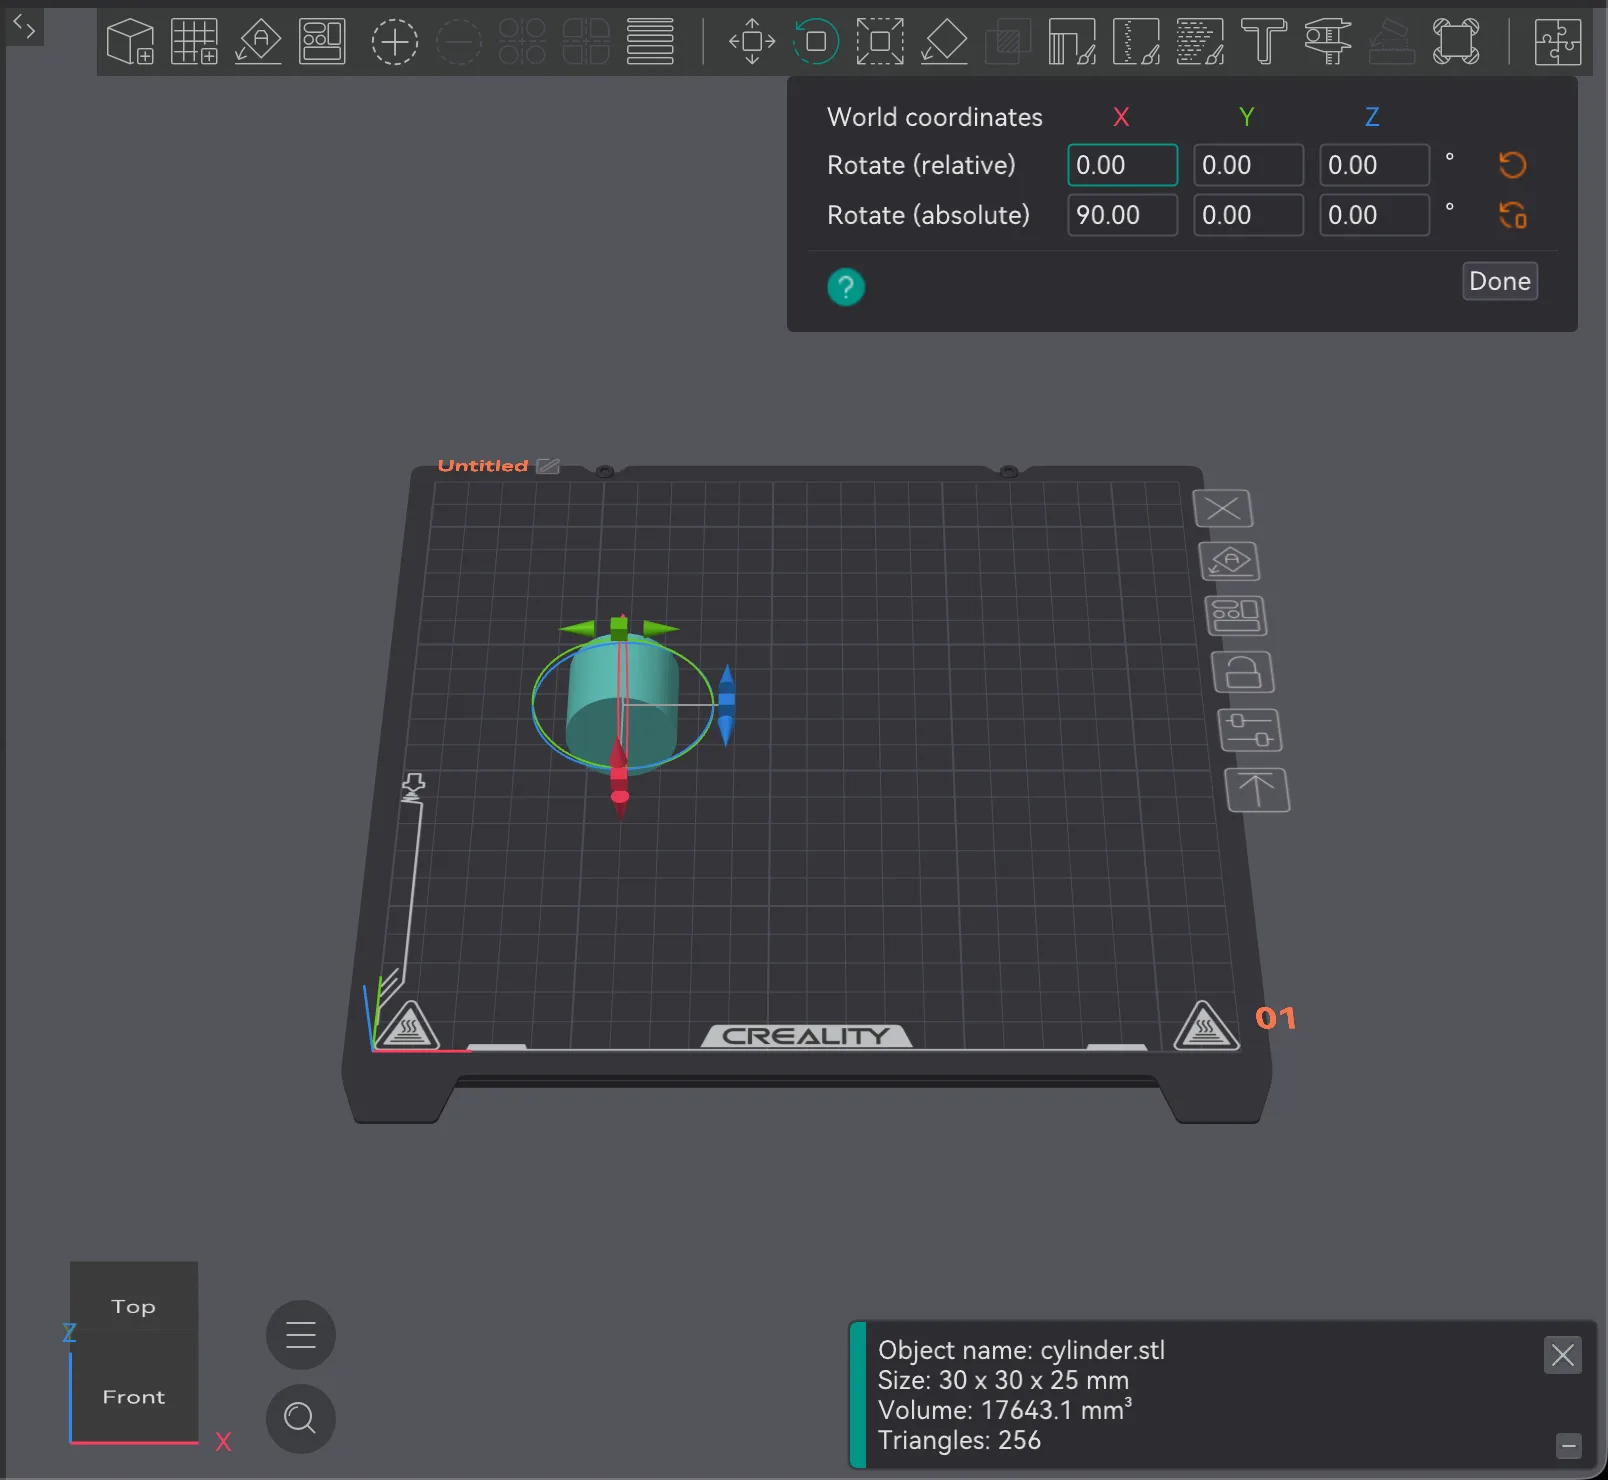
Press R for Rotate. The panel has two rows of X, Y and Z fields in degrees: Rotate (relative) and Rotate (absolute). Typing 90 into the relative X field and pressing Return turned our cylinder onto its side, and the relative field went back to 0.00 while the absolute X field now read 90.00. Reset arrows appear beside the rows once an object has been rotated.
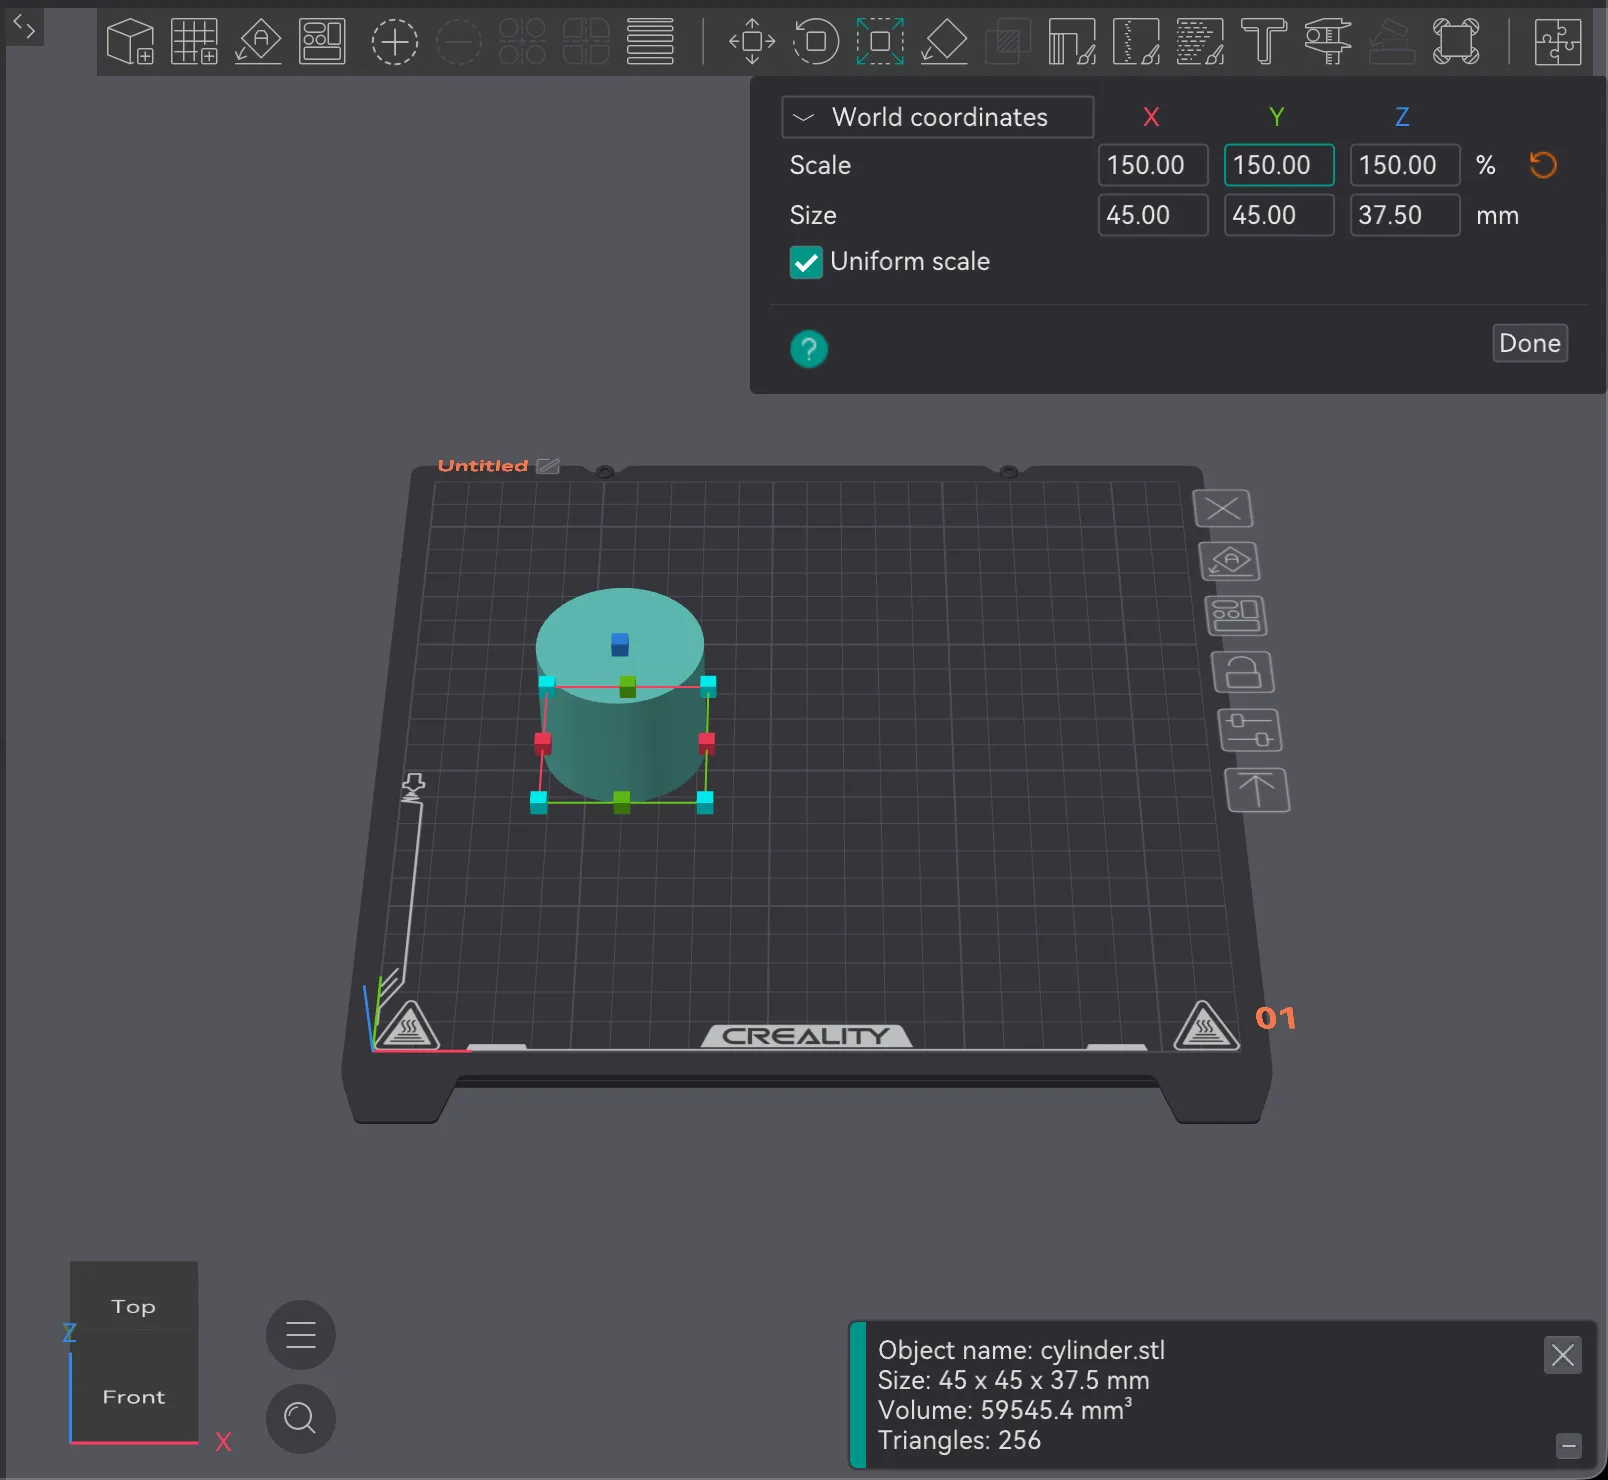
Press S for Scale. The panel has a Scale row in percent and a Size row in mm, each with X, Y and Z fields, plus a Uniform scale checkbox that was ticked by default. We typed 150 into the Scale X field and pressed Return. All three scale fields went to 150.00 and the sizes went to 45.00, 45.00 and 37.50 mm, and the information box agreed: 45 x 45 x 37.5 mm, 59545.4 mm³. Typing 100 in the same field brought it back to 30.00, 30.00, 25.00. Scale matters when a downloaded model is in the wrong units; check the Size row against what you expect before slicing. Bigger models also change print time, which the slicer overview and the later quality lessons cover.
One caution from our run: the information box at the bottom right did not refresh after we rotated, so it still showed the old size. The panels are the more reliable readout, and the box did update after scaling.
What do Lay on Face and Auto orient do?
Lay on Face (shortcut F) is for a model sitting at an awkward angle. With our rotated cylinder selected, we pressed F, hovered over the flat end of the cylinder and clicked it. That end went flat on the bed and the cylinder stood upright again. The tool highlighted the flat faces it could use while the pointer was over them.
Auto orient (shortcut Q) chooses an orientation for you. We imported overhang-t.stl, a T-shaped part whose wide bar sits on top of a narrow stem, which is the kind of shape that triggers the "floating cantilever" warning. Pressing Q flipped it so the wide bar lay on the bed and the stem pointed up. That removes the overhang without supports; see supports explained for when you need them anyway. Auto orient is a suggestion based on the geometry, so check the result in Preview before you trust it, since the best direction for strength or appearance is not always the one with the fewest overhangs.
How do you add a second model, copy it and arrange the plate?
Importing a second file with Cmd+I placed overhang-t.stl next to the cylinder automatically. With the T part selected, pressing + (Add instance) made a copy. The copy landed on top of the original, and OrcaSlicer warned: "overhang-t.stl is too close to others, and collisions may be caused." Pressing - removes an instance again.
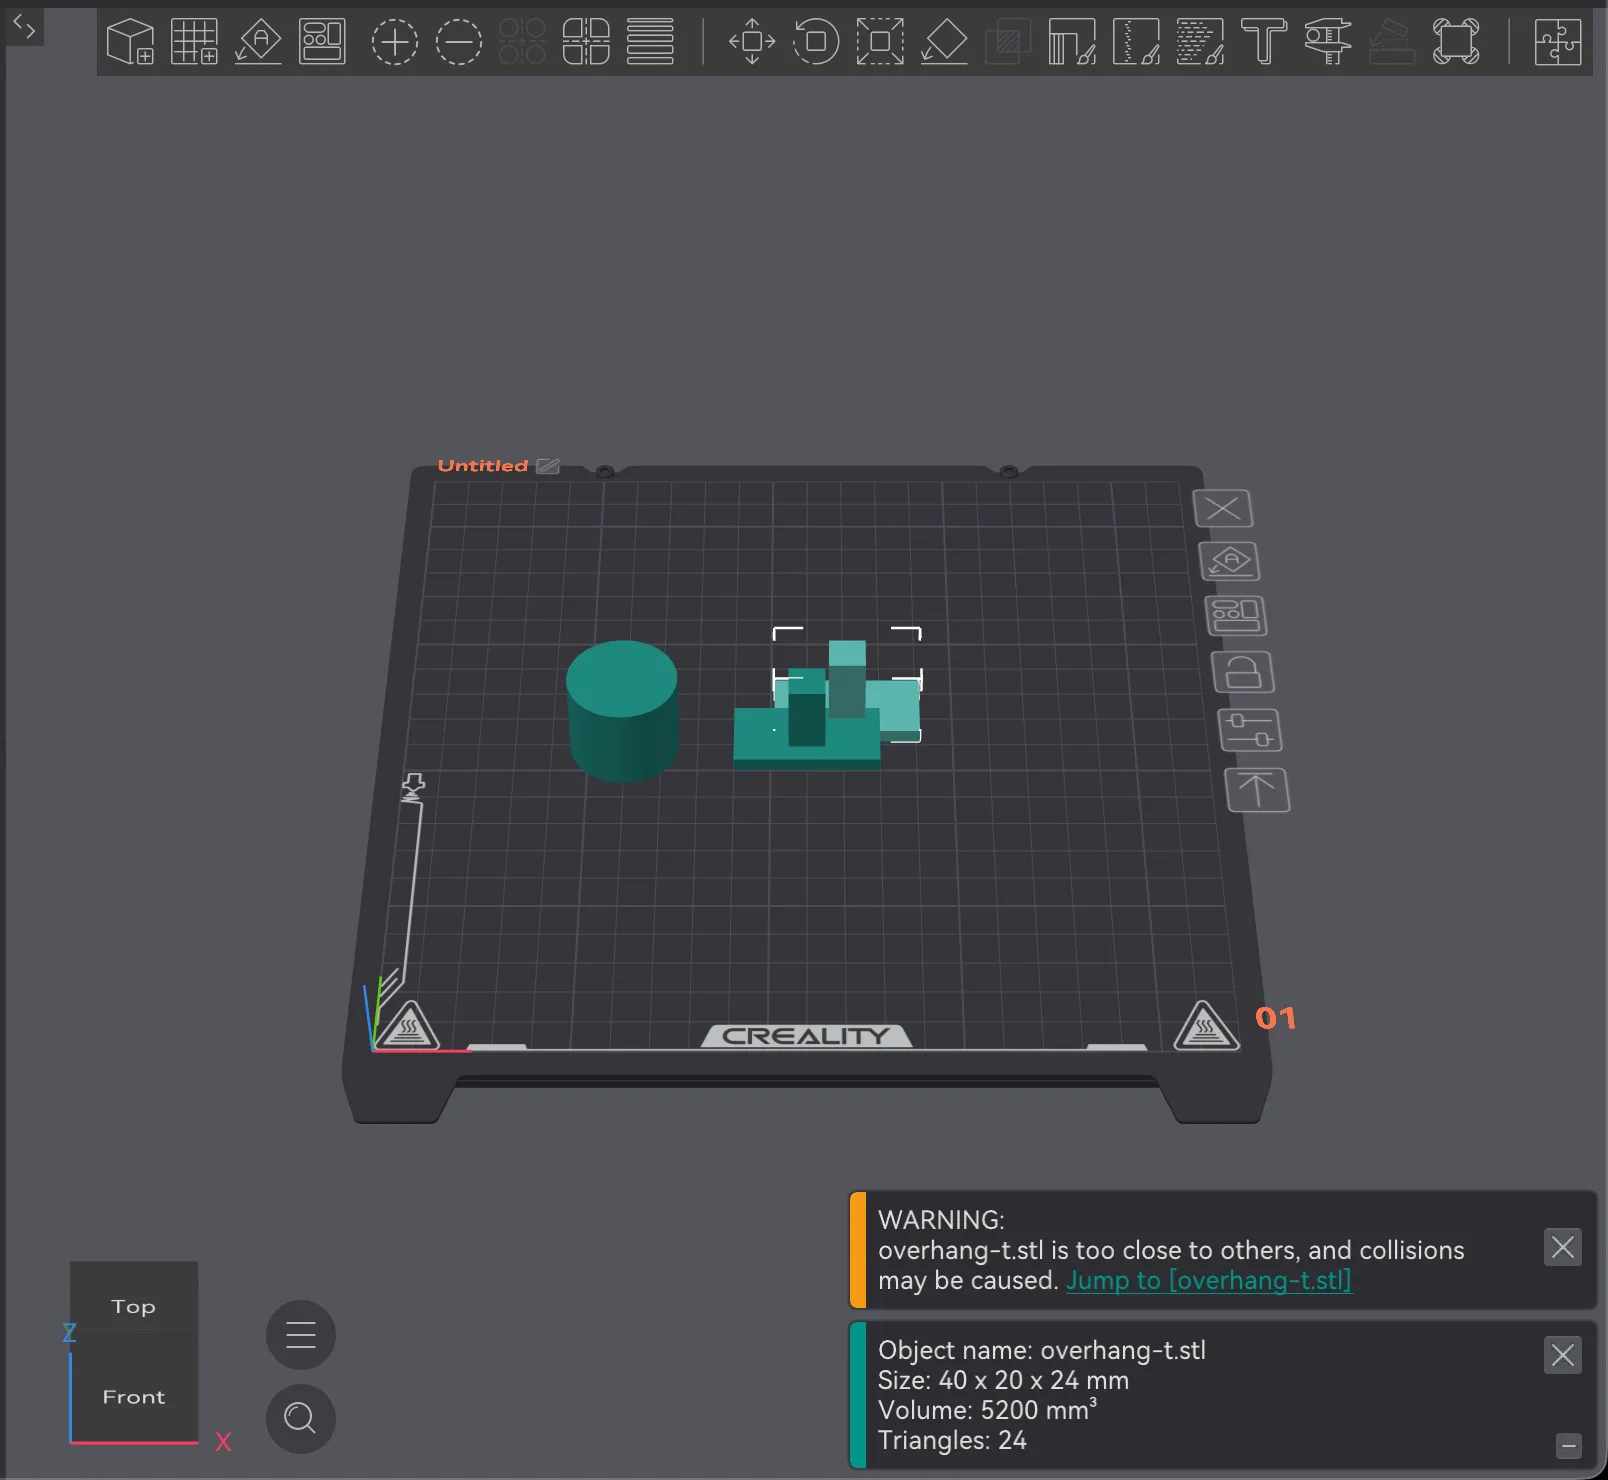
Press A for Arrange, or click the Arrange button in the toolbar. The three objects were spread out in a row, the warning went away, and the T parts came out turned through 90 degrees (the selected one then measured 20 x 40 x 24 mm instead of 40 x 20 x 24 mm), so Arrange can rotate parts as well as slide them. If you want a part to keep its orientation, check it after arranging. When a part ends up closer to the plate edge than you like, move it with the numeric fields and add a brim if it needs one; the brim vs raft vs skirt guide covers that.
How do you delete an object?
Click the object so it is selected and press the Delete key. On a Mac keyboard that key is labelled delete and works like Backspace; we used it and the cylinder was removed while the two T parts stayed. If you want a clean slate instead, the Edit menu has Delete All, which cleared the whole plate for us. Undo is Cmd+Z, shown in the same menu.
You now know how to get a model onto the plate and position it. The next lesson covers the quality settings that control how it prints. If you want to revisit where each button lives first, go back to the OrcaSlicer interface tour. Everything here is slicer behaviour only; we did not print these models.
Next lesson: Orca Slicer Layer Height and Quality Settings.