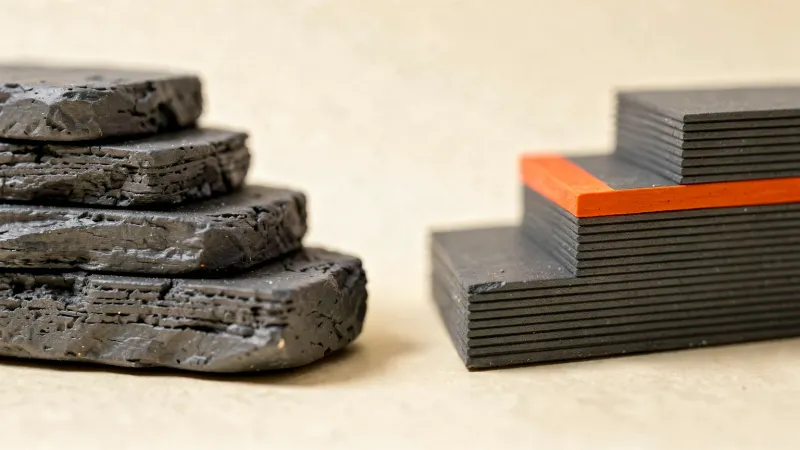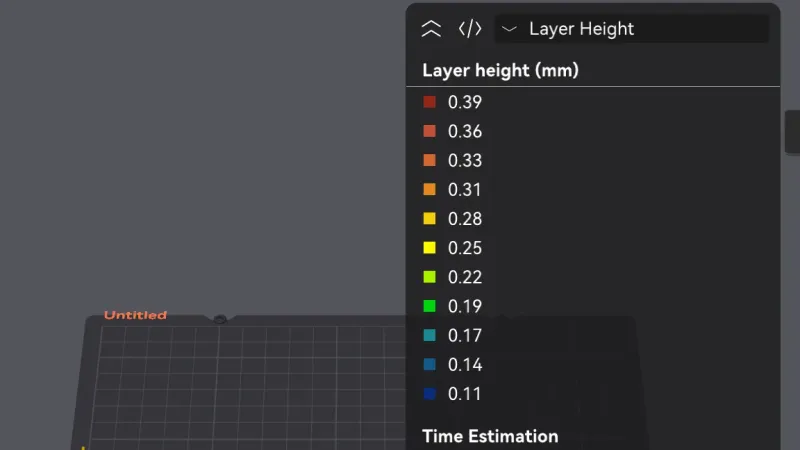
The Quality tab in OrcaSlicer holds the layer height settings, and layer height is the biggest single lever on print time and surface detail. This lesson, tested in OrcaSlicer 2.4.2 on macOS, opens the tab, explains both fields, compares three presets by slicer estimate, and shows the reset arrow.
Where is the Quality tab in OrcaSlicer?
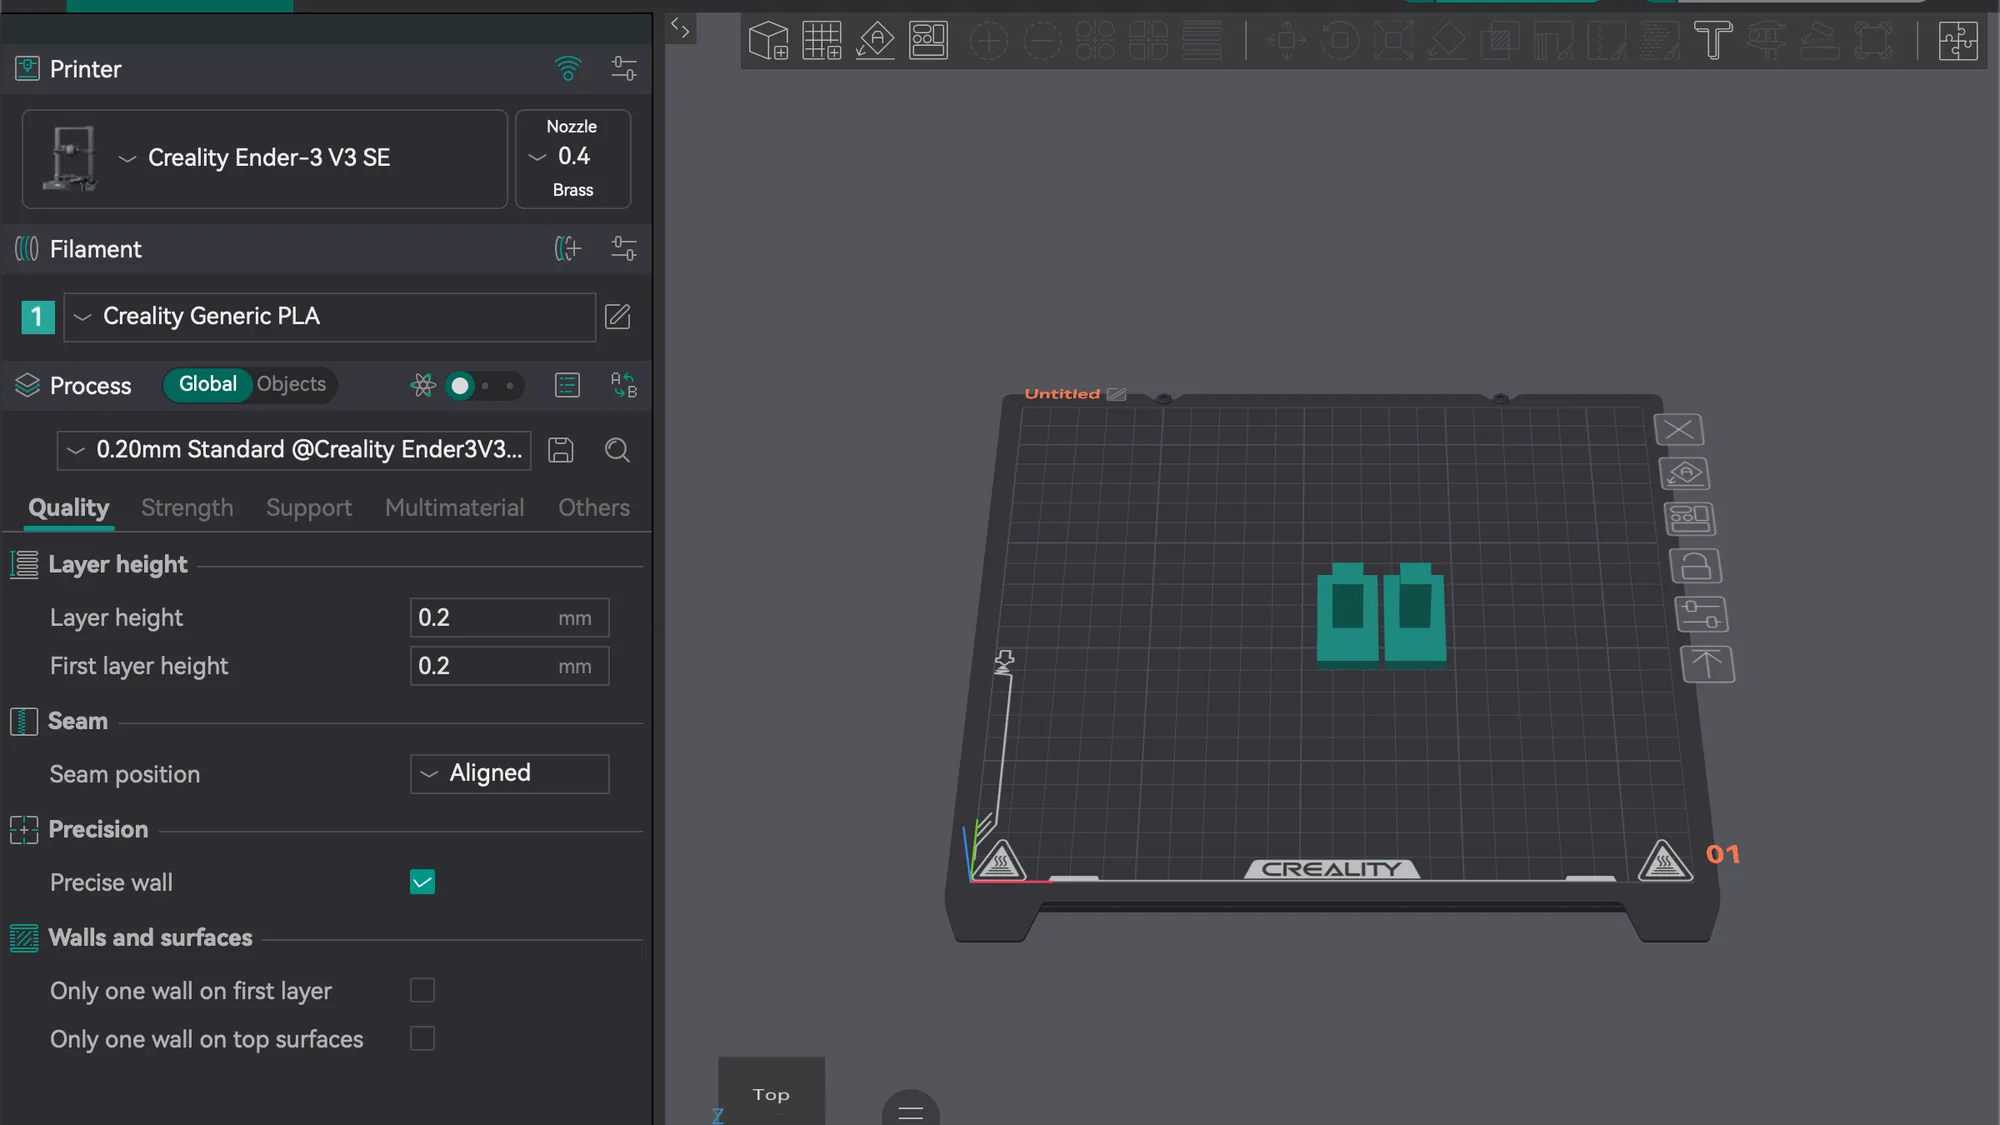
Start on the Prepare tab with a model on the plate. We used the two overhang-t parts from the previous lesson, with the Creality Ender-3 V3 SE printer, Creality Generic PLA filament and the 0.20mm Standard Process preset, in Simple mode. If you still need to place a model, the import, move, scale and rotate lesson comes first.
In the left panel, the Process section has the preset drop-down and, below it, a row of tabs: Quality, Strength, Support, Multimaterial and Others. Quality was already selected in our run. In Simple mode it shows these groups: Layer height, Seam, Precision and Walls and surfaces. This lesson stays with Layer height.
What do Layer height and First layer height mean?
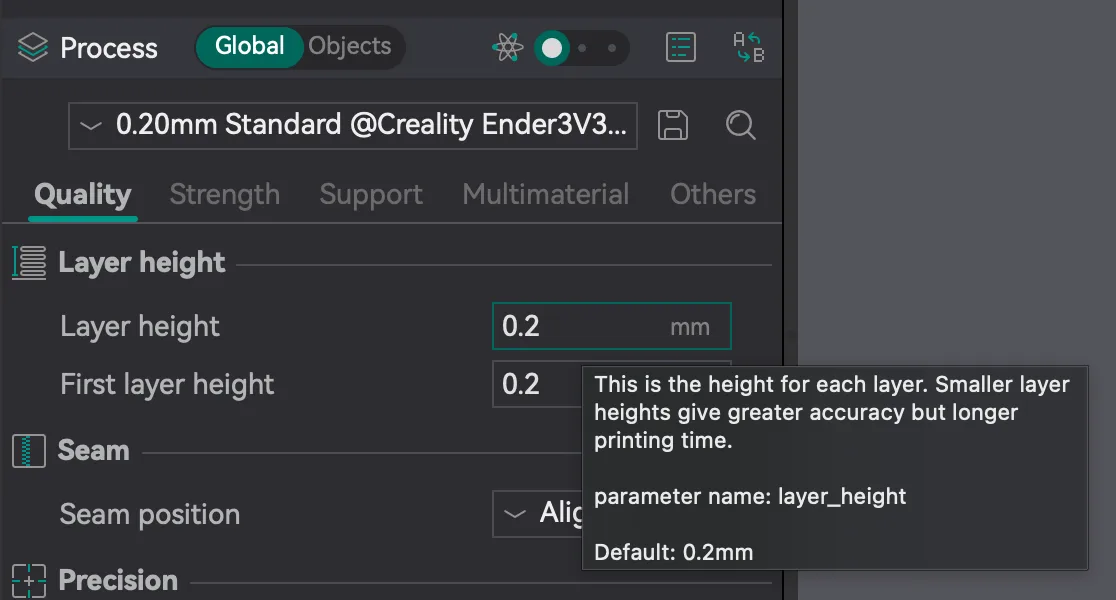
Hover the pointer over a field for about two seconds and OrcaSlicer shows its tooltip. We read both:
- Layer height: "This is the height for each layer. Smaller layer heights give greater accuracy but longer printing time." The tooltip also names the setting
layer_heightand gives a default of 0.2mm. - First layer height: "Height of the first layer. Making the first layer height thicker can improve build plate adhesion." Its setting name is
initial_layer_print_height, with a default of 0.2mm.
Both fields are in mm and both read 0.2 under the 0.20mm Standard preset. The first layer is separate on purpose: a thicker first layer is more forgiving of a slightly uneven bed, while the rest of the model can use a finer height. For the background on why layer height matters, see layer height explained. As a rough rule on a 0.4 mm nozzle, keep layer height well under the nozzle width; we are not testing that here.
What do the Process presets 0.12, 0.16, 0.20 and 0.24 change?
Click the preset drop-down at the top of the Process section. Under the heading System presets we saw four entries for this printer:
- 0.12mm Fine @Creality Ender3V3SE 0.4
- 0.16mm Optimal @Creality Ender3V3SE 0.4
- 0.20mm Standard @Creality Ender3V3SE 0.4 (ticked, the one in use)
- 0.24mm Draft @Creality Ender3V3SE 0.4
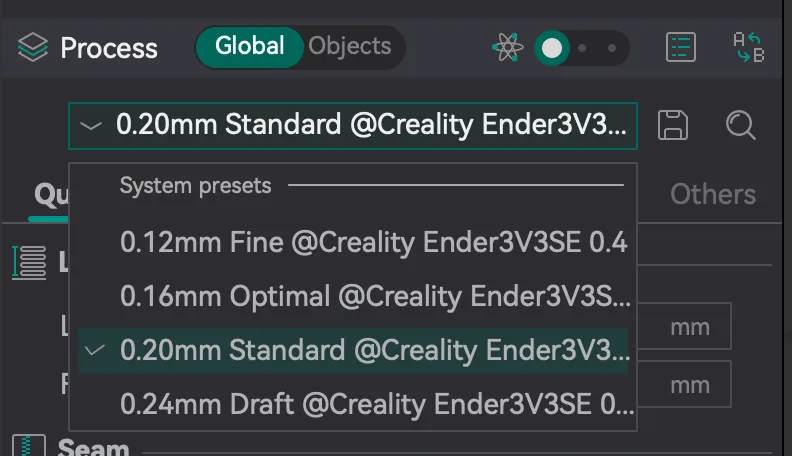
Choosing 0.12mm Fine changed Layer height to 0.12, choosing 0.24mm Draft changed it to 0.24, and going back to 0.20mm Standard restored 0.2. First layer height stayed at 0.2 in all three. We did not select 0.16mm Optimal, so we did not read its fields. The preset name is a bundle: layer height is the part you can see on the Quality tab, but a preset can carry other values on the other tabs too, which we did not compare one by one.
How does layer height change the Slice plate estimate?
For each preset we clicked Slice plate (top right), waited for the slice to finish, and read the Total estimation box on the Preview tab. The model was the same two overhang-t parts every time, each 24 mm tall by our earlier measurement. The numbers below are the slicer's estimates for this plate, with Creality Generic PLA, and nothing here was printed.
| Process preset | Layer height | Layers | Estimated total time | Estimated filament |
|---|---|---|---|---|
| 0.12mm Fine | 0.12 mm | 199 | 42m49s | 6.83 g (2.29 m) |
| 0.20mm Standard | 0.20 mm | 120 | 27m15s | 6.70 g (2.25 m) |
| 0.24mm Draft | 0.24 mm | 100 | 23m56s | 7.01 g (2.35 m) |
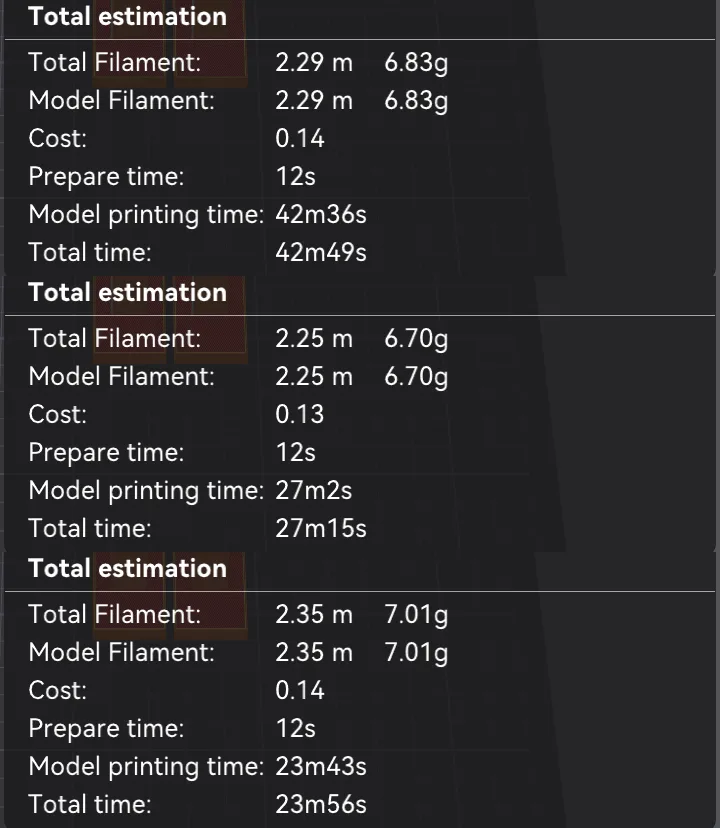
The layer count is the top number on the vertical slider at the right of the Preview (199, 120 and 100), read when each slice finished. Time behaves as the tooltip promises: 0.12 mm took about 57 percent longer than 0.20 mm in the estimate, and 0.24 mm was about 12 percent shorter. Filament did not follow the same pattern. Both the finest and the thickest preset estimated slightly more filament than the middle one. We did not dig into why, and since presets change more than one value, we would not credit it to layer height alone. Treat the filament column as a reminder to read the estimate each time and not to assume. Speed, walls and infill are the next lesson, orca-slicer-walls-and-infill, and the print speed vs quality guide covers the trade off in general.
What does the orange reset arrow mean?
With the 0.20mm Standard preset selected, we clicked into the Layer height field, selected its contents with Cmd+A, typed 0.3 and pressed Tab. Three things changed on screen:
- the Layer height label turned orange and a curved reset arrow appeared to the left of the field;
- the Quality tab name turned orange;
- a second reset arrow appeared to the left of the preset name in the drop-down.
Hovering the arrow beside the field showed: "Click to drop current modifications and reset to saved value." We clicked it, the field returned to 0.2, and every orange marker disappeared. We did not click the arrow next to the preset name, or the save icon beside the drop-down, so we cannot say exactly what they do beyond what the tooltip above implies for the field arrow.
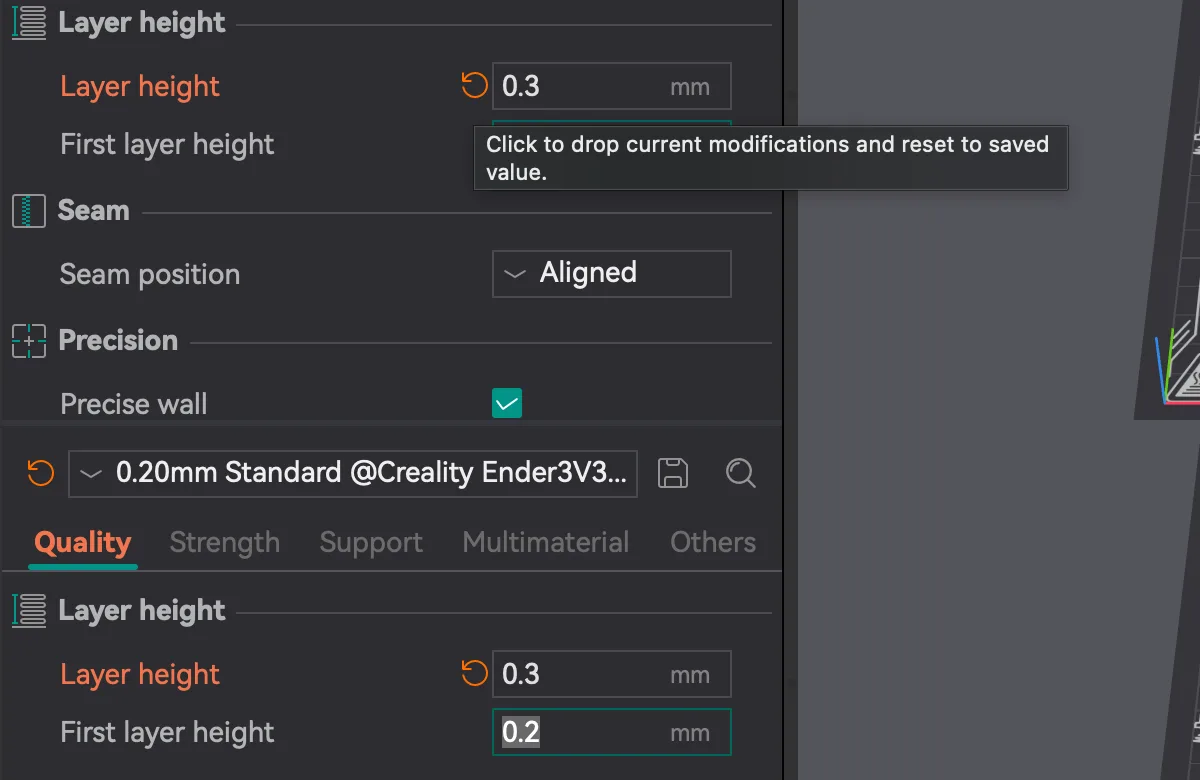
The takeaway is that an edit is a change on top of the preset, not a new preset. Switching the preset in the drop-down while edits are pending may ask what to do with them; we did not test that, so check before you switch. To keep your own values, the save icon beside the preset name is the place to look. For other settings you will meet later, such as the seam position shown in the same tab, the same orange marker works the same way.
That is the Quality tab. The next lesson, orca-slicer-walls-and-infill, moves to the Strength tab. Everything here is slicer behaviour only and the estimates are the program's own guesses.
Next lesson: Orca Slicer Infill Settings: Walls, Infill and Top Layers.