Auto Bed Leveling Explained
Auto bed leveling uses a probe to measure the bed at many points and compensates in software. Here is how it works, what to calibrate and what it cannot fix.
By Sepehr Sabbagh-pour · Published · 4 min read
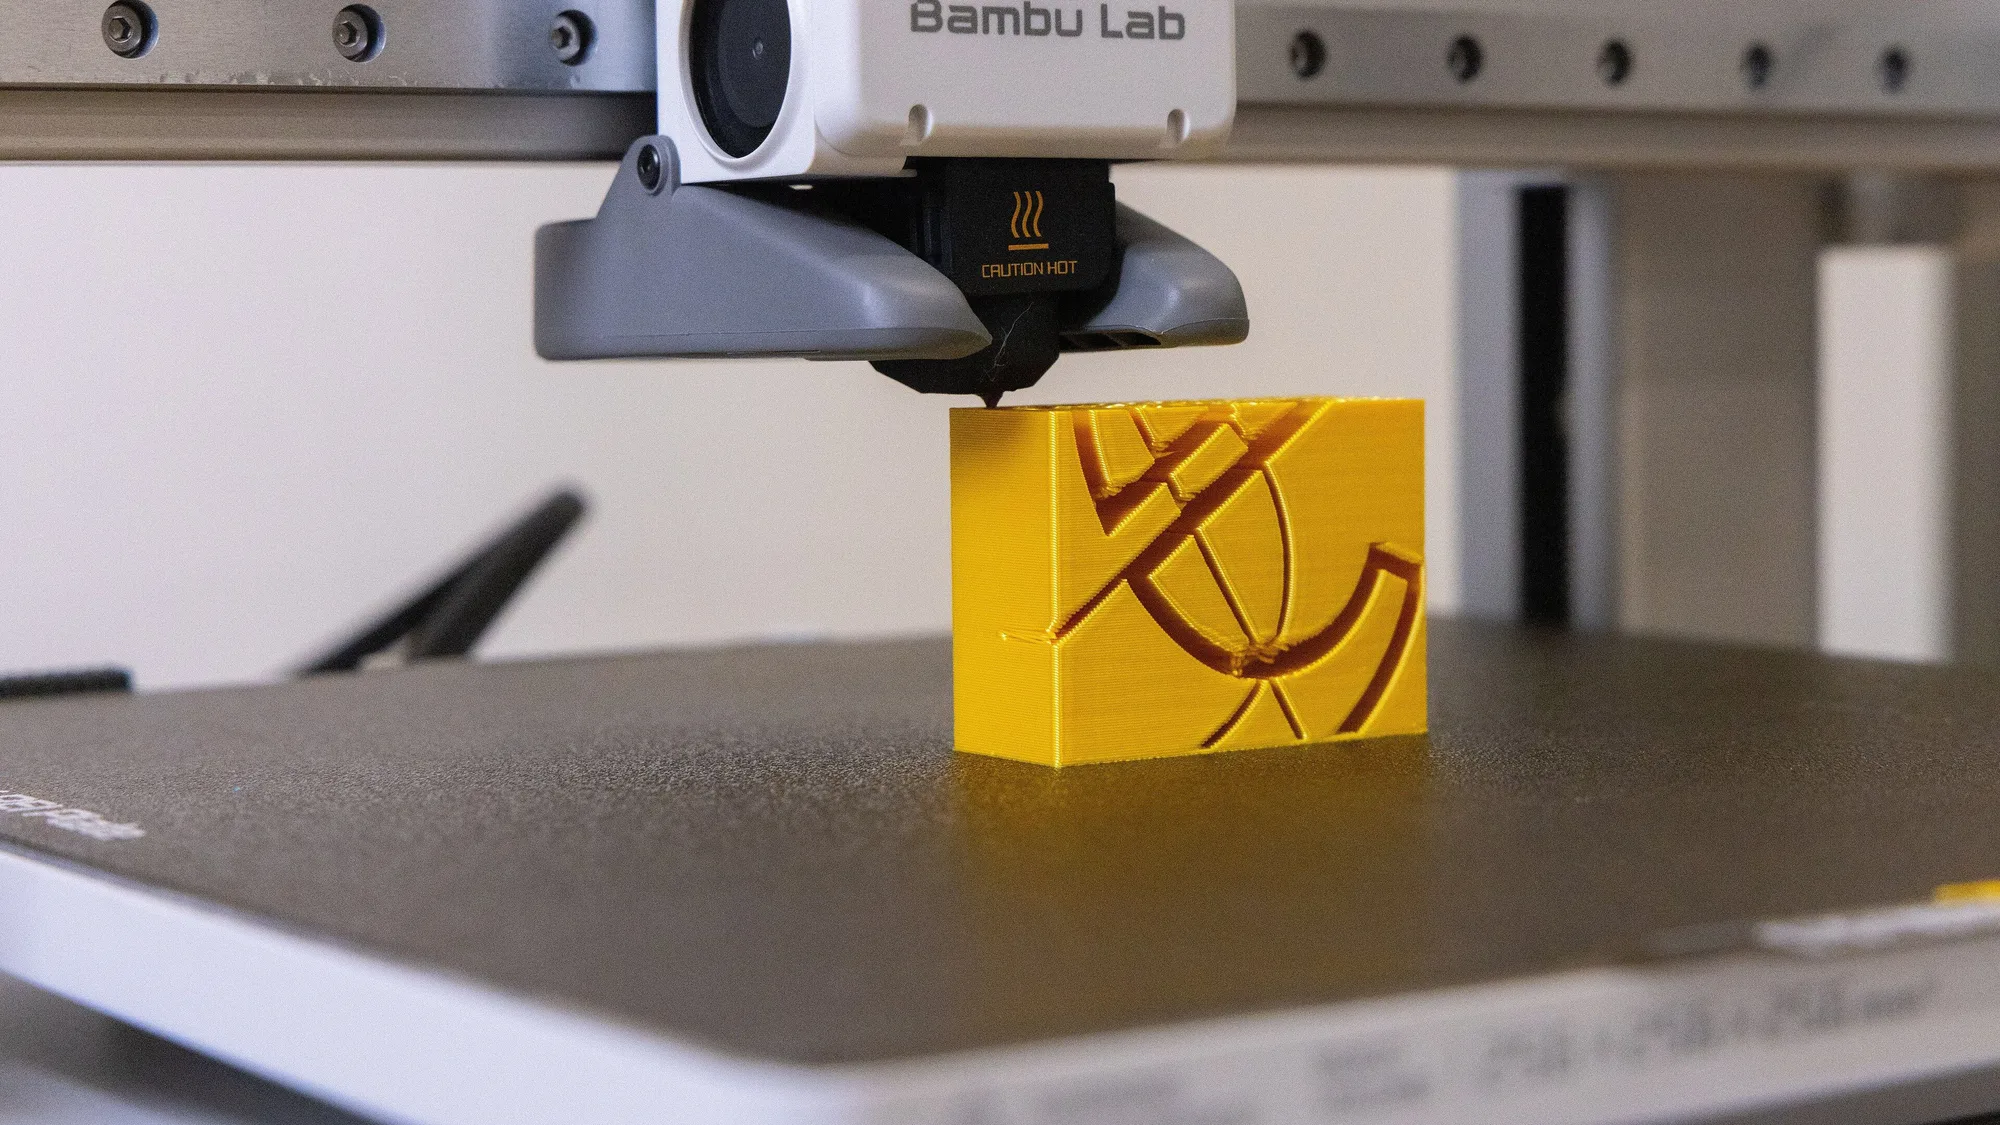
Auto bed leveling (ABL) is the feature that lets a printer check its own bed instead of asking you to turn four knobs and slide paper under the nozzle. The name is slightly misleading, because most systems do not physically move the bed. They measure it and adjust the nozzle height in software. This is a research-based explainer built from Prusa and Klipper documentation. It has not been tested by us, and specifics vary by printer.
The short answer
- A probe or sensor measures the distance to the bed at several points.
- The printer builds a mesh, a map of the surface, and adjusts Z during the first layer to follow it.
- You still need a correct Z offset, and a bed that is mechanically sound. ABL compensates for small differences; it does not repair a bent frame.
How auto bed leveling works
Prusa's knowledge base describes the process for its printers: a sensor detects distance from the print surface. During a calibration and before each print, it goes through a number of points spread in a grid across the build plate and measures the distance to the sheet. These points are interpolated and used to create a virtual mesh of the bed. During printing, if the bed is slightly warped, the sensor still follows the surface according to its measured mesh.
The Klipper firmware documentation explains the same idea from the software side. Its Bed Mesh module probes a grid and corrects Z moves accordingly. You set the area to probe and the number of points on each axis: the Klipper example for a 250 x 220 mm bed probes 5 points along X and 3 along Y, 15 points in total.
Types of probes
| Probe style | What it does | Documented example |
|---|---|---|
| Inductive sensor | Senses the metal of the bed or sheet | Prusa MK3 family: PINDA or SuperPINDA, depending on model |
| Load cell in the nozzle path | Senses the force when the nozzle touches the sheet | Prusa MK4/S, MK3.9/S and CORE One: load cell in the Nextruder heatsink |
| Deployable pin probe | Lowers a pin to touch the bed, then retracts | BL-Touch, configured in Klipper |
Prusa explains that on its load cell printers, the load cell detects when the nozzle is close enough to the steel sheet for printing, and that first-layer calibration is done automatically during the mesh bed leveling. Prusa says this also avoids damage that would be caused by the nozzle digging into the sheet. Klipper's BL-Touch guide says the pin should be roughly 2 mm above the nozzle when retracted, and that on power-up the probe performs a self-test and moves the pin up and down a couple of times.
Settings that matter
Mesh density
Prusa's MK3-family firmware (3.7.0 onward) defaults to a 3x3 mesh of 9 points. If first-layer adhesion is uneven, you can raise it to 7x7, which is 49 points. More points describe the bed in more detail but take longer.
Probe repeats
On the same Prusa setting screen you can choose how many times each point is measured. Prusa suggests 3 or 5 measurements per point, because the final value is an average. Again, more measurements mean a longer procedure.
Probe Z offset
If the result is a squashed first layer, read about a nozzle too close to the bed. Klipper defines the probe z_offset as the distance between the nozzle and bed when the probe triggers, and says an accurate value is critical to obtaining high-quality prints. Its PROBE_CALIBRATE tool measures the probe's trigger height automatically, then uses a manual probe step, the paper test, to find the nozzle height. Many ready-made printers set this for you; check your printer's manual before touching it.
Probe X and Y offsets
Klipper also needs to know where the probe sits relative to the nozzle. The offset is the nozzle position minus the probe position on each axis, and the docs describe finding it by marking tape on the bed.
What auto bed leveling cannot fix
Klipper is direct about the limits. Software-based correction will not achieve perfect results: it can only approximate the shape of the bed. Bed Mesh also cannot compensate for mechanical and electrical issues. If an axis is skewed or the probe is not accurate, the module receives inaccurate data. And Klipper says the probe's Z offset must be calibrated before you do mesh calibration.
That fits with how the printer behaves in practice: ABL smooths out small bed variations, not large mechanical errors. If the first layer is uneven even with leveling on, work through the first layer fix guide and the bed leveling how-to.
Common mistakes
- Debris on the nozzle. Prusa says debris on the nozzle can push the bed down when probing and interrupt the process. The printer then re-homes and tries again, up to three times before canceling the print.
- Touching the bed while it probes. Prusa lists this as a cause of the same retry behavior.
- Treating ABL as a replacement for a sound setup. A loose gantry or a wobbly bed shows up in the probe data.
- Changing the build plate and not checking. Different sheets can change the first layer. See build plates explained.
- Skipping a calibration routine. Our calibration guide places leveling in the full order of steps.
Do you need it?
A simple rule. If you print regularly, change sheets, or want less fiddling, ABL is worth having. A well-tuned manual bed can print fine, but needs rechecking more often. When you compare machines, the maker's spec page usually names the probe type, so check it. The first printer checklist shows where this sits among other features.
Frequently asked questions
What is auto bed leveling?
It is a system where a probe measures the distance to the bed at several points and the printer compensates for the differences by adjusting Z during printing. On Prusa printers the points form a grid that the firmware interpolates into a virtual mesh.
Does auto bed leveling replace manual leveling?
Not entirely. It compensates for small variations, but Klipper's documentation says software correction can only approximate the bed and cannot fix mechanical or electrical issues. Follow your printer maker's guidance on whether any manual tramming is still needed.
How many points should a bed mesh have?
It depends on the printer. Prusa's MK3-family default is 3x3 (9 points) and it can be raised to 7x7 (49 points) if first layer adhesion is uneven. Klipper lets you set the number of points per axis, for example 5 by 3.
What is the probe Z offset?
It is the distance between the nozzle and the bed at the moment the probe triggers. Klipper calls an accurate value critical for high-quality prints and provides a PROBE_CALIBRATE tool to measure it. Many factory printers set it for you.
Sources

Founder and editor
Software engineer since 2009 and Head of Engineering by day, a maker who has owned several 3D printers, writing practical guides to 3D printers, filament and running costs, with every article saying what was and was not tested.
Drafted with AI assistance, then edited and reviewed by Sepehr before it goes live. How we use AI.
Keep reading
 AI illustration
How to Level a 3D Printer Bed
Leveling is really three jobs: getting the bed flat to the nozzle, setting the nozzle height, and judging the first layer. Here…
Creality Ender-3 V3 SE: Cheap Auto-Leveling Starter Printer
The Creality Ender-3 V3 SE is a low-cost bed slinger with auto leveling and a direct-drive extruder. Specs, US price, reviewer…
CoreXY vs Bed Slinger 3D Printers
A bed slinger moves the bed back and forth; a CoreXY printer keeps the bed still in XY and moves a light toolhead with two fixed…