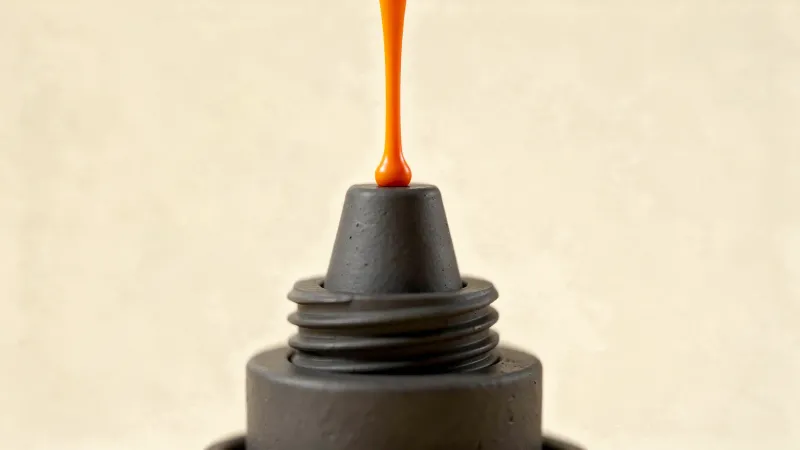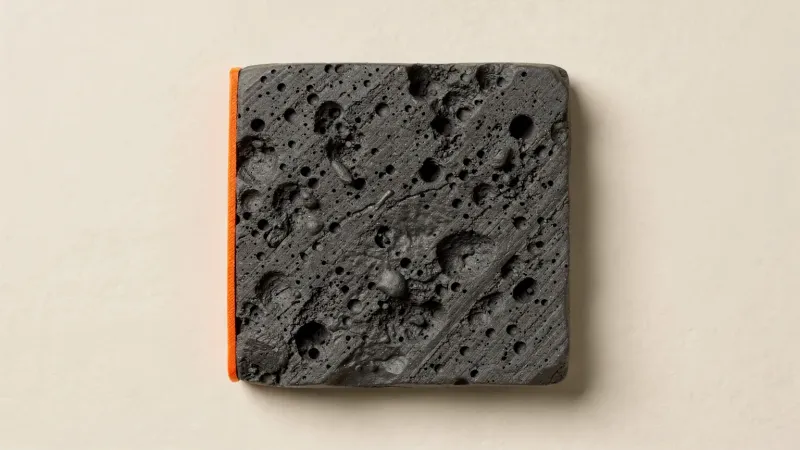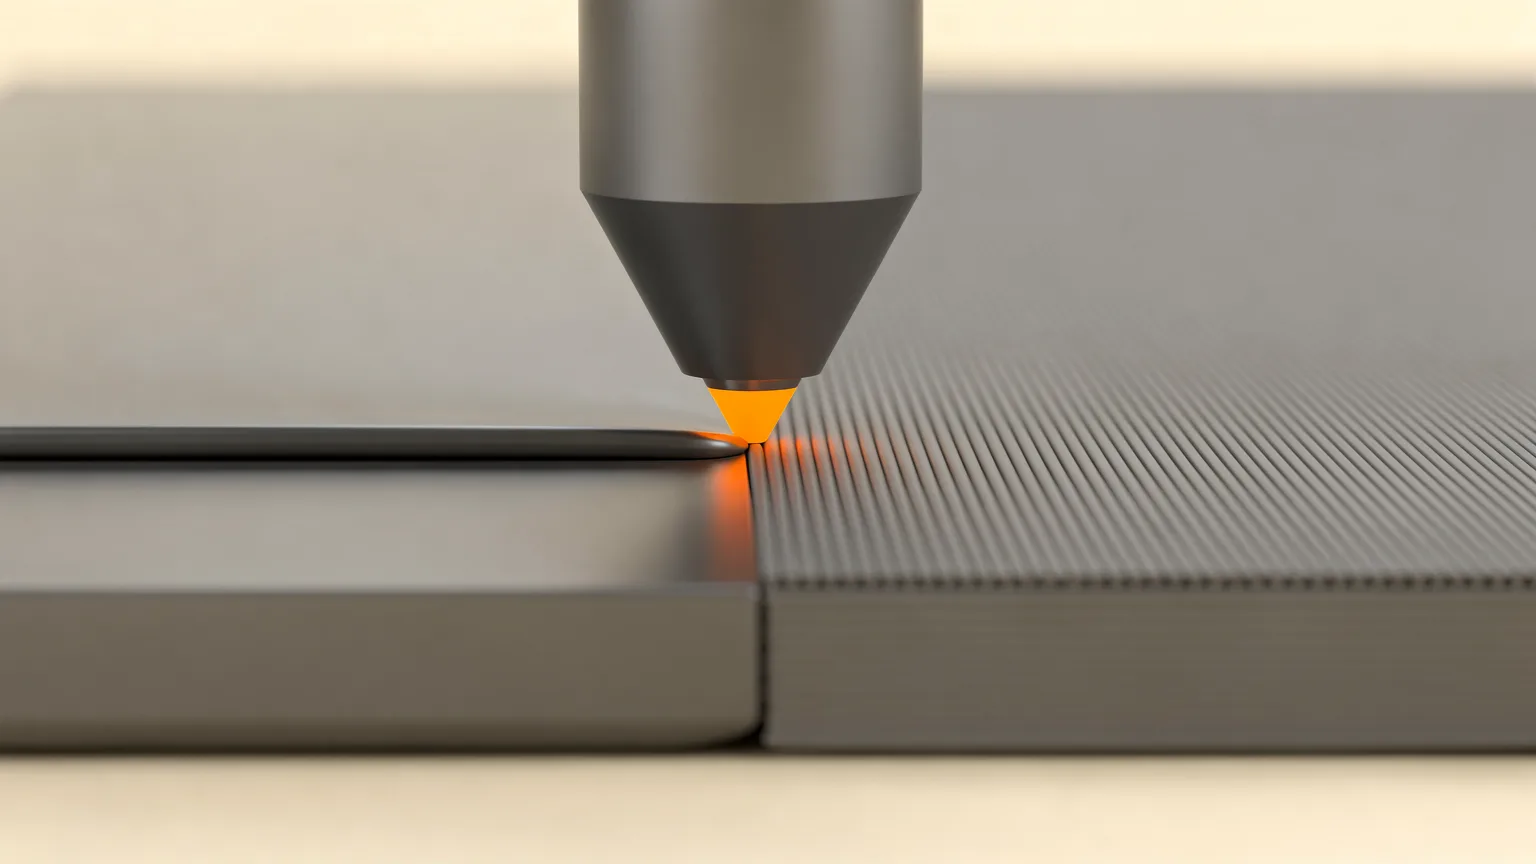
Ironing in 3D printing is a slicer feature that makes the nozzle pass over a finished top surface a second time, at very low flow and tight spacing, to flatten it and fill small gaps. It gives flat tops a smoother finish at the cost of extra print time.
Ironing is available in PrusaSlicer, OrcaSlicer and Cura, and it is off by default in all three. This guide explains how it works, the settings that matter, and when it is worth the extra minutes. The figures come from the slicer makers' documentation, not from our own prints.
What is ironing in 3D printing?
Ironing is a second pass of the hot nozzle over the top layer of a part. Prusa's documentation describes the nozzle flattening plastic that has curled up while also pushing out a small amount of filament to fill holes in the surface. The ironing lines run very close together, much closer than the nozzle width, so the nozzle crosses the same spots several times.
OrcaSlicer's wiki describes the same idea: a second pass at the same height, with a very low flow rate and a specific line pattern. Anycubic's Cura guide compares it to an iron flattening clothes. The result is a flatter, more even top that needs less sanding.
Ironing works on the surface only, so it does not replace good infill or enough top layers underneath. If a top surface looks sunken or patchy because of too little support, read how to fix pillowing on top layers first.
How does ironing work in the slicer?
After the normal top infill is printed, the slicer adds a second toolpath on the same layer. In PrusaSlicer the ironing lines are set at 45 degrees to the normal top infill. The nozzle moves slowly, extrudes only a thin film of plastic, and drags across the surface while still hot.
Three values control the result, and Prusa recommends tuning them together by trial and error:
- Flow: a percentage of the normal flow for that layer height. Lower values give a smoother finish but may not cover the surface; higher values cover better but risk over-extrusion or a rougher finish, according to OrcaSlicer's wiki.
- Line spacing: the distance between ironing lines. Both Prusa and OrcaSlicer say to keep it at or below the nozzle diameter. Cura's default is 0.1 mm, per Anycubic's guide.
- Speed: Prusa says slower speeds generally work best. Anycubic suggests starting from Cura's default and, if the result is poor, dropping to about 30 to 40% of normal print speed.
Which ironing type should you choose?
For most prints, iron only the topmost surface, or the top surfaces, and leave solid ironing alone. The slicers offer similar options under different names.
| Option | What it irons | Where it appears |
|---|---|---|
| All top surfaces | The last layer of every flat area | PrusaSlicer, OrcaSlicer ("top") |
| Topmost surface only | Only the very last layer of the object; on embossed text, just the letter tops | PrusaSlicer, OrcaSlicer ("topmost"), Cura ("Iron Only Highest Layer") |
| All solid surfaces | Every solid layer, including internal ones | PrusaSlicer (experimental, for 100% infill), OrcaSlicer ("solid") |
Prusa calls the all-solid option experimental and aimed at clearer transparent objects. It adds the most time, so it is not a sensible default.
OrcaSlicer also lets you pick a pattern, rectilinear or concentric, plus an inset that keeps ironing away from the edges and an angle offset. Its wiki notes that a fixed angle can reduce tiger striping. Cura offers concentric or zig zag patterns, and an optional monotonic order that irons in one direction for a more consistent finish but takes longer. The slicer comparison covers where each program keeps these settings.
Is ironing worth it?
Ironing is worth it on large, flat top surfaces that people will see or touch, such as lids, nameplates, badges and box tops. Anycubic says it works best there and is a poor fit for intricate or curved geometry. Prusa's documentation lists the downsides plainly.
- Longer prints. The second pass uses very small spacing, so it adds time. PrusaSlicer's preview shows how much.
- Heat creep risk. Prusa warns that on large areas the slow, small extrusion can cause heat creep and a clogged hotend, mainly with PLA and in hot weather. OrcaSlicer's wiki also says to monitor the printer and check hotend cooling. See fixing heat creep clogs.
- Softer edges. Prusa notes edges can become slightly fuzzy because some plastic bleeds over them. An inset helps, and Cura's ironing inset does the same job.
- No effect on curves. Ironing needs a flat area to work on.
If you only need a part that works, skip it. A few tenths of a millimeter of layer height has a larger effect on surface texture, so check layer height explained before adding ironing.
How do you set up ironing for the first time?
Start with the slicer defaults, enable ironing on the topmost surface only, and adjust one setting at a time on a small test piece.
- Turn ironing on. In Cura, open the print settings, show all settings and tick Enable Ironing under Top/Bottom. In PrusaSlicer and OrcaSlicer, look for the ironing type under the infill or quality settings.
- Choose topmost only to save time.
- Keep line spacing at or below your nozzle diameter.
- If the top looks rough or has line scars, lower the flow, as Anycubic advises.
- If it still looks poor, reduce the speed. Anycubic's example is about 90 to 120 mm/s for a printer that normally runs at 300 mm/s.
- Watch the first ironing pass, and stop if the extruder starts to click.
Cura's ironing speed and inset are derived from other settings, so Cura users may prefer to change only flow and spacing first. The related seam position and Z hop guides help if travel moves leave marks on the ironed surface. For the full slicer settings picture, see the OrcaSlicer beginners guide.
Sources and limits of this guide
The documentation does not give one universal flow, spacing or speed. Prusa and OrcaSlicer name no default values, and community guides disagree. Treat any number you read online as a starting point for a test print, including the examples above.