Z Hop Explained: When to Use It and When to Turn It Off
Z hop lifts the nozzle during travel moves so it clears the part. Here is how it works, how it affects stringing, and which lift type to choose.
By Sepehr Sabbagh-pour · Published · 5 min read
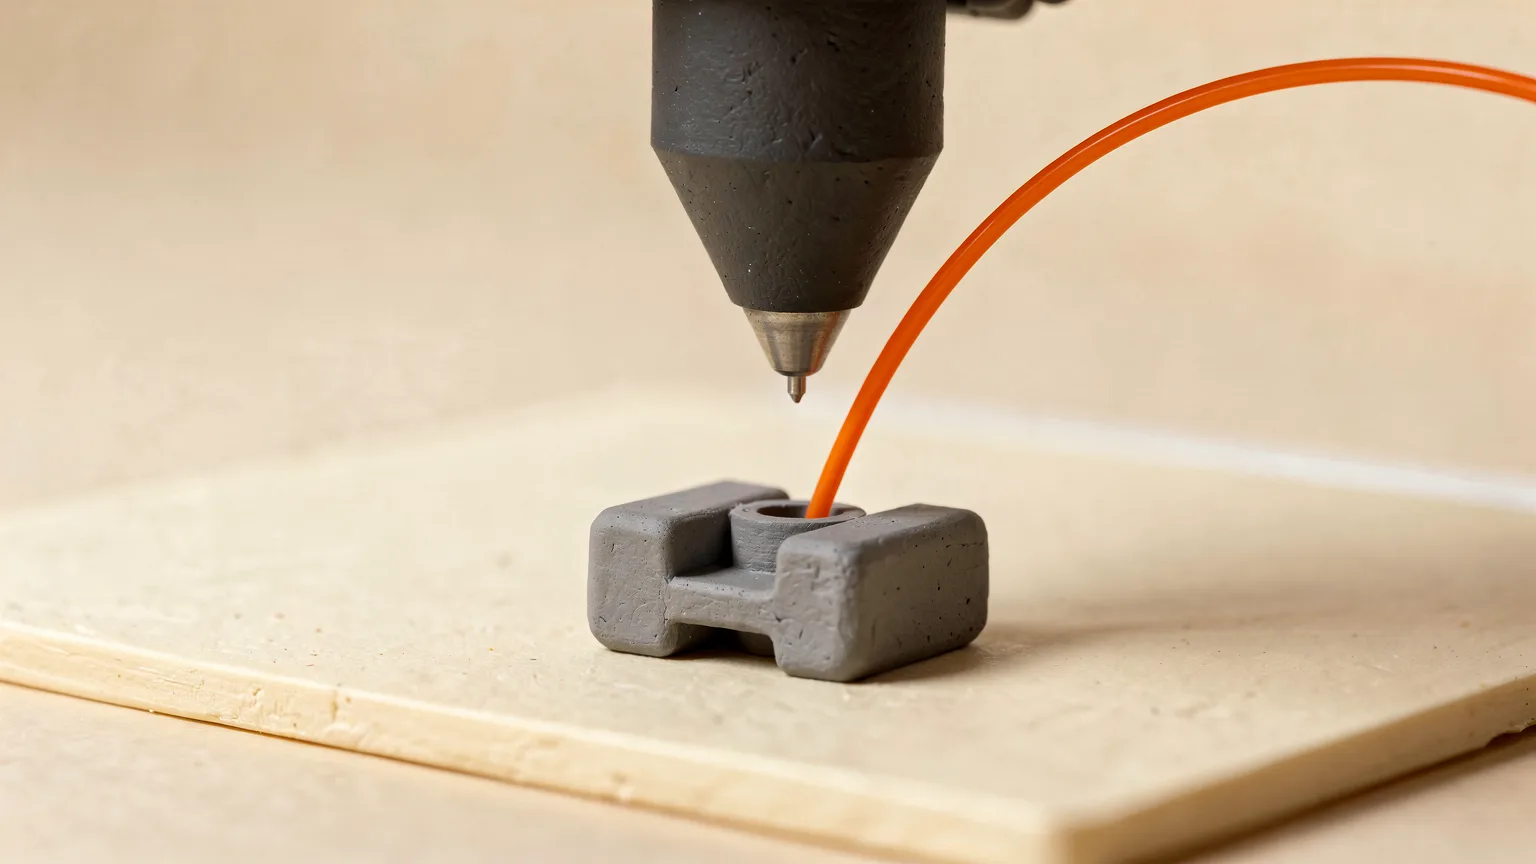
Z hop in 3D printing is a slicer setting that lifts the nozzle a small distance whenever the printer retracts and travels. It stops the nozzle dragging across, or crashing into, the part it has already printed. The trade-off is that the lift can add stringing and noise, so it is worth knowing when to keep it.
What is Z hop in 3D printing?
Z hop (called Lift Z in PrusaSlicer) raises the nozzle during a travel move so it clears material that is already on the bed. Prusa describes it as lifting the extruder during movement so the nozzle clears printed material, and OrcaSlicer says the nozzle is lifted a little to create clearance.
The setting matters most when the nozzle has to cross the part to reach its next starting point: tall thin features, parts with several islands on one layer, or plates holding several objects. OrcaSlicer lists tall thin features and multi-object plates as the places it helps. Without a lift, a curled edge or a slightly over-extruded line can catch the nozzle and knock the part loose, which is how many prints end as spaghetti. Our guide to fixing spaghetti and failed prints covers that failure.
How does Z hop work?
Z hop is tied to retraction. OrcaSlicer states that the lift happens when a retraction happens, and the height setting is the distance the nozzle rises on each retraction. The sequence is: retract the filament, lift, travel, lower, unretract, and carry on printing.
That link has a practical consequence. OrcaSlicer's retraction page says retraction triggers only when a travel move is longer than the travel distance threshold, so short moves inside one region of the part get neither a retraction nor a hop. If you change the retraction rules, you change when the nozzle lifts. The full set of retraction options is explained in retraction settings explained.
- Z hop height: how far the nozzle rises on each retraction.
- Z hop type: the shape of the lift (see the table below).
- On surfaces: in OrcaSlicer, whether the hop applies on all surfaces, top only, bottom only, or top and bottom.
- Only lift Z above or below: limits the hop to a range of absolute heights.
Does Z hop reduce stringing?
Not by itself, and a hop can make it worse if it is large. Prusa says a lower Lift Z setting is better for stringing, while disabling the feature may let the nozzle hit the printed part. It presents Lift Z as a balance between reducing stringing and avoiding collisions.
The reasoning is simple. Every hop is an extra up and down movement while the nozzle is hot and may still hold a little melted plastic. OrcaSlicer notes that spiral lifts can help prevent stringing, so the type of lift matters as well as its height. If strings are your main problem, work through how to fix stringing first, because wet filament and a hot nozzle are more common causes than Z hop. Hop settings are a fine adjustment, not the first fix.
When should you use Z hop?
Use it when the nozzle can hit the part during travel. Typical cases:
- Tall, narrow parts where a small lean or curl could stand in the way of the nozzle.
- Several objects on one plate, because travel moves between them cross printed walls.
- Parts that have been knocked loose before, where the first sign was a clunk followed by a shifted model.
- Prints with raised top surfaces, where slightly proud lines can catch the nozzle.
If the nozzle still touches the part on long travels, a taller hop is the first setting to try. Change it in small steps and check the next print rather than jumping to a large value.
When should you turn Z hop off?
Turn it off, or limit it, when the nozzle has nothing to hit and the lifts only cost you quality. Open, simple parts with travel that stays inside the outline are the usual candidates. Prusa warns that disabling the feature may let the nozzle hit the print, so do not turn it off on a part that has caused trouble before.
A middle path is to keep the hop but restrict where it applies. OrcaSlicer lets you set Only lift Z above and Only lift Z below, where a positive value limits the lift to heights above or below that absolute Z value, and it lets you choose which surfaces trigger a hop. Those controls are in the slicer's advanced mode.
Which Z hop type should you choose?
OrcaSlicer offers four types. Other slicers may name or offer them differently, so check your own version.
| Type | What the nozzle does | Good for |
|---|---|---|
| Auto Lift | Picks a type depending on whether the travel crosses overhang areas | A sensible default when you do not want to choose |
| Normal Lift | Rises straight up, then lowers before printing resumes | Simple, predictable clearance |
| Slope Lift | Moves diagonally while lifting | Gentler movement than a vertical jump |
| Spiral Lift | Moves in a spiral while lifting | Reducing stringing, per OrcaSlicer |
The Traveling angle setting applies to the slope and spiral types, and OrcaSlicer says an angle of 90 degrees gives a normal lift.
Where is the Z hop setting?
In PrusaSlicer, Lift Z is under Printer Settings, Extruder 1, with the other retraction settings. In OrcaSlicer the height is a simple-mode setting in the printer's extruder section, and the type, surfaces, angle and above/below limits are advanced-mode settings. Our OrcaSlicer for beginners and PrusaSlicer for beginners guides show where the printer settings live.
Common Z hop mistakes
- Setting a very tall hop to be safe. A bigger lift means more movement at every retraction.
- Turning Z hop off to fix stringing before checking for wet filament or an overly hot nozzle.
- Changing hop height and retraction length together, so you cannot tell which change helped.
- Forgetting that a hop only happens on a retraction, so a travel that is too short to retract will not lift.
Rule of thumb. Keep Z hop on for parts the nozzle might hit, keep the height small, and treat it as one part of the travel and retraction setup. Travel speed matters too, so see print speed versus quality.
Behavior described above comes from the OrcaSlicer wiki and Prusa Knowledge Base listed in the sources. Neither gives a universal height, so start from your printer profile's default.
Frequently asked questions
What is Z hop in 3D printing?
Z hop is a slicer setting that lifts the nozzle slightly whenever the printer retracts filament and makes a travel move. The lift lets the nozzle clear parts that are already printed, so it does not drag across them or catch an edge. PrusaSlicer calls it Lift Z. OrcaSlicer ties it to retraction, so it only happens when a retraction happens, and it gives you a height, a lift type and limits on where the lift applies. It is most useful on tall, thin parts and on plates with several objects.
Does Z hop reduce stringing?
Not directly. Prusa says a lower Lift Z setting is better for stringing, and that disabling it may let the nozzle hit the part, so it is a balance between stringing and collisions. OrcaSlicer notes that spiral lifts can help prevent stringing. Wet filament and a hot nozzle are more common causes of strings than Z hop, so check those first and treat the hop height and type as a fine adjustment after that.
When should I turn Z hop off?
Turn it off or limit it when the nozzle has nothing to hit, such as open parts where travel moves stay inside the outline. Prusa warns that disabling Lift Z may cause the nozzle to hit the printed part, so keep it on for tall thin features, multi-object plates or any model that has been knocked loose before. A middle option is OrcaSlicer's range limits, Only lift Z above and Only lift Z below, together with the On surfaces setting, which restrict where the hop applies.
Which Z hop type is best?
OrcaSlicer offers Auto, Normal, Slope and Spiral lifts. Auto chooses a type depending on whether the travel crosses overhang areas, which makes it a sensible default. Normal rises straight up and back down. Slope moves diagonally while lifting, and Spiral moves in a spiral, which OrcaSlicer says can reduce stringing. The traveling angle applies to slope and spiral, and 90 degrees gives a normal lift. Start with Auto and change the type only if a specific problem points to it.
Sources

Founder and editor
Software engineer since 2009 and Head of Engineering by day, a maker who has owned several 3D printers, writing practical guides to 3D printers, filament and running costs, with every article saying what was and was not tested.
Drafted with AI assistance, then edited and reviewed by Sepehr before it goes live. How we use AI.
Keep reading
 AI illustration
What Is a Slicer? How 3D Printing Software Works
A slicer cuts a 3D model into layers and writes the G-code your printer follows. Here is how slicing works, the main settings…
 AI illustration
PVA Filament: What It Is and When to Use It
PVA is a water-soluble support filament that dissolves after printing, leaving clean surfaces. Here is what it works with, what…
 AI illustration
3D Printing Supports: When You Need Them and Removal
Supports hold up parts of a print that start in mid-air. Learn when you need them, the main support styles, how to reduce them…