How to Fix Layer Shifting
Layer shifting means the print head lost its position and later layers sit offset from earlier ones. Check obstructions, belts, pulleys and speed in that order.
By Sepehr Sabbagh-pour · Published · 4 min read
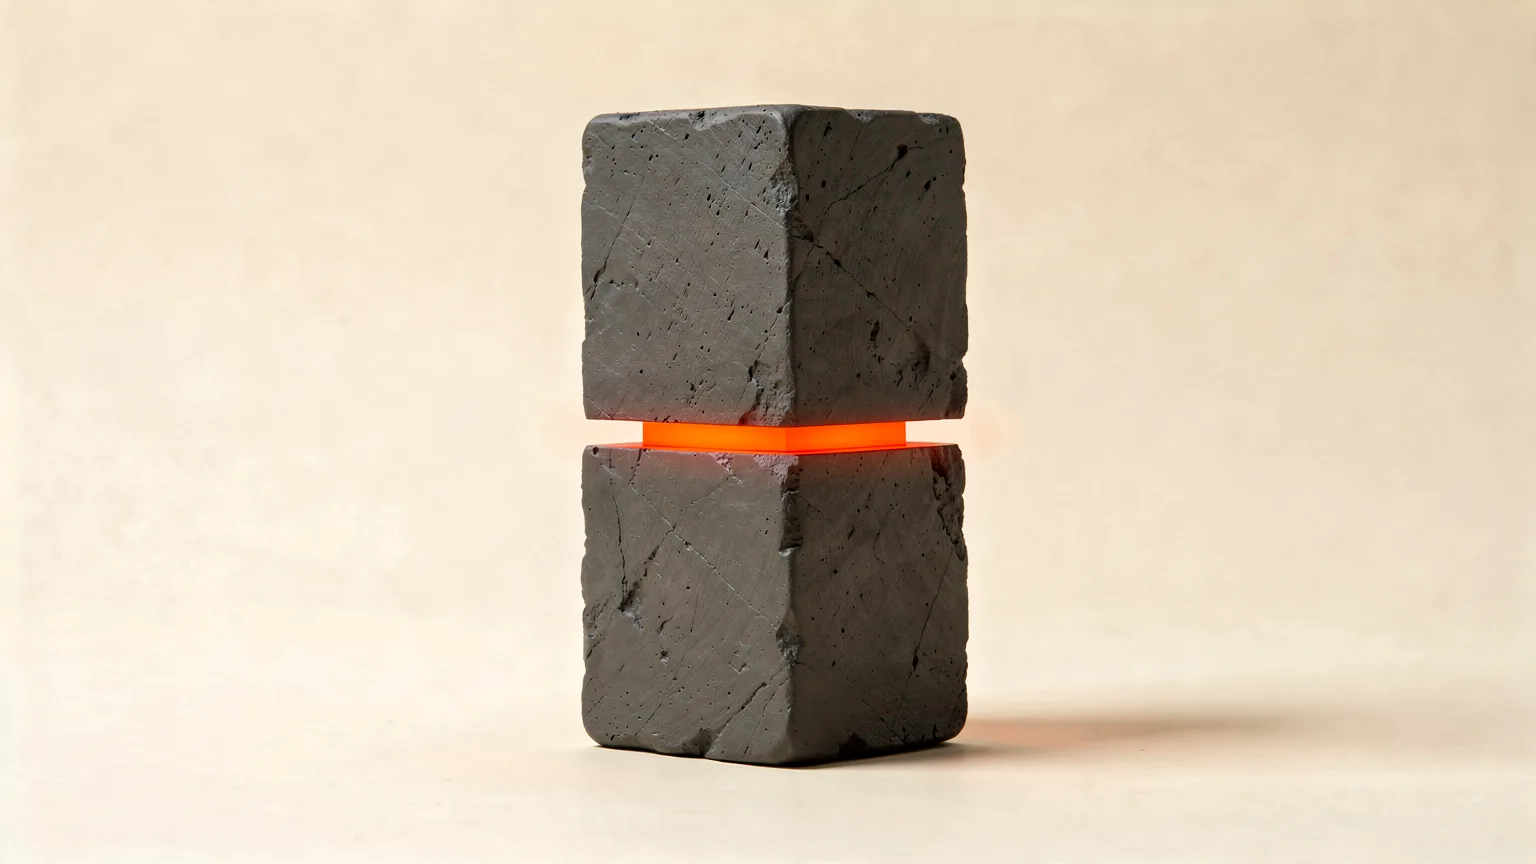
A layer shift is when part of a print is suddenly offset sideways from the layers below it, leaving a step in the wall. Every layer after the shift continues from the new, wrong position. It means the print head or bed stopped following the commands it was given, usually on the X or Y axis. Prusa describes it as abnormal X-axis or Y-axis movement that leaves the extruder misaligned mid-print. This guide is based on Prusa and Bambu Lab documentation, not our own tests.
| What you see | Likely cause | Check first |
|---|---|---|
| One sudden step, rest of print continues offset | Collision or obstruction | Cables, filament pieces, warped corners |
| Repeated shifts on one axis | Loose belt or pulley | Belt tension, set screws |
| Shifts only on fast or large prints | Speed or motor load | Reduce speed, normal power mode |
| Shift just after a warped corner | Nozzle hit lifted plastic | Fix warping |
1. Look for anything blocking movement
Bambu Lab lists external interference as a cause. Examples include a damaged cable chain on the toolhead, tubes or cables that obstruct the toolhead, and filament piling up in the purge chute during filament changes. Move the axes by hand with the printer off and watch for anything that catches. Prusa tells MK-series owners to remove any pieces of filament caught around the pulleys, particularly on the Y axis, and to check that zip ties or the extruder cable bundle are not in the way.
2. Check belts, pulleys and set screws
Prusa's guide says layer shifts are most often caused by wrong belt tension or pulleys that are not secure. Each XY motor pulley has two set screws, and one must sit against the flat part of the motor shaft. Check that the pulleys are centered, the belts run straight and the motors are tight in their mounts. Prusa also advises cleaning the smooth rods and lubricating them with Prusa lubricant or lithium-based grease, after checking for deep scratches.
For belt tension itself, Prusa gives printer-specific numbers. On the MK3 family, the Belt Status screen (LCD menu, Support, Belt Status) should show roughly 250 for X and 275 for Y, with plus or minus 15 acceptable. Below 240 means the belt is loose, above 290 means it is too tight. Those figures are for those printers only, so use your own printer's documentation. Prusa's alternative check is that a belt should sound roughly like a low bass string when plucked.
A useful diagnostic from Prusa: inconsistent movement along X or Y points to belt tension, while inconsistent diagonal movement points to a motor or pulley problem. For routine checks, see the maintenance checklist.
3. Slow down and check the power mode
Bambu Lab says setting the speed too high, combined with excessive resistance in the carbon rods, can cause layer shifts. Its example is starting a job at Normal speed and then switching to Ludicrous mode from the screen mid-print. It also suggests cleaning the carbon rods on X1 and P1 series printers. Prusa recommends normal power mode rather than stealth mode for larger or more complex prints on the printers that have both, and for the MINI it suggests reducing speed for large objects.
4. Stop the nozzle hitting the print
If the nozzle strikes the model, the axis can skip steps. Bambu Lab notes that sticky filament such as PETG Basic can cling to the nozzle and collide with the model, and suggests drying the filament or enabling the prime tower. It also says that if a model warps, the nozzle can hit the warped section and cause step loss, and that using the right plate and bed temperature for the filament helps prevent it. See how to dry filament.
Prusa adds slicer-side measures: use the Cut tool to remove problem overhangs, raise the print fan speed, and increase retraction length. It also reports user findings that the Avoid crossing perimeters option can cause shifts, because it can produce a flood of tiny movement commands that overload the processor, and that disabling it resolved those reports. Treat that one as a user-reported workaround. Lengthening travel moves is covered in retraction settings explained.
Shifts on prints that also lift at the corners usually start with adhesion, so see how to fix a bad first layer and print not sticking.
5. Use recovery features as a safety net
Bambu Lab printers have an Auto-recovery from step loss option (on the printer screen for X, A and H2 series, P2S and X2D, and in Bambu Studio for P1 series). When the motor detects a lost step, the axes are repositioned and printing continues. Prusa printers with Trinamic drivers on the EINSY board have crash detection, which pauses, homes and resumes after a detected nozzle crash. Prusa notes it works only in normal mode, not stealth mode. These reduce damage but do not remove the cause.
Quick confirmation. After tightening or adjusting anything, print a tall, narrow test part or a large calibration cube at normal speed. If the walls stay vertical with no steps, the mechanical fix worked. If a shift returns at the same height, look for something the head hits at that point.
Frequently asked questions
What causes layer shifting in 3D printing?
Prusa names incorrect belt tension and loose pulleys as the most common causes. Bambu Lab adds obstructions, nozzle collisions with warped or sticky prints, and print speed that is too high.
How tight should the belts be?
It depends on the printer. Prusa's MK3 family guidance is a Belt Status of roughly 250 for X and 275 for Y, plus or minus 15. Prusa also describes a correct belt as sounding like a low bass string when plucked. Check your own printer's documentation.
Can a warped print cause a layer shift?
Yes. Bambu Lab notes that if a model warps, the nozzle can strike the lifted section, leading to step loss and a shifted model.
Will step-loss recovery fix layer shifting?
It helps the printer recover after a lost step, but it does not remove the cause. Find and fix the obstruction, belt or speed problem as well.
Sources

Founder and editor
Software engineer since 2009 and Head of Engineering by day, a maker who has owned several 3D printers, writing practical guides to 3D printers, filament and running costs, with every article saying what was and was not tested.
Drafted with AI assistance, then edited and reviewed by Sepehr before it goes live. How we use AI.
Keep reading
 AI illustration
3D Printer Problems and Fixes: A Troubleshooting Guide
A symptom-first guide to common 3D printer problems: what causes them and what to try first, based on manufacturer…
 AI illustration
How to Fix Layer Separation and Delamination
Layer separation in 3D printing happens when layers cool too fast or bond too weakly. This research-based guide lists the fixes…
 AI illustration
Layer Height Explained: Speed vs Detail
Layer height sets how thick each printed layer is. It trades speed against vertical detail, and it is limited by your nozzle…