How to Fix Layer Separation and Delamination
Layer separation in 3D printing happens when layers cool too fast or bond too weakly. This research-based guide lists the fixes in order, from temperature to material choice.
By Sepehr Sabbagh-pour · Published · 3 min read
Research-based guide. Settings here come from Prusa and Bambu Lab documentation and filament maker guidance. They are starting points and have not been tested by Nozzle Notes.
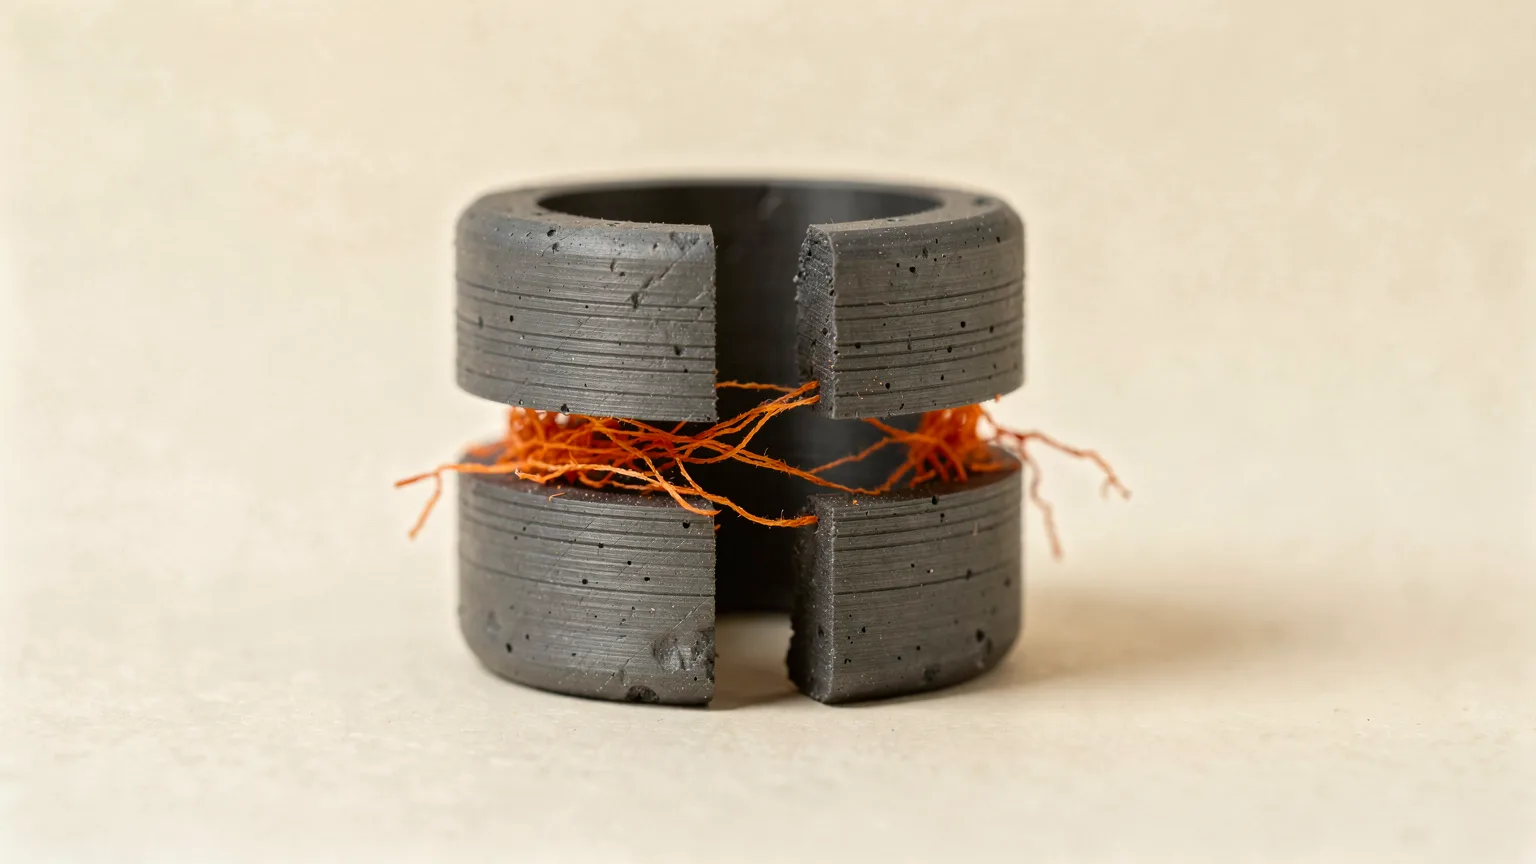
Layer separation, also called delamination, is when printed layers split apart or crack along a layer line. Prusa describes it as the de-lamination of printed layers, mostly caused by wrong temperatures or too much cooling from the print fan or the surrounding air. A part can crack during the print or snap along the layers when stressed.
Prusa's Knowledge Base explains the mechanism: the object cracks when layers cool at different rates and the warping forces exceed the layer adhesion strength. So every fix either keeps layers hotter, shields them from cold air, or reduces the pull of shrinkage.
Symptom table
| Symptom | Likely cause | First fix |
|---|---|---|
| Layers peel apart or the part snaps cleanly along a layer, PLA | Nozzle too cool | Raise nozzle temperature in 5 °C steps |
| Cracks climbing the walls of an ABS or ASA part | Cold air or drafts, shrinkage | Turn the part cooling fan off, enclose the printer |
| Weak layers and tiny gaps between lines | Under-extrusion or low flow | Check flow and extrusion, see under-extrusion guide |
| Cracks start at a corner that lifted off the bed | Warping | Improve bed adhesion, add a brim |
| Part is weak only in one orientation | Layer lines are the weak axis of an FDM part | Rotate the part so the load runs along the layers |
1. Raise the nozzle temperature
Prusa notes that PLA may suffer from cracking and layer separation if it is printed with insufficient temperature, and that depending on the brand PLA is printed between 195 and 220 °C. Its advice is to try increasing the printing temperature in 5 °C increments until layer adhesion is good. Stay inside the range printed on your spool, and see PLA print temperature and PETG print temperature for ranges.
Hotter plastic also strings more, so make small changes and check for stringing after each step.
2. Control cooling and drafts
Prusa states that ABS is highly susceptible to layer separation when any cold air blows on the print before it has cooled fully, and recommends turning the fans off for ABS prints completely. It also suggests printing ABS in an enclosed chamber. Read enclosed vs open-frame 3D printers if you are deciding whether you need one.
For other materials, remember that the part cooling fan trades surface quality against layer bonding. If a part is weak between layers, try lowering fan speed in the filament profile, then re-check overhangs.
3. Pick a more forgiving material for large parts
Prusa notes that you may not be able to print objects covering the whole print area in ABS, and suggests replacing it with PETG. In its words PETG has similar advantages to ABS, but is much better for printing large objects and does not have the same tendency to crack or delaminate. It also names ASA as a good alternative that depends more on a stable environment. Compare options in types of 3D printer filament. If your problem is specifically ABS, see how to fix ABS cracking.
4. Increase the flow rate slightly
Prusa's guide says that more material extruded creates a stronger bond between layers, and suggests raising the flow rate (called the extrusion multiplier in PrusaSlicer) in 5% steps. Only do this after you have checked temperature and cooling, because high flow can cause bulging, ridges and dimensional errors. See over-extrusion for the opposite problem.
5. Keep the part stuck down and avoid warping
Bambu Lab's wiki explains that when a corner lifts, the nozzle to part gap shrinks and extra filament squeezes out sideways, which creates bulges. Its suggestions include cleaning the build plate, enabling a brim or brim ears, and slightly raising the plate temperature. For enclosed printers it advises keeping the front door and top cover closed to stabilize chamber temperature. Related reading: fix warping and fix a bad first layer.
6. Check the filament
Wet filament bubbles and extrudes unevenly, which weakens bonding. If you hear popping or see rough surfaces, try drying the filament. Bambu's wiki also suggests checking that the filament diameter is consistent, quoting 1.75 mm plus or minus 0.02 mm.
Test the fix
Print a small hollow box or a tall thin-walled cylinder, 40 to 60 mm high. Try to break it by hand along the layers after each change, or twist it gently. If it splits cleanly along a layer, the bond is still weak. Change one setting per test and keep notes.
Order to try. Dry filament, raise nozzle temperature by 5 °C, cut cooling or add an enclosure for ABS and ASA, then consider a flow increase or a tougher material such as PETG.
Frequently asked questions
What causes layer separation in 3D printing?
Prusa attributes it mostly to a wrong temperature setting or too much cooling from the print fan or the surrounding air. Layers cool at different rates, and warping forces exceed the layer adhesion.
Does raising the nozzle temperature help delamination?
Often yes, especially with PLA. Prusa suggests raising it in 5 °C increments until adhesion is good, while staying inside the temperature range printed on the spool.
Should I turn the cooling fan off to stop delamination?
For ABS, Prusa recommends turning fans off completely. For PLA and PETG, lowering the fan speed may help bonding but can hurt overhangs and bridges, so adjust in small steps.
Which material resists layer separation best?
Prusa says PETG has similar advantages to ABS but is better for large objects and does not have the same tendency to crack or delaminate. ASA is another alternative that depends on a stable environment.
Sources

Founder and editor
Software engineer since 2009 and Head of Engineering by day, a maker who has owned several 3D printers, writing practical guides to 3D printers, filament and running costs, with every article saying what was and was not tested.
Drafted with AI assistance, then edited and reviewed by Sepehr before it goes live. How we use AI.
Keep reading
 AI illustration
3D Printer Problems and Fixes: A Troubleshooting Guide
A symptom-first guide to common 3D printer problems: what causes them and what to try first, based on manufacturer…
 AI illustration
How to Fix Layer Shifting
Layer shifting means the print head lost its position and later layers sit offset from earlier ones. Check obstructions, belts…
 AI illustration
Layer Height Explained: Speed vs Detail
Layer height sets how thick each printed layer is. It trades speed against vertical detail, and it is limited by your nozzle…