How to Design Your First 3D Print in Tinkercad
A beginner walkthrough for Tinkercad: build a name tag from solid and hole shapes, check it, export the STL and send it to your slicer.
By Sepehr Sabbagh-pour · Published 11 October 2026 · 6 min read
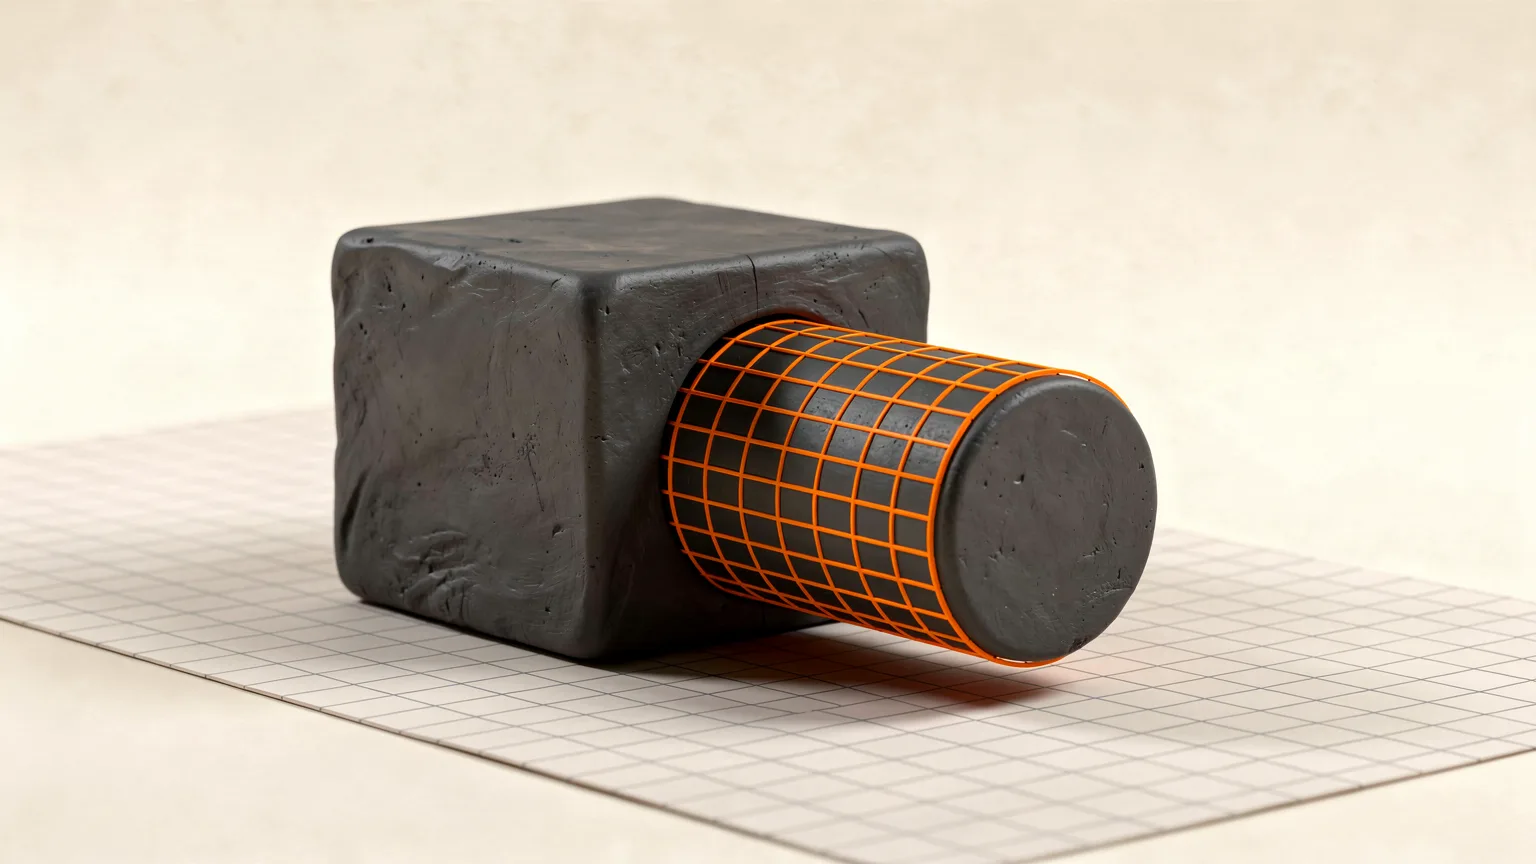
Tinkercad is the quickest way to go from an idea to a file you can print. Wikipedia describes it as a free-of-charge, online 3D modeling program that runs in a web browser and is widely used in schools and by beginner makers. This guide walks through designing a simple part, a name tag with a hanging hole, and exporting it for your slicer. The same steps cover most first projects. They follow Tinkercad's shape model as documented by Wikipedia plus general modeling practice. Button labels can change, so follow the on-screen names if they differ.
What Tinkercad is, and what it is not
Tinkercad builds models from primitive shapes. Each shape is either a "solid" or a "hole". Combine solids and holes and you get new shapes, and those can in turn be set as solid or hole. This is a simplified form of constructive solid geometry. The tool exports models in STL or OBJ format, ready for slicing, and it can import STL, OBJ and 2D SVG shapes.
It is excellent for brackets, tags, boxes and simple stands. It is less suited to parts that need exact, easily changed dimensions, where a parametric tool wins. See free CAD software for 3D printing for the alternatives.
Before you start
- A web browser. No install is needed, but Tinkercad requires registration, so make a free account.
- A slicer on your computer to prepare the file. If you have not chosen one, see PrusaSlicer for beginners or Cura vs Orca Slicer vs PrusaSlicer.
- A rough size in mind, in millimeters. Slicers normally assume millimeters.
Step 1: Start a new design
After signing in, create a new design. You will see a flat grid called the workplane. Everything you add sits on it. Rename the design right away, because new designs get random names and you will not remember which is which later.
Step 2: Place the main body
Drag a box from the shape library onto the workplane. This will be the name tag. Click the box and resize it by dragging the handles or typing exact values into the size fields. A tag around 60 mm long, 25 mm wide and 3 to 4 mm thick is a sensible example. These numbers are a design choice, not a rule. Keep the bottom flat on the workplane: a flat face on the print bed is the easiest thing to print and avoids supports. The supports explained guide shows what happens when you cannot.
Step 3: Add a hole for a keyring
Drag a cylinder onto the box near one end. Resize it to a small diameter, then change its type from solid to hole in the shape panel. A hole shape subtracts material wherever it overlaps a solid, so the cylinder now cuts a through-hole. Make the hole tall enough to pass fully through the tag. Leave enough plastic between the hole and the edge so the tag does not snap when pulled.
Step 4: Add the text or detail
Drag the text shape from the library, type your name and place it on top of the box. Raise it slightly so it sits on the surface and does not float. Raised text prints easily, but very thin or tiny letters may blur at standard nozzle widths. Check nozzle sizes explained for why detail has a limit.
Step 5: Group the shapes
Select all the shapes (drag a box around them, or use the select-all shortcut) and use the Group command. Grouping applies the hole to the solids and merges the rest into one object. If the hole did not cut, the cylinder may still be set to solid, or it may not overlap the box. Ungroup, fix it and try again. Rotate the view to look from underneath before you move on.
Step 6: Check the model
- Size. Use the ruler tool or the size fields to confirm the final dimensions.
- Orientation. The flat face should lie on the workplane.
- Overlaps. Every solid piece must be joined to the rest. A floating letter will fall off the print.
- Fit. If the part has to fit another object, make the hole slightly larger than the mating piece and plan a test print. Printed parts rarely match the model exactly.
Step 7: Export for the slicer
Use the Export button and choose STL (or OBJ). The file downloads to your computer. If you want a reminder of what these formats are, read STL vs 3MF vs G-code.
Step 8: Slice and print
Open the STL in your slicer, pick your printer and filament, and slice. Prusa's beginner guide suggests 0.15 mm or 0.2 mm layers and infill around 15% as starting points; a small tag does not need much infill. Check the layer preview, then export the G-code and print. If you are unsure about the printing process, how to 3D print covers it end to end.
Mistakes first designs often make
- Overhangs and floating parts. Anything that starts in mid-air needs support or a redesign.
- Thin walls. A wall thinner than a couple of nozzle widths may not print solidly. Check your slicer's preview.
- Forgetting hole clearance. Holes often print smaller than designed, so allow some room and test.
- Not saving versions. Duplicate the design before big changes.
Once the tag works, redesign it with a different hole size, or import a downloaded STL and add a custom base. This guide is research-based and does not describe our own print results, so test-print a small version first.
Frequently asked questions
Is Tinkercad free?
Yes. Wikipedia describes Tinkercad as a free-of-charge, online 3D modeling program that runs in a web browser. It requires you to register for an account.
What file should I export from Tinkercad for 3D printing?
STL is the usual choice, and Tinkercad also exports OBJ. Both open in common slicers such as Cura, Orca Slicer and PrusaSlicer.
How do I make a hole in Tinkercad?
Place a shape over the solid, change its type from solid to hole, then group the shapes. The hole shape subtracts material where it overlaps the solid.
Can I import an existing model into Tinkercad?
Yes. Tinkercad imports STL and OBJ files for 3D, plus 2D SVG shapes that can be extruded into 3D shapes.
Sources

Founder and editor
Software engineer since 2009 and Head of Engineering by day, a maker who has owned several 3D printers, writing practical guides to 3D printers, filament and running costs, with every article saying what was and was not tested.
Keep reading
Print Speed vs Quality: How Fast Can You Print?
Faster prints are limited by how much plastic the hotend can melt, not the box number. Learn the limits and how to speed up without losing quality.
11 October 2026 · 7 min read
PrusaSlicer for Beginners: Setup and First Slice
A step-by-step PrusaSlicer guide for beginners: install it, pick your printer and filament, set layer height, supports and infill, preview and export your first print.
11 October 2026 · 6 min read
Retraction Settings Explained
Retraction pulls filament back before travel moves to stop ooze and stringing. Learn each setting, typical starting values and how to tune them.
11 October 2026 · 7 min read