Vertical Fine Artifacts (VFA): Causes and Fixes
Vertical fine artifacts are fine vertical lines on print walls. Prusa and OrcaSlicer point to belts, vibration at certain speeds and short travel moves.
By Sepehr Sabbagh-pour · Published 12 October 2026 · 7 min read
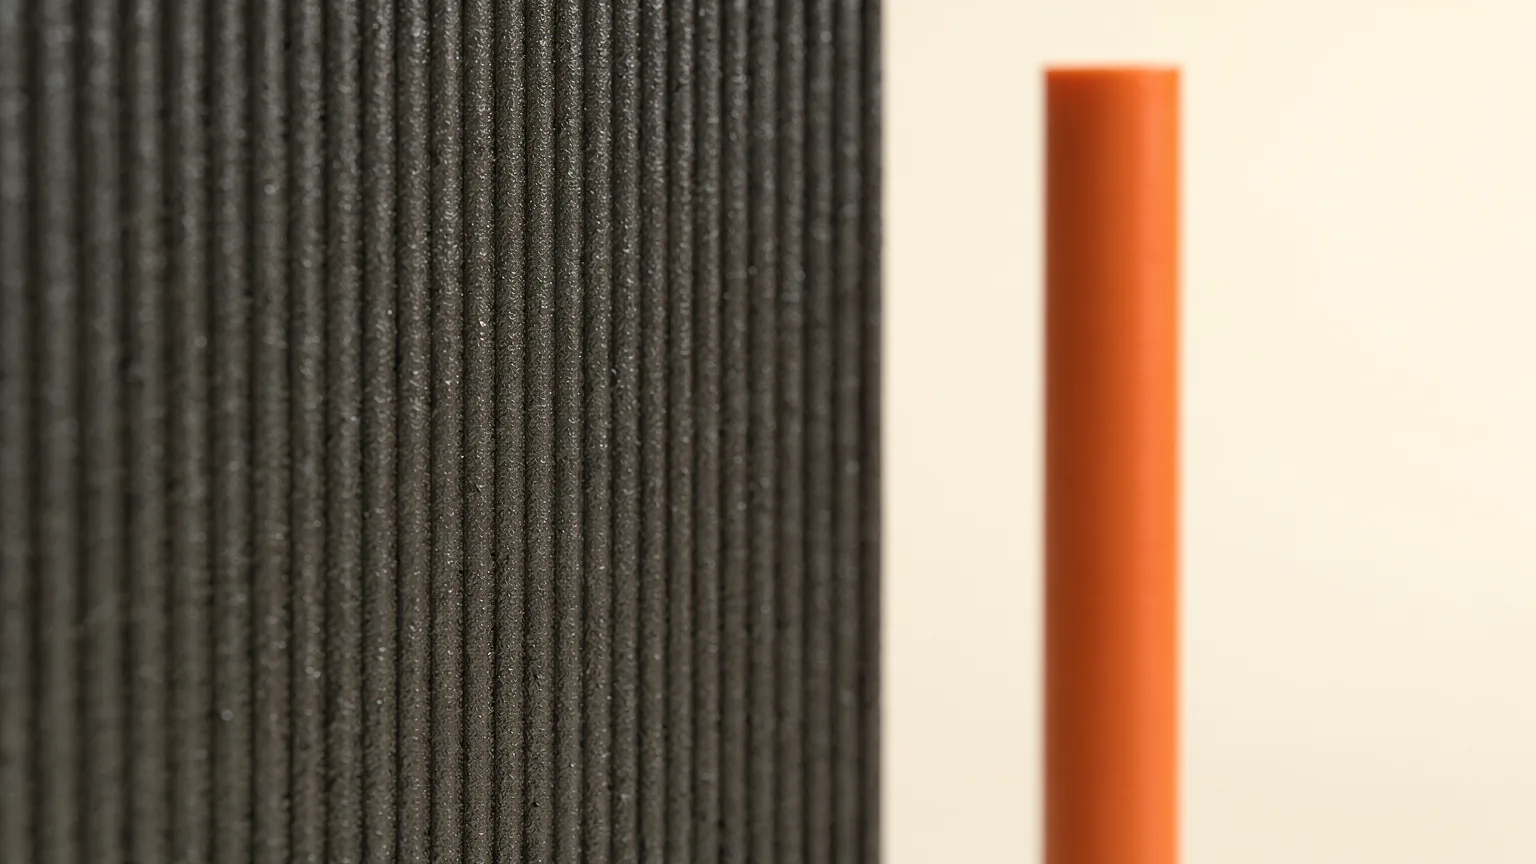
Vertical fine artifacts (VFA) are fine vertical lines on the walls of a 3D print. Prusa describes them as microscopic imperfections in the extrusion that repeat at the same point in each layer. They are usually mechanical or motion related, so the fix is gentler motion, correct belt tension or avoiding the speeds that trigger them.
Research-based guide. This guide is compiled from Prusa, OrcaSlicer and Klipper documentation. Nozzle Notes has not tested these steps, so treat values as starting points.
What are vertical fine artifacts in 3D printing?
Vertical fine artifacts are a surface-finish defect: faint, regular lines that run up the side of a print, crossing the layer lines. Prusa's write-up says they can be visible from about 10 micrometres, with the worst cases it saw around 40 micrometres peak to valley. Prusa also calls them an optical imperfection, easiest to see on shiny filament because the surface reflects light unevenly.
OrcaSlicer's wiki gives a similar definition: small surface imperfections on vertical walls, especially near sharp corners or sudden direction changes, usually caused by mechanical vibration, motor resonance or rapid direction shifts. The name is often shortened to VFA, and the terms for related defects overlap, so the table below helps tell them apart.
VFA, ghosting or Z banding?
| What you see | Likely meaning |
|---|---|
| Fine, evenly spaced vertical lines on flat walls that repeat in every layer | Vertical fine artifacts, this guide |
| Echoes or ripples that fade away from a sharp corner or letter | Ringing or ghosting, see ghosting and ringing |
| Horizontal ridges at regular heights up the whole wall | Z banding |
| Whole layers moved sideways | Layer shifting |
Klipper's documentation makes the same point about ringing: a defect that does not match the ringing pattern is not really ringing and has a different origin. Identify the pattern before you change settings.
What causes vertical fine artifacts?
There is rarely one cause. Prusa's own conclusion is that it is multiple things stacking up. The sources name these contributors:
- Belt tension. Prusa says its analysis of affected CORE One printers pointed overwhelmingly toward improper belt tension on that printer.
- Motor resonance rippling (MRR). OrcaSlicer calls this the most common VFA subtype: stepper motors vibrate at resonant frequencies and leave periodic ripples on the surface. Prusa reached a different result on the CORE One. It says it ruled out the motors there, because the pitch of the lines did not match the motor pitch. So the cause differs by printer.
- Cooling slowdowns. On layers with a small cross-section, the print cooling logic slows the printer down. Prusa says this can force the machine to run at a speed that causes vibration or resonance.
- Short travel moves on perimeters. Prusa says the default high acceleration on very short perpendicular travel moves creates a sharp jerk.
- Jerk or junction deviation settings. OrcaSlicer lists these, which control how the printer handles direction changes, as possible contributors.
How do you fix VFA?
Work through the steps in this order, changing one thing at a time and comparing the same test print each time.
1. Check belt tension first
On a belt-driven printer this is the first check, and it is the cause Prusa found on the CORE One. Prusa's reworked procedure says to park the extruder at the front right, and to always turn both tensioning screws by the same amount, for example half a turn. It offers a tuner in the Prusa App, and says a future firmware will use LED strobing in place of that tuner. For other makes, follow the manufacturer's belt guidance. Do not keep tightening beyond it, because over-tight belts add load.
2. Find the speeds that trigger it
OrcaSlicer includes a VFA speed test. It prints a vertical tower with walls at various angles while progressively increasing print speed, to find the speeds that trigger MRR. Set a range that covers every outer wall speed you use. The wiki's example is 20 to 200 mm/s with a 10 mm/s step. By default it scales the model to your nozzle and sets the layer height to half the nozzle diameter, so each speed block is 25 layers tall, and it lowers layer height if needed to stay within the filament's maximum volumetric speed. Then inspect the tower for the speeds where the surface becomes visibly rougher or smoother. The scaling features need nightly builds or releases newer than 2.4.2.
3. Skip those speeds
Once you know the bad speeds, OrcaSlicer says to set the Resonance Avoidance Speed Range in the printer profile so the printer skips the speeds that produce visible artifacts. If you cannot avoid them, lowering outer wall speed is the simple alternative. Our guide to print speed vs quality covers the trade-off, and OrcaSlicer for beginners explains where the profile settings live.
4. Use the slicer changes Prusa added
Prusa added a Consistent Surface option in PrusaSlicer 2.9.3 beta. It is a new cooling strategy that slows infill first and slows perimeters only when absolutely necessary, keeping the original speed for the final loop segment. To revert, Prusa says to change Cooling slowdown logic under Filament settings, then Cooling. Prusa also lowered the acceleration used only for very short travel moves on external perimeters. The company says the changes also help the XL and MK4/S, and retuned the BALANCED profiles on the CORE One to avoid VFA-prone speeds. It warns that structural profiles changed only slightly, so VFA may still appear, especially with PETG. See PrusaSlicer for beginners for the interface.
5. Add input shaping if your firmware supports it
OrcaSlicer lists input shaping as a way to reduce the vibration behind VFA. Klipper describes it as an open-loop control technique that creates a commanding signal that cancels its own vibrations, and says it typically reduces vibration and shaking in general. Klipper also says ringing usually has mechanical origins, such as an insufficiently rigid frame or belts that are not tight, and that these should be fixed first. At high accelerations, it warns, input shaping can smooth and round parts too much. Read what Klipper is if you are new to it.
Does the printer design or filament matter?
Yes, to a point. Prusa describes VFA as an optical imperfection, so glossy filament shows it most, and it names PETG as a filament where it can persist even after the profile changes. Printer design matters too, since motion systems differ in moving mass and belt layout. The comparison in CoreXY vs bed-slinger printers explains the basics, and the Prusa CORE One first look covers the printer at the centre of Prusa's write-up. Once belts, speeds and slicer logic are sorted, some faint lines may remain. Prusa says VFAs can be seen from about 10 micrometres, so judge the result by eye at normal viewing distance, and see our common 3D printer problems list if the pattern looks like something else.
Order to try. Check belts per the maker, run a speed test, skip the trigger speeds, apply the slicer's smoother cooling and travel logic, then consider input shaping. Change one thing per print.
Frequently asked questions
What are vertical fine artifacts in 3D printing?
Vertical fine artifacts, or VFA, are fine vertical lines on the walls of a print that repeat at the same point in each layer. Prusa describes them as microscopic imperfections in the extrusion, visible from about 10 micrometres, with the worst cases it measured around 40 micrometres peak to valley. Prusa calls them an optical imperfection, easiest to see on shiny filament because light reflects unevenly. OrcaSlicer's wiki describes them as small surface imperfections on vertical walls, especially near sharp corners or sudden direction changes, caused by vibration, motor resonance or rapid direction shifts. They affect how the surface looks and feels, so fixing them is about motion and speed, not about changing the model.
What causes VFA on 3D prints?
VFA has several causes that can stack up. Prusa's analysis of the CORE One pointed overwhelmingly to improper belt tension, and it ruled out the motors on that printer because the line pitch did not match the motor pitch. It also names cooling slowdowns on small layers, which can force a speed that causes resonance, and the sharp jerk from default high acceleration on very short perimeter travel moves. OrcaSlicer separately calls motor resonance rippling the most common VFA subtype, where stepper motors vibrate at resonant frequencies and leave periodic ripples. It also lists jerk and junction deviation settings. In short, the cause depends on the printer, so test belts, speeds and acceleration one at a time.
How do you fix vertical fine artifacts?
Start with mechanics. Check belt tension using the maker's procedure; for the CORE One Prusa says to park the extruder front right and turn both tensioning screws by the same amount. Next, run OrcaSlicer's VFA speed test to find the speeds that trigger the lines, then set the Resonance Avoidance Speed Range so the printer skips them. In PrusaSlicer 2.9.3 beta, the Consistent Surface cooling option slows infill first and slows perimeters only when necessary, and Prusa also lowered acceleration for very short perimeter travel moves. Input shaping can reduce the vibration behind VFA on printers that support it, but it does not replace tight belts and a rigid frame. Change one setting per print so you know what helped.
Is VFA the same as ghosting?
No, they are related but different. Ghosting, which Klipper calls ringing, shows as echoes or ripples that repeat a sharp edge, corner or letter and fade with distance from it. VFA shows as fine vertical lines on walls that repeat at the same point in each layer. Both come from vibration and share some fixes, such as correct belt tension, lower acceleration and input shaping, so work on one often helps the other. Klipper points out that a defect not matching the ringing pattern has a different origin, so identify the pattern before tuning. Horizontal ridges at regular heights up the wall are Z banding, a separate problem. Compare your print with the table in this guide before changing settings.
Sources

Founder and editor
Software engineer since 2009 and Head of Engineering by day, a maker who has owned several 3D printers, writing practical guides to 3D printers, filament and running costs, with every article saying what was and was not tested.
Keep reading
3D Printer Wifi Not Connecting: Fixes That Work
Why a 3D printer will not join your wifi, what the status messages mean, and the fixes Prusa and Creality document, from the 2.4 GHz limit to IP conflicts.
12 October 2026 · 6 min read
Bambu AMS Jam: How to Fix a Filament Jam
A Bambu AMS jam usually traces to the spool, a tangle, worn PTFE tubing or broken filament in the hub. Here is the order Bambu Lab's wiki suggests checking.
12 October 2026 · 7 min read
Heat Creep 3D Printer Jams: Causes and Fixes
What heat creep is, how to tell it from an ordinary clog, and the cooling, enclosure and settings fixes Prusa's documentation recommends.
11 October 2026 · 6 min read