Orca Slicer calibration is a set of built-in test prints that tune one filament profile at a time: temperature, max volumetric speed, pressure advance, flow ratio and retraction. Run them in that order, because each result changes the next test, and save every result to the filament profile.
How does Orca Slicer calibration work?
Orca Slicer calibration works by generating a purpose-built test model, with the settings for that test already applied, from the Calibration menu. You print it, read one visible feature (a surface, a corner, a height), turn that into a number, and save the number to your filament profile so every later print uses it.
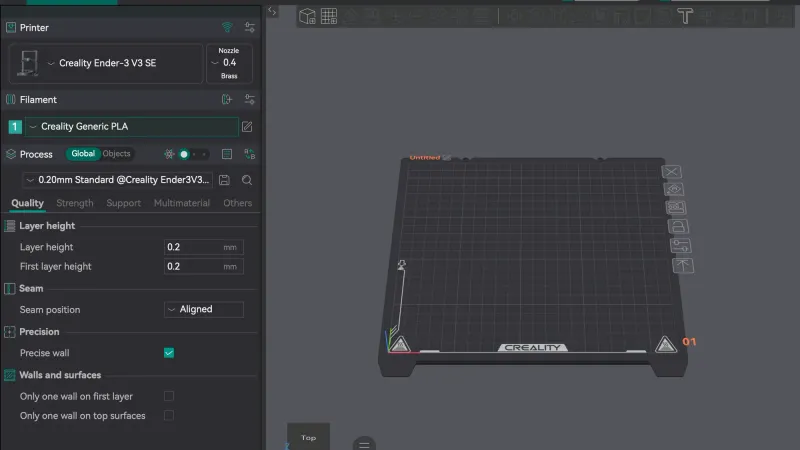
The OrcaSlicer wiki says to select the printer, filament and process profile before you start, and to create a new project afterward to leave calibration mode. The tests assume your extruder is already calibrated in firmware (E-steps or rotation distance), so start with the basics in our printer calibration guide if you have never done that. For the rest of the slicer, see Orca Slicer for beginners.
What order should you run Orca Slicer calibrations in?
Run filament calibrations in this order: temperature, max volumetric speed, pressure advance, flow ratio, then retraction. The Orca calibration guide sets this order because each test depends on the ones before it. Repeat the sequence for each new filament, not once per printer.
| Step | Test | What you read | What you save |
|---|---|---|---|
| 1 | Temperature | Best looking block of the tower | Nozzle temperature |
| 2 | Max volumetric speed | Height where quality drops | Max volumetric speed, minus 10 to 20% |
| 3 | Pressure advance | Cleanest corners or most even line | Pressure advance value |
| 4 | Flow ratio | Smoothest top surface | Flow ratio |
| 5 | Retraction | Section with least stringing | Retraction length |
The guide also lists advanced tests that mostly tune the printer rather than the filament: cornering, input shaping, VFA, adaptive pressure advance and tolerance. They only need repeating after hardware changes. If your printer has its own automatic input shaping routine, the guide recommends using that instead of Orca's test. Our input shaping explainer covers what it does.
How do you calibrate temperature in Orca Slicer?
Print the temperature tower from the Calibration menu, then pick the block that gives the best quality with the fewest issues. The wiki says that if a range of blocks looks good, you should choose the middle of that range, and the higher end if you plan to print at higher speeds or flow.
- Stringing: lower temperatures usually reduce it, but going too low can cause it too.
- Layer adhesion: higher temperatures generally improve it.
- Overhangs and bridging: more heat helps flow, but too much causes sagging.
Auto-scale for nozzle is on by default and sizes the tower to your nozzle, with layer height set to half the nozzle diameter. The wiki gives no per-material start and end temperatures, so take starting ranges from the filament maker. Our guides to PLA print temperature and PETG print temperature list sourced ranges.
How do you find max volumetric speed?
Print the max volumetric speed test, find the height where quality starts to drop, and calculate the flow from it. The wiki's defaults are a 5 mm³/s start, a 20 mm³/s end and a 0.5 step, and it suggests changing them only if you already know roughly where the limit is.
- Print the test and note the layer where defects begin. A change from glossy to matte can signal weak layer adhesion.
- Measure the height just before the defects with calipers.
- Calculate: max volumetric speed = start + (height in mm x step). A 19 mm height gives 5 + (19 x 0.5) = 14.5 mm³/s.
- Reduce the result by 10 to 20% (the wiki says "or even further"). For 14.5 mm³/s that is about 11.6 to 13.1 mm³/s.
- Enter the value in the filament settings so Orca never exceeds it.
The wiki calls the test a best-case scenario, because it ignores retraction and other settings that can cause under-extrusion. It also notes that brand and color change the limit even within one material. The calibration guide adds that some manufacturers overstate flow figures, which is why the margin matters.
How do you calibrate pressure advance in Orca Slicer?
Pick one of three methods, tower, pattern or line, print it, choose the best result and save the value to the filament profile with pressure advance enabled. The tower method does not depend on first layer quality but takes longer, while the line method is quickest and benefits from bed mesh leveling.
For the tower, the formula is PA = start + (step x measured height). With a start of 0, a step of 0.002 and an 8 mm height, the result is 0.016. The calibration guide says to do this before flow ratio because pressure advance is "the value most often wrong (or never calibrated at all)", and cleaner corners make the flow test easier to read. Marlin printers need Linear Advance enabled with M900, and Bambu Lab printers should leave the Flow calibration option unchecked. Our pressure advance explainer has the full background.
How do you calibrate flow ratio?
Run Pass 1, find the block with the smoothest top surface, update the flow ratio, then repeat with Pass 2 for a finer correction. The new value is the old flow ratio multiplied by (100 + the block's modifier) and divided by 100. Save the filament profile after each pass or the change will not persist.
The wiki's example: an old ratio of 0.98 with a +5 block gives 0.98 x 10⁵ / 100 = 1.029. Pass 2 then prints ten blocks from -9 to 0, and a -6 block turns 1.029 into 0.96726. The wiki labels this 2 pass method as the legacy approach and recommends the Archimedean chords test, which uses a single pass with a modifier range of -0.05 to +0.05 in 0.01 steps. As with pressure advance, Bambu Lab printers should not use the Flow calibration option. If your prints look over- or under-extruded afterward, compare with fixing over-extrusion and fixing under-extrusion.
Do you need to calibrate retraction?
Usually not at first. The calibration guide says default retraction values usually work well, and that if you calibrate, you should do it after pressure advance and flow ratio, since both change nozzle pressure.
If you still see strings, print the retraction tower. The wiki's defaults are 0 to 2 mm in 0.1 mm steps for direct drive, and a suggested 1 to 6 mm in 0.2 mm steps for Bowden. Find the section with the least stringing, measure its height, then look up the length by searching the G-code preview for the Calib_Retraction_tower comment. The best value is the shortest one that gives the cleanest tower, and for low-oozing filaments such as PLA or ABS the wiki says 0.2 to 0.4 mm may be enough. If heavy stringing remains, dry the filament and check the nozzle for leaks. More in retraction settings explained and how to fix stringing.
Common mistakes to avoid
- Skipping the order. Flow ratio first and pressure advance second means the flow test is read through bad corners.
- Forgetting to save. Every Orca calibration only helps once the value is written to the filament profile.
- Reusing one filament's numbers for another. Brand, color and material all change the results.
- Rerunning nothing after a big change. The guide says pressure advance and flow ratio affect each other slightly, so run a quick pressure advance test again if flow ratio moved a lot.
- Ignoring the cost. Each test uses filament, so check it with the print cost calculator, and see our tools and printer comparisons if you are still choosing hardware.
Rule of thumb. Calibrate per filament, in the order temperature, volumetric speed, pressure advance, flow ratio, retraction, and save after each test.
Where do these numbers come from?
Every figure above comes from the OrcaSlicer wiki pages listed in the sources, read in October 2026. None of it comes from our own test prints, so treat the examples as illustrations of the formulas and run the tests on your own printer and filament.