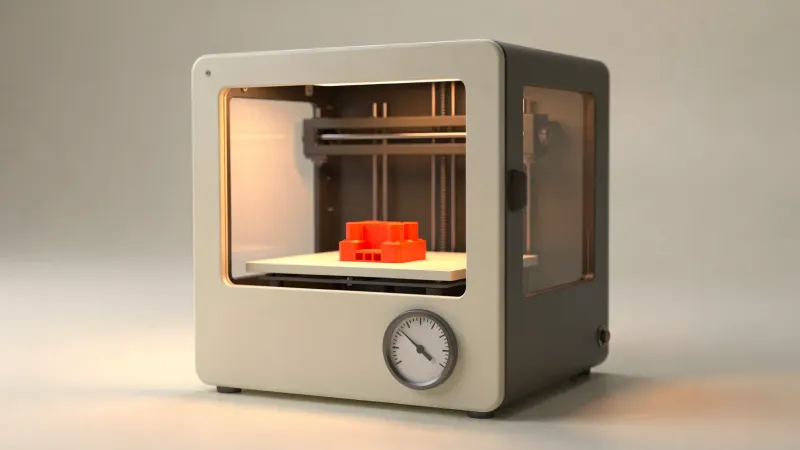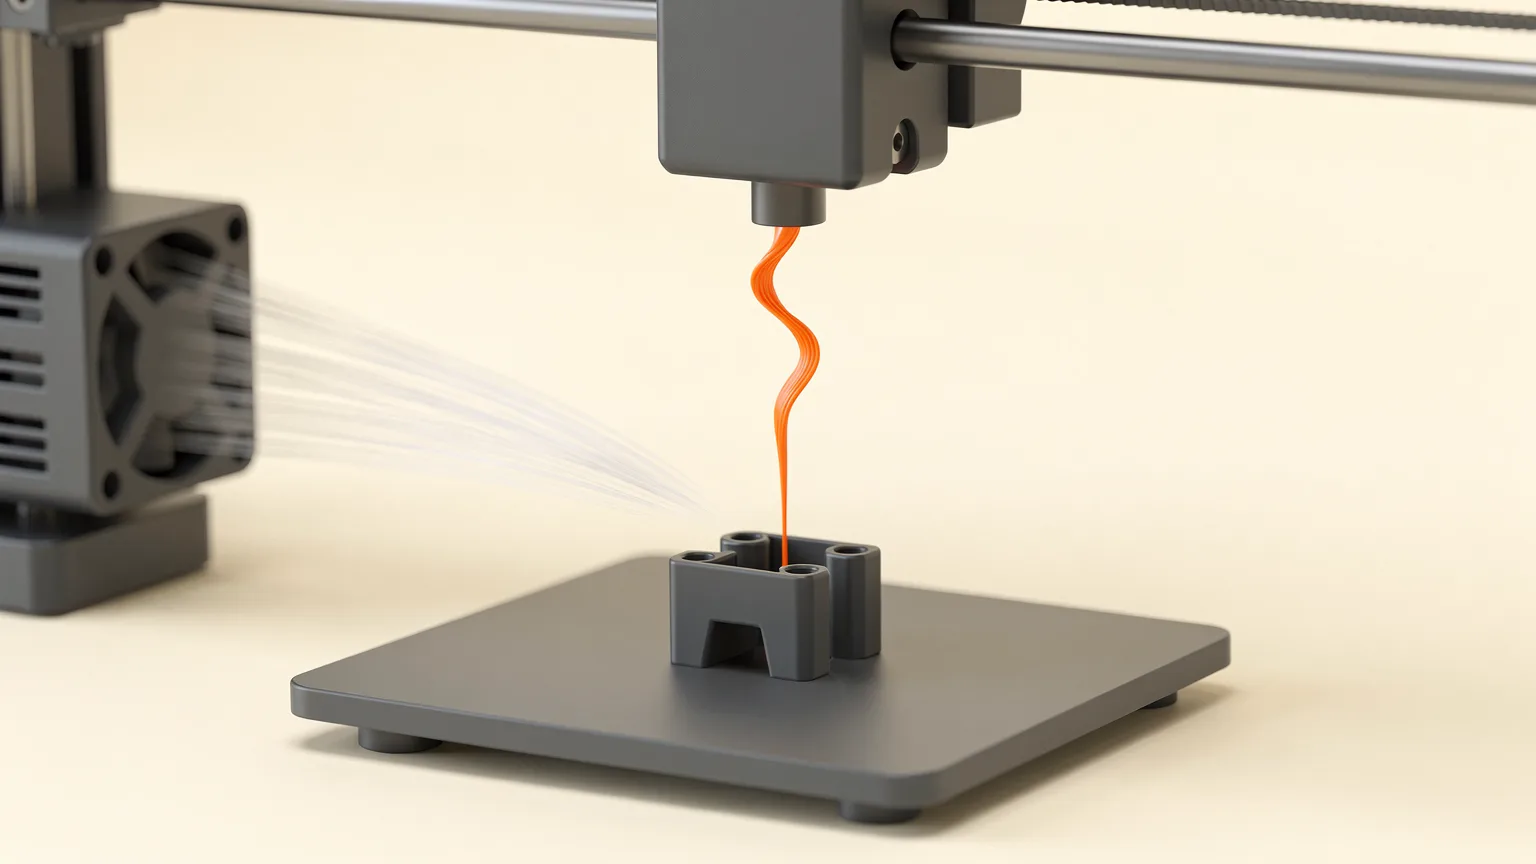
3D printer cooling fan settings control how hard the part cooling fan blows on each layer as it prints. Cooling freezes plastic quickly, which sharpens overhangs, bridges and small details, but too much hurts layer bonding. PLA usually wants strong cooling, PETG wants moderate cooling, and ABS wants little or none.
This guide explains each fan setting in a slicer, what it does, and how the three common filaments differ. It draws on the OrcaSlicer wiki and Prusa's material guides. For temperatures that pair with these fan values, see the PLA print temperature guide, the PETG print temperature guide and the ABS print settings guide.
What does the part cooling fan do?
The part cooling fan blows air onto freshly extruded plastic so it solidifies before the next layer lands on top. Prusa's bridging guide puts it plainly: the printer's fans need to cool the extruded plastic mid-air to create a solid connection. Without enough cooling, overhangs droop, bridges sag, and small features blob.
Cooling is a trade-off, not a free improvement. Prusa's PETG guide says cooling keeps the model detailed and prevents stringing and oozing, but that turning the fan off gives the toughest part, because hotter layers merge better. The fan trades layer strength for sharper shape.
What are the main cooling fan settings in a slicer?
The OrcaSlicer wiki lists the cooling settings below. Other slicers use similar controls under different names.
| Setting | What it does |
|---|---|
| Min and max fan speed | Fan speed is interpolated between these two values based on how long each layer takes. Short layers get closer to the max. |
| No cooling for the first (layers) | Keeps the fan off for the first set of layers to help bed adhesion and reduce early warping. |
| Full fan speed at layer | Ramps the fan up linearly until it reaches full speed at the layer you choose. Zero disables the ramp. |
| Keep fan always on | Holds the fan at least at minimum speed so it does not keep stopping and starting. |
| Slow printing down for better layer cooling | Slows the print so each layer takes at least a minimum time, giving small layers time to cool. |
| Force cooling for overhangs and bridges | Lets overhangs and bridges use their own fan speed. |
| Overhang cooling activation threshold | How steep an overhang must be before the overhang fan speed applies. The options run from 0% to 95%. |
| Auxiliary part cooling fan | Sets the speed of a second part cooling fan, if the printer has one. |
OrcaSlicer also has separate fan speeds for internal bridges, support interfaces and ironing. Its wiki says a lower internal bridge fan speed can reduce warping, a higher support interface fan speed weakens the bond between support and part, and a lower ironing fan speed helps prevent nozzle clogging.
What cooling fan speed should PLA use?
PLA is the filament that benefits most from strong cooling, and slicer profiles for it normally run the fan at or near full speed after the first layers. Prusa's PLA article lists nozzle and bed temperatures and no fan figure, so use the PLA profile your slicer ships for your printer as the starting point, and follow the spool label if it gives a range.
Prusa notes PLA has good detail and low warping, which is why it tolerates a lot of airflow. The first layers are the exception: keep the fan off or low for them using the no cooling for the first layers setting, then let it ramp up. If overhangs droop on PLA, raise the overhang fan speed before anything else. See how to fix sagging overhangs for the full list.
What cooling fan speed should PETG use?
PETG should use moderate cooling: Prusa recommends printing the first few layers with the fan off to prevent deformation, then running it at about half power. That is a middle path between detail and strength.
Raise the fan if PETG strings or oozes, because Prusa says cooling helps prevent both. Lower it or turn it off if you want the strongest part and can accept rougher overhangs, because hotter layers bond better. A good compromise is moderate cooling overall with a higher fan speed only on overhangs and bridges, using the force cooling setting. For stringing specifically, read how to fix PETG stringing.
What cooling fan speed should ABS use?
ABS should use little or no part cooling, because uneven cooling makes it warp and split. Prusa's ABS guide says the printer should be inside an enclosure with a higher ambient temperature, and warns that a draft around the print will negatively impact the result. It rates ABS warping as significant.
Prusa's ABS page gives no part fan figure, so set the fan from your slicer's ABS profile and the spool label, and keep it low. Aiming a fan at an ABS part is the opposite of what the enclosure is for. If tall ABS parts crack between layers, see how to fix ABS cracking and how to fix warping.
Cooling by filament at a glance
| Filament | Fan approach | Source |
|---|---|---|
| PLA | Strong cooling after the first layers; use the slicer profile for the exact percentage | Prusa PLA article gives no fan figure |
| PETG | Off for the first few layers, then about half power; off for maximum strength | Prusa PETG guide |
| ABS | Little or none, in a warm enclosure with no drafts | Prusa ABS guide |
How do you set fan speed for overhangs and bridges?
Enable the force cooling for overhangs and bridges setting, then set a high overhang fan speed while keeping the general fan speed lower. The overhang threshold decides which walls count as overhangs. OrcaSlicer's wiki says a threshold of 0% runs the overhang fan on all outer walls.
Speed matters as much as fan power. Prusa's bridging guide lists slicer settings, speed and cooling as the three factors for good bridges, and recommends a lower bridge speed and lower bridging flow. A Prusa representative adds that a slower speed increases cooling. Short bridges cool best, as the same guide notes. See how to fix poor bridging and print speed versus quality.
Does slowing down help cooling?
Yes, because a slower layer gives the plastic more time under the fan. The slow printing down for better layer cooling setting enforces a minimum layer time so small parts, where each layer is short, do not print on top of molten plastic. OrcaSlicer also lets you set a minimum print speed that the slowdown cannot go below, and a setting that keeps outer walls from slowing, which helps avoid gloss changes and visible artifacts.
How do you tune cooling step by step?
- Start from your slicer's built-in profile for the exact filament and printer.
- Check the first layers: fan off or low, then ramping up by the layer you choose.
- If overhangs or bridges droop, raise the overhang and bridge fan speed, and slow them down.
- If layers split or the part feels weak, lower the general fan speed a little, as Prusa's PETG guide suggests for strength.
- If small parts deform, enable slowdown for layer cooling rather than only raising the fan.
- Change one setting at a time. The OrcaSlicer beginner guide shows where each of these lives.
Retraction and temperature also affect stringing, so cooling is only one lever. See retraction settings explained before blaming the fan.
Frequently asked questions
The answers below repeat the main points above in short form. For related calculators and checks, browse the tools page.