How Does a 3D Printer Work? FDM Printing Explained
An FDM 3D printer melts plastic filament and lays it down in thin layers. Here is how the slicer, extruder, hotend and motion system work together.
By Sepehr Sabbagh-pour · Published 10 October 2026 · 8 min read
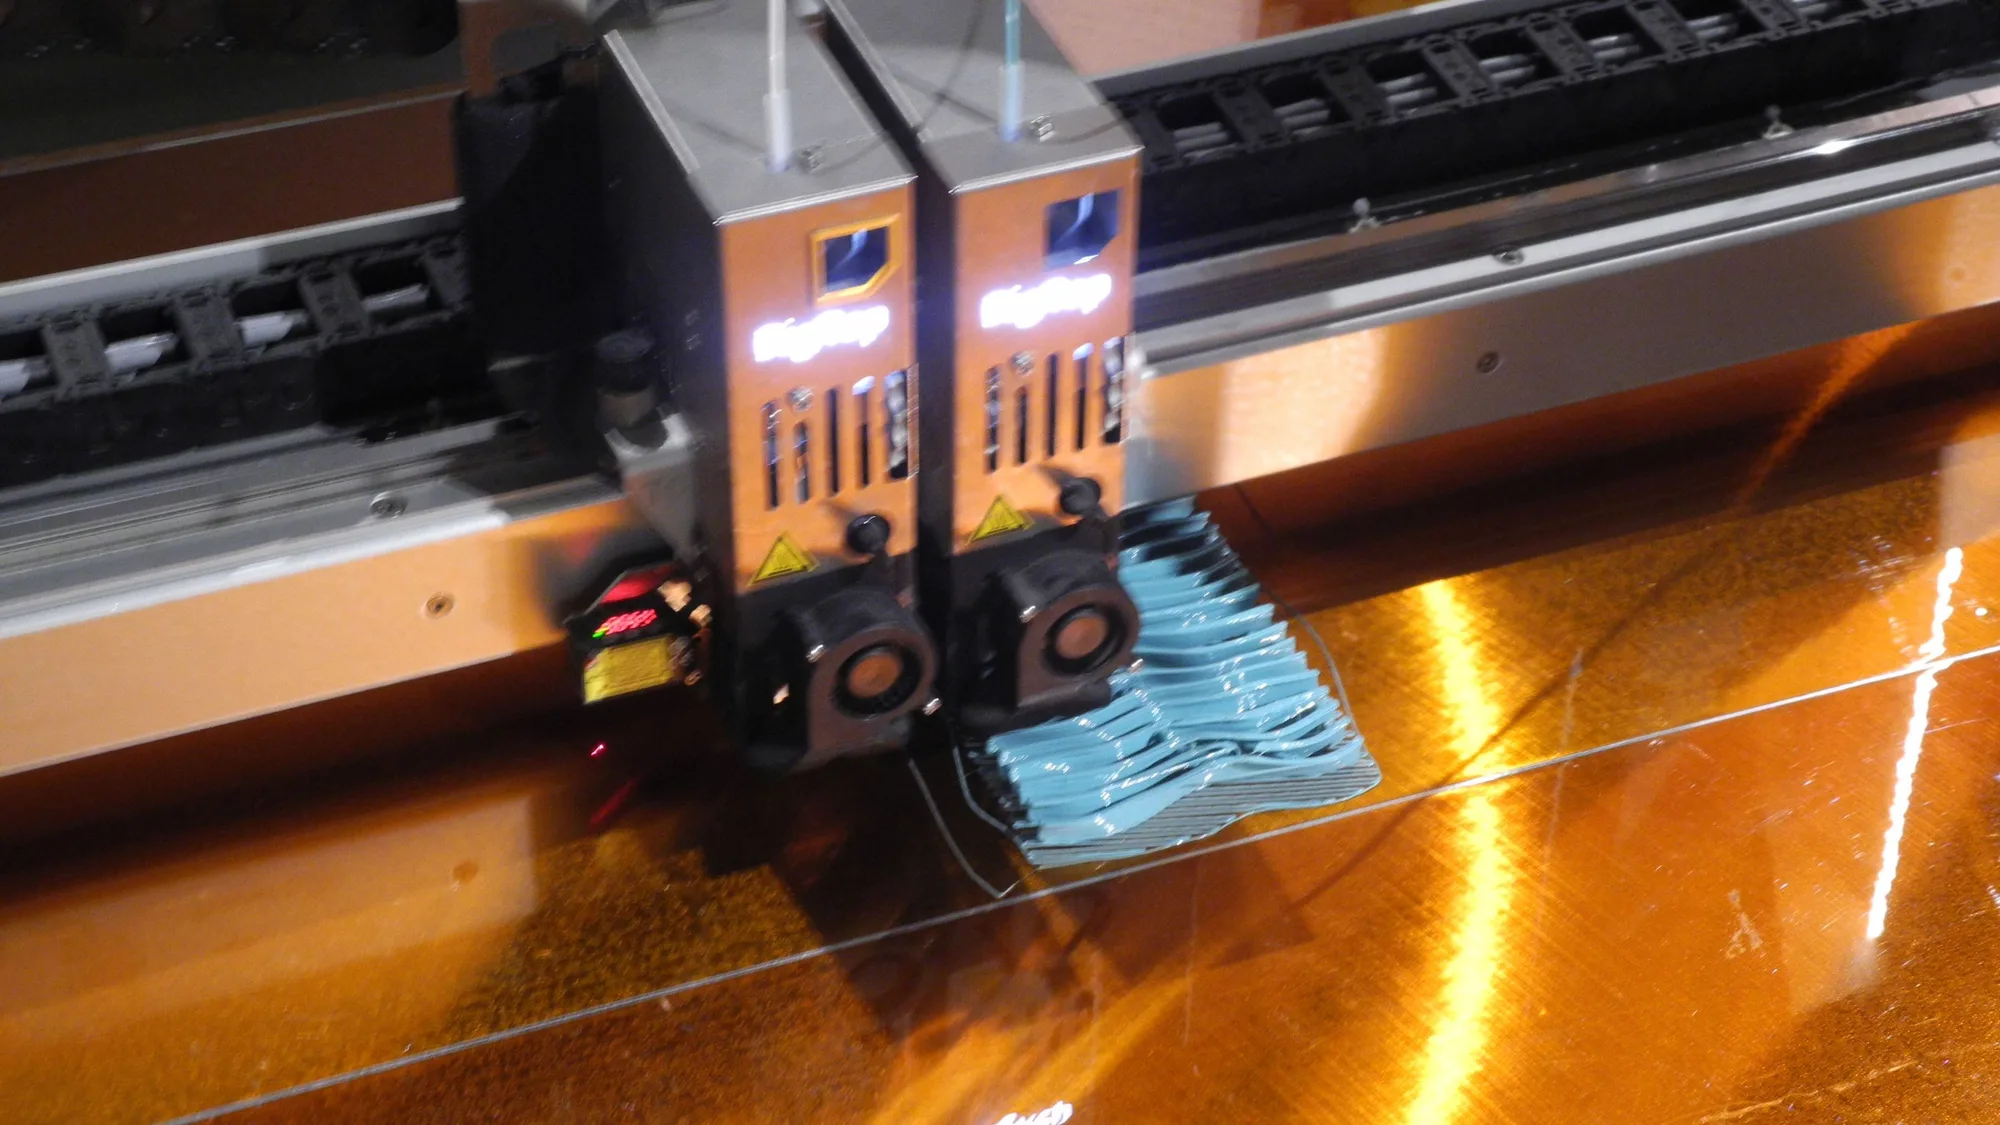
An FDM 3D printer builds an object by melting plastic filament and laying it down in thin layers, one on top of the other, until the shape is complete. A computer file is turned into step-by-step movement instructions, and the printer follows them with a heated nozzle that moves in three dimensions. This explainer walks through each step and each part. It draws on Prusa documentation and encyclopedia sources, not on our own lab work.
FDM (fused deposition modeling) is the most common type of desktop printer. The same process is also called fused filament fabrication, or FFF, because FDM is a trademark of Stratasys. Wikipedia notes that this process became the most popular for hobbyist-grade printing in the 2010s and 2020s thanks to its relatively low cost and ease of use. Resin printers work differently; see our comparison of FDM vs resin printers.
From idea to object: the five steps
- Get a 3D model. Download one or design your own. Our guide to where to find 3D models lists sources.
- Slice it. Slicing software cuts the model into layers and converts it into instructions.
- Send the instructions. A file goes to the printer by USB stick, network or app.
- Print. The printer heats up, moves the nozzle and extrudes plastic layer by layer.
- Finish. Let the part cool, remove it and clean off any supports.
Step 1 and 2: the model and the slicer
Prusa's documentation explains that to start printing, you need to convert the model into layer-by-layer instructions for the printer with a slicer. Wikipedia adds that the printer executes G-code files generated by the slicer, which creates movements to match a 3D file.
G-code is a plain list of commands: move here, heat to this temperature, push this much filament. In the slicer you choose settings such as layer height, infill and speed, and it applies them to every layer. Our beginner explainer, what is a slicer, covers this in more depth.
Step 3: the extruder and hotend
This is where the plastic gets melted and placed. Wikipedia describes the toolhead as having two halves:
- The cold end (extruder) pulls filament from the spool using gears or rollers driven by a stepper motor, which controls the feed rate, and pushes it into the hot end.
- The hot end has a heating chamber and a nozzle. The chamber melts the filament, and the molten plastic leaves through the small nozzle as a thin, tacky bead that sticks to whatever it is laid on.
Wikipedia says nozzle diameters usually fall between 0.3 mm and 1.0 mm. Prusa gives 0.4 mm as the standard for desktop printers. Smaller nozzles give finer detail and larger ones print faster; see nozzle sizes explained. Brass nozzles suit soft plastics like PLA, while hardened steel is needed for abrasive materials such as carbon-fiber or wood-filled filaments.
Where the extruder sits changes how the printer behaves. In a direct-drive design it is mounted on the toolhead; in a Bowden design it sits elsewhere and pushes the filament through a tube. See direct drive vs Bowden.
Step 4: movement and layers
Stepper or servo motors move the toolhead. Wikipedia says the usual mechanism is an X-Y-Z rectilinear design, though other designs such as delta robots exist. As the nozzle travels along a path, it deposits a thin line of plastic, called a road, that solidifies quickly on contact with the surface or the lines already laid down. Solid layers are made by laying these lines side by side.
When a layer is finished, either the platform lowers or the extruder rises in Z to start the next one. This repeats until the object is complete. For the bond between lines to work, the temperature of the deposited plastic has to be controlled. Some printers use an enclosure to hold a warm chamber, which is one reason people compare enclosed vs open-frame printers. The frame layout also varies; our explainer on CoreXY vs bed-slinger covers the two common ones.
Why the first layer matters
The first layer has to stick to the build plate, and everything else builds on it. If the nozzle is too high, lines will not stick; too low, and plastic is squashed. Many printers use automatic bed leveling to measure the bed and compensate, covered in auto bed leveling explained. If yours is not sticking, read fix a bad first layer.
The parts of an FDM printer
| Part | What it does |
|---|---|
| Frame | Holds everything rigid; flex shows up as defects |
| Stepper motors and belts or lead screws | Move the toolhead and bed precisely |
| Extruder | Grips filament and feeds it forward (cold end) |
| Hotend and nozzle | Melts filament and shapes the bead (hot end) |
| Heated bed and build plate | Holds the part and keeps the first layer warm enough to stick |
| Cooling fans | Set the plastic quickly after it leaves the nozzle |
| Controller and firmware | Runs the G-code, controls motors and temperatures |
| Filament spool | The plastic feedstock |
Firmware is the software on the printer's board. Some printers run Klipper, which you can read about in what is Klipper.
What can and cannot be printed
Wikipedia says FFF can handle small overhangs supported by lower layers, but has restrictions on overhang slope and cannot print unsupported stalactites. Prusa's design guidance puts it plainly: printers cannot print in mid-air, since each layer has to be laid on top of another one. It says a printer can usually print overhangs between 45 and 60 degrees cleanly, depending on the nozzle diameter and settings. Steeper features need supports, which are temporary structures printed under the overhang and removed afterward. Short horizontal bridges can often be printed without them. See supports explained.
Prusa also points out that walls thinner than one nozzle perimeter cannot be printed, so minimum feature size is tied to nozzle width. And models are built from many fine lines, so a surface made of layers may show faint ridges; layer height sets how visible they are, as explained in layer height explained.
Materials
Wikipedia lists thermoplastics commonly extruded, including PLA, PETG, ABS, ASA, TPU and nylon. Each has different strength, heat resistance and printing requirements. For a start-here comparison, see PLA vs PETG vs ABS vs TPU.
Why prints fail
Most failures come down to a handful of causes: the first layer did not stick, filament was wet, the nozzle clogged, or the part shifted. Our overview of common 3D printer problems maps symptoms to fixes.
Ready to try it?
If you are deciding whether to buy, read how to choose your first 3D printer and the cost guide. If you already have one, how to 3D print walks through your first job.
In one sentence: a slicer turns a 3D model into G-code, and the printer follows that code to melt filament and draw the object one thin layer at a time.
Frequently asked questions
How does a 3D printer work step by step?
You get or design a 3D model, slice it into G-code, send it to the printer, and the printer heats the nozzle and bed, moves the toolhead and extrudes plastic layer by layer until the part is complete.
What is the difference between FDM and FFF?
They describe the same process. FDM is a trademarked term of Stratasys, so the RepRap community and others adopted fused filament fabrication (FFF) instead.
What is a slicer and why do I need one?
A slicer is software that cuts a 3D model into layers and generates G-code. Printers do not read model files directly, so a slicer is needed to convert them into instructions.
What materials can an FDM printer use?
Common thermoplastics include PLA, PETG, ABS, ASA, TPU and nylon. Each needs different temperatures, and abrasive filaments need a hardened steel nozzle.
Sources

Founder and editor
Software engineer since 2009 and Head of Engineering by day, a maker who has owned several 3D printers, writing practical guides to 3D printers, filament and running costs, with every article saying what was and was not tested.
Keep reading
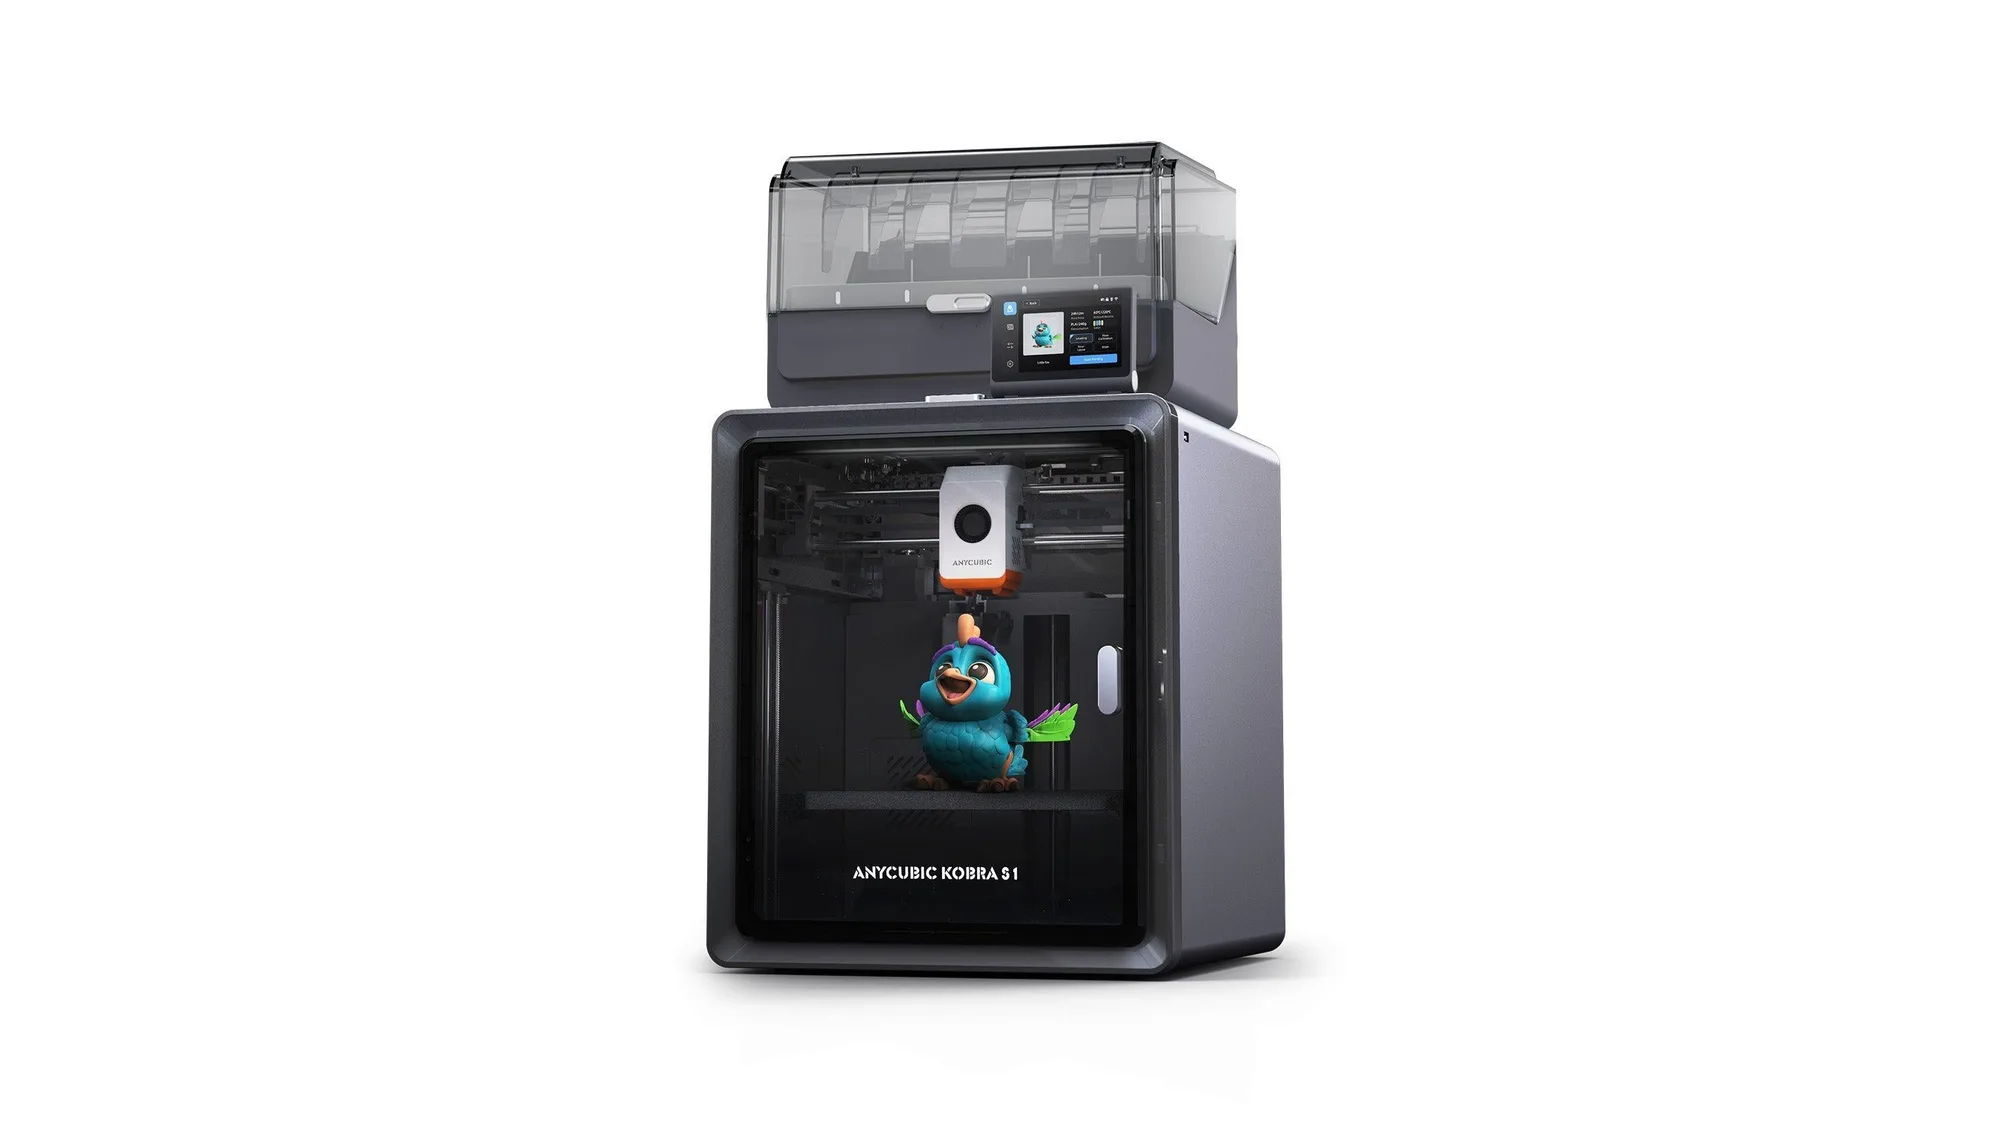
Anycubic Kobra S1: Specs, Price and Who It Suits
Anycubic Kobra S1 Combo specs, launch price and who it suits, from Anycubic's own pages. Not tested by us.
10 October 2026 · 5 min read
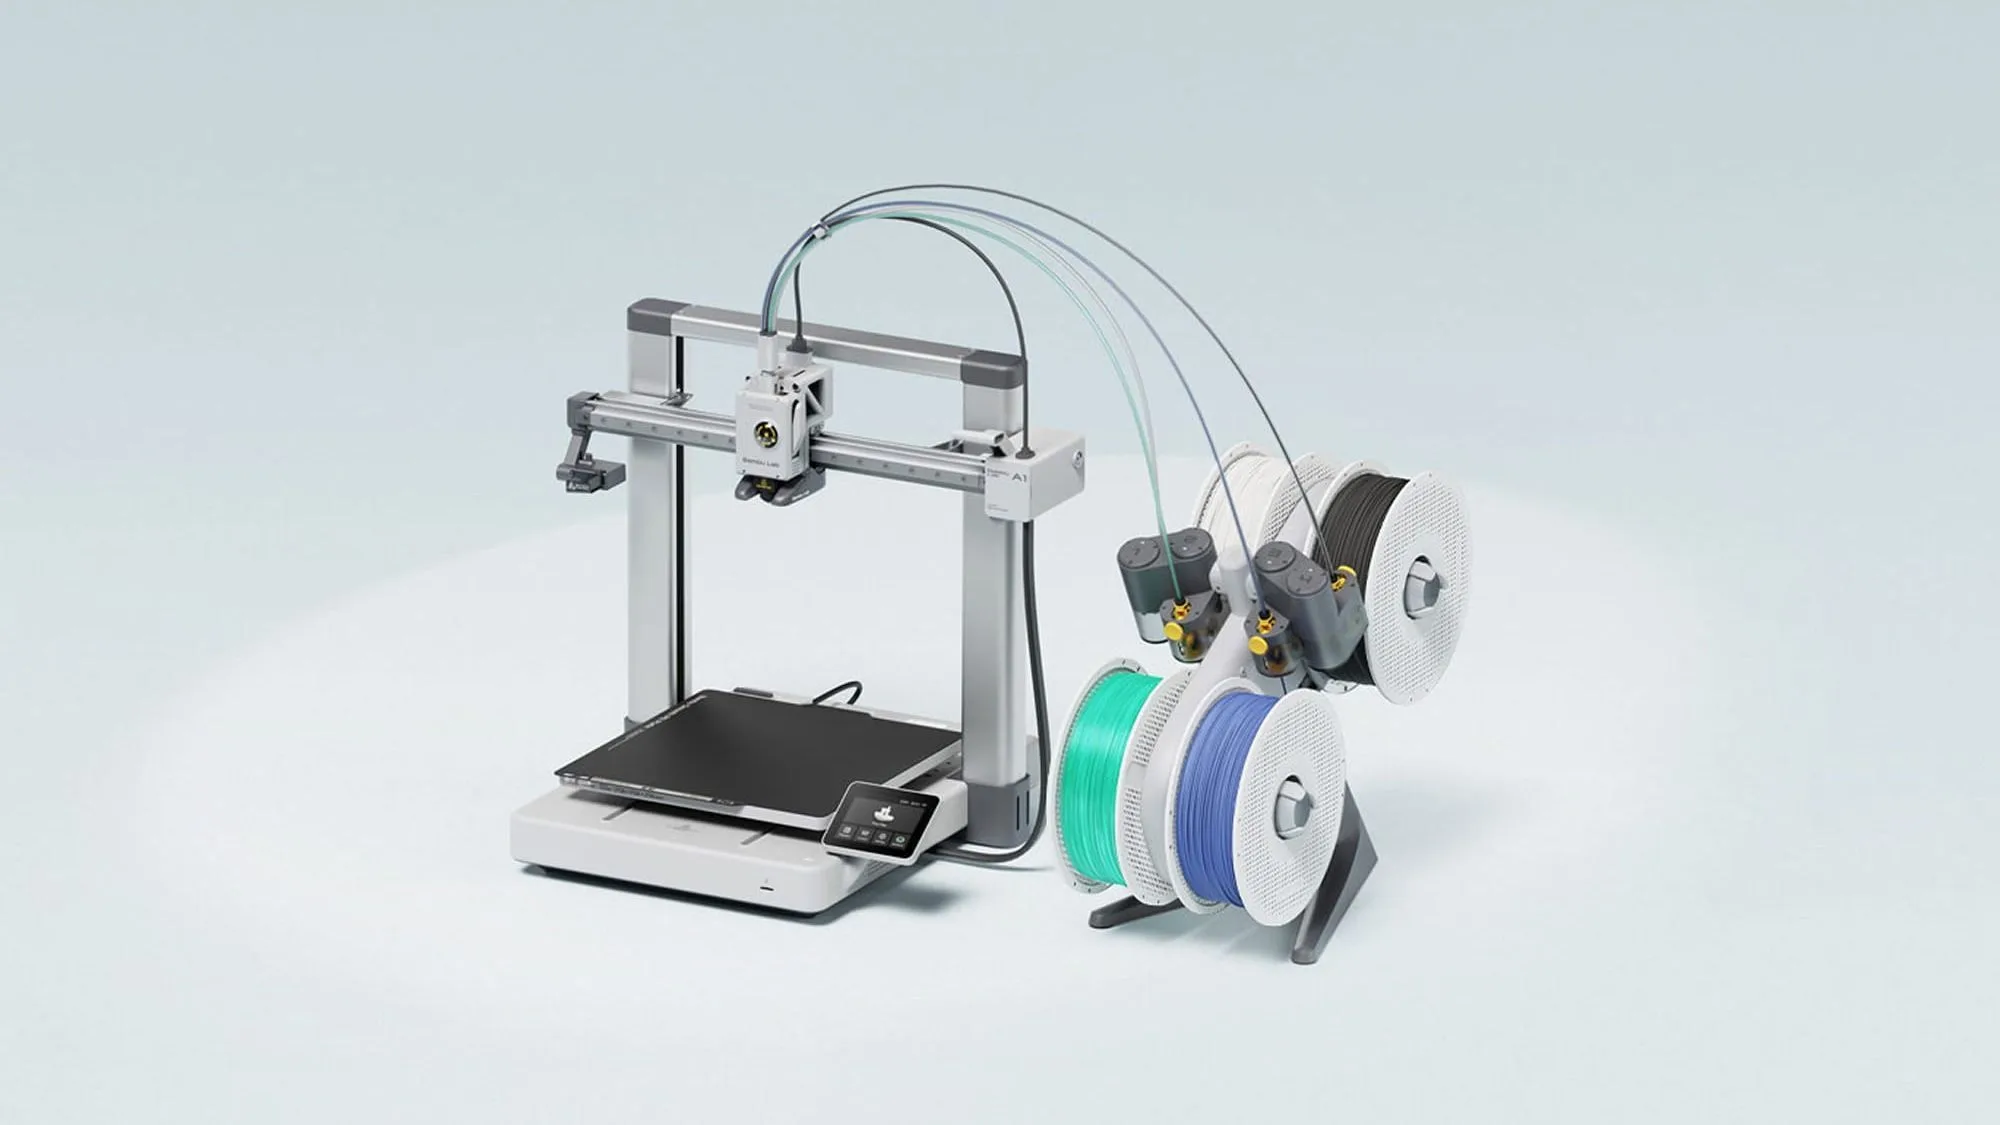
Bambu Lab A1: Specs, Price and Who It Suits
The Bambu Lab A1 is an open-frame 256 mm bed slinger sold from £209 in the UK store. Here are the maker's specs, prices and who it suits. Not tested by Nozzle Notes.
10 October 2026 · 5 min read
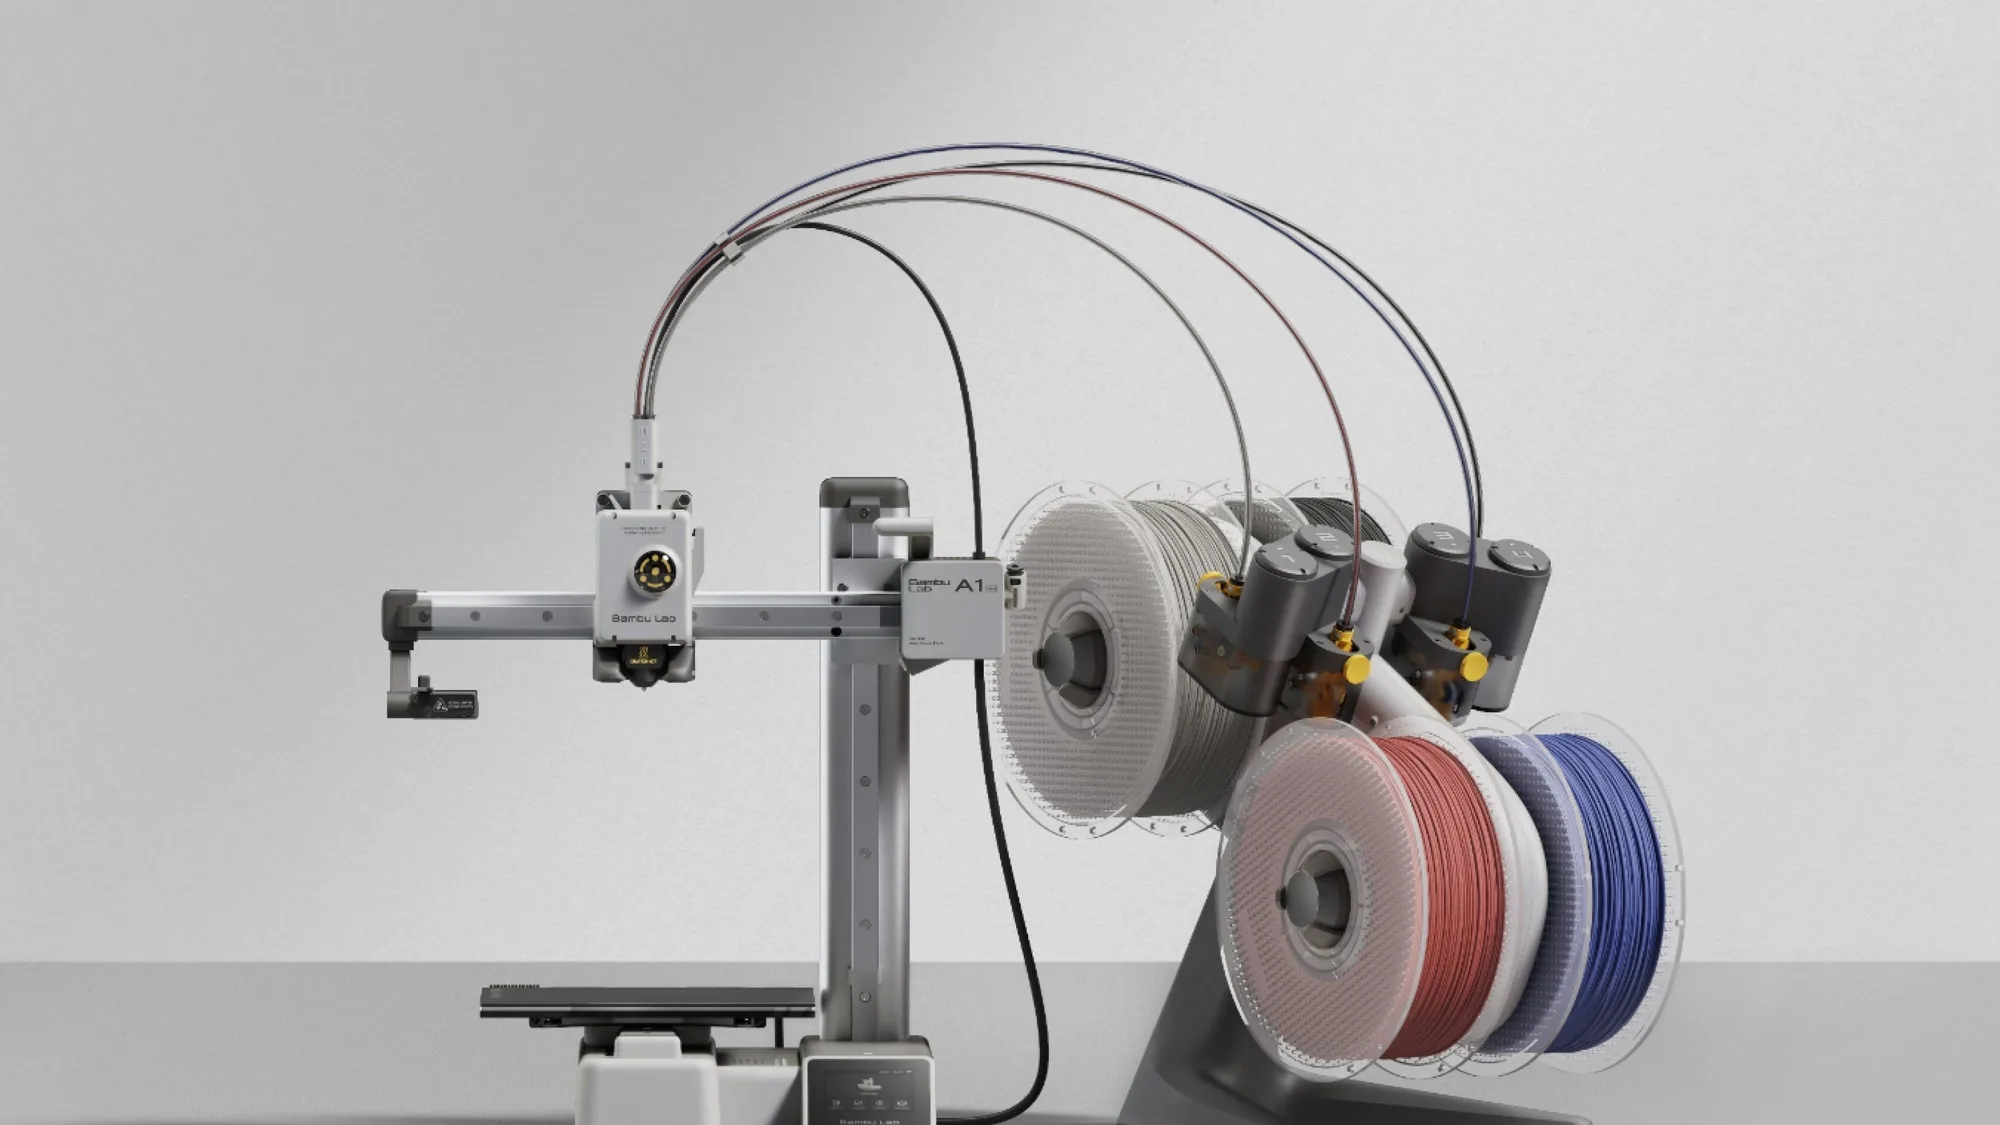
Bambu Lab A1 mini: Specs, Price and Who It Suits
The Bambu Lab A1 mini is the smallest and cheapest current Bambu Lab printer here at £149 in the UK store. Maker specs, prices and who it suits. Not tested by Nozzle Notes.
10 October 2026 · 5 min read