This Cura review comes from a hands on test of UltiMaker Cura 5.13.0 on macOS, a free open source slicer. We worked through 12 lessons, from the welcome wizard to plugins, using a Creality Ender-3 V3 SE profile. We sliced and exported files. We did not print anything.
What is UltiMaker Cura?
Cura is a slicer: the program that turns a 3D model into the G-code a printer follows. If that idea is new, read what is a slicer first. The project's GitHub page describes Cura as a slicer app for preparing your 3D models, with hundreds of settings and community managed print profiles. Our Cura for beginners guide covers the download and the overall workflow from the project's release notes.
The GitHub page itself names no operating systems. Our beginner guide lists Windows, macOS and Linux installers on the releases page, but we only used a Mac. Every observation below is for 5.13.0 on macOS.
Who is Cura for?
It is for anyone who wants a free slicer that starts simple and gets deeper on request. Recommended mode gives a newcomer a handful of controls, and Custom mode opens the full list. We did not test with a first time user, so that is our judgement. If you are still choosing between programs, see Cura vs Orca Slicer vs PrusaSlicer.
How much does Cura cost, and what licence does it use?
The GitHub page does not list a price. It shows the licence as LGPL-3.0 and has a Sponsor button, with no amounts given. In our run nothing asked for payment. The wizard offered a free UltiMaker Account, and slicing and exporting G-code did not need it.
What was the first run like?
Short and orderly. The wizard has nine pages: Welcome, User Agreement, a data sharing page, a sign in page, two Add printer pages, Machine Settings, What's New and Release Notes. On macOS a system window may first ask whether Cura may find devices on local networks. That prompt comes from macOS, not Cura, and we chose Don't Allow because our printer is not networked.
The sign in page lists Marketplace access, backup and sync, and community help, and it has a Skip button, which we pressed. Typing Ender-3 V3 into the printer search box narrowed the list to two rows, and Cura had preselected the KE, so we had to click the SE ourselves. See the first launch setup lesson for each screen.
How does the interface feel?
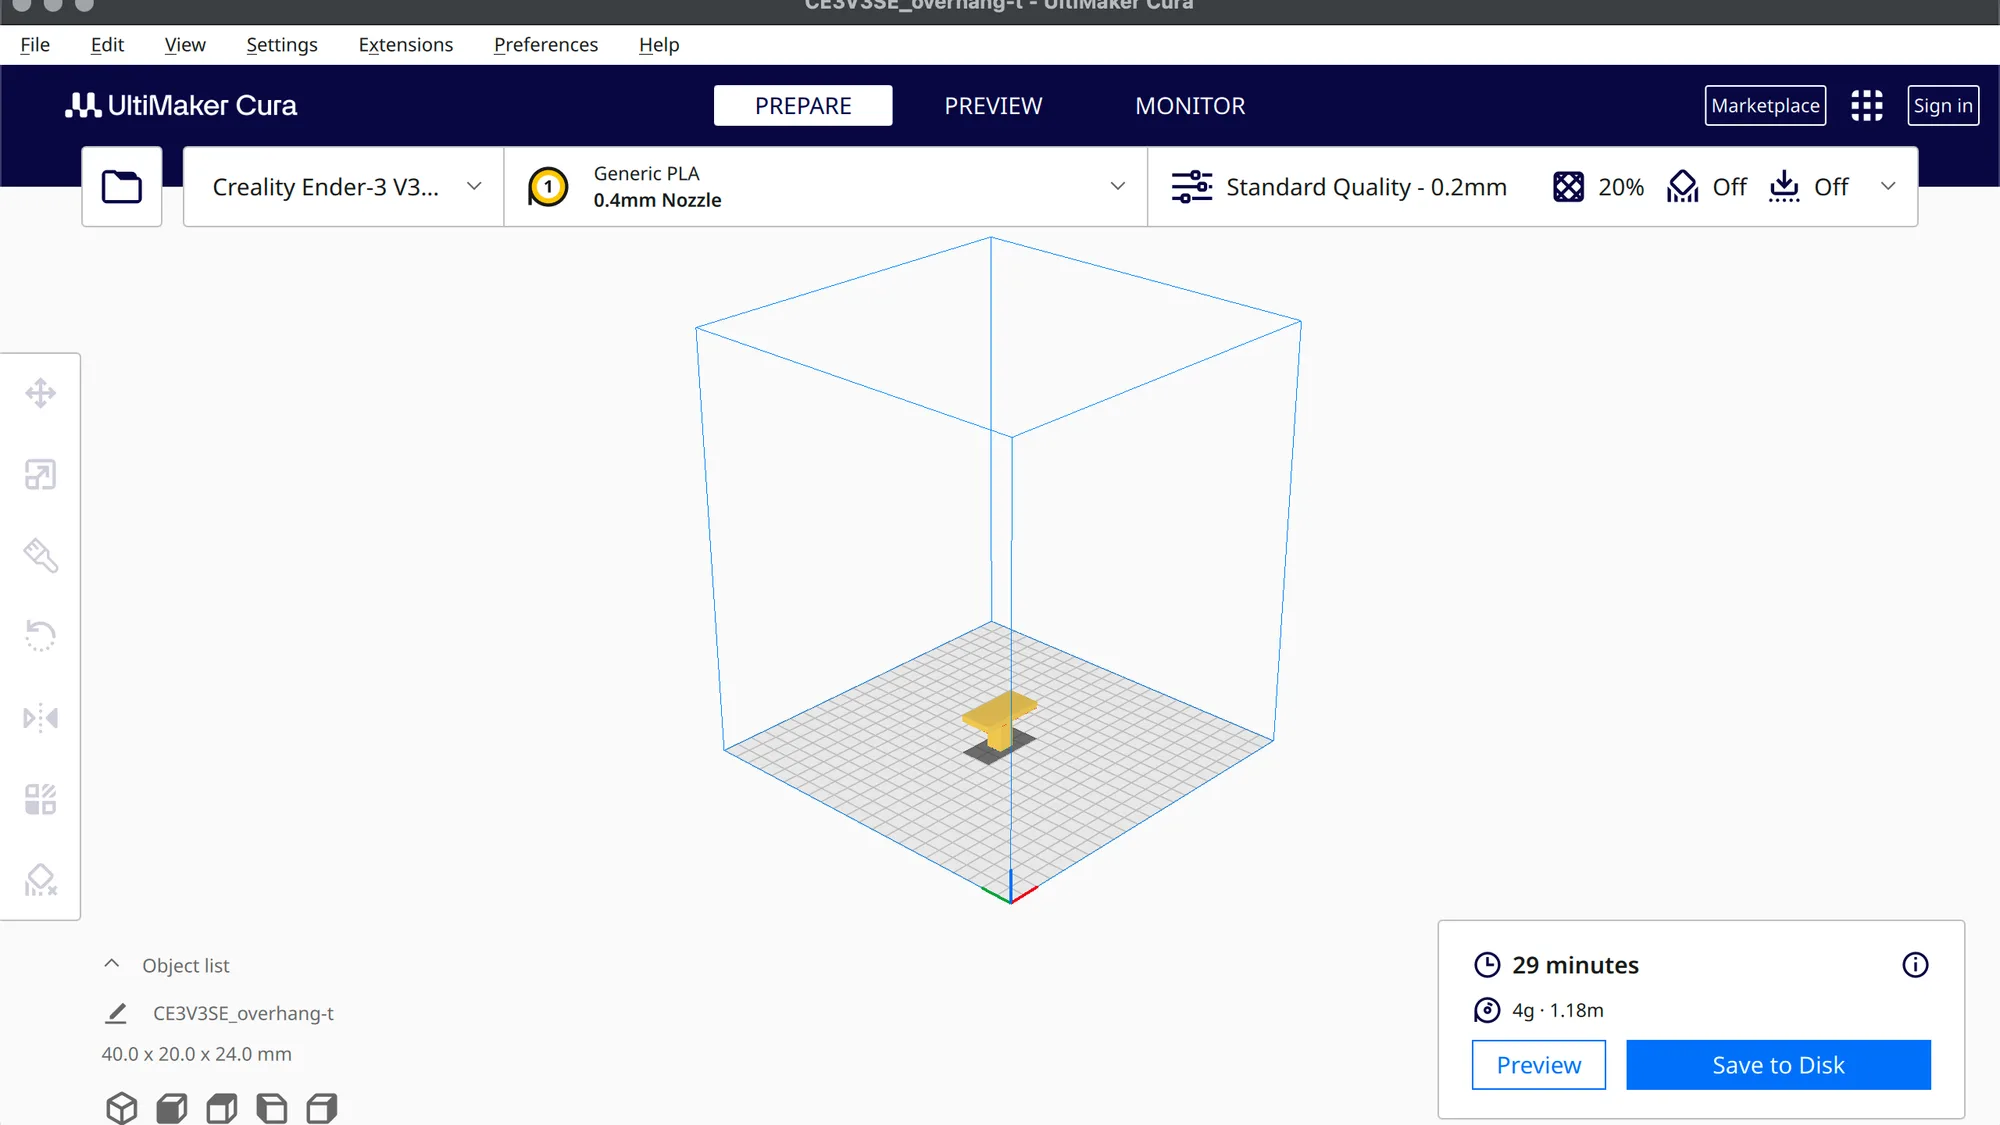
Tidy. A top bar holds the PREPARE, PREVIEW and MONITOR stages plus the Marketplace and Sign in buttons. Under it sit the printer, material and print profile selectors, and the Slice area is at the bottom right. The left toolbar lists seven tools: Move, Scale, Paint, Rotate, Mirror, Per Model Settings and Support Blocker. With an empty plate the toolbar, Object list and Slice area are hidden until you load a model, which surprised us.
The print profile block opens a panel in one of two modes. Recommended shows Resolution, Infill Density, Infill Pattern, Shell Thickness, and one switch each for Support and Adhesion. Show Custom swaps it for a Profile drop-down, a Search settings box and a list of categories from Quality to Dual Extrusion. After slicing, the readout showed 29 minutes and 4g, 1.18m for our test part, which is a slicer estimate and not a print result. See the interface tour.
What are Cura's strengths?
These are things we confirmed in the running app, each with a lesson behind it.
- A simple Recommended mode. Four resolution profiles (Super Quality 0.12mm to Low Quality 0.28mm) and a few controls cover a first slice. See Recommended settings.
- Choice of infill. The Infill Pattern list held 16 patterns, including Gyroid, Lightning and Honeycomb. For what infill does, see infill explained.
- Normal and Tree supports. On our test part Tree needed about a third less filament than Normal in the slicer estimate (6 g against 9 g). See Cura supports and supports explained.
- Per model settings and mesh types. We overrode walls and infill for one model, and a second model worked as an infill mesh. The Object list shows a badge counting the overrides. See per model settings.
- Material profiles. The Material drop-down lists brands from Generic to Polymaker, and the Materials page shows each profile's temperatures. See materials and profiles.
- Post processing scripts. Extensions, Post Processing, Modify G-Code offered 19 scripts to add after slicing.
- A Marketplace. Browsing the Plugins and Materials tabs worked while we were signed out. See plugins and the Marketplace.
What annoyed us about Cura?
Nothing stopped us slicing. We list these so you are not surprised. A first click on some buttons only showed a hover state at times, but we put that down to our automation setup and do not count it against Cura.
- Gradual infill is missing from Recommended. We found no Gradual infill control anywhere in that panel, so you need Show Custom for it.
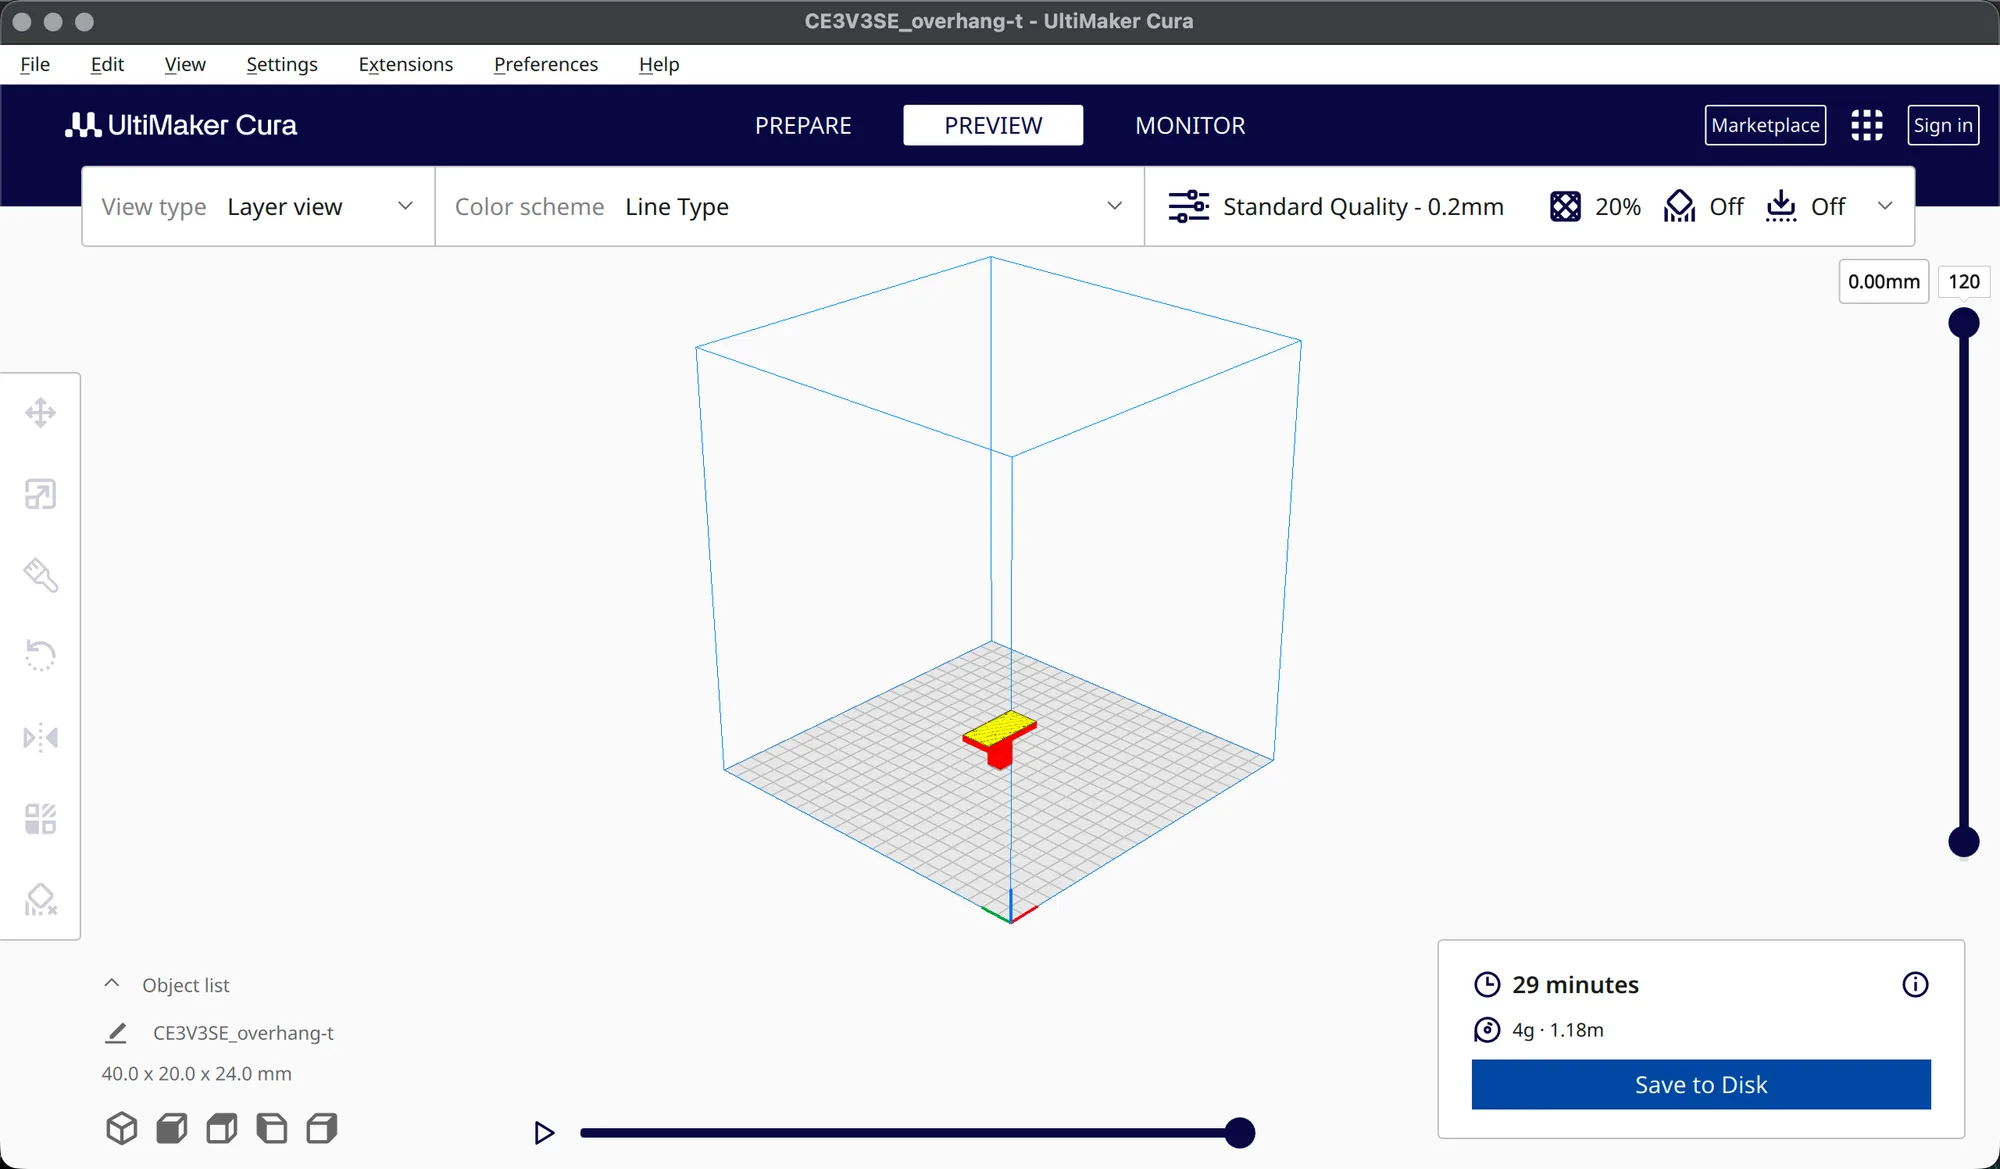
- No Simulation view. Some older guides mention one. The View type menu in 5.13.0 offered only Layer view and X-Ray view, and the play button is the nearest thing. See Preview and layers.
- The Adhesion switch is blunt. It only flips Build Plate Adhesion Type between Skirt and Brim, with a Brim Width of 8.0 mm. Raft and None need the drop-down in Custom mode. See adhesion and brim vs raft vs skirt.
- No Arrange Selection. The Edit menu has Arrange All Models, and the right click menu has Arrange All Models in a grid, but we found no way to arrange only the selection. See import, move, scale and rotate.
- No shortcut for Per Model Settings. Move shows T and Support Blocker shows E, but that tool showed none in its tooltip.
- The settings panel covers the estimate. While the panel is open the time and material box is hidden, so you close it to read the numbers. See custom settings.
- The Profiles page contradicts itself. Selecting Standard Quality showed "Some settings from current profile were overwritten." and, below it, "Your current settings match the selected profile." We report both as shown.
- Some bundled scripts are stale. Display Progress On LCD told us it no longer works.
What did we not test?
A lot, so treat this as a software review and not a print review.
- Printing results. We did not print. Every time and weight here is a slicer estimate, and we say nothing about quality, strength or accuracy.
- Networked printers. Our printer was not networked, and the Monitor stage showed only a message asking us to connect one.
- UltiMaker accounts. We skipped sign in and never created an account.
- Marketplace installs. We browsed but never pressed Install.
- Removable drives. Our Mac had none attached, so we saw only Save to Disk. See save and export.
Is Cura worth using?
As software, yes. It is free to download, open source, and its two mode design lets you start with a short list and open the full one when you need it. The tools we tried (supports, per model settings, material profiles, Preview and post processing) were easy to find and behaved as their tooltips said. The costs are a few missing conveniences and some confusing labels. It suits newcomers who want a gentle start and people who like to dig into settings. We give no star rating, because without printing we cannot rate the result.
Where should you start? The 12 lesson course
These lessons are the evidence behind this review. Take them in order:
- First launch setup
- Interface tour
- Import, move, scale and rotate
- Recommended settings
- Custom settings
- Supports
- Brim and adhesion
- Preview and layers
- Save and export
- Materials and profiles
- Per model settings
- Plugins and the Marketplace
Before exporting, make sure you know STL vs 3MF vs G-code.