This Orca Slicer review comes from a hands on test of OrcaSlicer 2.4.2 on macOS, a free open source slicer. We worked through 14 lessons, from the setup wizard to colour changes, using a Creality Ender-3 V3 SE profile. We sliced and exported files. We did not print anything.
What is OrcaSlicer?
OrcaSlicer is a slicer: the program that turns a 3D model into the G-code a printer follows. If that idea is new, read what is a slicer first. The project's GitHub page describes it as an open source slicer for printers including Bambu, Prusa, Voron and Creality machines, and says it draws on BambuStudio and PrusaSlicer, with inspiration from Cura and SuperSlicer.
The GitHub page lists installers for Windows, macOS and Linux. The macOS download is a universal DMG for Apple Silicon and Intel, and there is also a Homebrew cask. We tested version 2.4.2 on a Mac, so every observation below is for that build and that platform.
How much does Orca Slicer cost?
The GitHub page does not list a price. It states the licence as GNU AGPL-3.0 and asks for donations through GitHub Sponsors, Ko-fi and PayPal. It also says the optional Bambu networking plug-in is based on non free BambuLab libraries. In our own run, the setup wizard asked for a region, printer, filaments, Stealth Mode and the plug-in, and there was no payment step. A login to the optional Orca Cloud is not needed to slice.
What was the install and first run like?
Good, with one oddity. The wizard in 2.4.2 has six screens and takes about two minutes. We typed Ender-3 V3 SE into the printer search box and got a single row. OrcaSlicer then preselected that vendor's filaments, which is the sort of default a beginner wants. The first launch also offered an alpha release, and a tick box named Check for stable updates only stops the prompts. Our setup wizard lesson shows every screen, and Orca Slicer for beginners covers a safe download.
How does the interface feel?
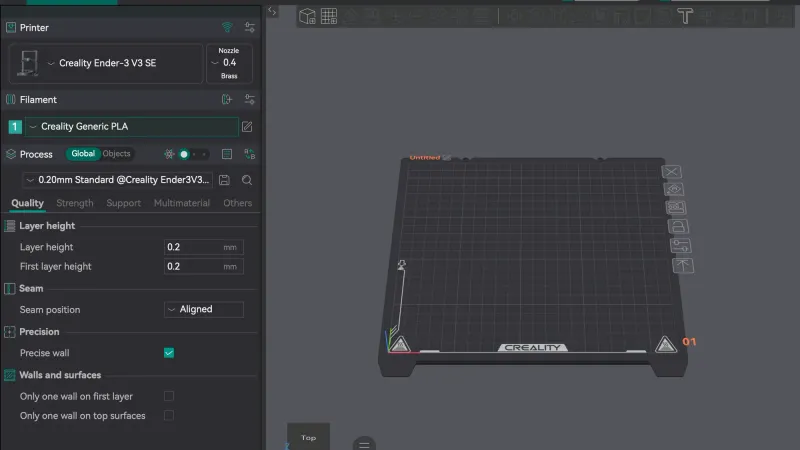
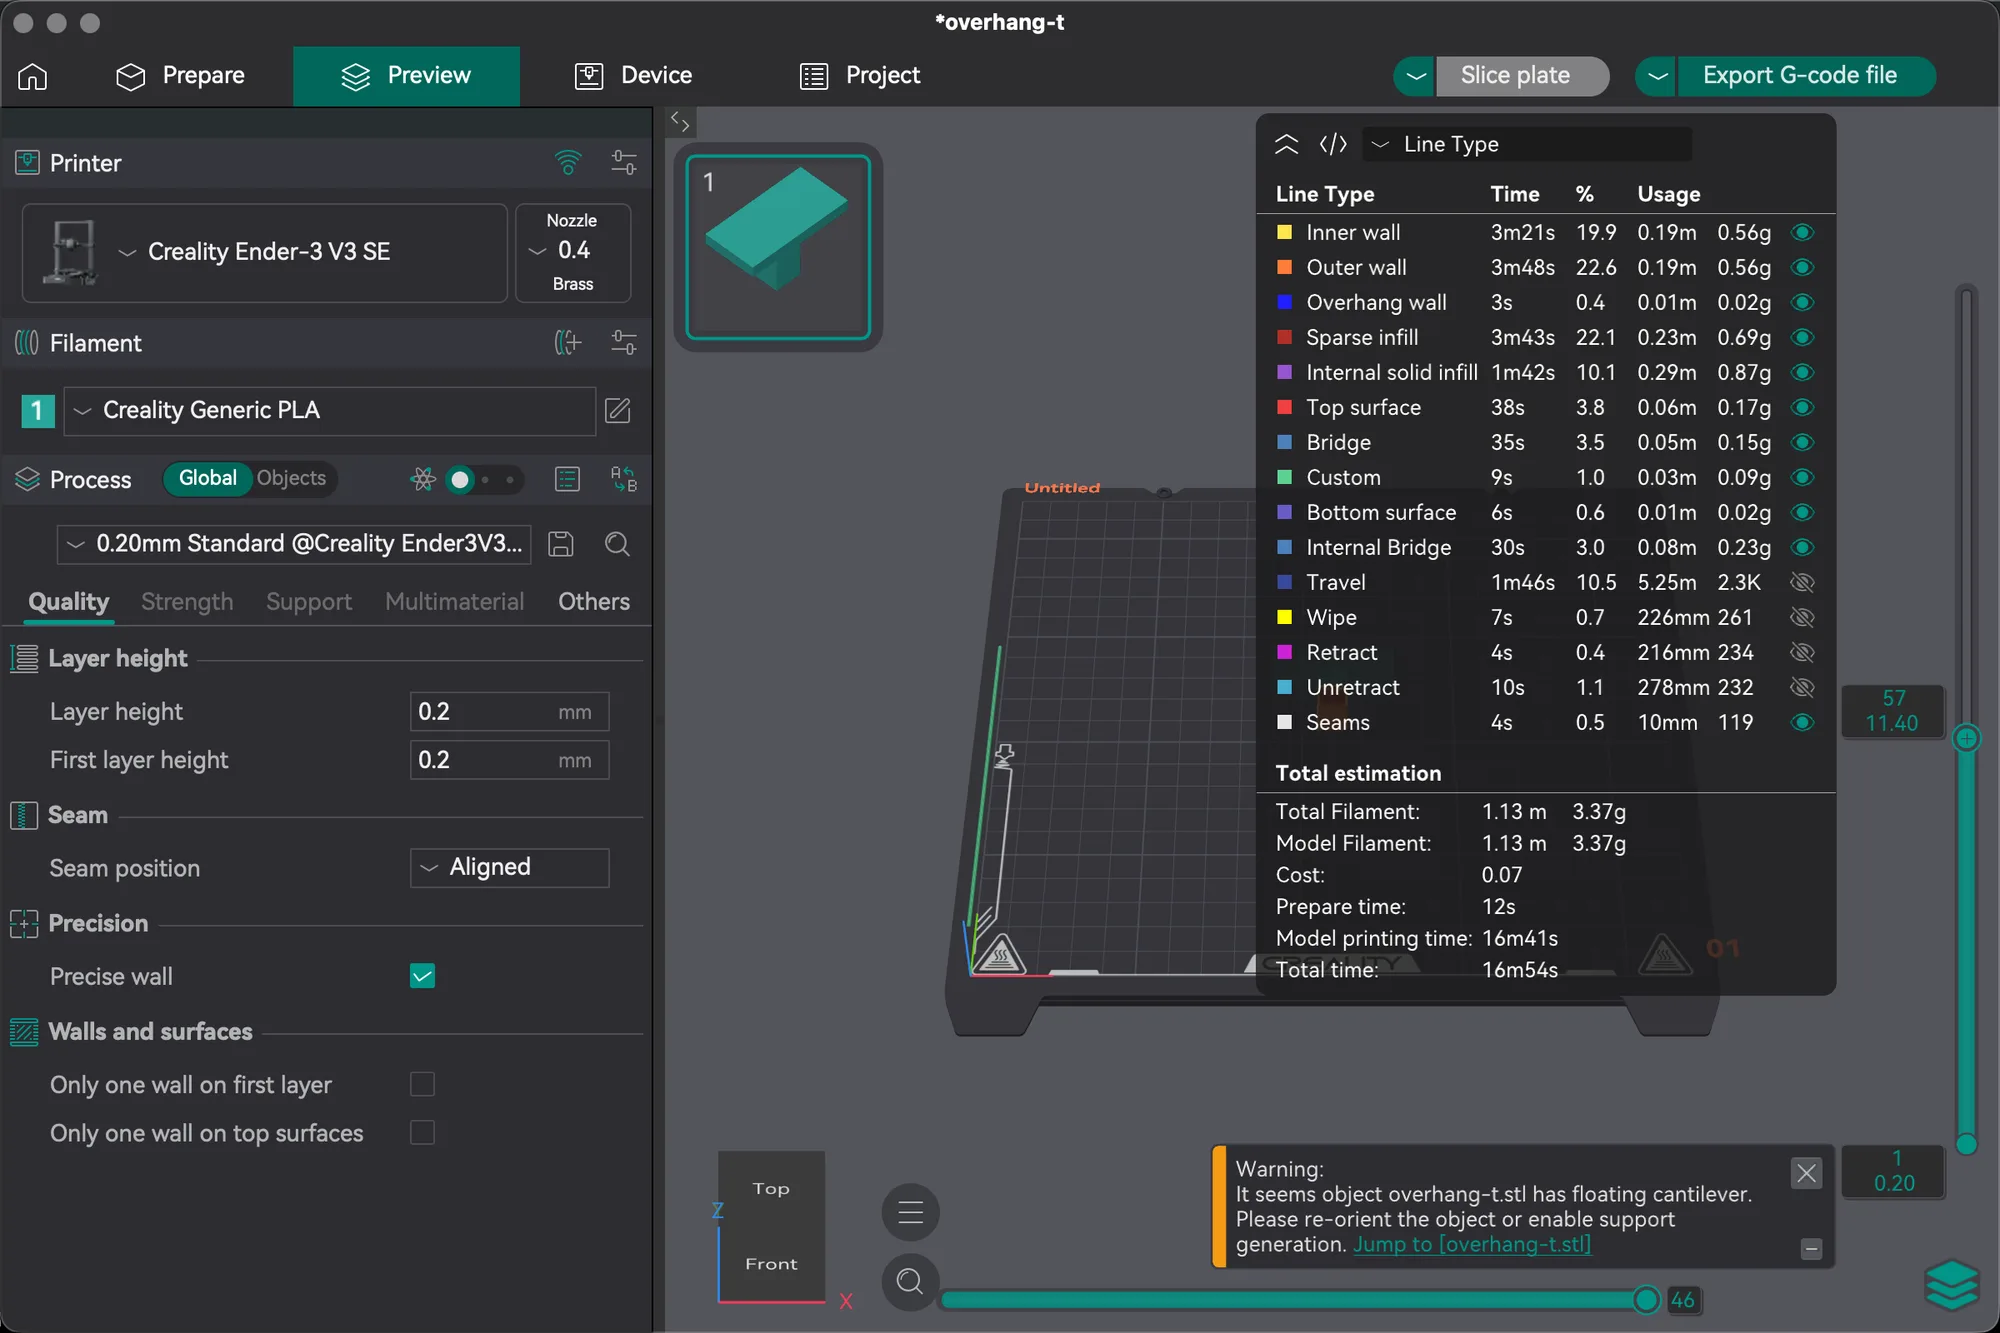
Dense but logical. The window has five tabs: Home, Prepare, Preview, Device and Project. The left panel stacks Printer, Filament and Process, and the Process settings sit in tabs named Quality, Strength, Support, Multimaterial and Others. Most toolbar buttons have a one key shortcut, such as A to arrange, M to move, R to rotate and S to scale. After a slice, the Preview tab lists time and filament per line type, so you can see where the estimate comes from.
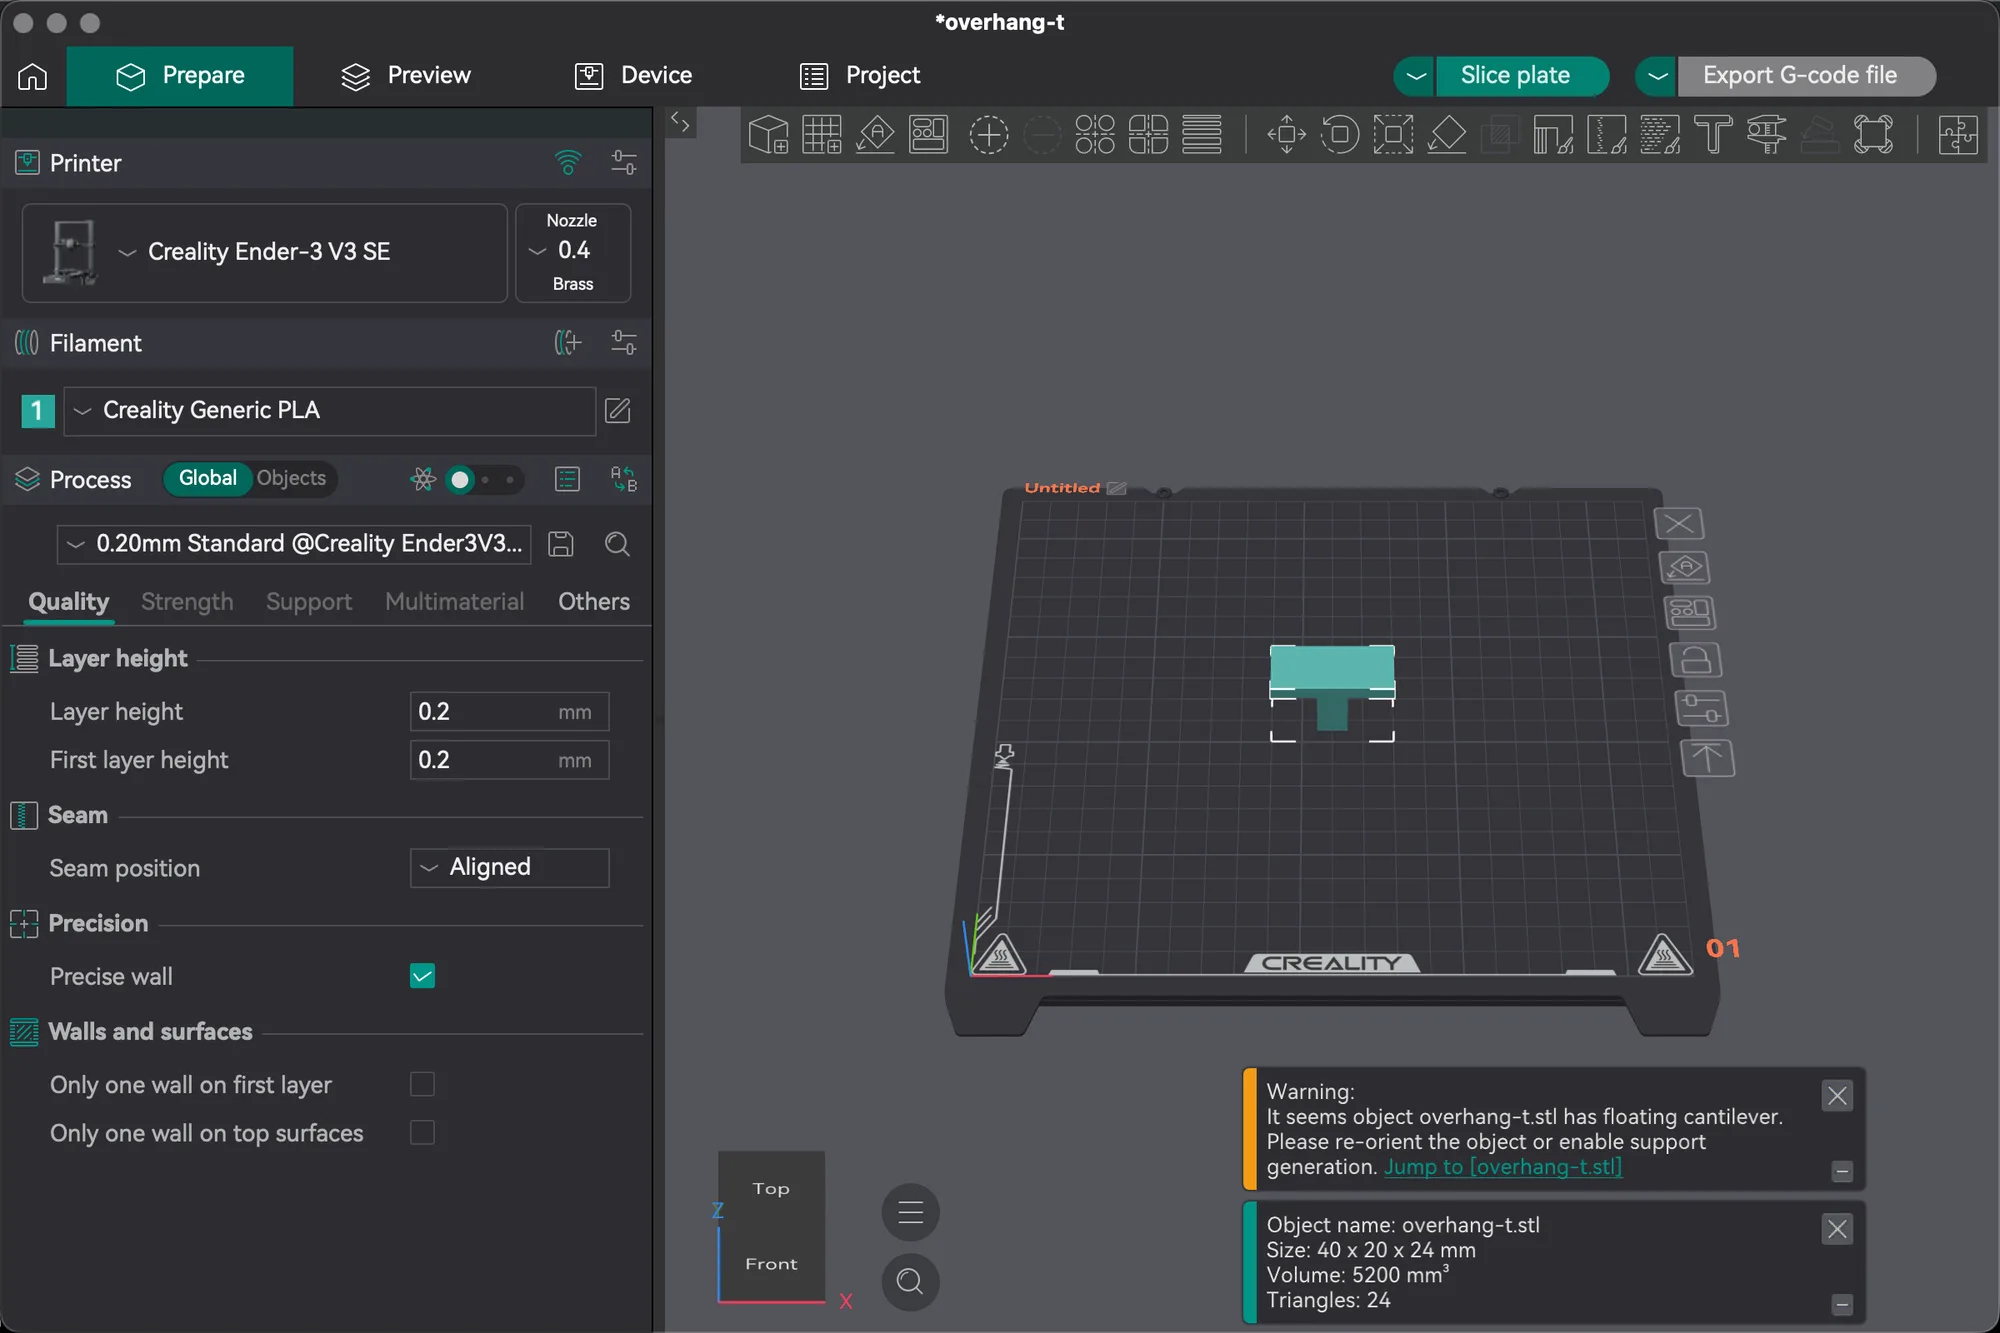
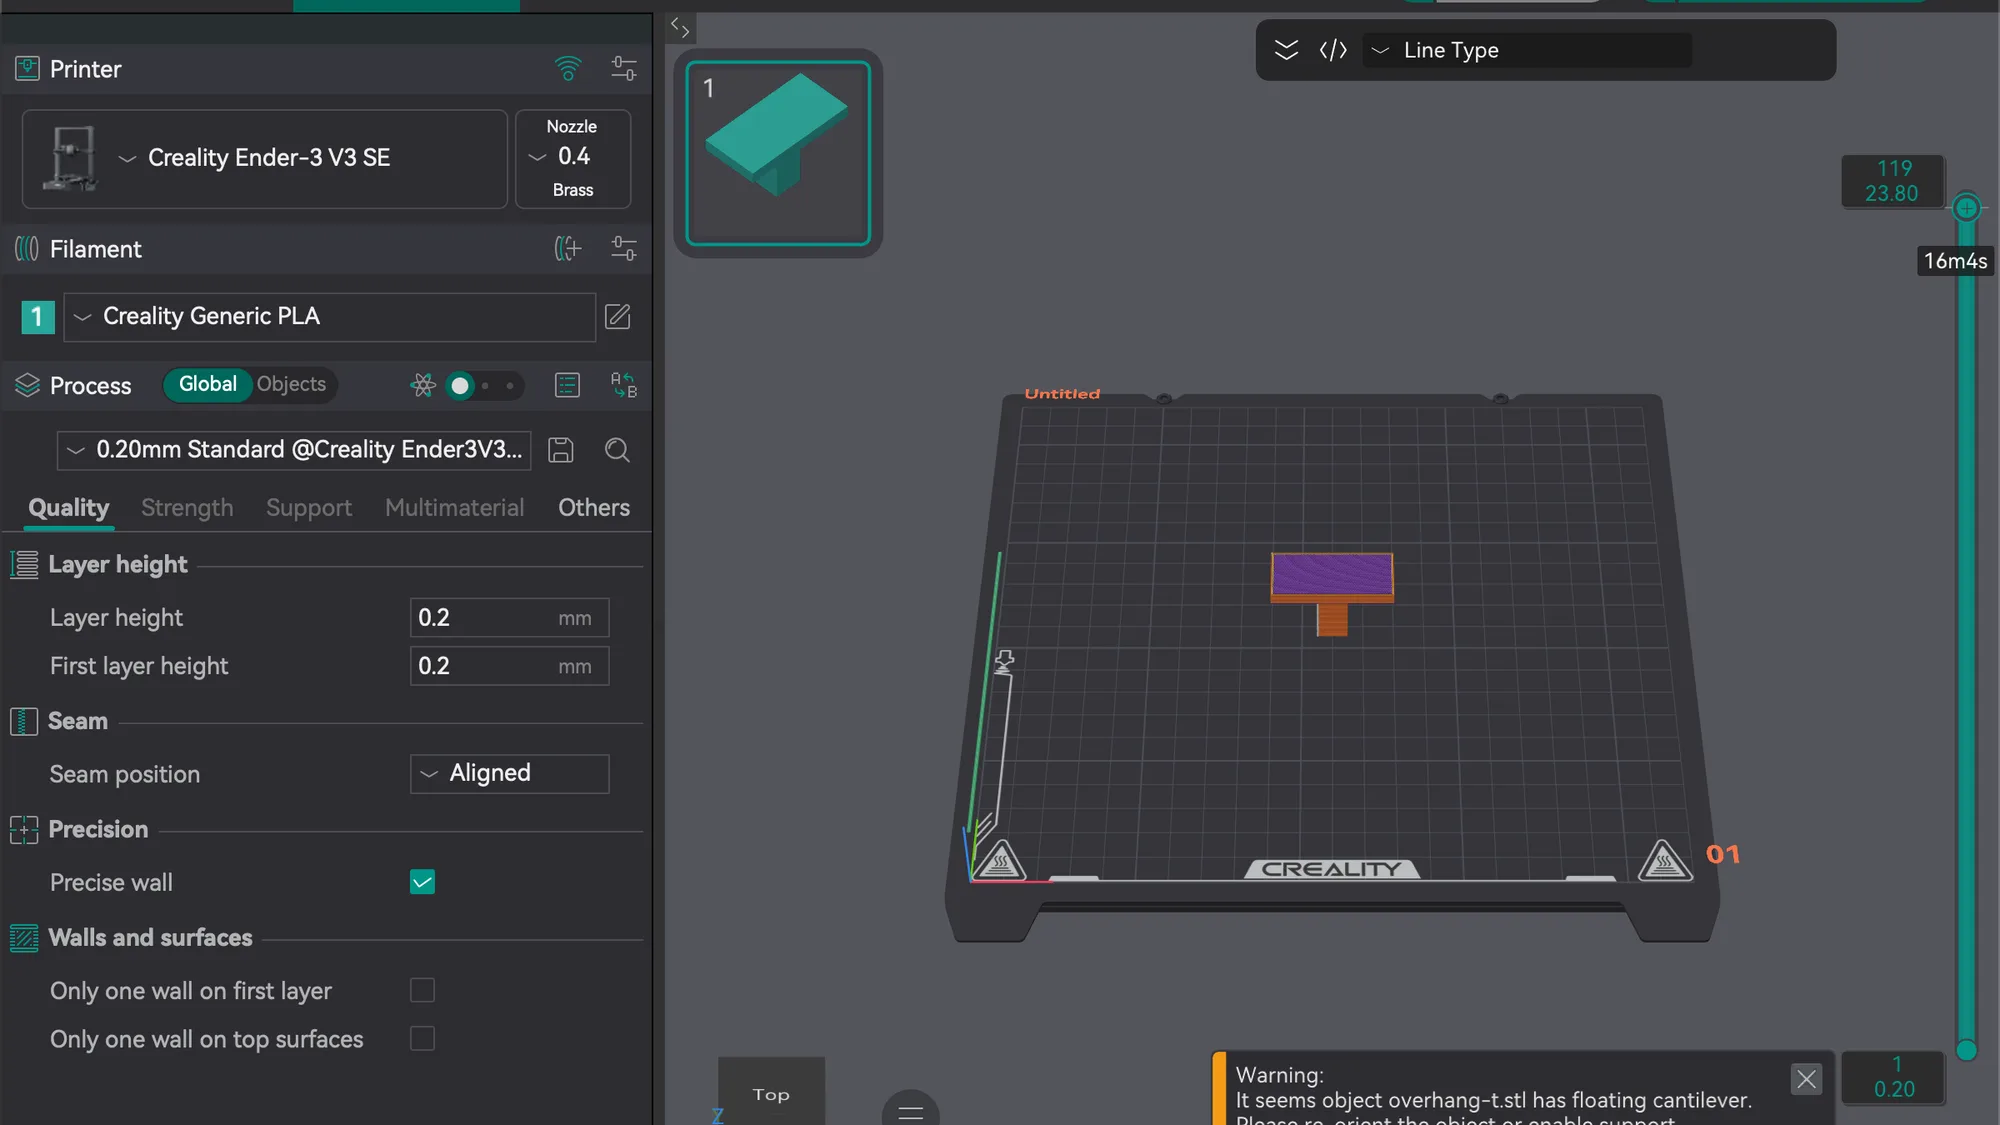
The same window already warns you about problems. Our overhanging test part triggered the notice "It seems object overhang-t.stl has floating cantilever", before we had pressed Slice plate on anything.
What are Orca Slicer's strengths?
These are the things we confirmed in the running app, each with a lesson behind it.
- Per object settings and modifiers. Switching the Process panel from Global to Objects lets you change settings for one object, and Add Modifier offers a cube, cylinder, sphere, cone and more. A 50 percent infill modifier moved our slicer estimate from 16m54s to 21m21s. See per object settings.
- Choice of infill. The Sparse infill pattern list had 26 patterns. For what infill does, see infill explained and our walls and infill lesson.
- Preview. The View type drop down had 16 options, from Line Type to Pressure Advance, and it comes with a legend of times and grams. See reading Preview.
- Variable layer height. Adaptive layer heights cut our dome from 120 layers and 21m35s to 93 layers and 17m4s in the slicer estimate. See variable layer height.
- A built in Calibration menu with nine entries, from Temperature to VFA, each with a start value, end value and step. See the calibration tools.
- Three option modes. Simple, Advanced and Expert let a newcomer start with fewer settings and add more later.
What annoyed us about Orca Slicer?
Nothing was a deal breaker, but we hit these, and we list them so you are not surprised.
- The first click sometimes only showed a tooltip. On our setup, a first click on some buttons did nothing but show the tooltip, so we hovered first, then clicked. Slice plate also sometimes needed a second click.
- Expert versus Advanced is unclear. The slider has three positions, but the Speed tab looked the same in Advanced and Expert in our check, and Simple hides the Speed tab entirely. We cannot say what Expert adds elsewhere. See the advanced mode lesson.
- The help card shows a question mark. In Support Painting, the help card lists a mouse wheel shortcut with a question mark where the modifier key name should be, so we did not test those shortcuts.
- Flow ratio is hidden in Simple mode. The Material settings window for Creality Generic PLA showed no flow ratio field in Simple mode.
- Calibration replaces your project and edits a preset. Clicking OK on the Temperature test replaced our plate, and our filament nozzle temperature went from 220 to 230 until we discarded it. Check your filament temperatures after a test.
- Supports are off by default. That is sensible, but a model with an overhang slices with a warning rather than supports, and turning them on more than doubled our filament estimate from 3.37 g to 7.43 g.
What did we not test?
Quite a lot, so treat this as a software review and not a print review.
- Printing results. We did not print. We cannot say how sharp, strong or accurate any output was, and every time and weight in this review is a slicer estimate.
- Networked printers. The GitHub page lists Klipper, PrusaLink and OctoPrint support. We did not connect to a printer.
- Multi material hardware. We added a second filament and a colour change in software only, and did not use an AMS or similar unit.
- The Bambu Network plug-in. We did not install it.
- Other platforms and printers. We used one Mac and one printer profile.
Is Orca Slicer worth using?
For a software verdict, yes. It is free to download, open source and well supplied with settings, and the tools we tried (per object settings, variable layer height, Preview and calibration) are easy to find and work as described. The main costs are a crowded interface and a few rough edges. It suits people who want to tune a print and see what each setting does, and it may be more than a first time user needs. For a side by side view of other slicers, see Cura vs Orca Slicer vs PrusaSlicer. We give no star rating, because without printing we cannot rate the result.
Where should you start? The 14 lesson course
These lessons are the evidence behind this review. Take them in order:
- Setup wizard
- Interface tour
- Import, move, scale and rotate
- Layer height and quality settings
- Walls and infill
- Speed and Advanced mode
- Supports
- Brim, skirt and seam
- Preview and layers
- Calibration tools
- Save and export
- Variable layer height
- Per object settings
- Filaments and colour changes
If you only read one thing about file types before exporting, make it STL vs 3MF vs G-code.